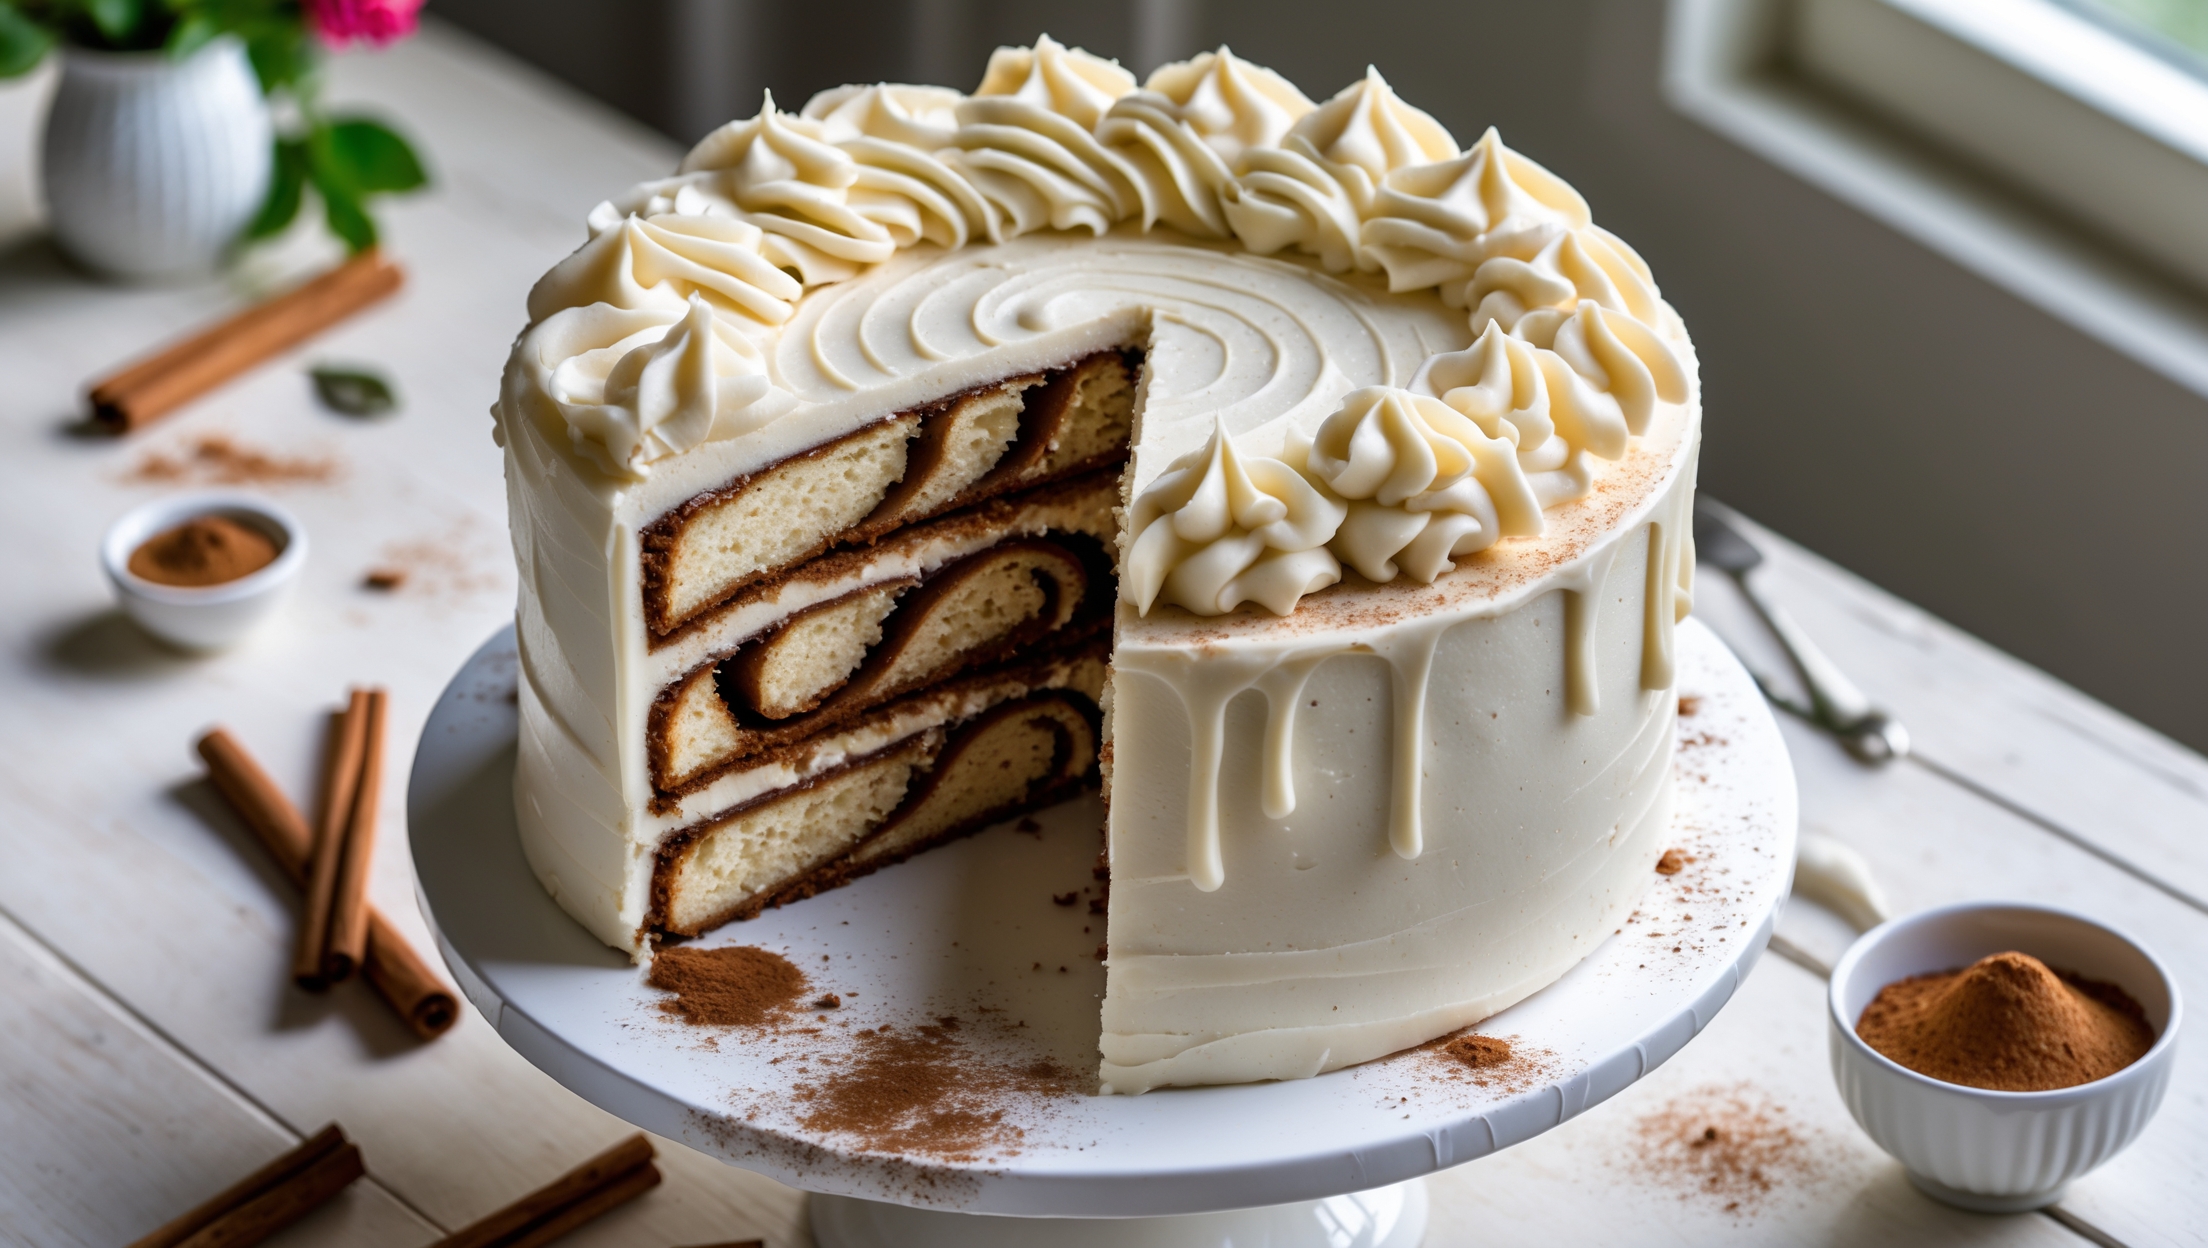
Directions
<ol class="no-list-style"><li class="MethodStepper"><h4 class="step-title">Step 1</h4>Preheat your oven to 180°C (160°C fan/gas mark 4). Grease and line the base and sides of three 20cm round cake tins with baking parchment. This thorough preparation ensures your cakes will release easily after baking.</li><li class="MethodStepper"><h4 class="step-title">Step 2</h4>Prepare the vanilla cake. In a medium bowl, whisk together the flour, baking powder, and salt. Set aside. These dry ingredients need to be well combined before adding to the wet mixture to ensure even leavening throughout the cake.</li><li class="MethodStepper"><h4 class="step-title">Step 3</h4>In a large bowl or stand mixer fitted with the paddle attachment, cream together the butter and caster sugar for about 5 minutes until pale and fluffy. This extended beating incorporates air into the mixture, creating a lighter cake texture and is the foundation for a tender crumb.</li><li class="MethodStepper"><h4 class="step-title">Step 4</h4>Add the eggs one at a time, beating well after each addition. If the mixture begins to curdle, add a tablespoon of the flour mixture to stabilize the emulsion. Stir in the vanilla extract until well combined.</li><li class="MethodStepper"><h4 class="step-title">Step 5</h4>Gradually add the flour mixture in three additions, alternating with the milk, beginning and ending with the flour. Mix on low speed just until incorporated after each addition - overmixing at this stage will develop the gluten in the flour, resulting in a tougher cake.</li><li class="MethodStepper"><h4 class="step-title">Step 6</h4>Divide the batter evenly between the prepared cake tins, smoothing the tops with an offset spatula. Bake for 25-30 minutes until golden and a skewer inserted into the center comes out clean. The cakes should also spring back when lightly touched in the center.</li><li class="MethodStepper"><h4 class="step-title">Step 7</h4>Allow the cakes to cool in the tins for 10 minutes before turning out onto wire racks to cool completely. This brief rest period allows the cakes to set up slightly, making them less likely to break when turned out.</li><li class="MethodStepper"><h4 class="step-title">Step 8</h4>While the cakes are cooling, make the salted caramel sauce. Place the granulated sugar in a medium heavy-bottomed saucepan over medium heat. Watch it carefully as it begins to melt around the edges. Resist the urge to stir immediately - this can cause the sugar to crystallize. Instead, gently swirl the pan occasionally to ensure even melting.</li><li class="MethodStepper"><h4 class="step-title">Step 9</h4>Once the sugar has completely melted and turned a deep amber color (around 170°C if using a thermometer), carefully add the cubed butter while whisking continuously. The mixture will bubble vigorously - this is normal! Keep whisking until all the butter has melted and is fully incorporated.</li><li class="MethodStepper"><h4 class="step-title">Step 10</h4>Remove from heat and slowly pour in the double cream while continuing to whisk. The mixture will bubble up again, so be careful. Stir in the sea salt. Pour into a heatproof container and allow to cool completely at room temperature. The caramel will thicken as it cools.</li><li class="MethodStepper"><h4 class="step-title">Step 11</h4>For the buttercream, beat the room temperature butter in a large bowl until pale and creamy, about 3-4 minutes. The extended beating time creates a fluffier, more stable buttercream that will hold up well between cake layers.</li><li class="MethodStepper"><h4 class="step-title">Step 12</h4>Gradually add the sifted icing sugar, mixing on low speed initially to avoid a sugar cloud, then increasing to medium-high speed once incorporated. Beat for 2-3 minutes until light and fluffy.</li><li class="MethodStepper"><h4 class="step-title">Step 13</h4>Measure out 150ml of your cooled salted caramel sauce and add it to the buttercream, beating until smooth and well combined. If the buttercream is too stiff, add 2-3 tablespoons of double cream to achieve a spreadable consistency.</li><li class="MethodStepper"><h4 class="step-title">Step 14</h4>To assemble the cake, place the first cake layer on a cake board or serving plate. Spread an even layer of buttercream over the top, creating a slight rim around the edge to contain any caramel that will be added. Drizzle with a small amount of the reserved caramel sauce.</li><li class="MethodStepper"><h4 class="step-title">Step 15</h4>Place the second cake layer on top and repeat the buttercream and caramel process. Top with the final cake layer, then spread a thin layer of buttercream over the entire cake to create a crumb coat. Refrigerate for 20-30 minutes to set this initial layer.</li><li class="MethodStepper"><h4 class="step-title">Step 16</h4>After chilling, apply the remaining buttercream evenly over the cake, creating a smooth finish with an offset spatula or bench scraper. Return to the refrigerator for another 20 minutes to set.</li><li class="MethodStepper"><h4 class="step-title">Step 17</h4>For the final decoration, warm the remaining caramel sauce slightly if it has become too thick. Create a dramatic drip effect by spooning the caramel around the edge of the cake, allowing it to drip down the sides naturally. Pour the remaining caramel over the top, spreading it evenly.</li><li class="MethodStepper"><h4 class="step-title">Step 18</h4>Finish by sprinkling a small amount of flaky sea salt over the top of the cake just before serving. This final touch enhances the salted caramel flavor and adds a beautiful textural contrast. Allow the cake to come to room temperature for about 30 minutes before serving for the best flavor and texture.</li></ol>