Directions
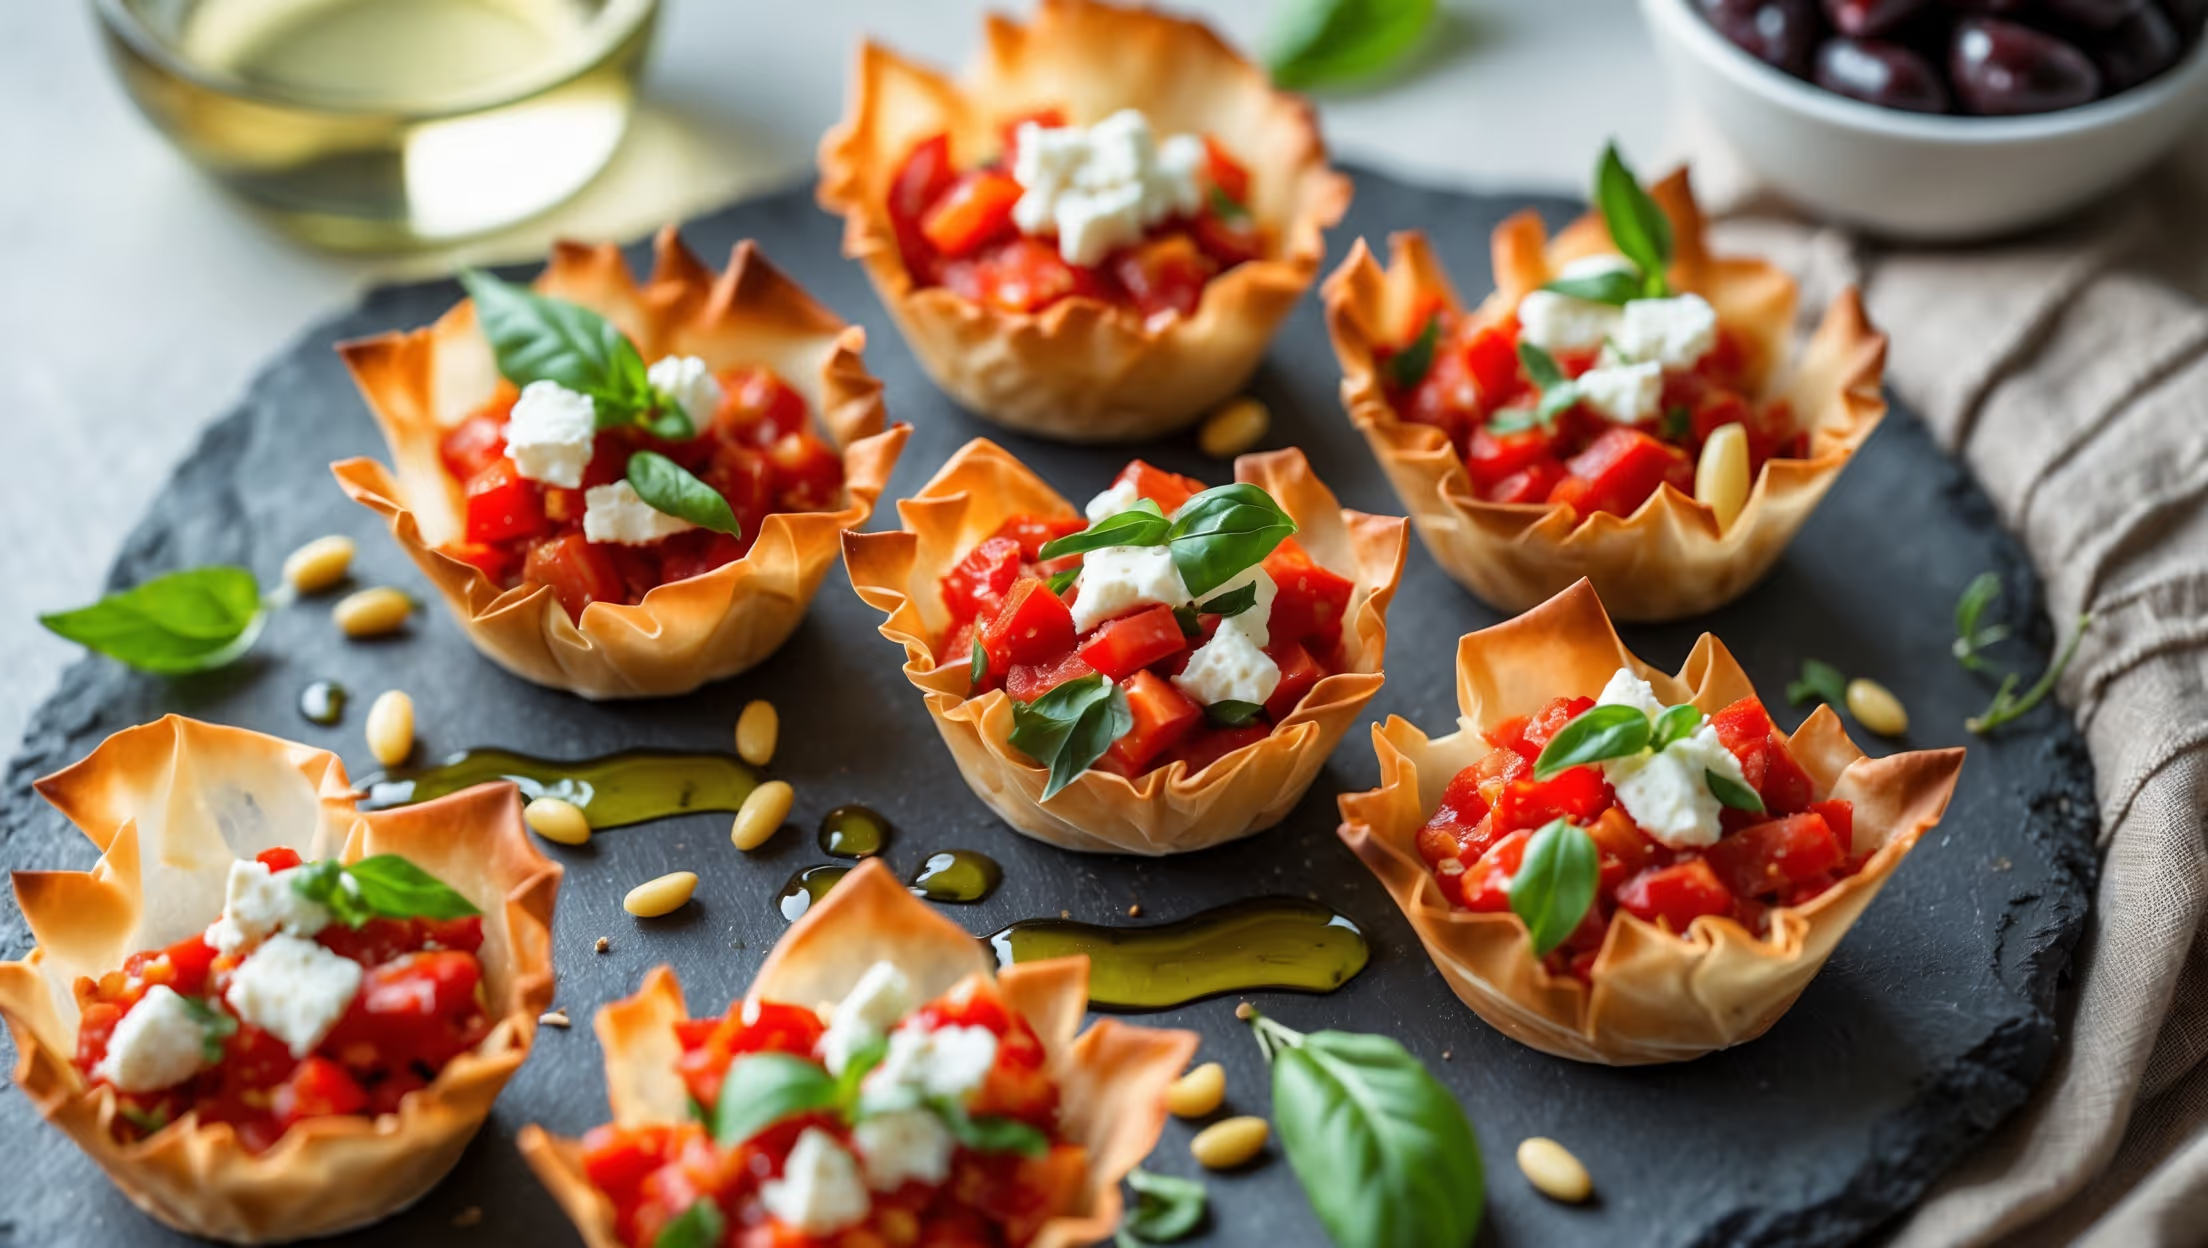
<ol class="no-list-style"><li class="MethodStepper"><h4 class="step-title">Step 1</h4>Preheat your oven to 180°C. Lightly grease a 24-cup mini muffin tin with cooking spray or a small amount of melted butter.</li><li class="MethodStepper"><h4 class="step-title">Step 2</h4>If using fresh bell peppers instead of jarred, roast them by placing directly over a gas flame, under a hot grill, or in a 220°C oven until skin is blackened and blistered. Place in a bowl, cover with plastic wrap for 15 minutes, then peel off the skin, remove seeds and finely dice the flesh. This step creates a deep, smoky flavor that jarred peppers might lack.</li><li class="MethodStepper"><h4 class="step-title">Step 3</h4>Unwrap your phyllo pastry and place on a clean work surface. Immediately cover with a damp kitchen towel to prevent it from drying out - this is crucial as dried phyllo becomes brittle and impossible to work with. Work with one sheet at a time while keeping the rest covered.</li><li class="MethodStepper"><h4 class="step-title">Step 4</h4>Place one sheet of phyllo on your work surface and brush lightly with melted butter. The butter not only adds flavor but creates steam during baking, helping the layers separate and become flaky. Place another sheet on top and brush again. Repeat until you have 4 layers of buttered phyllo.</li><li class="MethodStepper"><h4 class="step-title">Step 5</h4>Using a sharp knife or pizza cutter, cut the stacked phyllo into 12 equal squares (approximately 7cm x 7cm). Repeat the entire process with the remaining 4 sheets to make 24 squares total.</li><li class="MethodStepper"><h4 class="step-title">Step 6</h4>Gently press each square into the cups of your prepared mini muffin tin, creating a small pastry cup. Don't worry about perfect symmetry - the rustic look adds charm. Bake for 8-10 minutes until the phyllo is crisp and golden brown. Watch carefully as phyllo can burn quickly! Remove from the oven and allow to cool in the tin.</li><li class="MethodStepper"><h4 class="step-title">Step 7</h4>While the phyllo cups are baking, prepare the filling. Heat olive oil in a skillet over medium heat. Add diced onion and cook until translucent, about 3-4 minutes. Add garlic and cook for another 30 seconds until fragrant, being careful not to burn it.</li><li class="MethodStepper"><h4 class="step-title">Step 8</h4>Add the diced roasted red peppers, dried oregano, red pepper flakes (if using), and a pinch of salt and pepper. Cook for 3-4 minutes to meld the flavors. Remove from heat and allow to cool for 5 minutes.</li><li class="MethodStepper"><h4 class="step-title">Step 9</h4>Stir 120g of the crumbled feta and chopped basil into the pepper mixture. The warmth of the mixture will slightly soften the feta, creating a creamy texture while maintaining some chunks.</li><li class="MethodStepper"><h4 class="step-title">Step 10</h4>Carefully remove the cooled phyllo cups from the tin and arrange on your serving platter. Spoon about 1 teaspoon of the filling into each cup, making sure not to overfill them - the filling should sit just below the rim to avoid spillage.</li><li class="MethodStepper"><h4 class="step-title">Step 11</h4>Sprinkle the remaining 30g of feta on top of the filled cups, followed by the toasted pine nuts. The pine nuts add a wonderful textural contrast to the crisp phyllo and soft filling.</li><li class="MethodStepper"><h4 class="step-title">Step 12</h4>Just before serving, drizzle a tiny amount of olive oil over each cup and garnish with additional fresh basil. Serve immediately while the phyllo is still crisp. If making ahead, store the cups and filling separately, assembling just before serving to maintain the perfect texture. Enjoy your beautiful Mediterranean-inspired appetizer!</li></ol>