Red Velvet Layer Cake Recipe
Ingredients
Equipment
Directions
FAQs
Find answers to your most pressing questions about this delicious recipe right here.
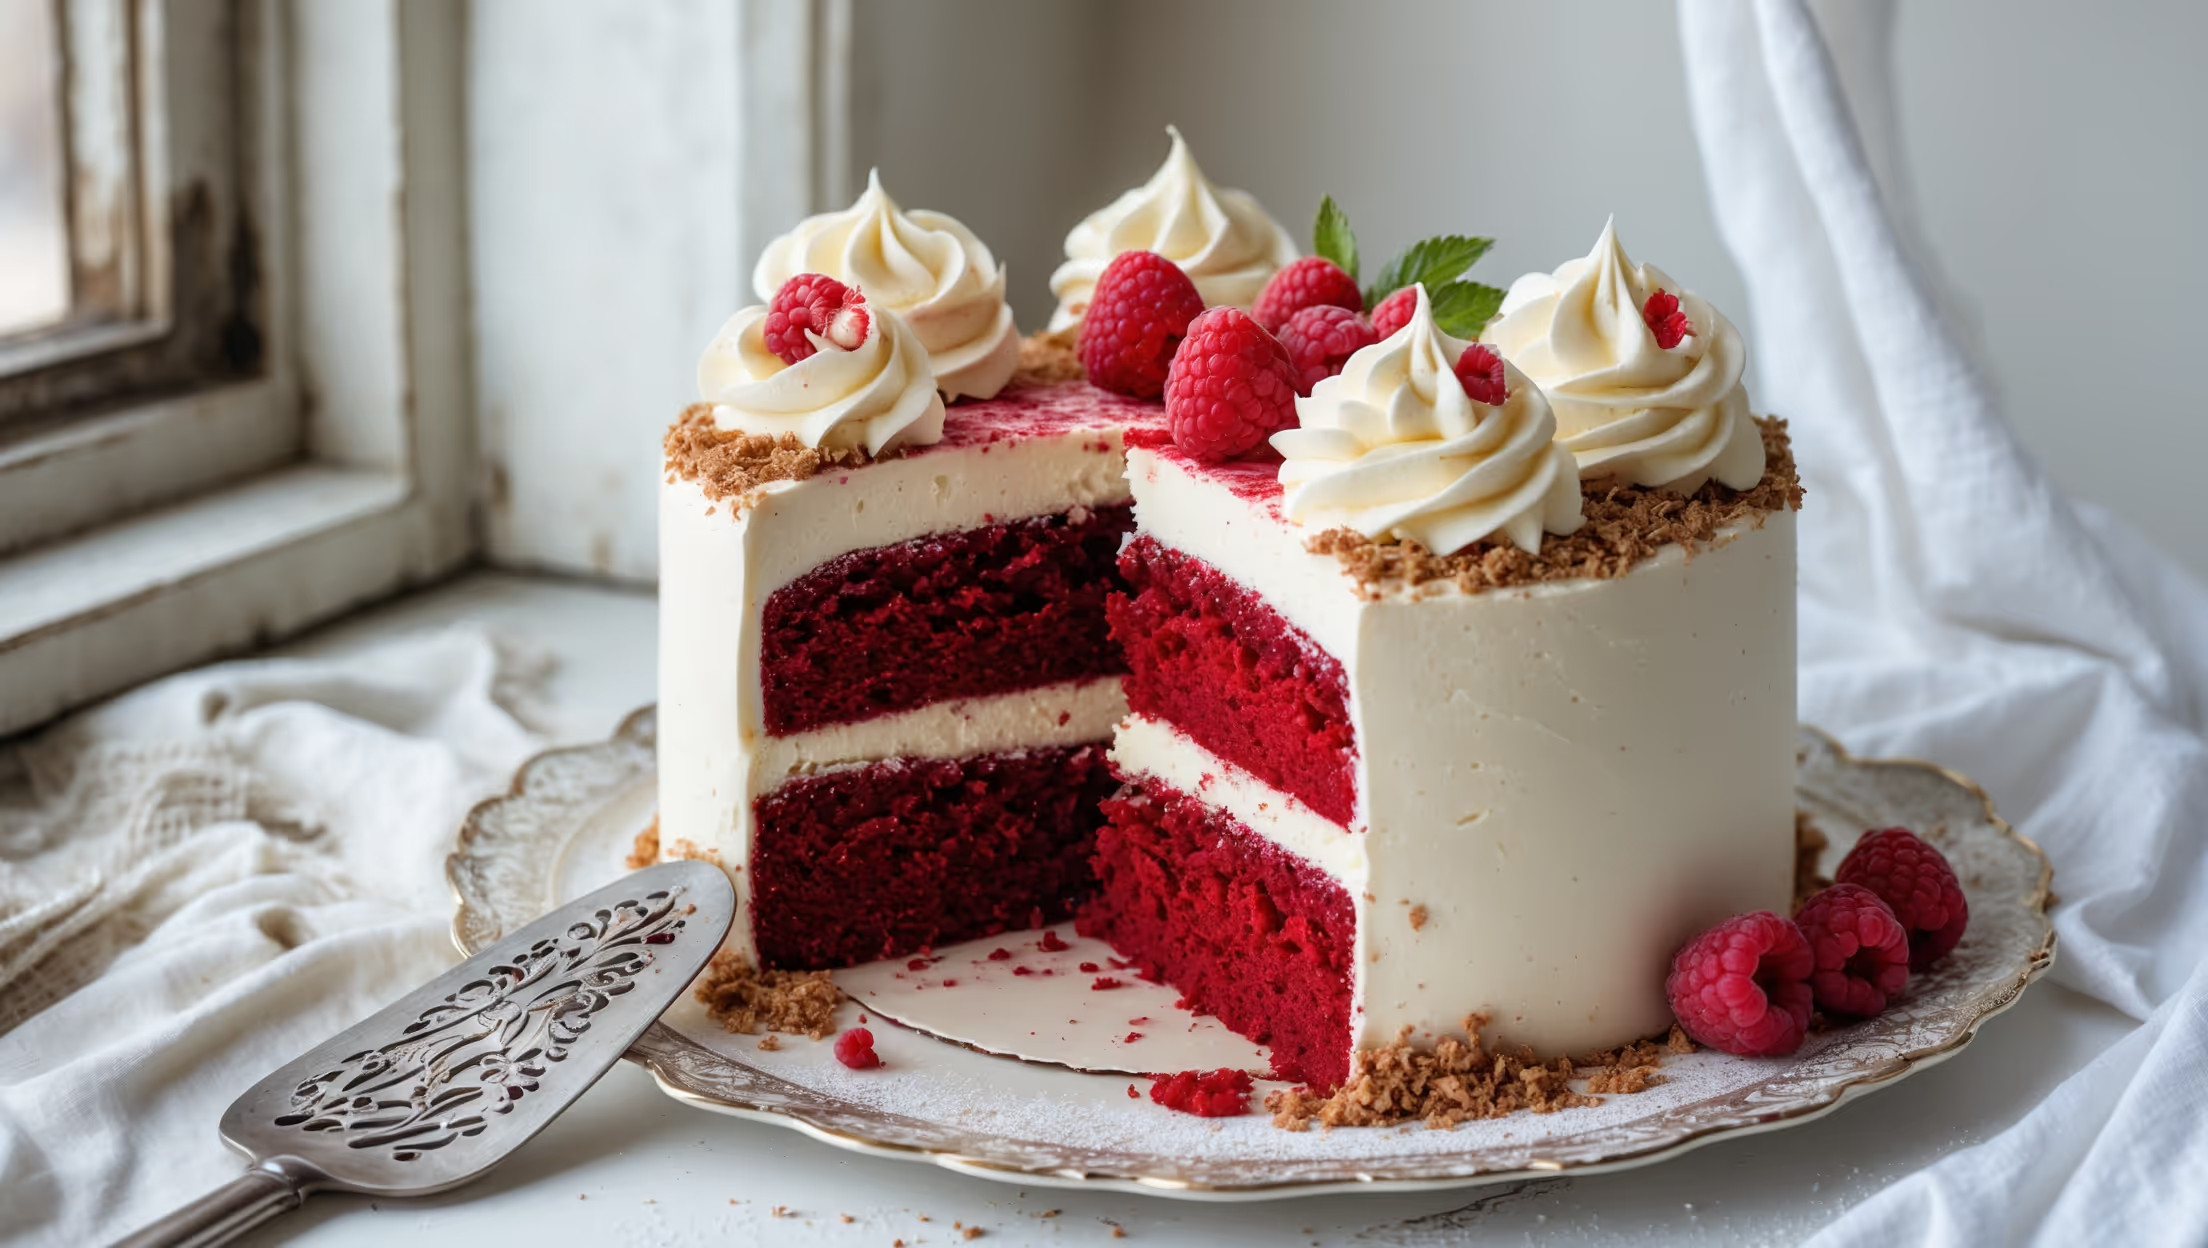
Traditional Red Velvet Layer Cake requires plain flour, cocoa powder, buttermilk, eggs, butter, sugar, red food colouring, and vinegar for the cake. The signature cream cheese frosting combines softened cream cheese, butter, icing sugar and vanilla extract.
Learn how to cook Red Velvet Layer Cake by carefully alternating dry and wet ingredients when mixing the batter, incorporating vinegar to activate the baking soda, and baking at 180°C for 23-25 minutes until a toothpick shows just a few moist crumbs. Let cool completely before applying the tangy cream cheese frosting in layers.
Vinegar serves multiple crucial purposes: it reacts with baking soda to create carbon dioxide bubbles that help the cake rise, enhances the cake's red colour by reacting with cocoa powder, and contributes to the signature tangy flavour that balances the sweetness of the frosting.
Use gel food colouring instead of liquid for intense colour with less volume, add it to the butter-sugar mixture (not the flour), ensure your cocoa powder is natural not Dutch-processed, and include the vinegar reaction. These techniques create vibrant colour while maintaining authentic flavour.
Yes! This elegant layered cake actually improves with time as flavours meld. Make it up to 2 days ahead, refrigerate completely assembled, then bring to room temperature for 30 minutes before serving. For longer storage, freeze unfrosted layers wrapped tightly for up to 2 months.
Layer Cakes
Try following recommended recipes