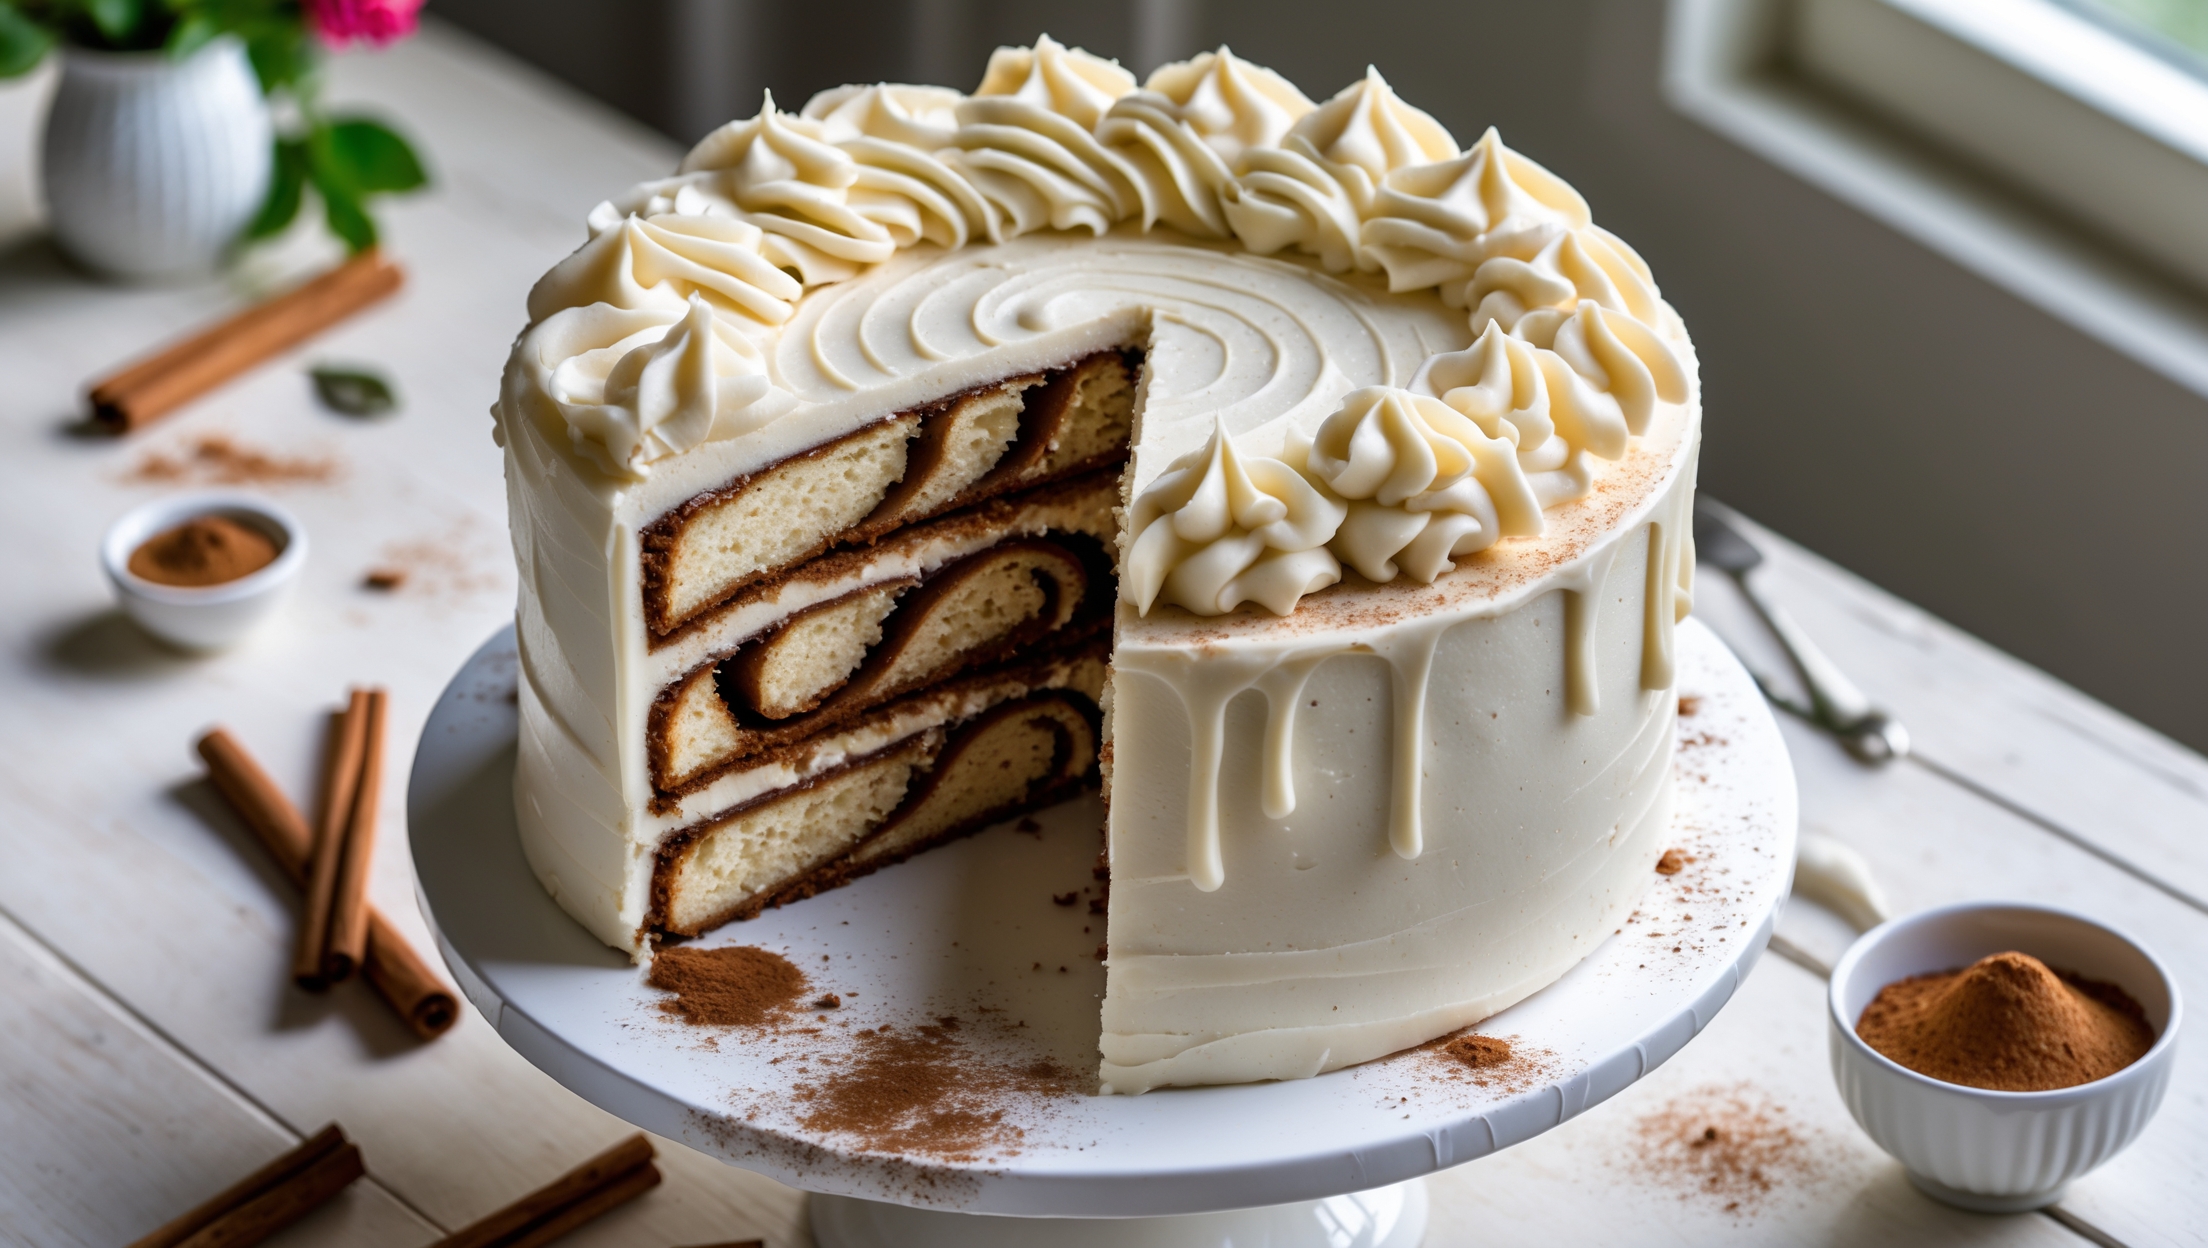
<ol class="no-list-style"><li class="MethodStepper"><h4 class="step-title">Step 1</h4>Preheat your oven to 180°C (350°F). Grease two 20cm (8-inch) round cake pans and line the bottoms with parchment paper. In a medium bowl, whisk together the flour, baking powder, and salt. Set aside.</li><li class="MethodStepper"><h4 class="step-title">Step 2</h4>In a stand mixer fitted with the paddle attachment, cream the butter and sugar on medium-high speed for 4-5 minutes until pale and fluffy. This extended creaming process incorporates air into the batter, resulting in a lighter cake texture. Scrape down the sides of the bowl occasionally.</li><li class="MethodStepper"><h4 class="step-title">Step 3</h4>Add the eggs one at a time, beating well after each addition (about 30 seconds per egg). Mix in the vanilla extract. With the mixer on low speed, add the flour mixture in three parts, alternating with the milk, beginning and ending with the flour mixture (flour-milk-flour-milk-flour). Mix just until combined after each addition, being careful not to overmix, which can develop too much gluten and result in a tough cake.</li><li class="MethodStepper"><h4 class="step-title">Step 4</h4>Divide the batter evenly between the prepared pans, smoothing the tops with an offset spatula. Bake for 30-35 minutes, or until a toothpick inserted into the center comes out clean and the cakes spring back when lightly touched. Allow the cakes to cool in the pans on a wire rack for 10 minutes, then remove from pans and cool completely on the rack.</li><li class="MethodStepper"><h4 class="step-title">Step 5</h4>While the cakes are cooling, prepare the raspberry filling. In a medium saucepan, combine the raspberries, sugar, and lemon juice. Cook over medium heat, stirring occasionally and mashing the berries slightly, until the sugar dissolves and the mixture starts to bubble, about 5 minutes. In a small bowl, whisk together the cornstarch and water to create a slurry. Stir the slurry into the raspberry mixture and cook, stirring constantly, until thickened, about 1-2 minutes. Remove from heat and transfer to a bowl. Cover with plastic wrap, pressing it directly onto the surface to prevent a skin from forming, and refrigerate until completely cool.</li><li class="MethodStepper"><h4 class="step-title">Step 6</h4>For the white chocolate buttercream, melt the white chocolate in a heatproof bowl set over a pan of simmering water (double-boiler method), stirring occasionally until smooth. Be careful not to overheat as white chocolate burns easily. Remove from heat and let cool until just warm to the touch but still fluid.</li><li class="MethodStepper"><h4 class="step-title">Step 7</h4>In a stand mixer fitted with the paddle attachment, beat the butter on medium speed until creamy and pale, about 3-4 minutes. The extended beating creates a lighter, fluffier frosting. Reduce speed to low and gradually add the powdered sugar, mixing until incorporated. Add the vanilla extract, salt, and cooled white chocolate, mixing until combined. Increase speed to medium-high and beat for 3-4 minutes until light and fluffy. Add the heavy cream one tablespoon at a time until the desired consistency is reached. The frosting should be smooth and spreadable but still hold its shape.</li><li class="MethodStepper"><h4 class="step-title">Step 8</h4>To assemble the cake, use a serrated knife to level the tops of the cakes if needed. Then, carefully slice each cake horizontally into two even layers, creating four layers total. Place the first layer on a cake board or serving plate. If using a cake turntable, this is the time to utilize it for easier frosting.</li><li class="MethodStepper"><h4 class="step-title">Step 9</h4>Pipe a ring of white chocolate buttercream around the edge of the first cake layer to create a dam that will contain the raspberry filling. This prevents the filling from seeping out. Spread about 1/3 of the raspberry filling inside the dam. Top with the second cake layer and repeat the process. Continue with the third layer, then place the final layer on top, cut-side down for a flat finish.</li><li class="MethodStepper"><h4 class="step-title">Step 10</h4>Apply a thin layer of buttercream over the entire cake to create a crumb coat, which seals in any loose crumbs. Refrigerate the cake for 20-30 minutes until the crumb coat has set. This makes the final frosting process much neater.</li><li class="MethodStepper"><h4 class="step-title">Step 11</h4>After the crumb coat has set, apply the remaining buttercream to the top and sides of the cake, creating a smooth finish with an offset spatula or bench scraper. For a more rustic look, create swirls in the frosting with the back of a spoon.</li><li class="MethodStepper"><h4 class="step-title">Step 12</h4>For the decoration, arrange fresh raspberries on top of the cake in a pattern of your choice. Sprinkle white chocolate curls around the raspberries and along the base of the cake if desired. For an elegant finish, lightly dust the top with powdered sugar just before serving.</li><li class="MethodStepper"><h4 class="step-title">Step 13</h4>For the best flavor, allow the cake to sit at room temperature for 30 minutes before serving. This cake can be stored in an airtight container in the refrigerator for up to 4 days. Bring to room temperature before serving for the most delicious taste and texture experience.</li></ol>