Raspberry Pie Recipe

A buttery, flaky crust embraces sweet-tart raspberry filling, creating a dessert that balances jammy richness with delicate pastry perfection.
Difficulty:
Intermediate
Prep Time:
45 mins
Cook Time:
50 mins
Serves:
1 pie (8 slices)
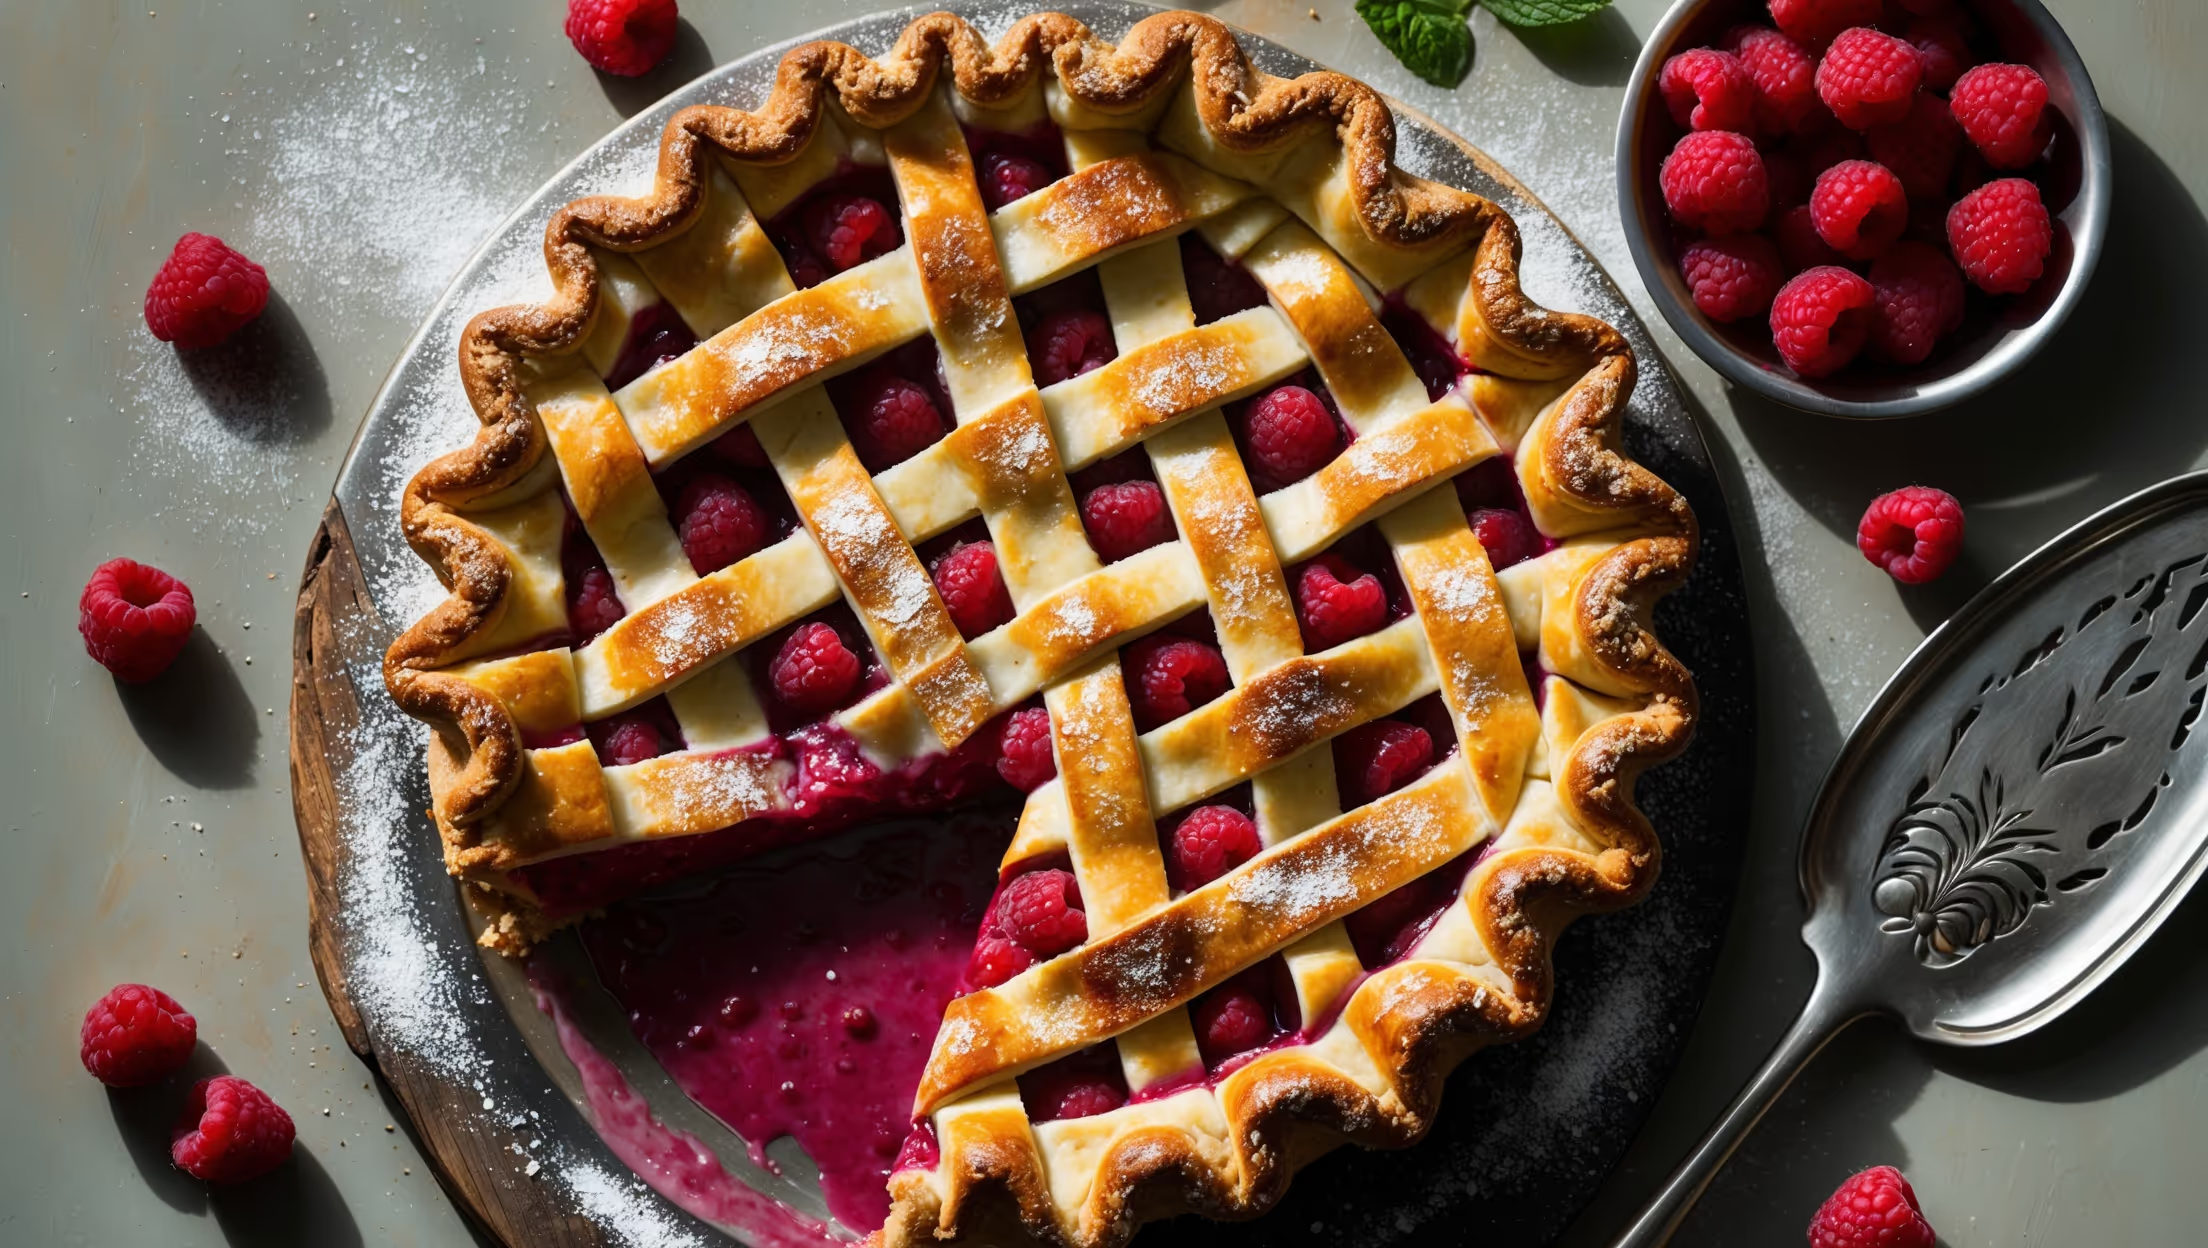
An overhead shot of a golden-brown raspberry pie with a beautifully latticed top crust, revealing glimpses of the vibrant ruby-red filling bubbling through the gaps. Soft natural light streams across the scene, highlighting the sugar-dusted pastry and caramelized edges. The pie rests on a weathered wooden board, surrounded by scattered fresh raspberries, a sprinkle of powdered sugar, and a few mint leaves. A slice has been removed, showcasing the perfect consistency of the filling – thick enough to hold its shape yet gloriously juicy, with whole berries visible throughout. A vintage silver server rests nearby, ready to dish up another portion of this classic summer dessert.

Ingredients

<ul class="ingredients-main-list"><li class="ingredients-single-item">For the crust:</li><li class="ingredients-single-item">300g all-purpose flour</li><li class="ingredients-single-item">1/2 tsp salt</li><li class="ingredients-single-item">2 tbsp granulated sugar</li><li class="ingredients-single-item">225g unsalted butter, very cold and cubed</li><li class="ingredients-single-item">120ml ice-cold water</li><li class="ingredients-single-item">1 tbsp apple cider vinegar</li><li class="ingredients-single-item">For the filling:</li><li class="ingredients-single-item">750g fresh raspberries (or frozen, thawed and drained)</li><li class="ingredients-single-item">150g granulated sugar</li><li class="ingredients-single-item">40g tapioca flour (or cornstarch)</li><li class="ingredients-single-item">2 tbsp lemon juice</li><li class="ingredients-single-item">1 tsp vanilla extract</li><li class="ingredients-single-item">1/4 tsp almond extract (optional)</li><li class="ingredients-single-item">Pinch of salt</li><li class="ingredients-single-item">For finishing:</li><li class="ingredients-single-item">1 egg, beaten with 1 tbsp water</li><li class="ingredients-single-item">2 tbsp coarse sugar for sprinkling</li></ul>

Equipment

<ul class="equipment-main-list"><li class="equipment-single-item">23cm (9-inch) pie dish</li><li class="equipment-single-item">Rolling pin</li><li class="equipment-single-item">Pastry cutter or food processor</li><li class="equipment-single-item">Pastry wheel (for lattice, optional)</li><li class="equipment-single-item">Baking sheet</li><li class="equipment-single-item">Pie shield or aluminum foil</li></ul>
BAKE SMARTER

Kitchen Converter

Quickly switch between common baking units without leaving the recipe.

Convert
Result—

Volume uses US cups, tablespoons, and teaspoons. Converting weight to volume depends on the ingredient.

Directions

<ol class="no-list-style"><li class="MethodStepper"><h4 class="step-title">Step 1</h4>Begin by preparing your pie dough. In a large bowl, whisk together the flour, salt, and sugar. Add the cold cubed butter and use a pastry cutter or food processor to cut it into the flour until you have pea-sized pieces. This creates pockets of butter that will produce flaky layers when baked.</li><li class="MethodStepper"><h4 class="step-title">Step 2</h4>Combine the ice water and apple cider vinegar (which helps inhibit gluten development for a more tender crust). Drizzle a few tablespoons at a time over the flour mixture, tossing with a fork until the dough begins to come together but isn't wet or sticky. You may not need all the water – you want just enough so the dough holds together when pinched.</li><li class="MethodStepper"><h4 class="step-title">Step 3</h4>Divide the dough into two equal portions and form each into a disk. Wrap in plastic wrap and refrigerate for at least 2 hours or overnight. This crucial resting period allows the gluten to relax and the butter to firm up, ensuring a flakier crust.</li><li class="MethodStepper"><h4 class="step-title">Step 4</h4>When ready to bake, preheat your oven to 200°C (400°F) with a rack in the lower third position and a baking sheet on the rack. For the filling, gently mix the raspberries, sugar, tapioca flour, lemon juice, vanilla extract, almond extract (if using), and salt in a large bowl. Let the mixture sit for 15 minutes to allow the berries to release some juices and the tapioca to begin absorbing moisture.</li><li class="MethodStepper"><h4 class="step-title">Step 5</h4>Roll out one disk of dough on a lightly floured surface to about 30cm (12 inches) in diameter. Transfer to your pie dish, gently pressing it into the corners without stretching. Trim the edges leaving about 2.5cm (1 inch) overhang.</li><li class="MethodStepper"><h4 class="step-title">Step 6</h4>Pour the raspberry filling into the pie shell, mounding it slightly in the center. The tapioca flour works as a thickening agent, absorbing excess moisture from the berries as they cook to prevent a runny filling.</li><li class="MethodStepper"><h4 class="step-title">Step 7</h4>Roll out the second disk of dough. You can either cover the entire pie or create a lattice top. For a lattice, cut the dough into 2.5cm (1 inch) strips and weave them over the filling. Trim and fold the bottom crust over the lattice strips, then crimp or flute the edges to seal.</li><li class="MethodStepper"><h4 class="step-title">Step 8</h4>Brush the top crust with the egg wash, which will give your pie a beautiful golden color and shine. Sprinkle with coarse sugar for a delightful crunch and sparkle. Cut a few small vents in the top if you're using a solid top crust.</li><li class="MethodStepper"><h4 class="step-title">Step 9</h4>Place the pie on the preheated baking sheet (which helps cook the bottom crust evenly) and bake for 20 minutes at 200°C (400°F). Then reduce the temperature to 180°C (350°F) and continue baking for 30-35 minutes more, until the crust is deeply golden and the filling is bubbling visibly through the vents or lattice. If the edges brown too quickly, protect them with a pie shield or strips of aluminum foil.</li><li class="MethodStepper"><h4 class="step-title">Step 10</h4>Allow the pie to cool completely on a wire rack for at least 3 hours before slicing. This cooling period is essential for the filling to set properly – cutting too soon will result in a runny pie. As it cools, the natural pectin in the raspberries along with the tapioca flour will continue to thicken the filling to the perfect consistency.</li><li class="MethodStepper"><h4 class="step-title">Step 11</h4>Serve slices at room temperature with a scoop of vanilla ice cream or lightly whipped cream. Your patience will be rewarded with clean slices that hold their shape, revealing the beautiful ruby filling studded with whole berries. The pie keeps well at room temperature for 2 days or refrigerated for up to 5 days.</li></ol>
Nutrition Facts (per serving)

🍽️ Serving Size: 1 slice
🔥 Calories: 325 calories
🥑 Fat: 14 g
🧈 Saturated Fat: 8 g
🍞 Carbohydrates: 46 g
🍭 Sugar: 22 g
🍗 Protein: 4 g
🫀 Cholesterol: 45 mg
🧂 Sodium: 180 mg

Chef’s Notes

A few helpful details for making this recipe.

Why does my raspberry pie filling turn out runny and how can I fix it?

Runny filling is often caused by insufficient thickener or not allowing the pie to cool fully. Use tapioca flour (40g per 750g berries) as it works better than cornstarch with acidic fruits. Always cool your pie completely (at least 3 hours) before slicing to allow the filling to set properly.

Can I use frozen raspberries instead of fresh ones in a pie?

Yes, frozen raspberries work brilliantly in pie recipes. Thaw them first and drain excess liquid to prevent a soggy bottom. You may need slightly more thickener (about 1-2 extra tablespoons of tapioca flour) as frozen berries typically release more moisture than fresh ones.

What's the secret to achieving a perfectly flaky pie crust?

The secrets to flaky crust are: using very cold butter cut into pea-sized pieces; adding apple cider vinegar to inhibit gluten; not overworking the dough; chilling for at least 2 hours before rolling; and baking on a preheated baking sheet to ensure the bottom crust cooks properly.

Want to try something else in ...

More recipes you might like

Keep exploring with more recipes from What's Baking.