Directions
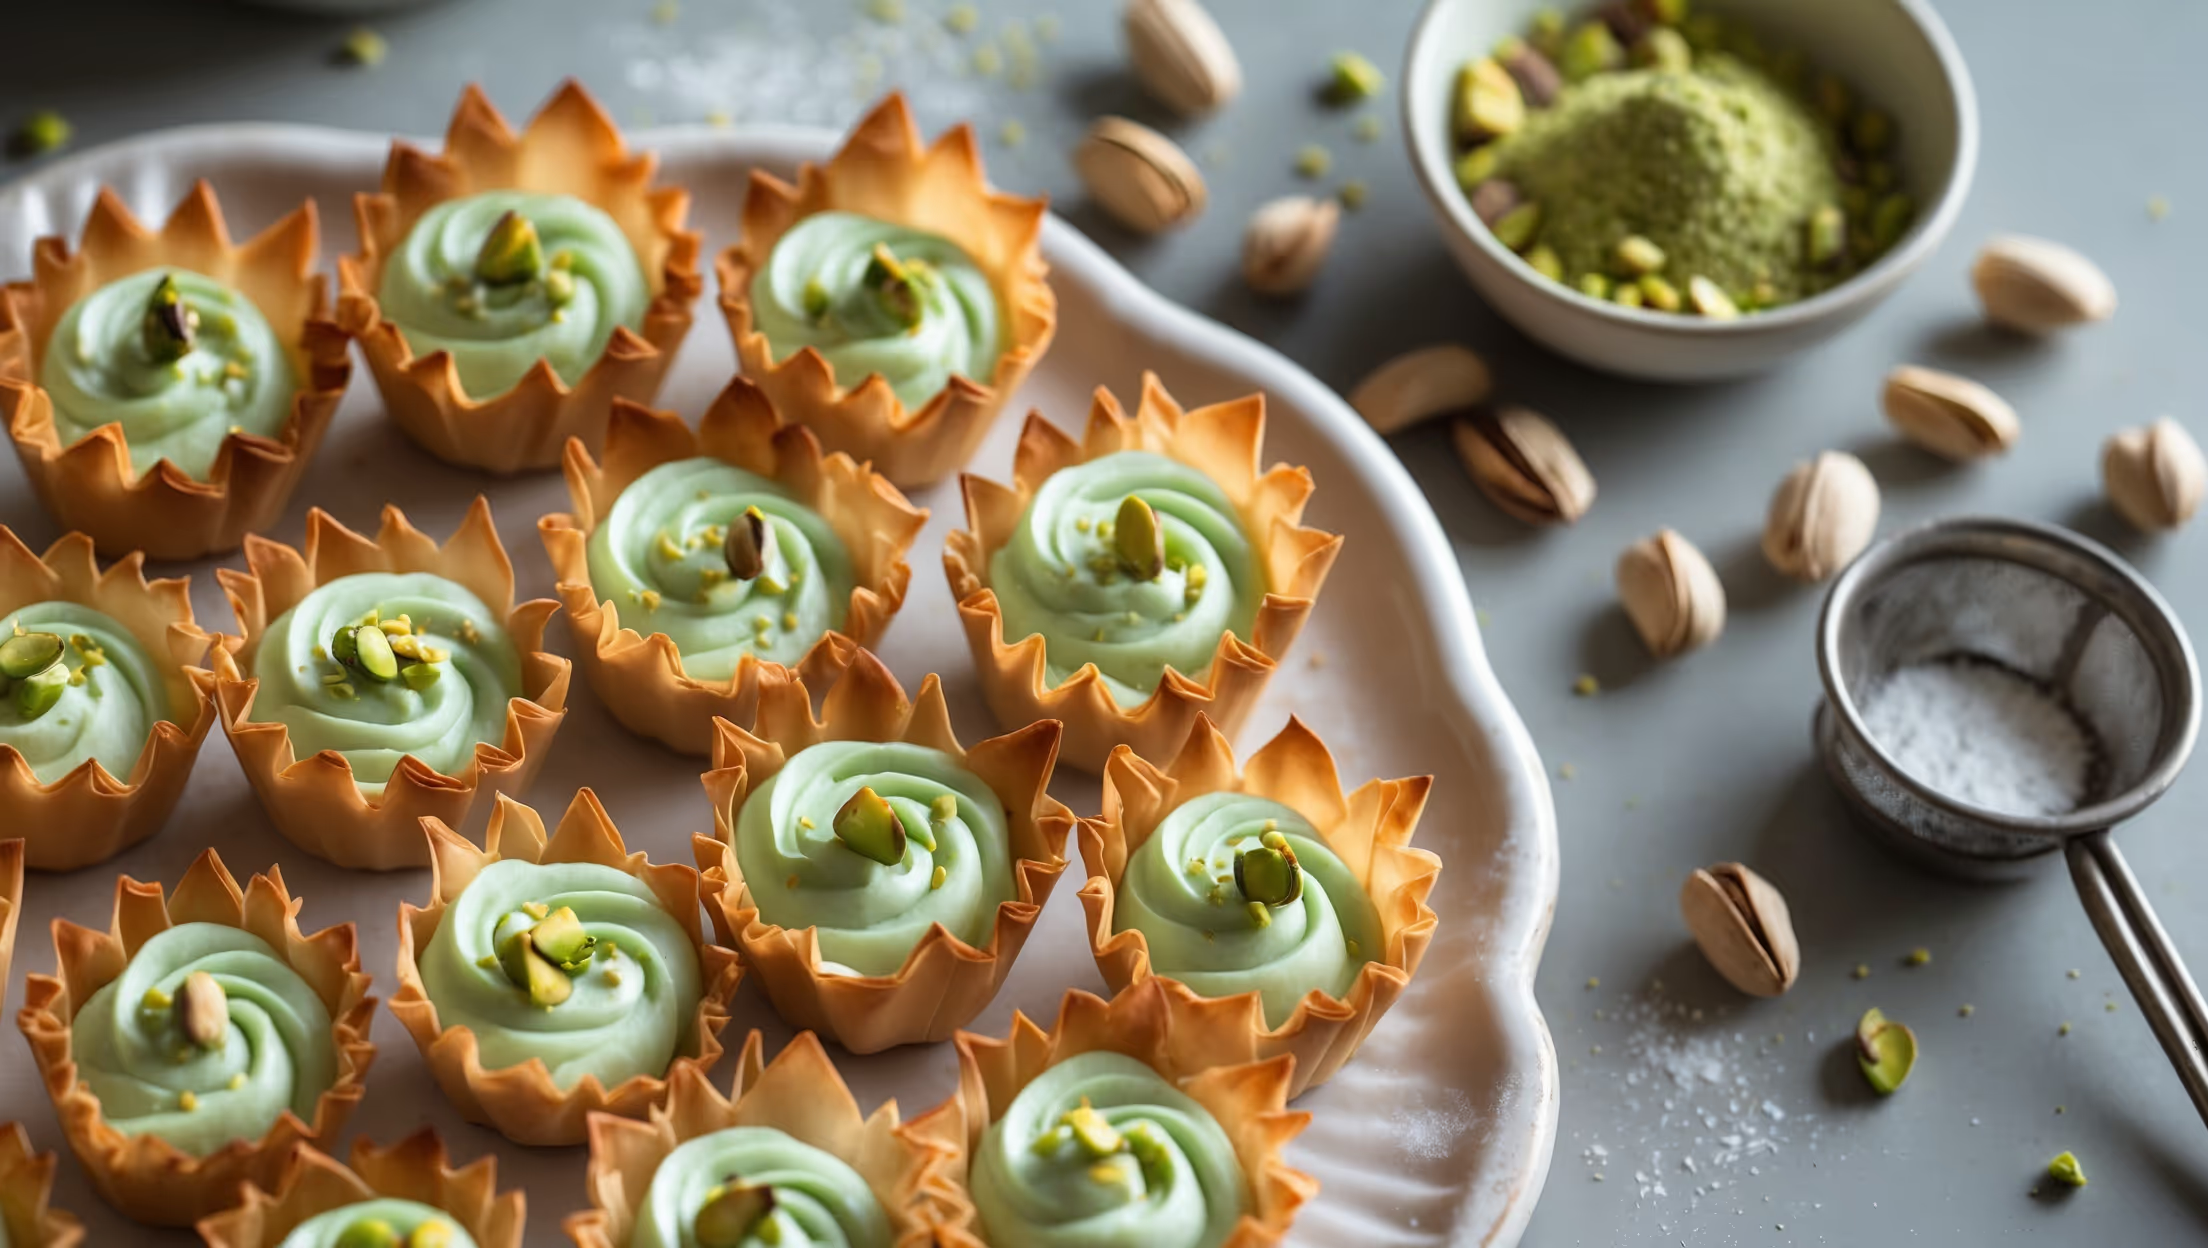
<ol class="no-list-style"><li class="MethodStepper"><h4 class="step-title">Step 1</h4>Preheat your oven to 180°C. Start by preparing your workspace for the phyllo pastry. Lay out a clean tea towel and cover it with cling film, then place another tea towel nearby. Phyllo dries out incredibly quickly, so you'll keep unused sheets covered with the second towel while you work.</li><li class="MethodStepper"><h4 class="step-title">Step 2</h4>Carefully unroll the phyllo pastry onto your prepared surface. Working quickly, place one sheet on your work surface and brush lightly with melted butter. The key is a thin, even coating - too much butter will make the pastry greasy rather than crisp. Place another sheet directly on top and brush with butter again. Continue until you have a stack of 4 buttered sheets.</li><li class="MethodStepper"><h4 class="step-title">Step 3</h4>Using a sharp knife or pizza cutter, cut the phyllo stack into 12 equal squares. Gently press each square into the cups of your mini muffin tin, creating little cups with ruffled edges. Don't worry if they're not perfect - the rustic look adds to their charm! Repeat the entire process with the remaining 4 sheets to make 24 cups total.</li><li class="MethodStepper"><h4 class="step-title">Step 4</h4>Bake the phyllo cups for 10-12 minutes until they're golden brown and crisp. Watch them carefully as they can go from perfectly golden to burnt very quickly. The multiple layers of buttered phyllo will create a wonderfully flaky texture as they bake. Once done, remove from the oven and let cool completely in the tin before carefully removing to a wire rack.</li><li class="MethodStepper"><h4 class="step-title">Step 5</h4>For the pistachio cream, first toast 150g of pistachios in a dry pan over medium heat for 3-4 minutes until fragrant, shaking the pan frequently to prevent burning. This intensifies their flavor dramatically. Let them cool completely before proceeding.</li><li class="MethodStepper"><h4 class="step-title">Step 6</h4>Place the cooled pistachios in a food processor and pulse until very finely ground, stopping before they turn into butter. The texture should be similar to wet sand. If some larger pieces remain, that's fine - they'll add a pleasant texture to your cream.</li><li class="MethodStepper"><h4 class="step-title">Step 7</h4>In a mixing bowl, combine the mascarpone cheese and melted white chocolate. The chocolate helps stabilize the cream while adding richness. Beat with an electric mixer until smooth. Add the ground pistachios, powdered sugar, vanilla extract, almond extract (if using), and salt. Mix until well combined.</li><li class="MethodStepper"><h4 class="step-title">Step 8</h4>In a separate bowl, whip the heavy cream to soft peaks. Using a rubber spatula, gently fold the whipped cream into the pistachio mixture in two additions. This folding technique preserves the air in the whipped cream, resulting in a lighter, fluffier filling. Refrigerate for at least 1 hour to firm up before filling the cups.</li><li class="MethodStepper"><h4 class="step-title">Step 9</h4>When ready to serve, transfer the pistachio cream to a piping bag fitted with a star tip (or simply snip the corner off a plastic bag). Pipe the cream into each phyllo cup, creating an elegant swirl. Garnish with chopped pistachios and perhaps a light dusting of powdered sugar if desired. The cups are best served the same day they're filled to maintain maximum crispness, but can be assembled up to 2 hours before serving.</li></ol>