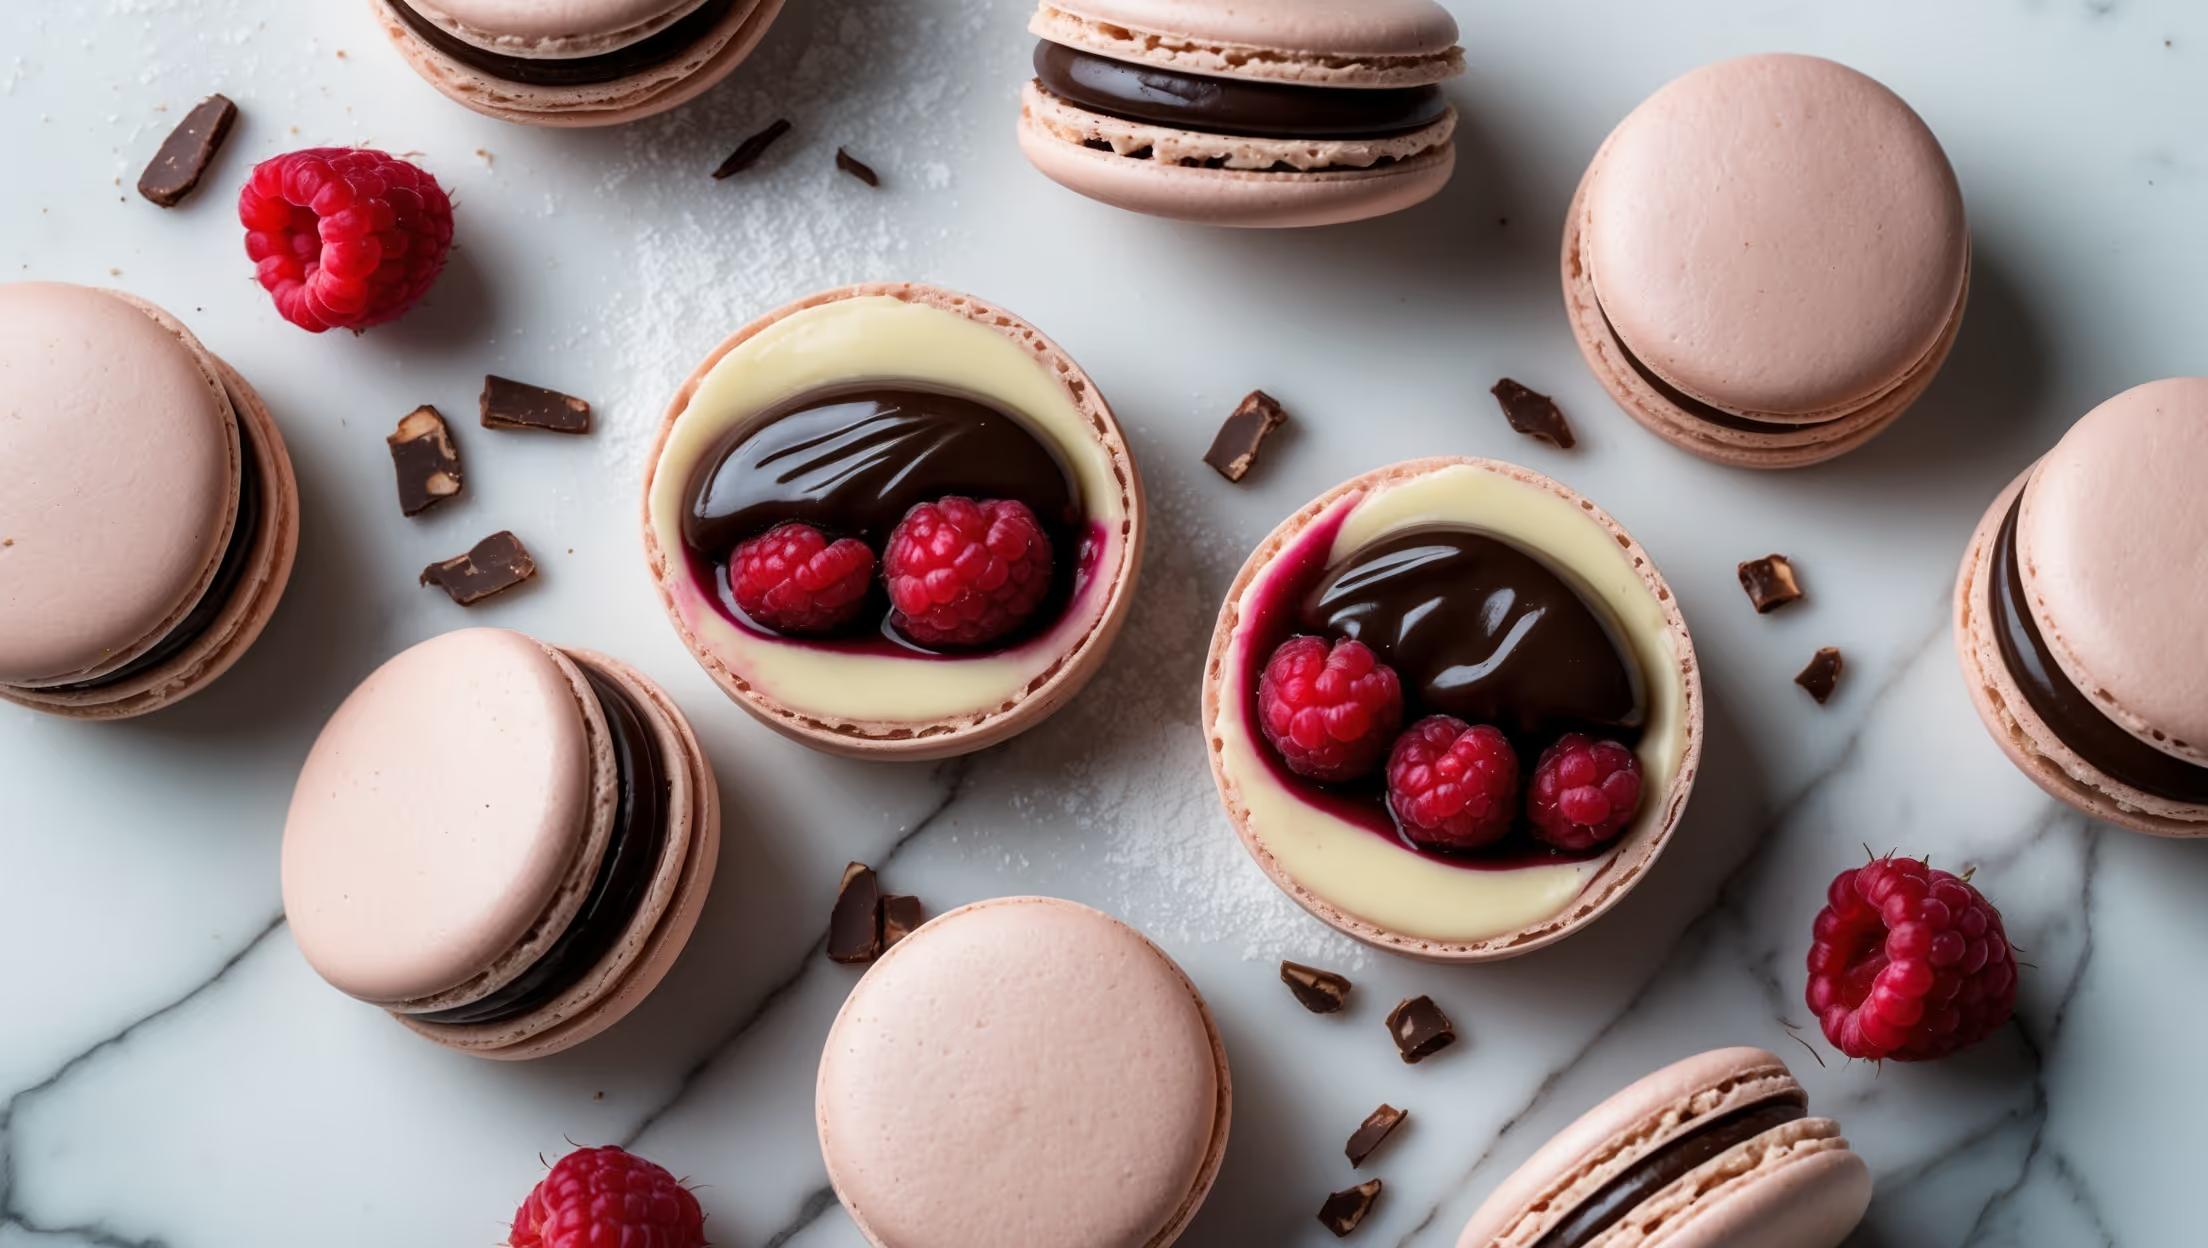
Directions
<ol class="no-list-style"><li class="MethodStepper"><h4 class="step-title">Step 1</h4>Begin by preparing your baking sheets. Line two baking sheets with silicone mats or parchment paper. If using parchment, you can draw 3.5cm circles as piping guides, then flip the paper so the ink is facing down but still visible. Set these aside while you prepare your batter.</li><li class="MethodStepper"><h4 class="step-title">Step 2</h4>Sift the almond flour and confectioners' sugar together through a fine mesh sieve into a large bowl, discarding any large pieces that don't pass through. This crucial step eliminates lumps that would create bumpy shells and compromised structure. Sift twice for best results.</li><li class="MethodStepper"><h4 class="step-title">Step 3</h4>In the bowl of your stand mixer fitted with the whisk attachment, combine room temperature egg whites, cream of tartar, and a pinch of salt. The cream of tartar stabilizes the egg whites, helping create a stronger meringue that won't deflate easily. Begin whisking on medium speed until frothy.</li><li class="MethodStepper"><h4 class="step-title">Step 4</h4>Gradually add the granulated sugar, about one tablespoon at a time, while continuing to whisk. Once all sugar is incorporated, increase to medium-high speed and whisk until stiff peaks form. The meringue should be glossy and when you turn the whisk upside down, the peak should stand straight up with just the very tip folding over. Add vanilla extract in the final moments of whisking.</li><li class="MethodStepper"><h4 class="step-title">Step 5</h4>Add the sifted dry ingredients to the meringue in three additions, gently folding after each addition with a flexible silicone spatula. Use a circular motion, scraping around the bowl and through the middle. The correct consistency, called "macaronage," is when the batter flows like lava - when raised with the spatula, it should fall in ribbons that disappear back into the mass within about 20-30 seconds. Too thick will result in pointy tops; too thin will cause spreading shells without feet.</li><li class="MethodStepper"><h4 class="step-title">Step 6</h4>Transfer the batter into a piping bag fitted with a round tip. Pipe 3.5cm rounds onto your prepared baking sheets, holding the piping bag perpendicular to the sheet about 1cm above the surface. Once all circles are piped, firmly tap the baking sheets against the counter 3-4 times to release air bubbles that would otherwise crack your shells during baking.</li><li class="MethodStepper"><h4 class="step-title">Step 7</h4>Allow the piped macaron shells to rest at room temperature for 30-60 minutes until they develop a skin - when touched gently with your finger, they should feel dry and no batter should stick to your finger. This resting period is essential for developing the characteristic "feet" at the base of each macaron.</li><li class="MethodStepper"><h4 class="step-title">Step 8</h4>While the shells are resting, preheat your oven to 150°C. When ready, bake one sheet at a time in the middle rack for 15-17 minutes. The shells should rise slightly with visible feet and not be wobbly when gently touched. If your oven heats unevenly, rotate the sheet halfway through baking.</li><li class="MethodStepper"><h4 class="step-title">Step 9</h4>Allow the baked shells to cool completely on the baking sheets before attempting to remove them. Removing warm shells can result in sticking and broken macarons. Meanwhile, prepare your peanut butter filling.</li><li class="MethodStepper"><h4 class="step-title">Step 10</h4>For the peanut butter buttercream, beat the softened butter in a stand mixer with paddle attachment until light and creamy, about 2-3 minutes. Add the peanut butter and beat until fully incorporated and fluffy. The emulsion of fats at this stage creates the silky texture that makes this filling special.</li><li class="MethodStepper"><h4 class="step-title">Step 11</h4>Gradually add the confectioners' sugar, salt, and heavy cream, beating on low speed initially to prevent a sugar cloud, then increasing to medium-high for 2-3 minutes until light and fluffy. The filling should hold its shape when piped but be soft enough to bite through easily when the macarons are assembled.</li><li class="MethodStepper"><h4 class="step-title">Step 12</h4>Match macaron shells of similar size into pairs. Pipe a generous dollop of peanut butter filling onto the flat side of one shell from each pair, then sandwich with the matching shell, gently pressing just until the filling reaches the edges.</li><li class="MethodStepper"><h4 class="step-title">Step 13</h4>Place the filled macarons in an airtight container and refrigerate for at least 24 hours before serving. This "maturation" period allows the flavors to meld and the shells to soften slightly from the moisture in the filling, creating that perfect chewy texture. Bring to room temperature for 30 minutes before serving for the best flavor experience.</li></ol>