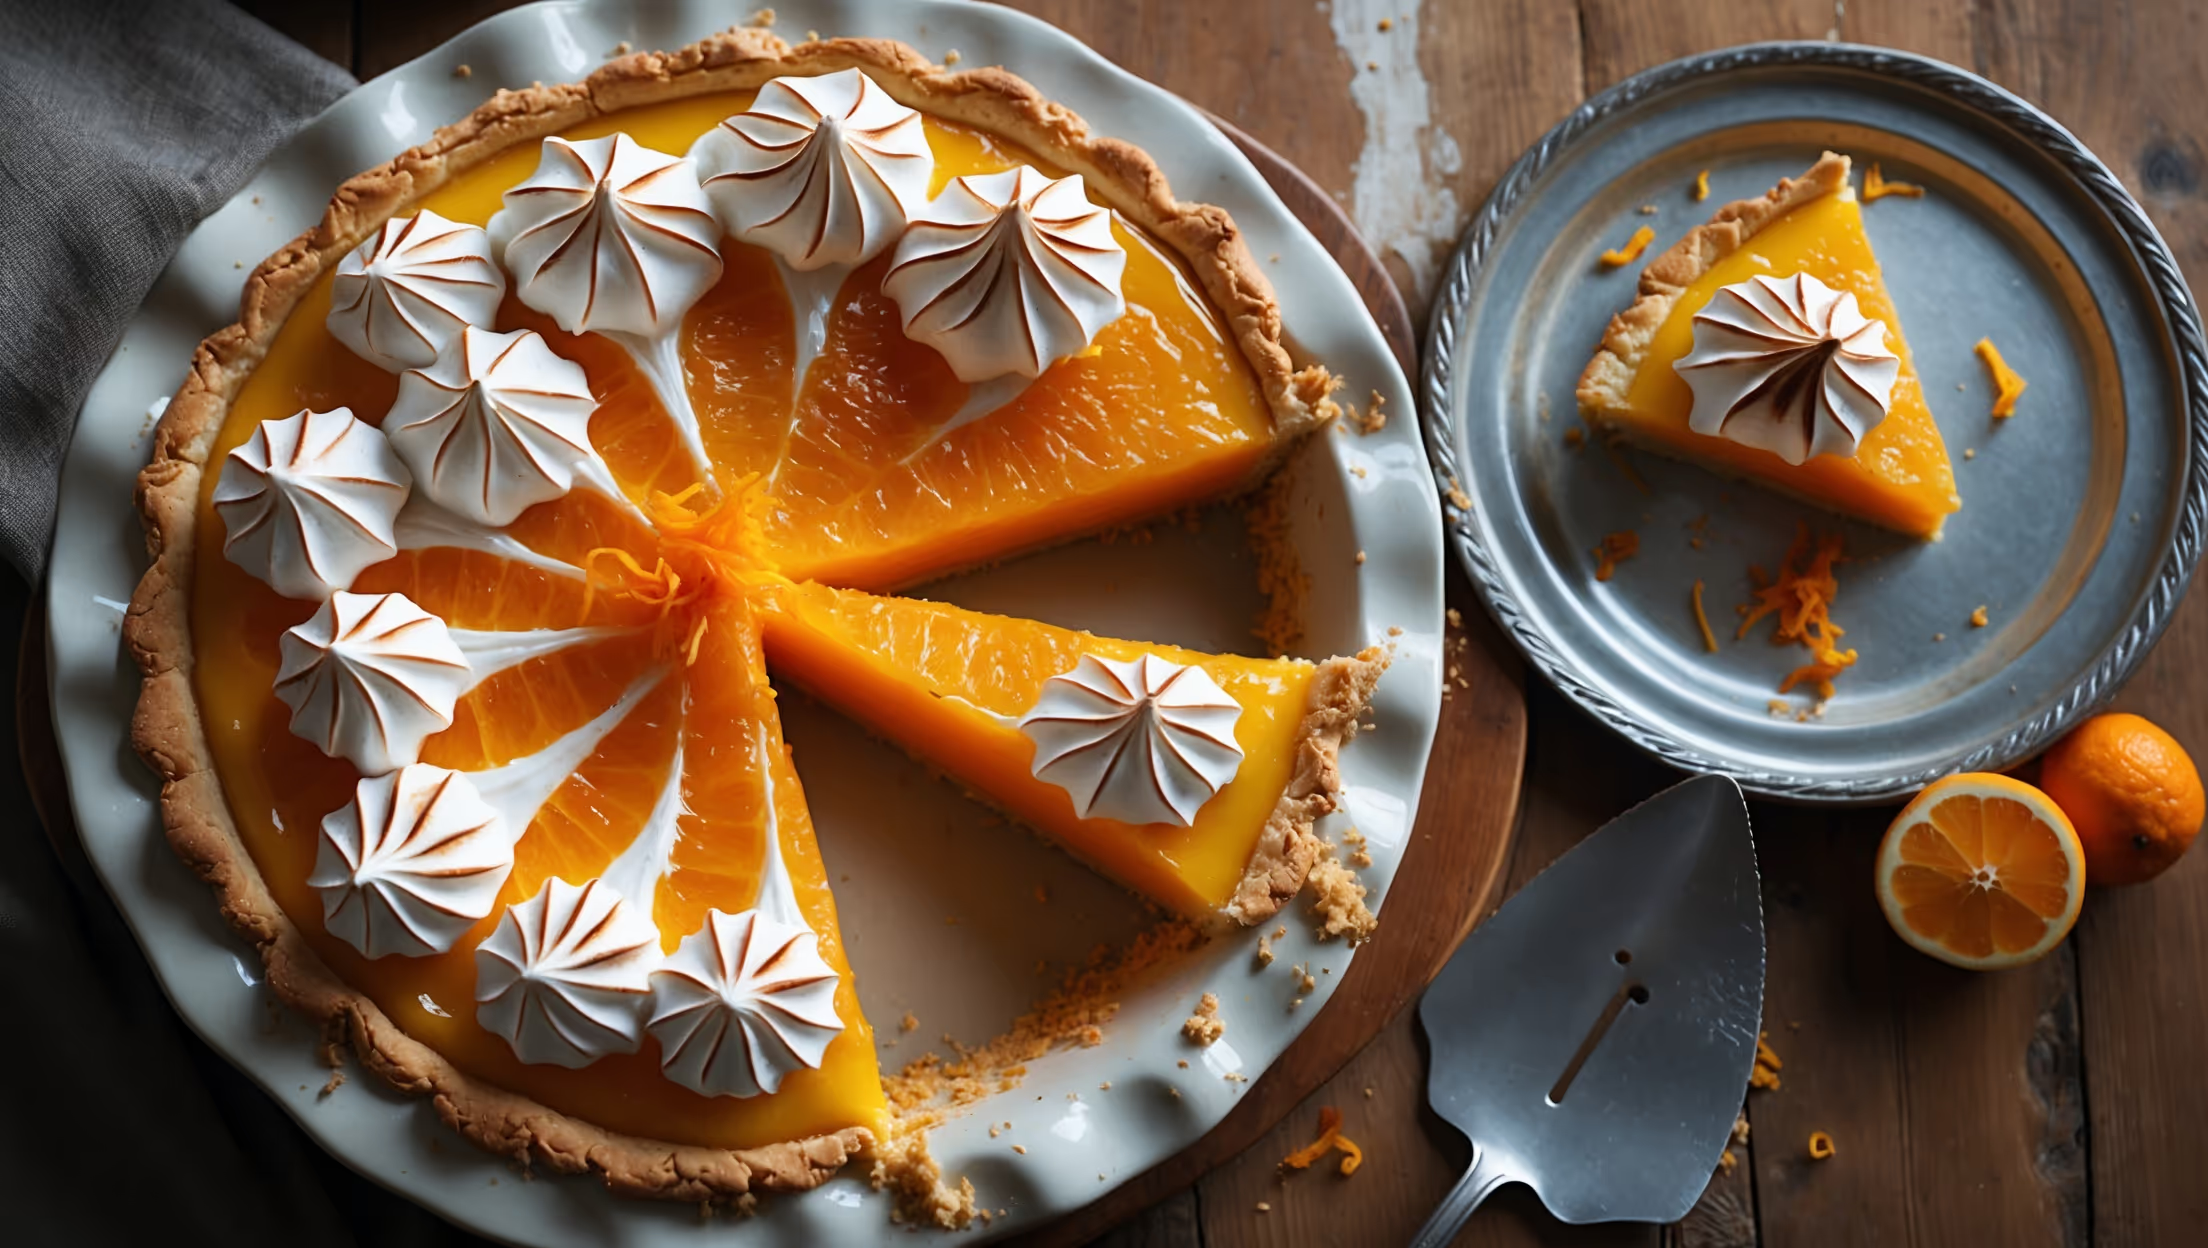
Directions
<ol class="no-list-style"><li class="MethodStepper"><h4 class="step-title">Step 1</h4>Begin by making the pastry. Sift the flour into a large bowl, add the cold cubed butter and rub together with your fingertips until the mixture resembles breadcrumbs. The cooler your hands, the better the pastry – cold butter creates steam pockets during baking, resulting in flaky layers.</li><li class="MethodStepper"><h4 class="step-title">Step 2</h4>Stir in the icing sugar, then add the egg yolk and enough cold water to bring the dough together. Form into a disc, wrap in cling film and chill for at least 30 minutes. This resting period allows the gluten to relax, preventing shrinkage when baking.</li><li class="MethodStepper"><h4 class="step-title">Step 3</h4>Preheat your oven to 180°C (160°C fan/350°F). Roll out the pastry on a lightly floured surface to about 3mm thickness, then use it to line your tart tin. Trim any excess, leaving a slight overhang to account for shrinkage. Prick the base with a fork, line with baking parchment, fill with baking beans and blind bake for 15 minutes.</li><li class="MethodStepper"><h4 class="step-title">Step 4</h4>Remove the baking beans and parchment, then return to the oven for another 5-7 minutes until the pastry is golden and crisp. The base should look dry and feel firm to the touch. Trim any remaining overhang with a sharp knife and set aside to cool slightly. Reduce the oven temperature to 170°C (150°C fan/325°F).</li><li class="MethodStepper"><h4 class="step-title">Step 5</h4>For the orange filling, mix the cornflour, sugar and orange zest in a medium saucepan. Gradually whisk in the orange juice until smooth. Heat gently, stirring constantly until the mixture thickens – it should coat the back of a wooden spoon. This gradual heating prevents lumps from forming.</li><li class="MethodStepper"><h4 class="step-title">Step 6</h4>Remove from the heat and whisk a small amount of the hot mixture into the egg yolks to temper them (preventing them from scrambling), then whisk the yolk mixture back into the pan. Return to a gentle heat and cook for 2 minutes, stirring continuously until thick and glossy. The mixture needs to reach at least 75°C to properly thicken and be food-safe.</li><li class="MethodStepper"><h4 class="step-title">Step 7</h4>Remove from heat and stir in the butter until melted and incorporated. Pour the filling into the pastry case, smoothing the surface with a spatula. The hot filling will help create a seal with the pastry, preventing a soggy bottom.</li><li class="MethodStepper"><h4 class="step-title">Step 8</h4>For the meringue, whisk the egg whites in a clean, grease-free bowl until they form soft peaks. Any trace of fat will prevent the whites from whipping properly. Gradually add the sugar, a tablespoon at a time, whisking well between each addition until the meringue is thick and glossy with stiff peaks.</li><li class="MethodStepper"><h4 class="step-title">Step 9</h4>Whisk in the cornflour and vinegar – these act as stabilizers, helping to prevent the meringue from weeping or shrinking. Spoon or pipe the meringue onto the still-warm filling, starting from the edge and working inward to create a seal with the pastry (this prevents shrinkage). Make sure the meringue covers the filling completely to the edges.</li><li class="MethodStepper"><h4 class="step-title">Step 10</h4>Create decorative peaks with the back of a spoon or a palette knife. Bake for 15-18 minutes until the meringue is lightly golden. Keep a close eye on it – you want color without burning. The slight browning occurs as the sugar caramelizes, adding flavor and visual appeal.</li><li class="MethodStepper"><h4 class="step-title">Step 11</h4>Allow the pie to cool completely before slicing – at least 2 hours or ideally 4 hours. This cooling time is crucial as it allows the filling to set properly. Use a knife dipped in hot water and wiped clean between cuts for neat slices. Serve the same day for the best texture and flavor contrast between the crisp pastry, tangy filling, and fluffy meringue.</li></ol>