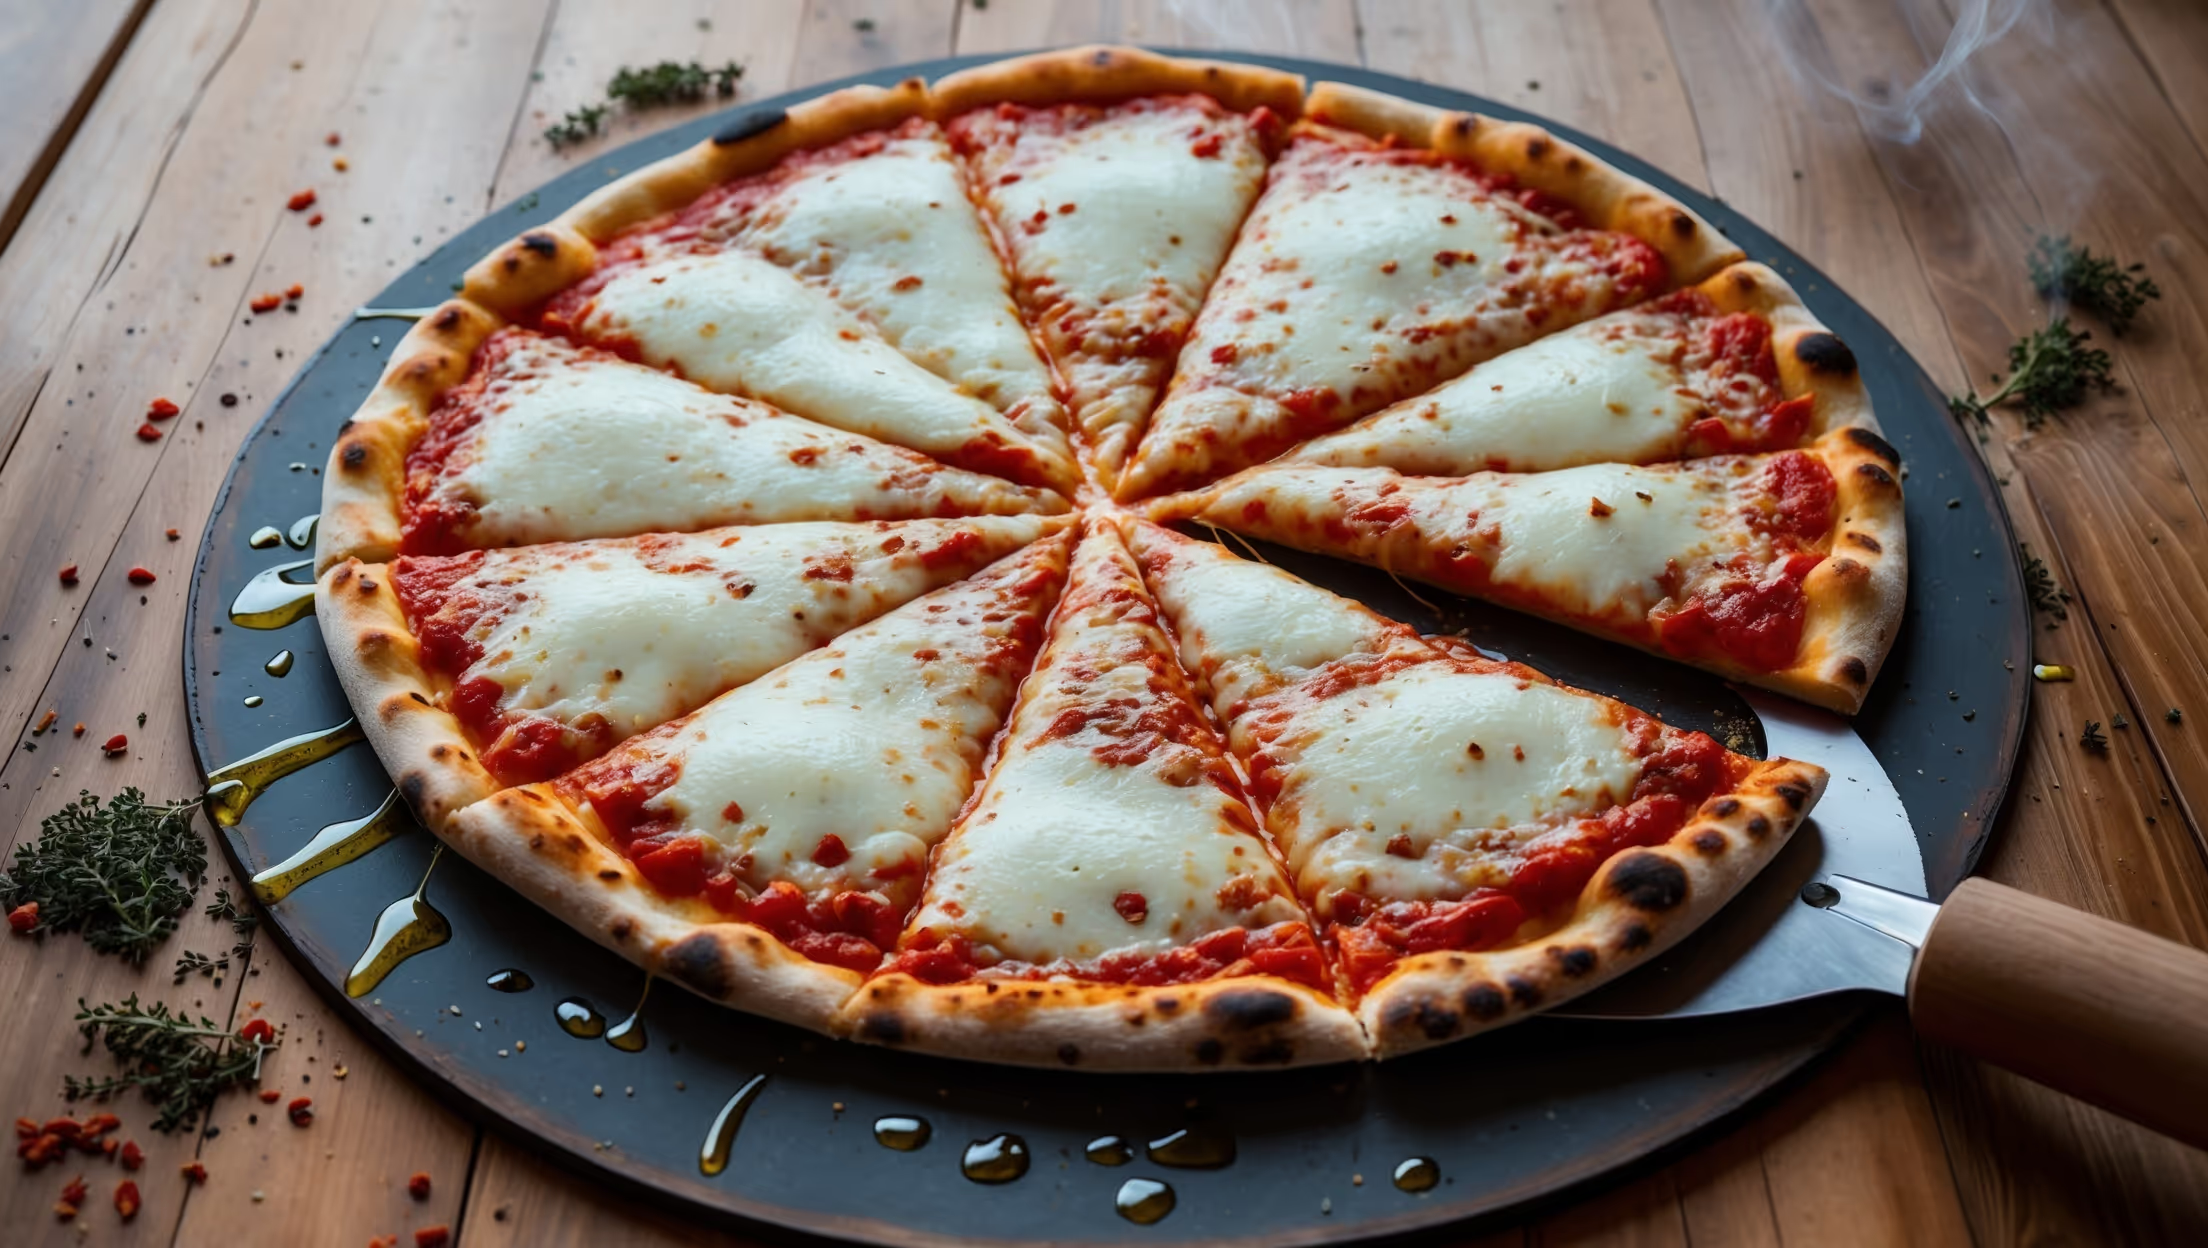
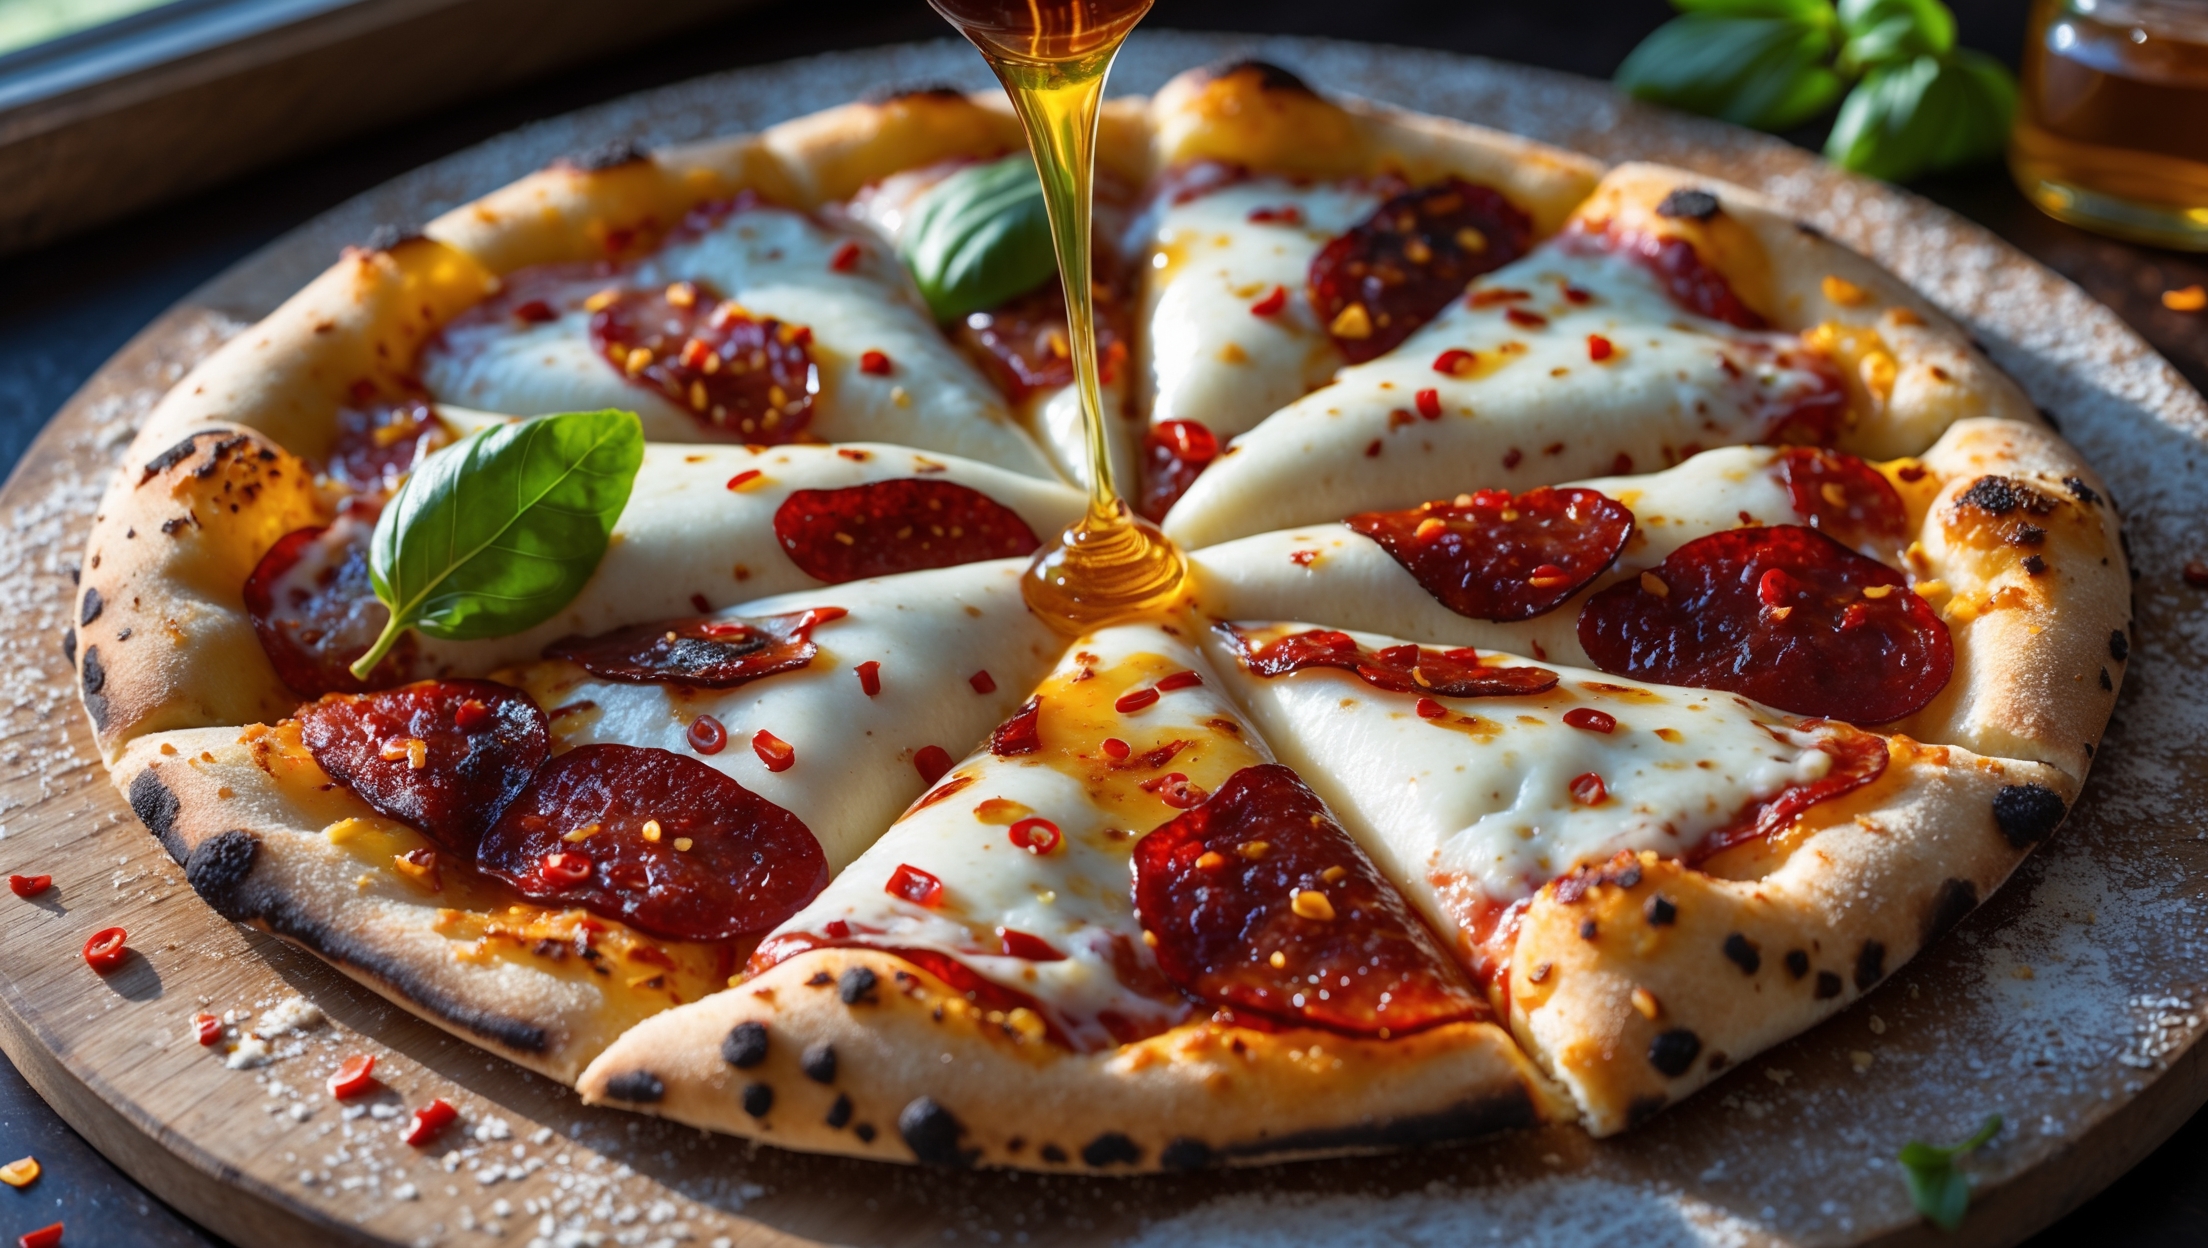
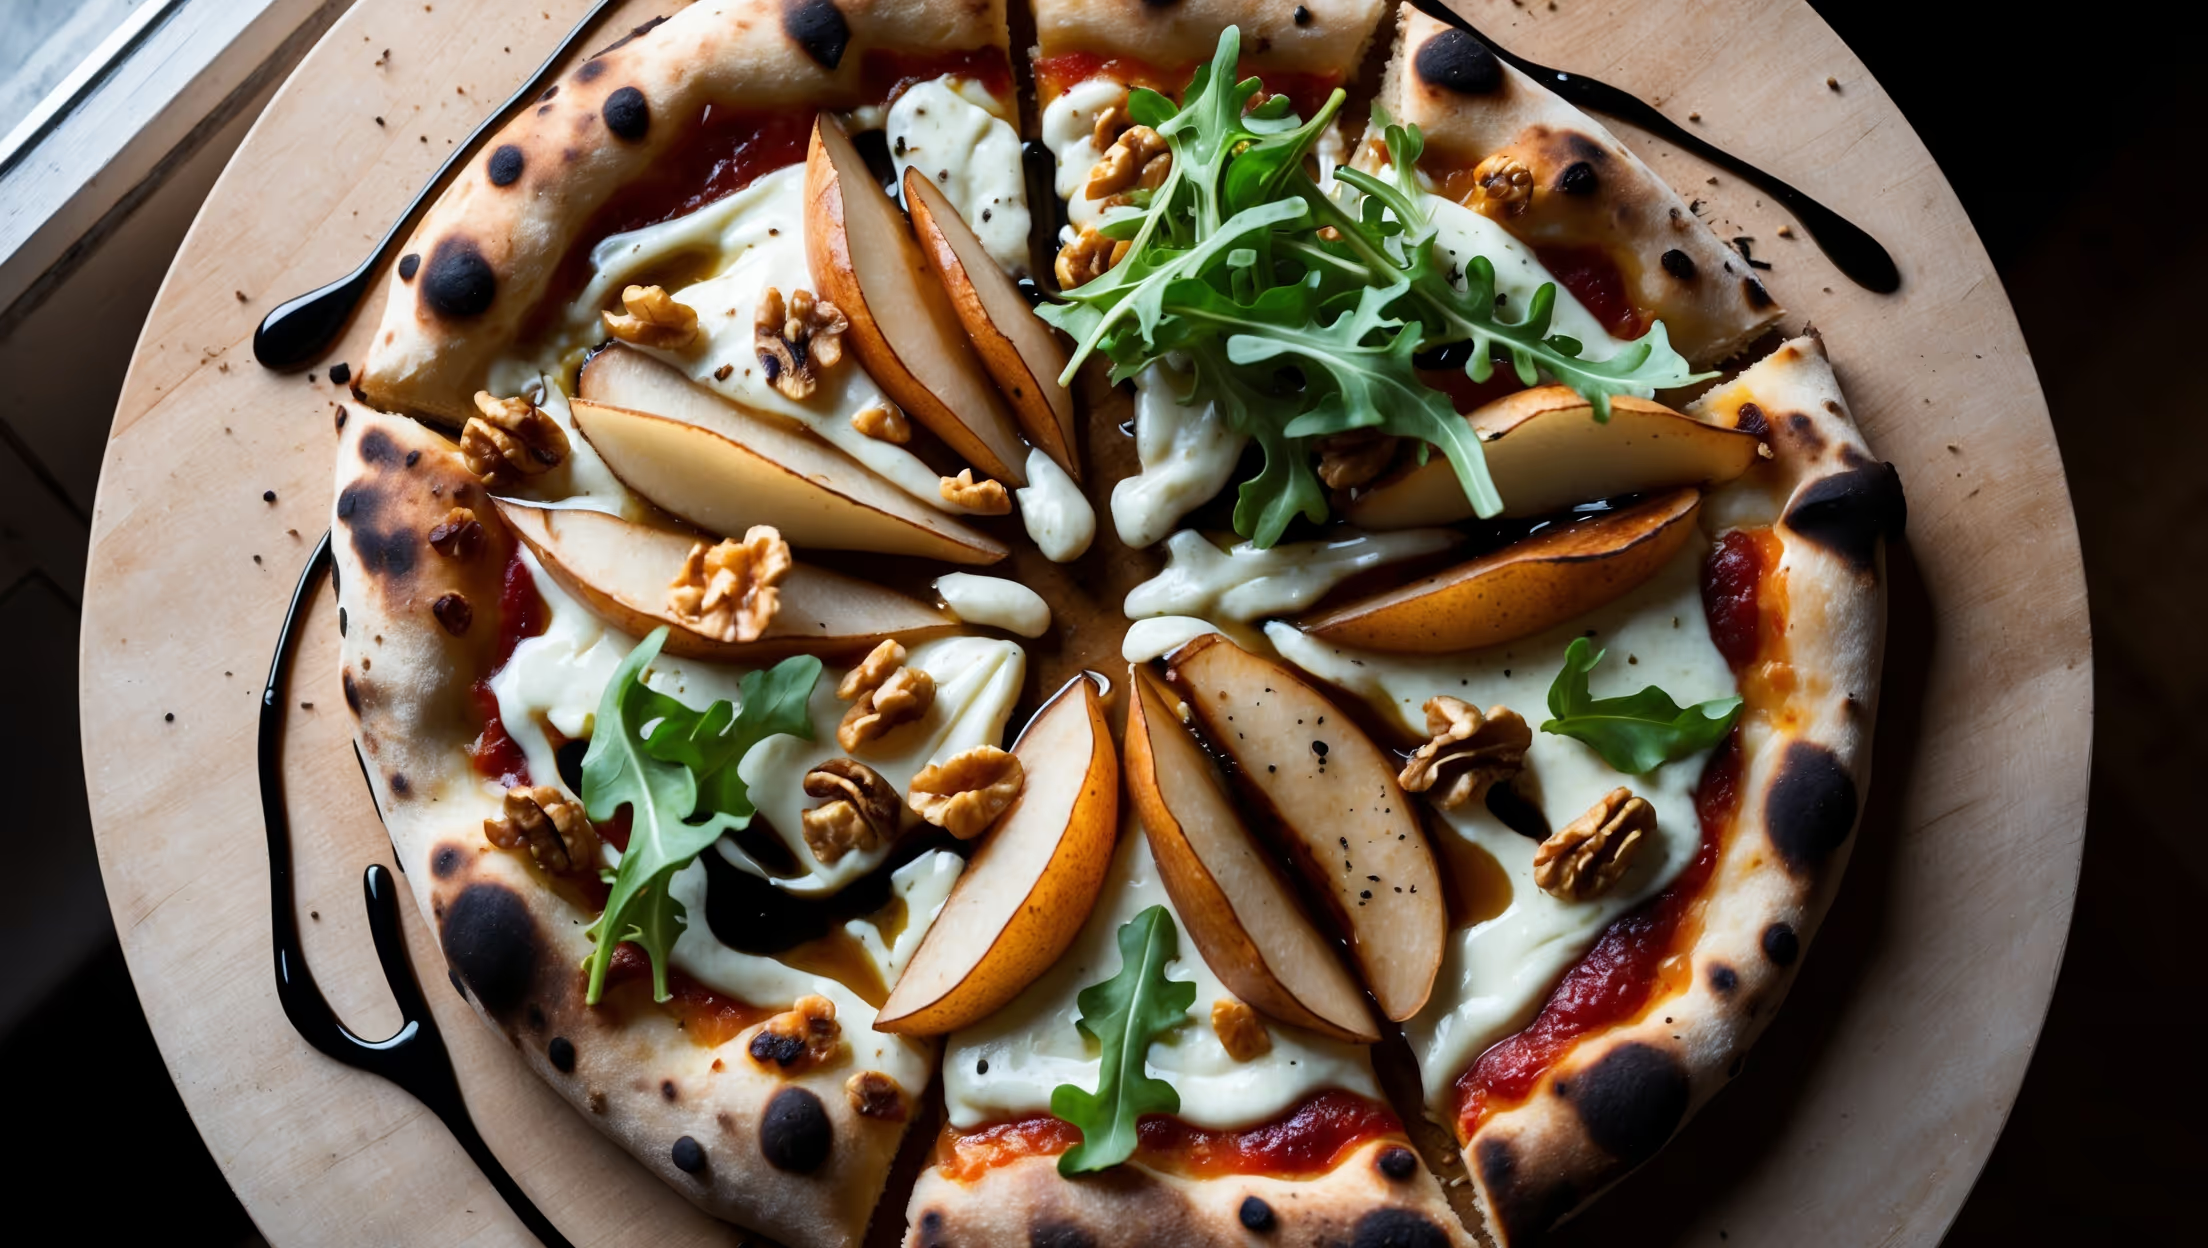
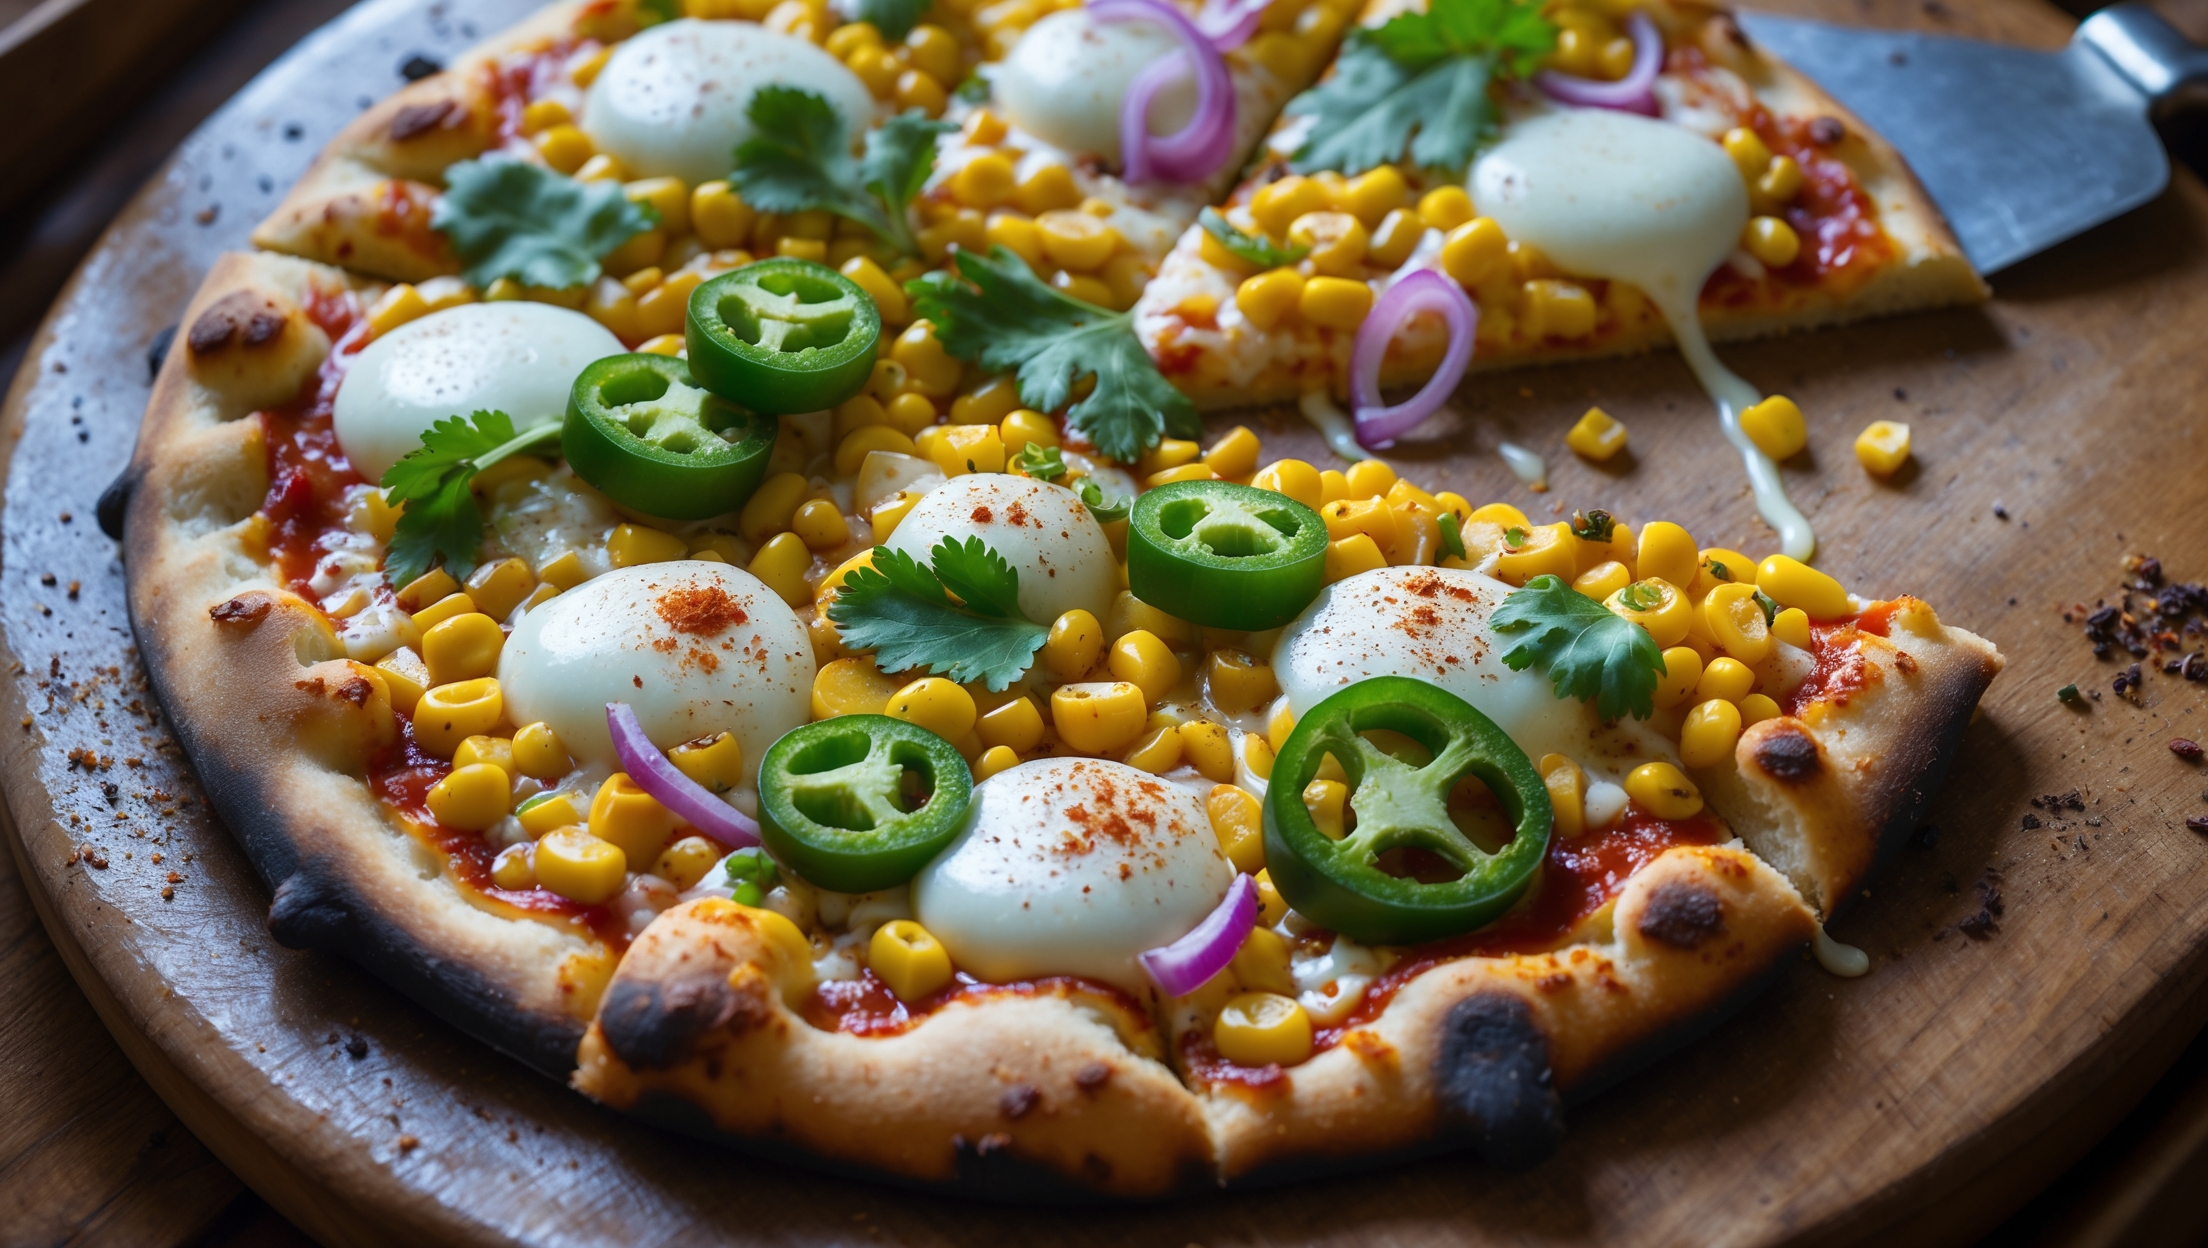
Directions
<ol class="no-list-style"> <li class="MethodStepper"> <h4 class="step-title">Step 1</h4> In a large bowl, whisk together the flour, salt, sugar, and yeast. Slowly add the cold water and olive oil while mixing with a wooden spoon or your hands until a shaggy dough forms. Using cold water slows down fermentation, allowing more flavor to develop during the long rise. </li> <li class="MethodStepper"> <h4 class="step-title">Step 2</h4> Transfer the dough to a clean work surface and knead for 8-10 minutes until smooth and elastic. The dough should spring back when poked but still feel slightly tacky. This kneading develops the gluten structure that gives NY pizza its characteristic chew and fold. </li> <li class="MethodStepper"> <h4 class="step-title">Step 3</h4> Divide the dough into two equal pieces (about 425g each). Shape each piece into a tight ball by pulling the edges underneath, creating surface tension. Place each ball into a lightly oiled container and coat the dough with a thin layer of olive oil to prevent drying out. </li> <li class="MethodStepper"> <h4 class="step-title">Step 4</h4> Cover the containers and refrigerate for at least 24 hours, preferably 48-72 hours. This cold fermentation allows enzymes to break down starches into sugars, developing complex flavors and improving the dough's structure and browning capabilities. </li> <li class="MethodStepper"> <h4 class="step-title">Step 5</h4> While the dough ferments, prepare your sauce. In a food processor or using an immersion blender, pulse the canned tomatoes with their juice until slightly chunky but not completely smooth. Stir in salt, olive oil, oregano, and minced garlic. The minimal processing preserves the bright flavor of the tomatoes, a hallmark of NY pizza. </li> <li class="MethodStepper"> <h4 class="step-title">Step 6</h4> Place your pizza stone or steel in the oven and preheat to the highest temperature possible (usually 250-280°C/475-550°F) for at least 45-60 minutes. The extremely hot cooking surface is crucial for achieving the proper crust texture. </li> <li class="MethodStepper"> <h4 class="step-title">Step 7</h4> Remove one dough ball from the refrigerator 1-2 hours before baking to allow it to come to room temperature. This makes the dough more extensible and easier to shape. </li> <li class="MethodStepper"> <h4 class="step-title">Step 8</h4> On a lightly floured surface, use your fingertips to gently flatten the dough ball into a disc, leaving a 1cm border around the edge for the crust. Then pick up the dough and drape it over your knuckles, using the weight of the dough to stretch it while rotating. Aim for a circle about 30-35cm in diameter with a thickness of about 3mm in the center. </li> <li class="MethodStepper"> <h4 class="step-title">Step 9</h4> Dust a pizza peel with flour or cornmeal and transfer your stretched dough onto it. Give the peel a gentle shake to ensure the dough moves freely and isn't sticking. </li> <li class="MethodStepper"> <h4 class="step-title">Step 10</h4> Working quickly, spread 80-100g of sauce in a thin layer over the dough, leaving the outer rim bare. Less is more with NY pizza sauce - a thin layer allows the crust to cook properly without becoming soggy. </li> <li class="MethodStepper"> <h4 class="step-title">Step 11</h4> Sprinkle half the mozzarella evenly over the sauce, followed by a light dusting of Parmesan. The combination of cheeses provides both the classic stretch and added flavor depth. </li> <li class="MethodStepper"> <h4 class="step-title">Step 12</h4> With a quick jerking motion, slide the pizza from the peel onto the preheated stone or steel. Bake for 6-8 minutes until the cheese is bubbling and the crust is golden brown with some darker spots. The high heat creates the characteristic mottled bottom crust of a NY pizza. </li> <li class="MethodStepper"> <h4 class="step-title">Step 13</h4> Use the peel to remove the pizza from the oven. Let it cool for 1-2 minutes before slicing (this allows the cheese to set slightly and prevents it from sliding off). If desired, garnish with fresh basil leaves and a sprinkle of red pepper flakes. </li> <li class="MethodStepper"> <h4 class="step-title">Step 14</h4> Repeat the process with the second dough ball. The true test of authentic NY-style pizza: fold a slice lengthwise and if it holds its shape without drooping at the tip while maintaining a crisp exterior and chewy interior, you've nailed it! </li> </ol>