Directions
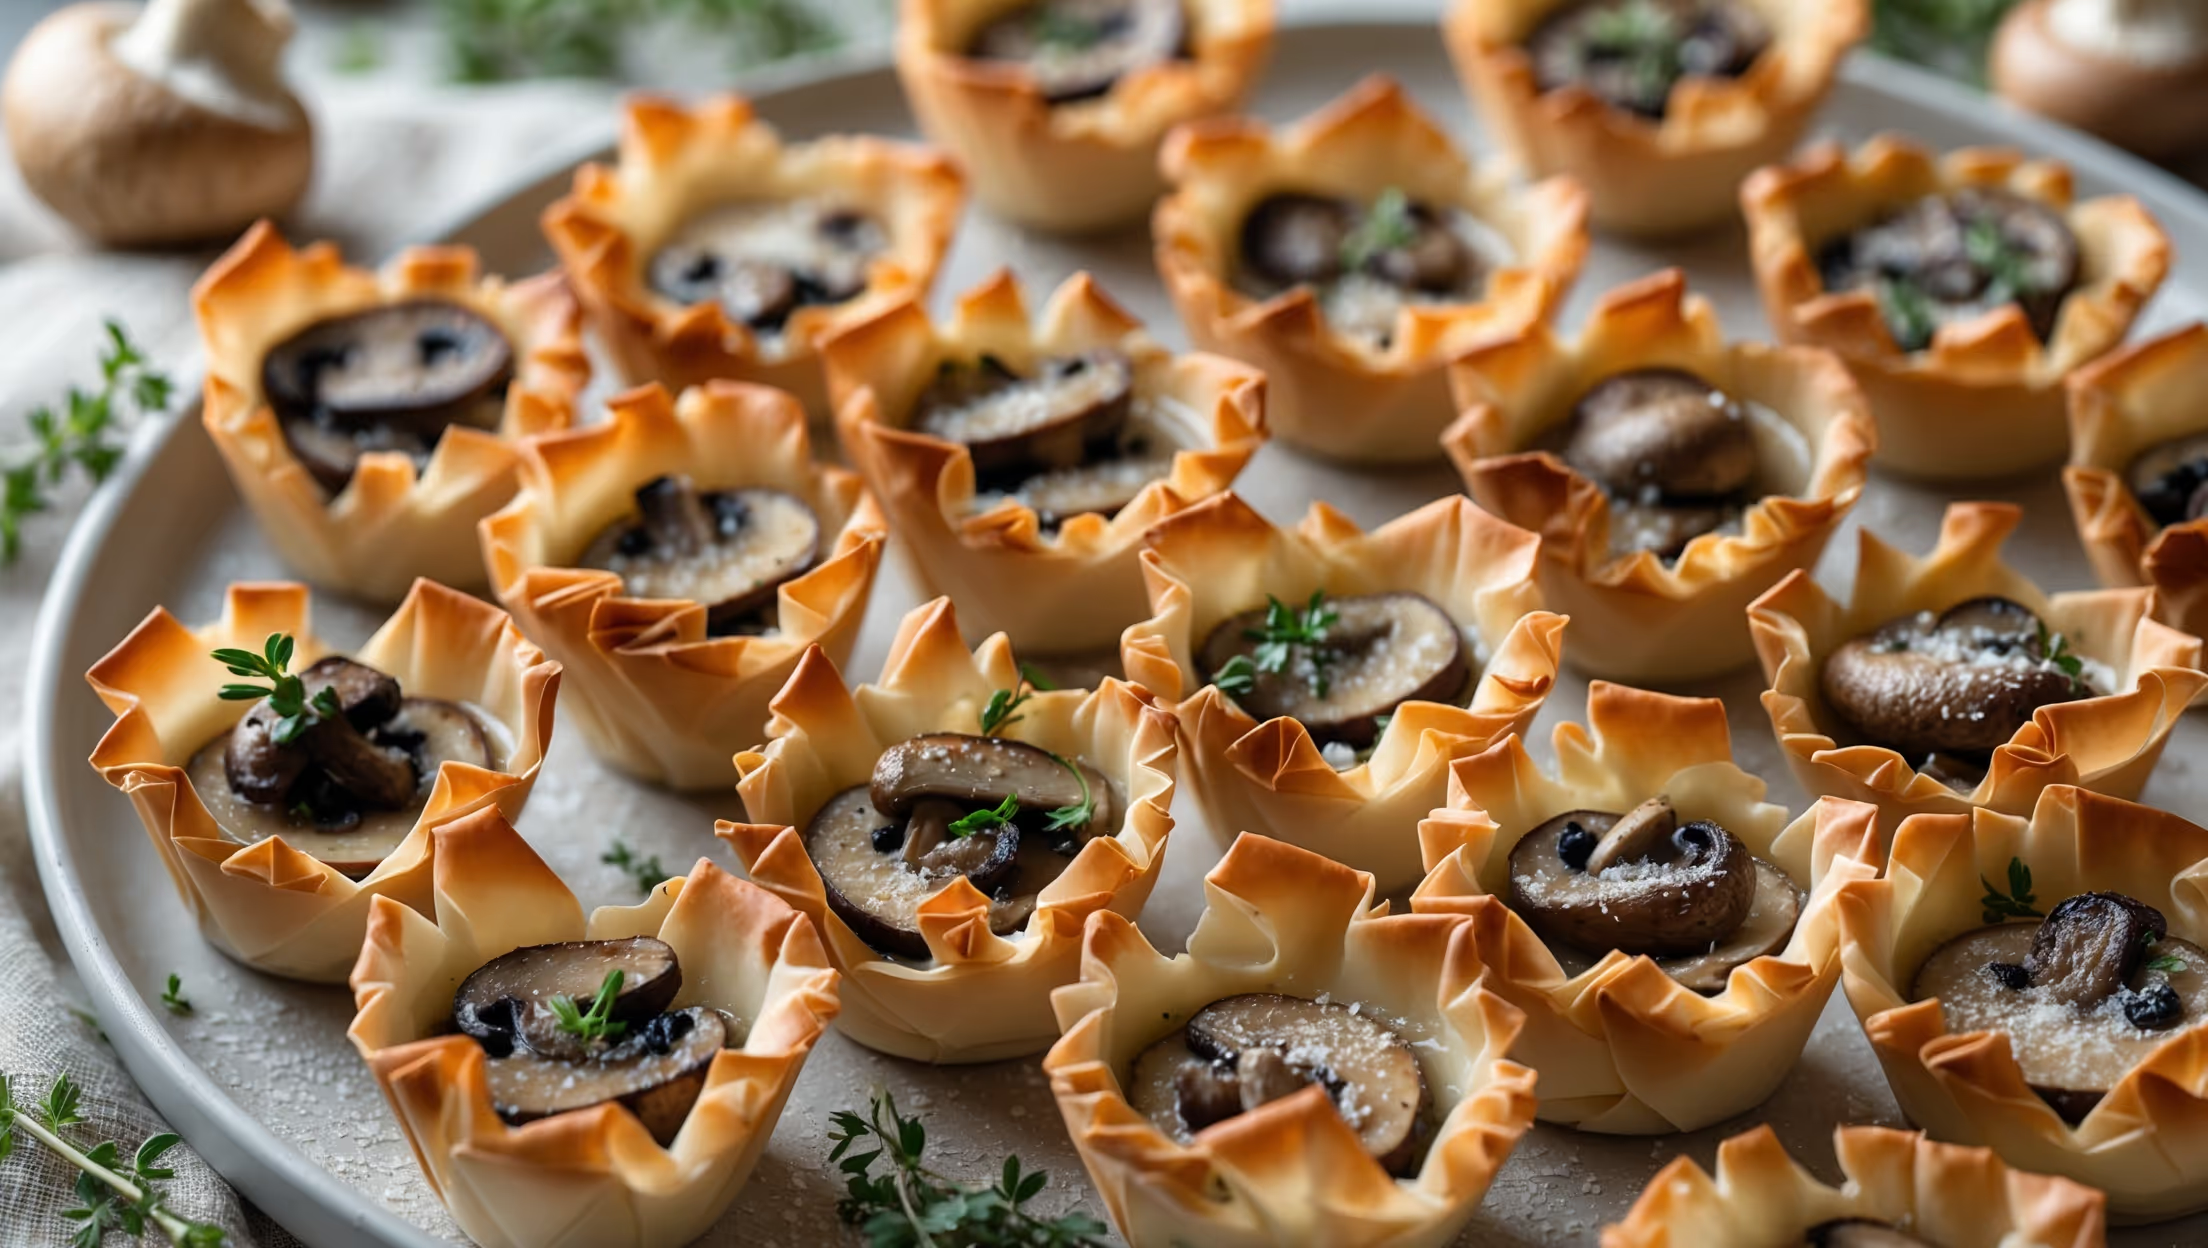
<ol class="no-list-style"> <li class="MethodStepper"> <h4 class="step-title">Step 1</h4> Preheat your oven to 190°C. Lightly grease a 24-cup mini muffin tin with a small amount of the melted butter. Working with phyllo dough requires speed and care to prevent it drying out - before starting, clear your workspace and have all tools ready. </li> <li class="MethodStepper"> <h4 class="step-title">Step 2</h4> Place one sheet of phyllo dough on a clean, dry surface and cover the remaining sheets with a slightly damp kitchen towel to prevent them from drying out. This is crucial as dry phyllo becomes brittle and impossible to work with. </li> <li class="MethodStepper"> <h4 class="step-title">Step 3</h4> Brush the sheet lightly but thoroughly with melted butter. The thin layer of fat will create steam between the layers during baking, resulting in that signature flaky texture. Place a second sheet on top and brush again with butter. Repeat until you have a stack of 4 buttered sheets. </li> <li class="MethodStepper"> <h4 class="step-title">Step 4</h4> Using a sharp knife, cut the stacked phyllo into 12 equal squares. Press each square gently into the muffin cups, allowing the edges to extend upward and create a ruffled effect. Repeat the process with the remaining 4 sheets to make 12 more cups. </li> <li class="MethodStepper"> <h4 class="step-title">Step 5</h4> Bake the empty phyllo cups for 6-8 minutes until they're just beginning to turn golden at the edges. Keep a close eye on them as phyllo browns quickly! Remove from the oven and allow to cool in the tin while you prepare the filling. </li> <li class="MethodStepper"> <h4 class="step-title">Step 6</h4> For the filling, heat olive oil in a large skillet over medium heat. Add the shallot and sauté for 2-3 minutes until translucent but not browned. Add the garlic and cook for another 30 seconds until fragrant, being careful not to burn it. </li> <li class="MethodStepper"> <h4 class="step-title">Step 7</h4> Increase the heat to medium-high and add the chopped mushrooms. Cook, stirring occasionally, for 8-10 minutes until the mushrooms have released their moisture and it has evaporated. This concentration of flavor is key to an intense mushroom taste. </li> <li class="MethodStepper"> <h4 class="step-title">Step 8</h4> Add the white wine (or broth) to deglaze the pan, scraping up any browned bits from the bottom of the skillet. These caramelized particles contain concentrated flavor. Cook until the liquid has almost completely evaporated, about 2 minutes. </li> <li class="MethodStepper"> <h4 class="step-title">Step 9</h4> Remove the pan from heat and let the mushroom mixture cool for 5 minutes. Then stir in the softened cream cheese until well combined and creamy. Fold in the Parmesan cheese and fresh herbs. Season with salt and pepper to taste. The warm mushrooms will slightly melt the cream cheese, creating a smooth, spreadable consistency. </li> <li class="MethodStepper"> <h4 class="step-title">Step 10</h4> Spoon the mushroom mixture into the baked phyllo cups, filling each one about ¾ full. The filling will puff slightly during baking. Return to the oven and bake for another 5-7 minutes, until the filling is hot and the cups are golden brown. </li> <li class="MethodStepper"> <h4 class="step-title">Step 11</h4> Let the cups cool in the tin for 5 minutes before carefully removing. Garnish with additional fresh thyme leaves and a light sprinkle of grated Parmesan. Serve warm for the best flavor and texture contrast between the crisp pastry and creamy filling. </li> <li class="MethodStepper"> <h4 class="step-title">Step 12</h4> These phyllo cups can be prepared a day ahead and refrigerated before the final baking. Simply fill the pre-baked shells, cover, and refrigerate, then bake for 8-10 minutes when ready to serve. For a beautiful presentation, arrange them on a platter with fresh herb sprigs scattered between. </li> </ol>