Matcha Green Tea Layer Cake Recipe
Ingredients
Equipment
Directions
FAQs
Find answers to your most pressing questions about this delicious recipe right here.
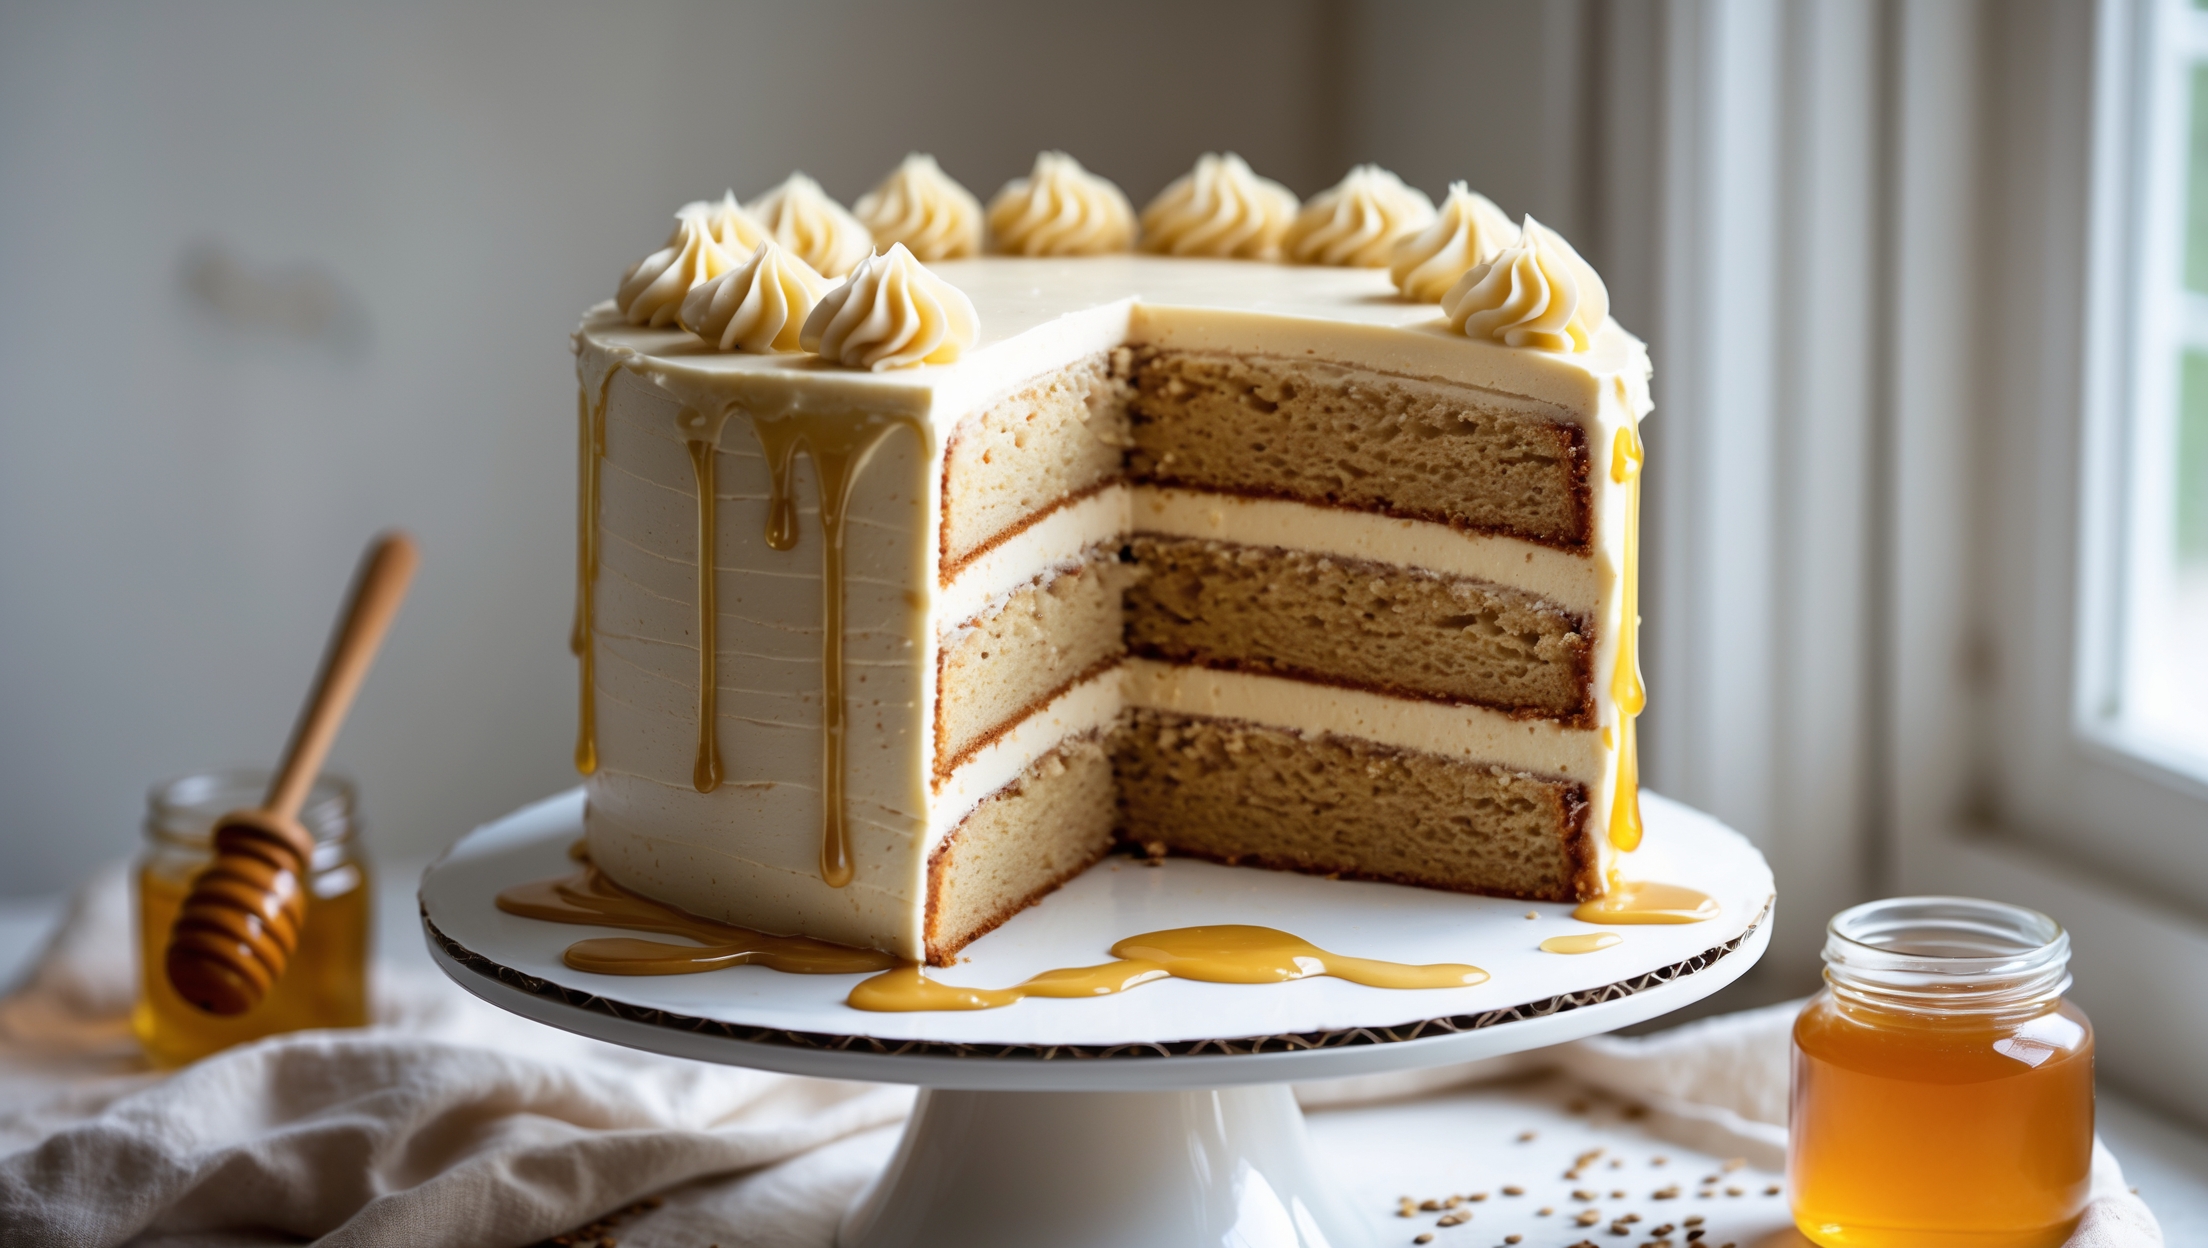
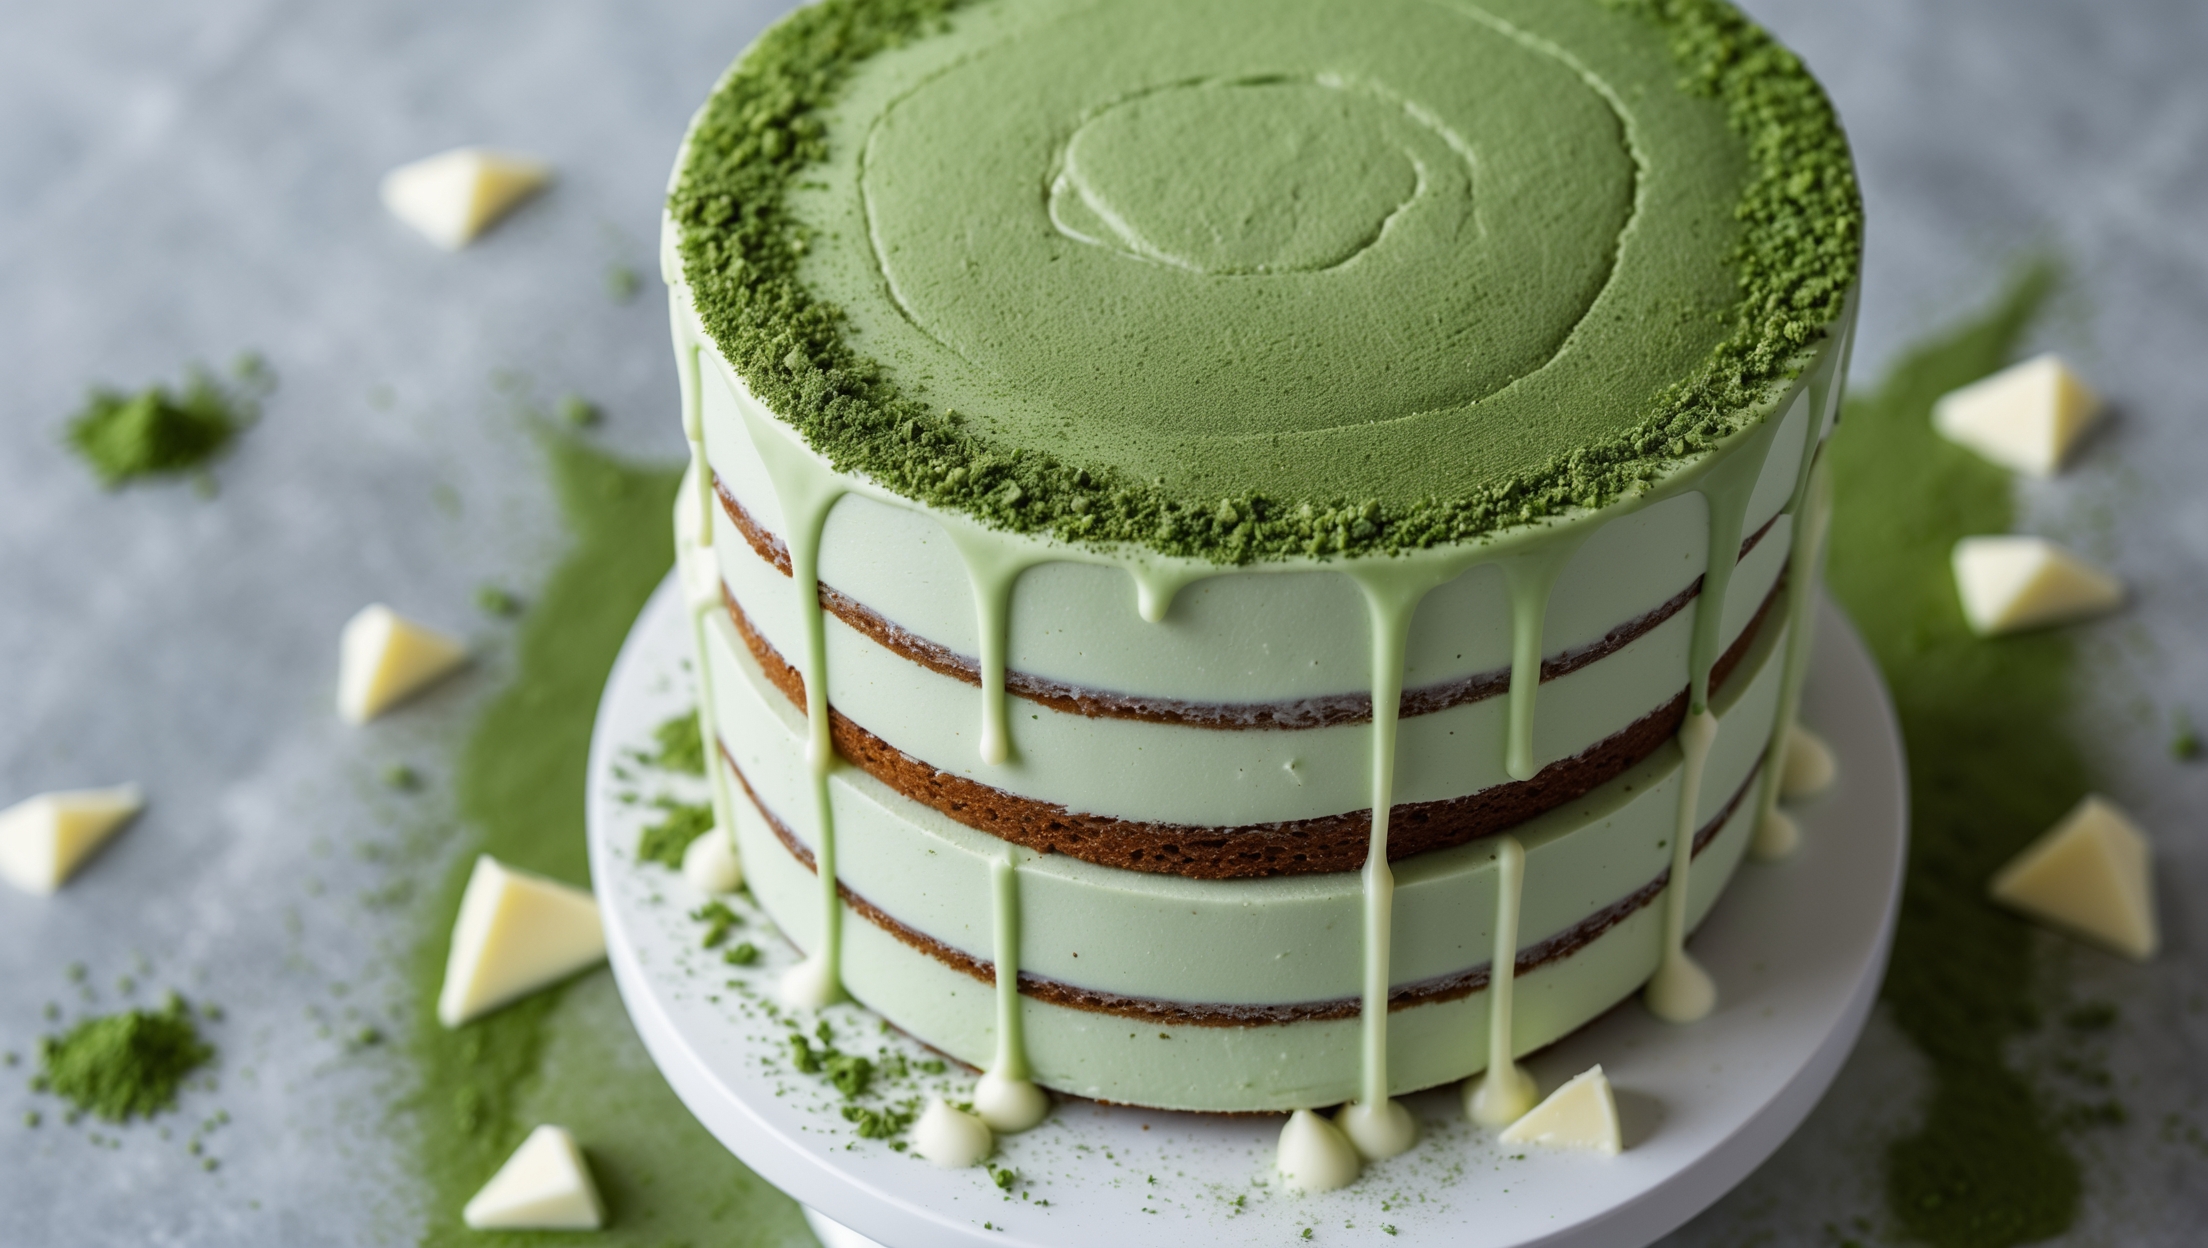
This cake requires all-purpose flour, high-quality matcha powder, butter, sugar, eggs, buttermilk, white chocolate, mascarpone cheese, heavy cream, and vanilla extract. The perfect balance of ingredients creates the signature earthy green tea flavour complemented by sweet white chocolate cream.
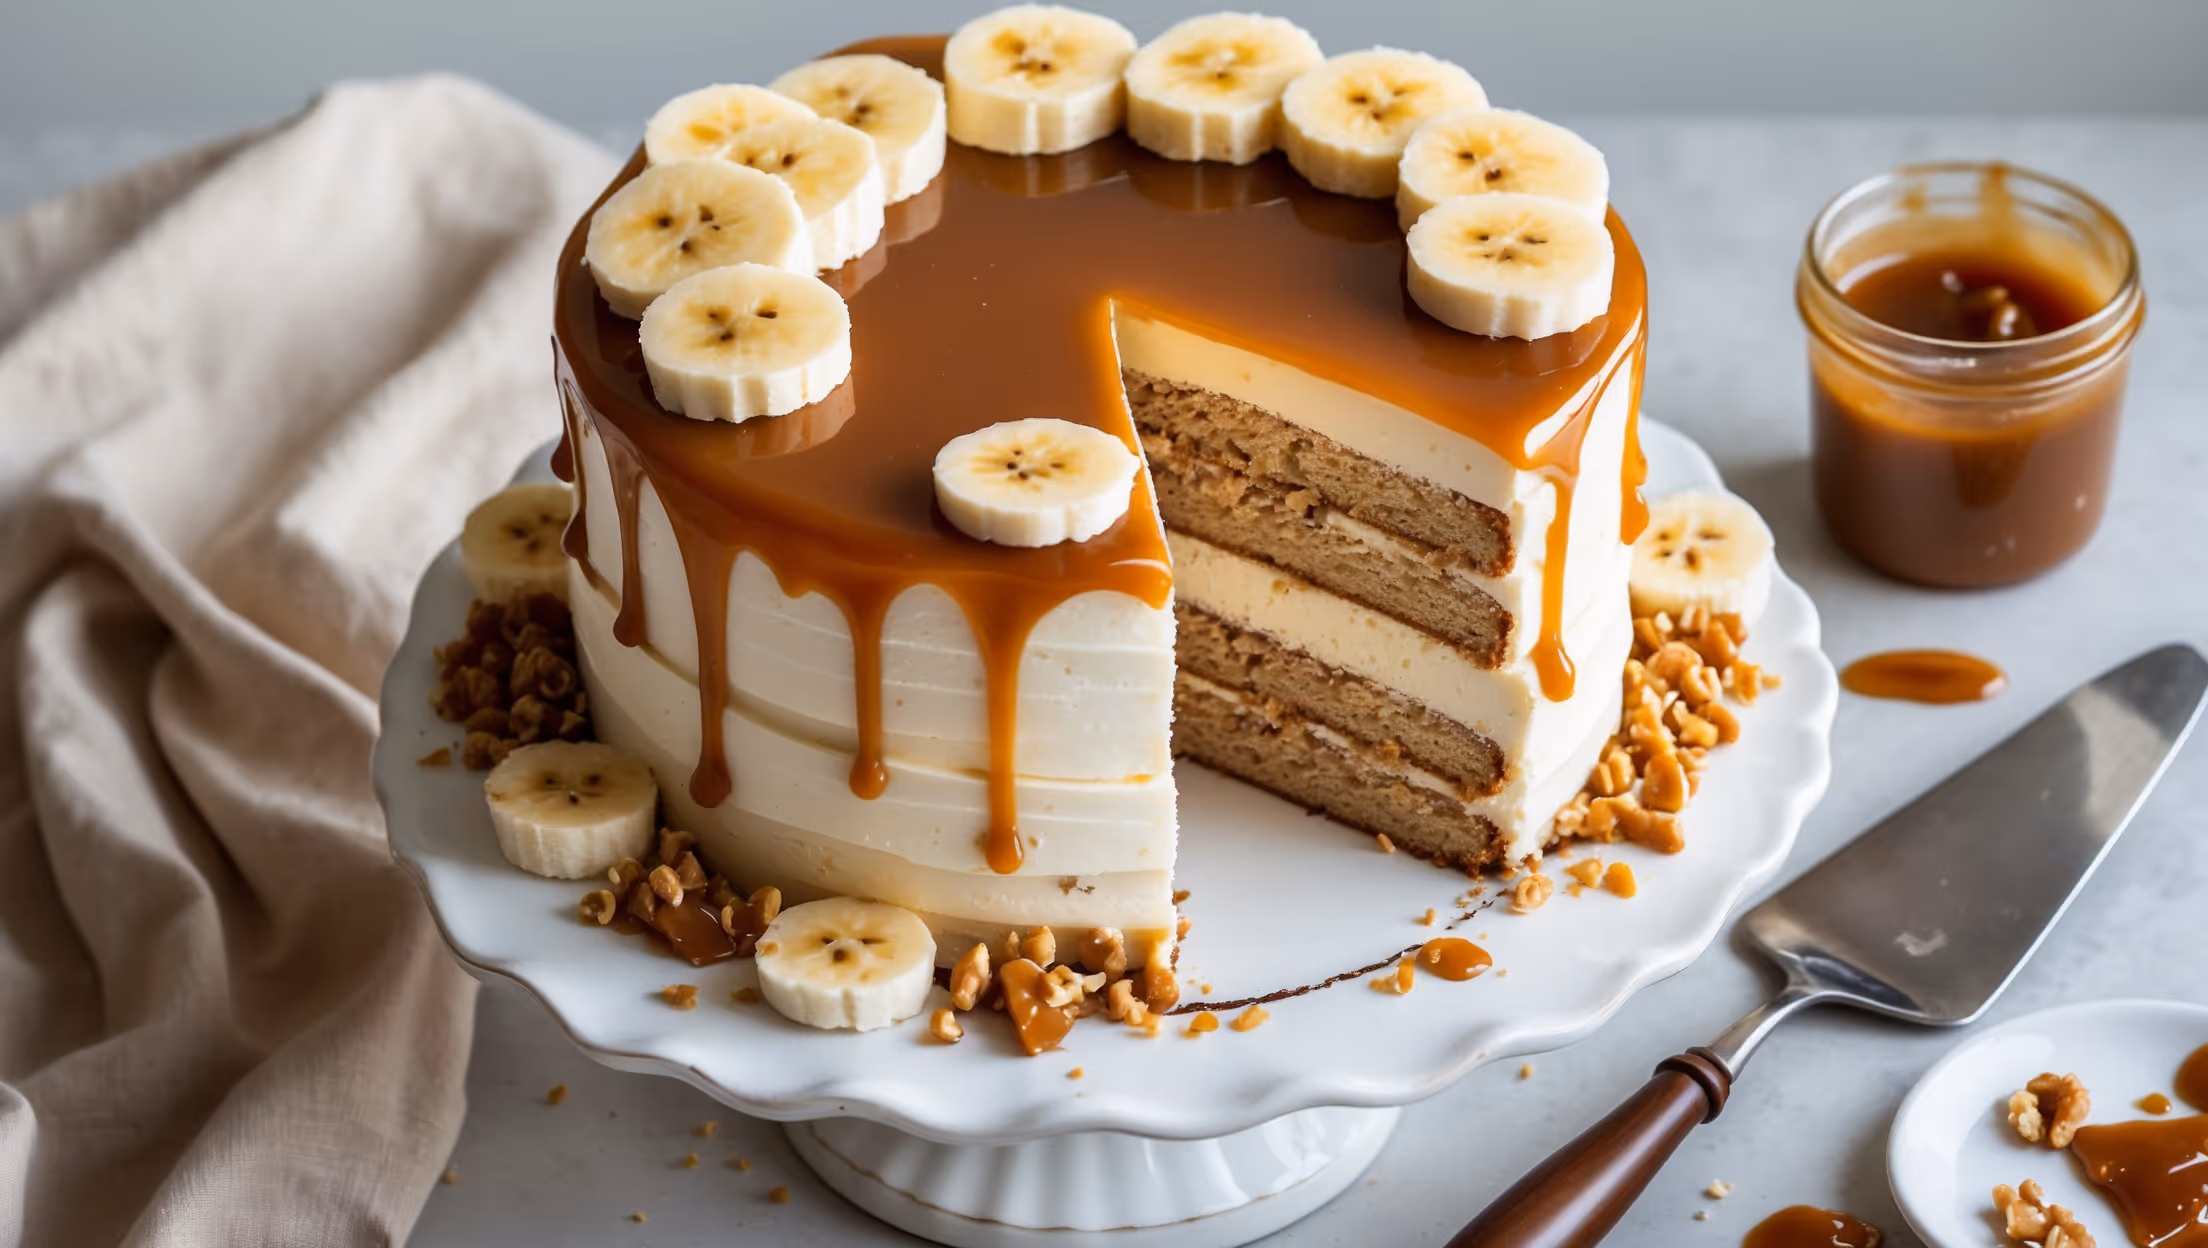
Learn how to cook Matcha Green Tea Layer Cake by first sifting your dry ingredients thoroughly to prevent matcha clumps, then creaming butter and sugar until very light and fluffy. Alternate adding dry ingredients with buttermilk for the perfect texture, and don't rush the cooling process between baking and assembly for the best structural integrity.
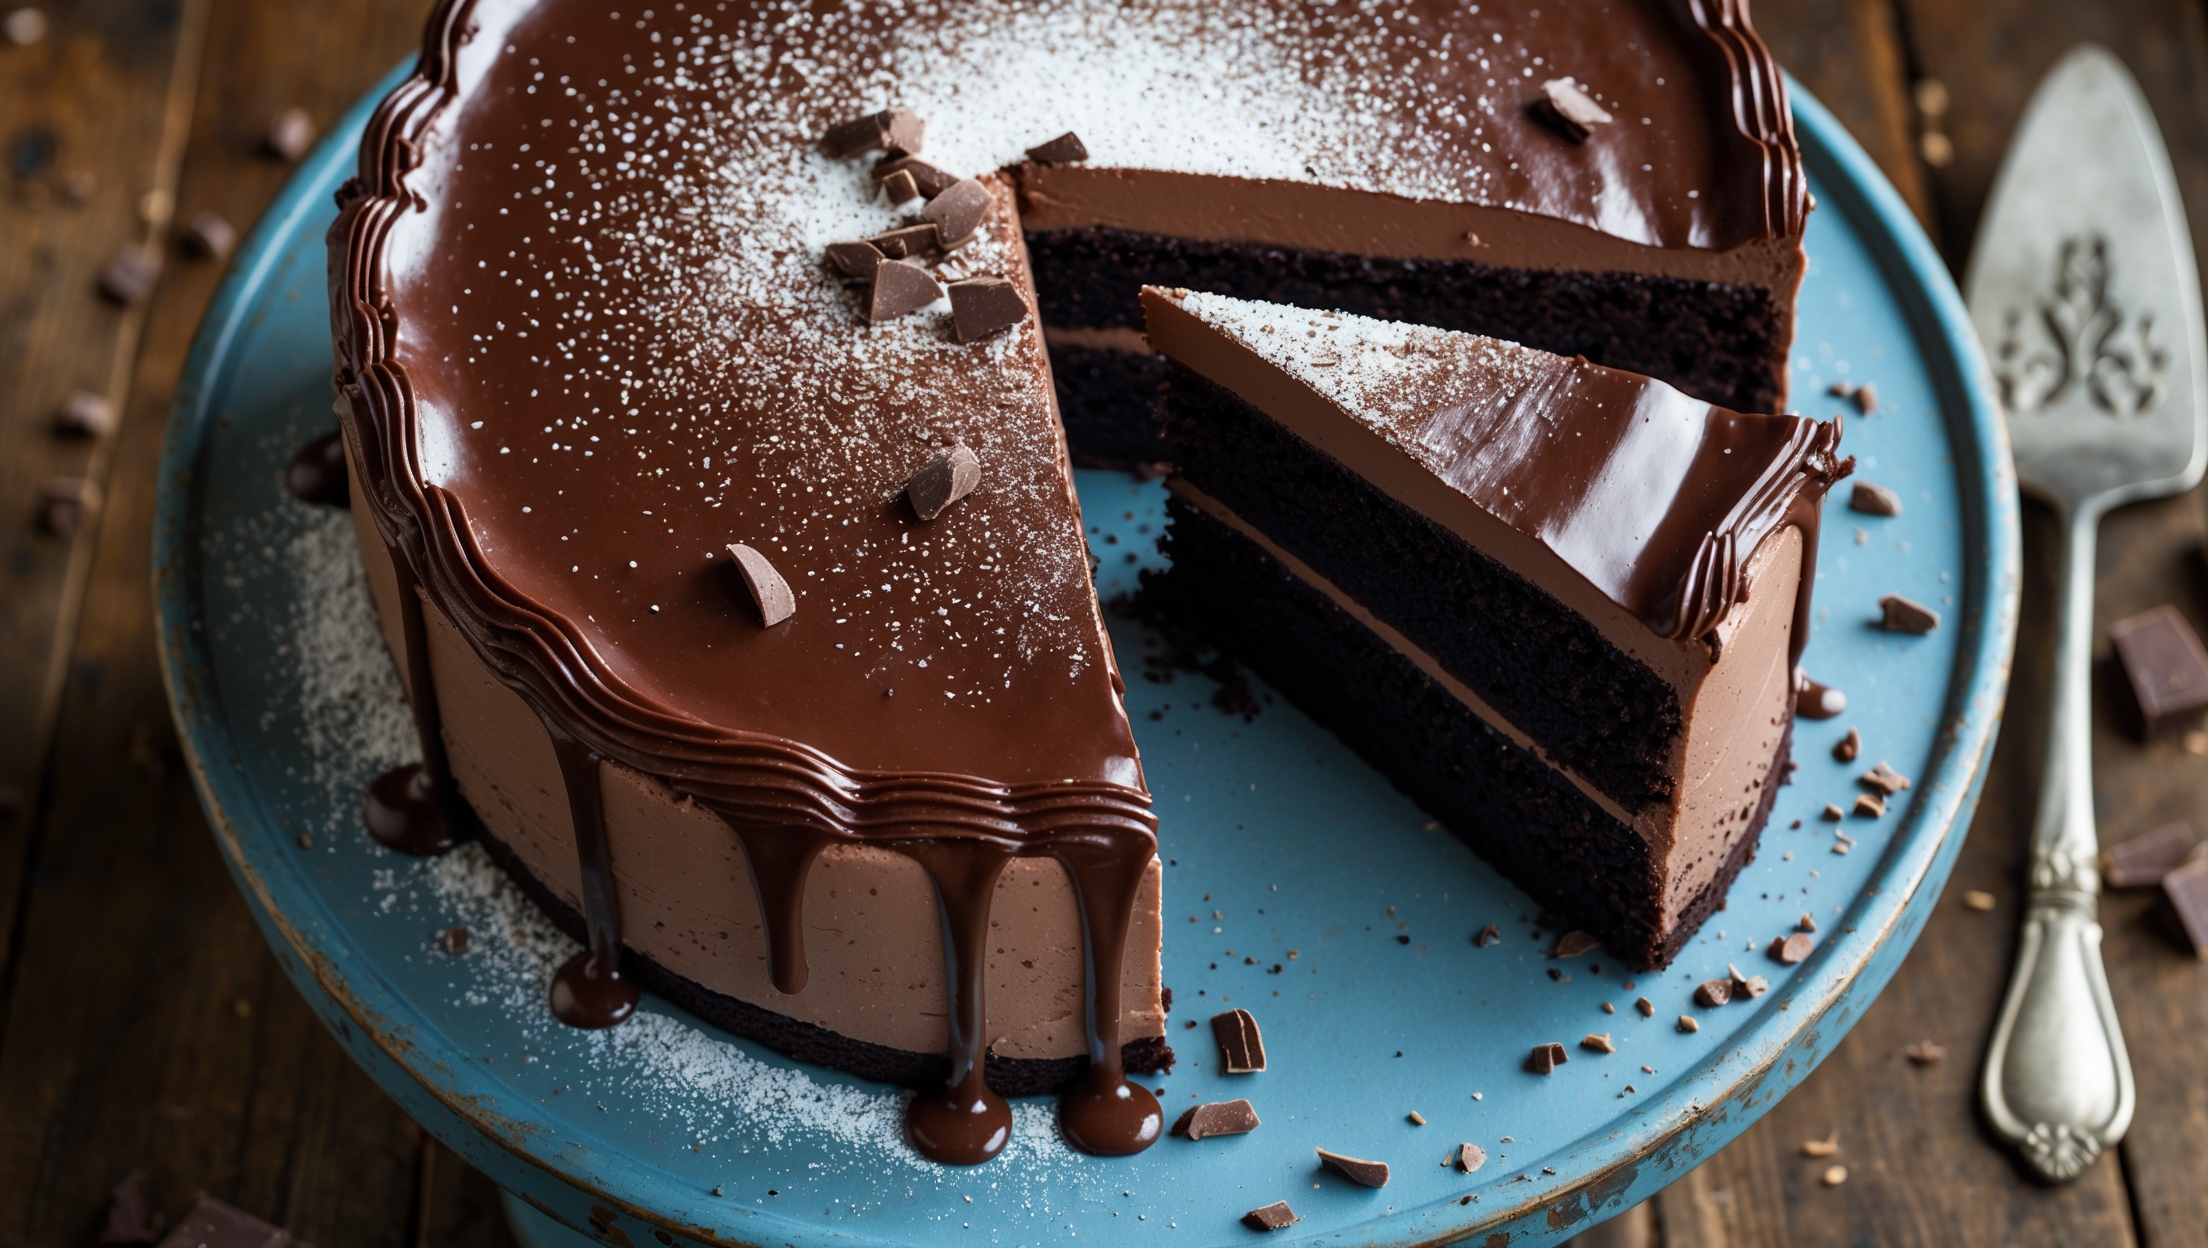
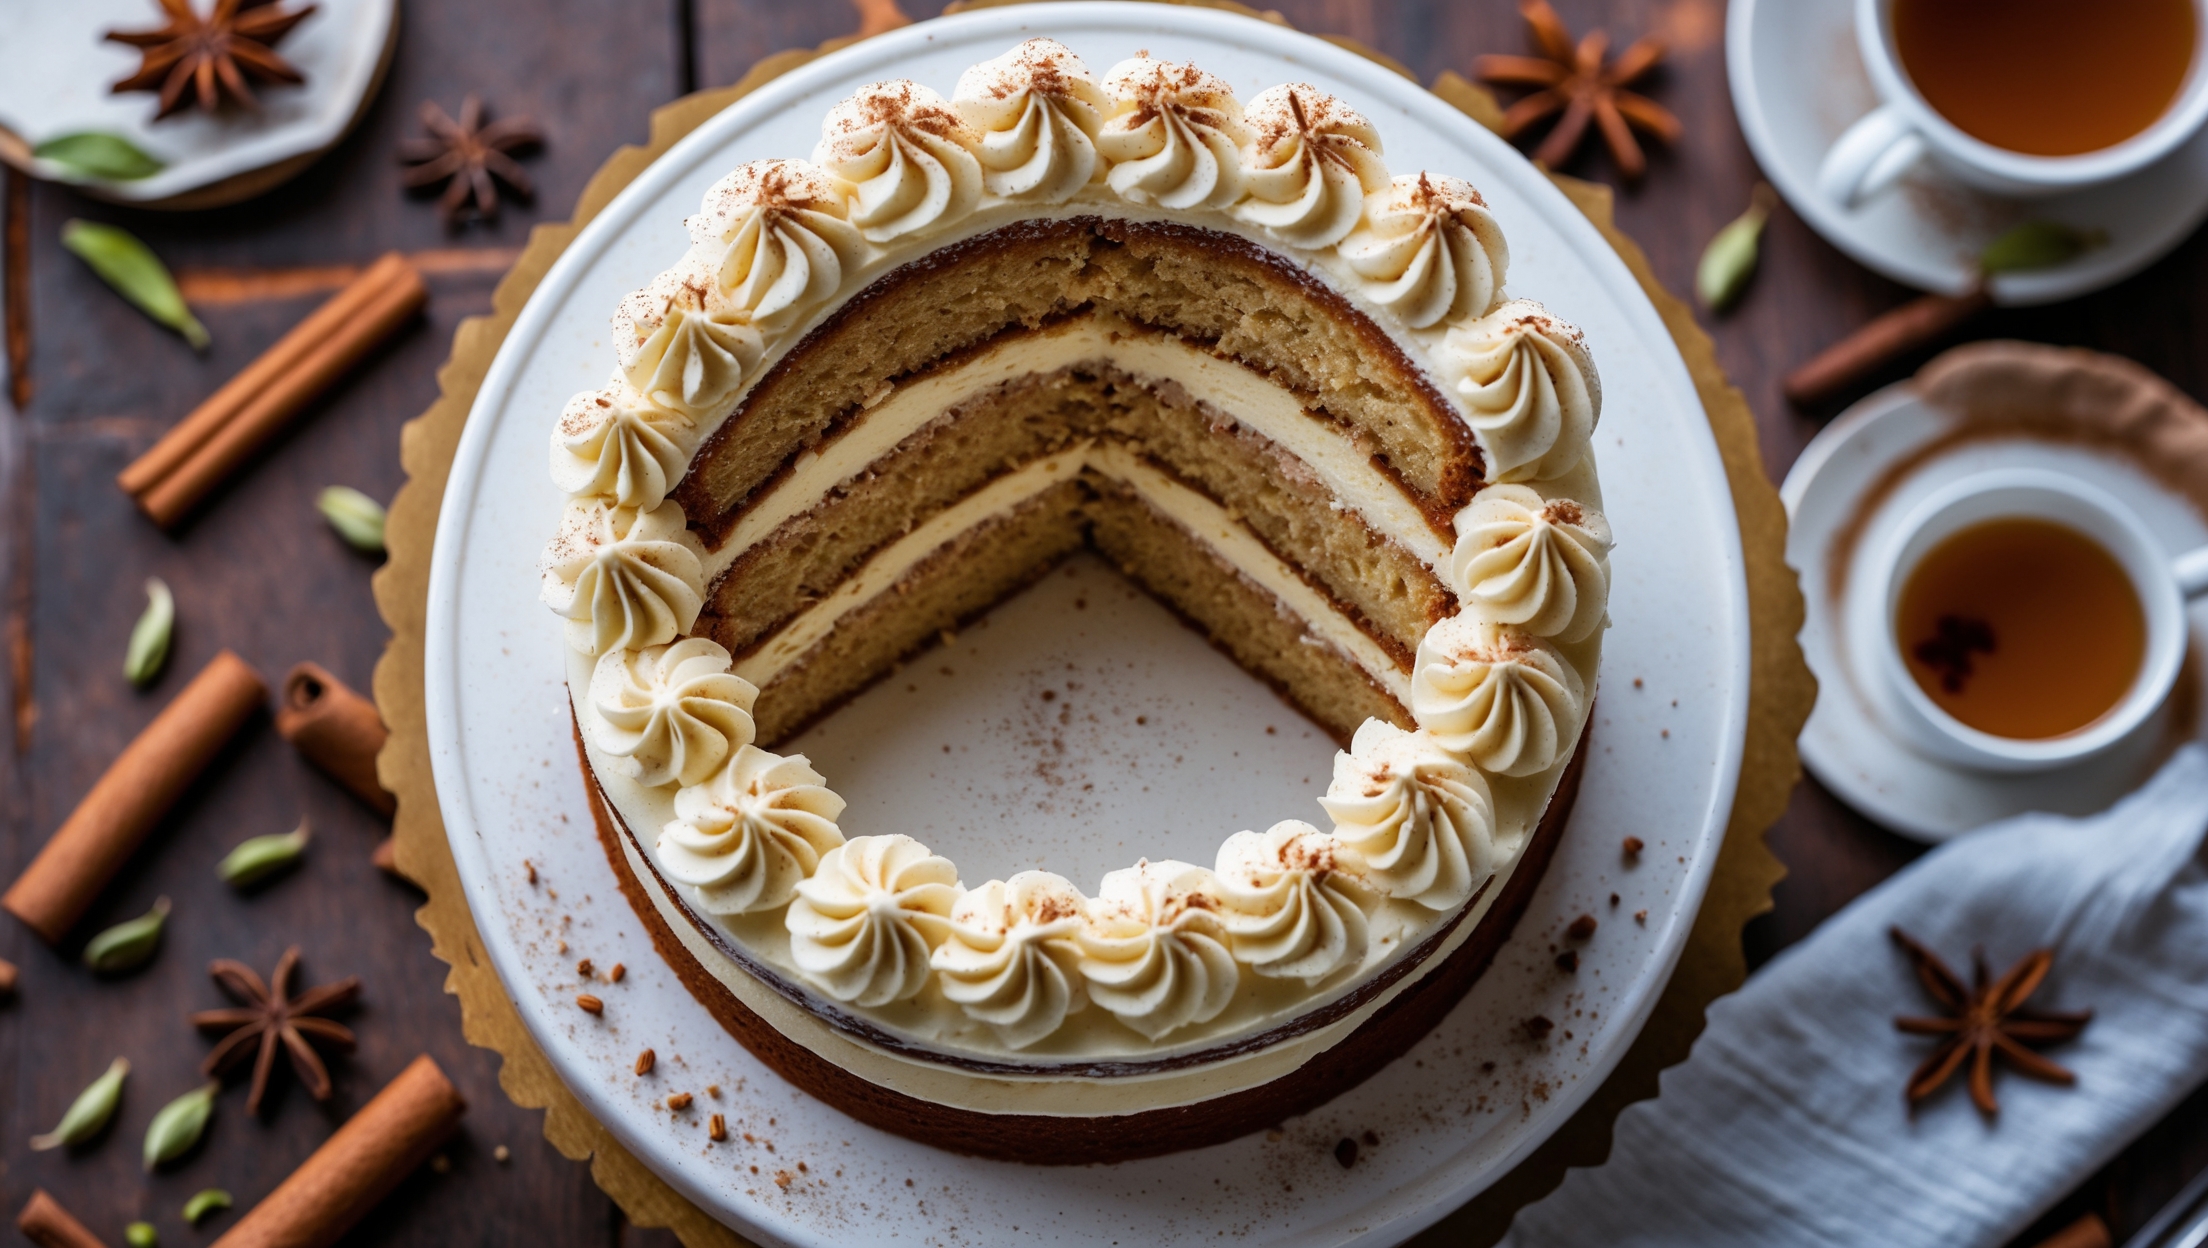
Browning usually occurs from overbaking or using low-quality matcha powder. Use culinary-grade matcha that's vibrant green, not olive-coloured. Bake at the recommended temperature and check doneness early. The subtle green colour is best preserved when not exposing the batter to excessive heat.
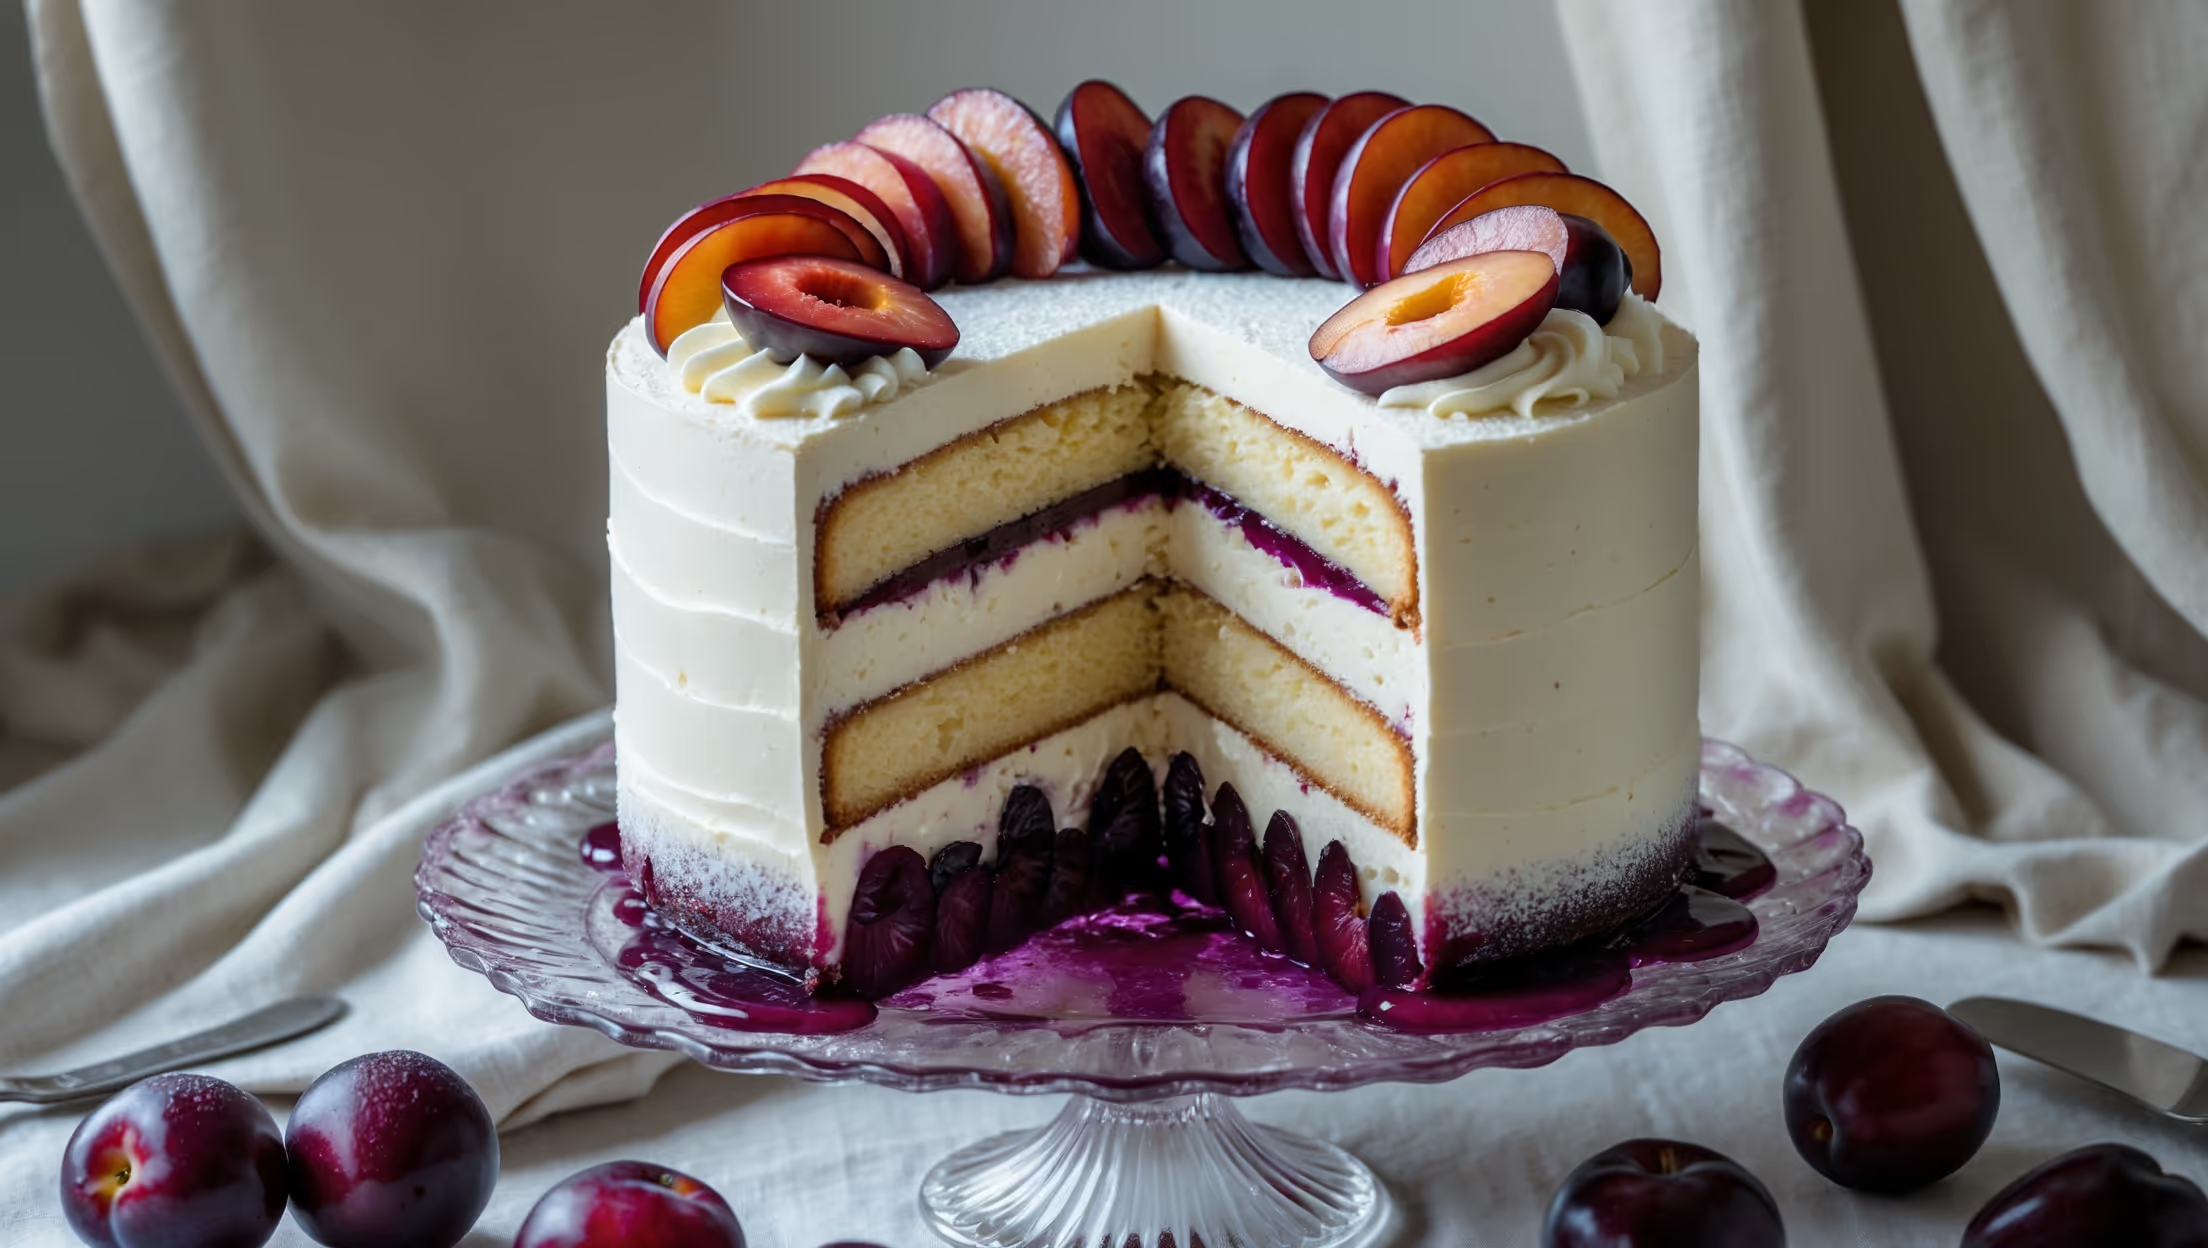
Yes, you can substitute mascarpone with cream cheese for a tangier flavour or whipped double cream stabilised with gelatin for a lighter texture. Each alternative will slightly alter the final taste and texture but still complement the matcha flavour beautifully in your layer cake.
You can prepare this cake 1-2 days before your event. The flavours actually develop beautifully overnight in the refrigerator. Store it covered to prevent it from absorbing other food odours. Bring to room temperature 30 minutes before serving for the best texture and flavour profile.
Layer Cakes
Try following recommended recipes