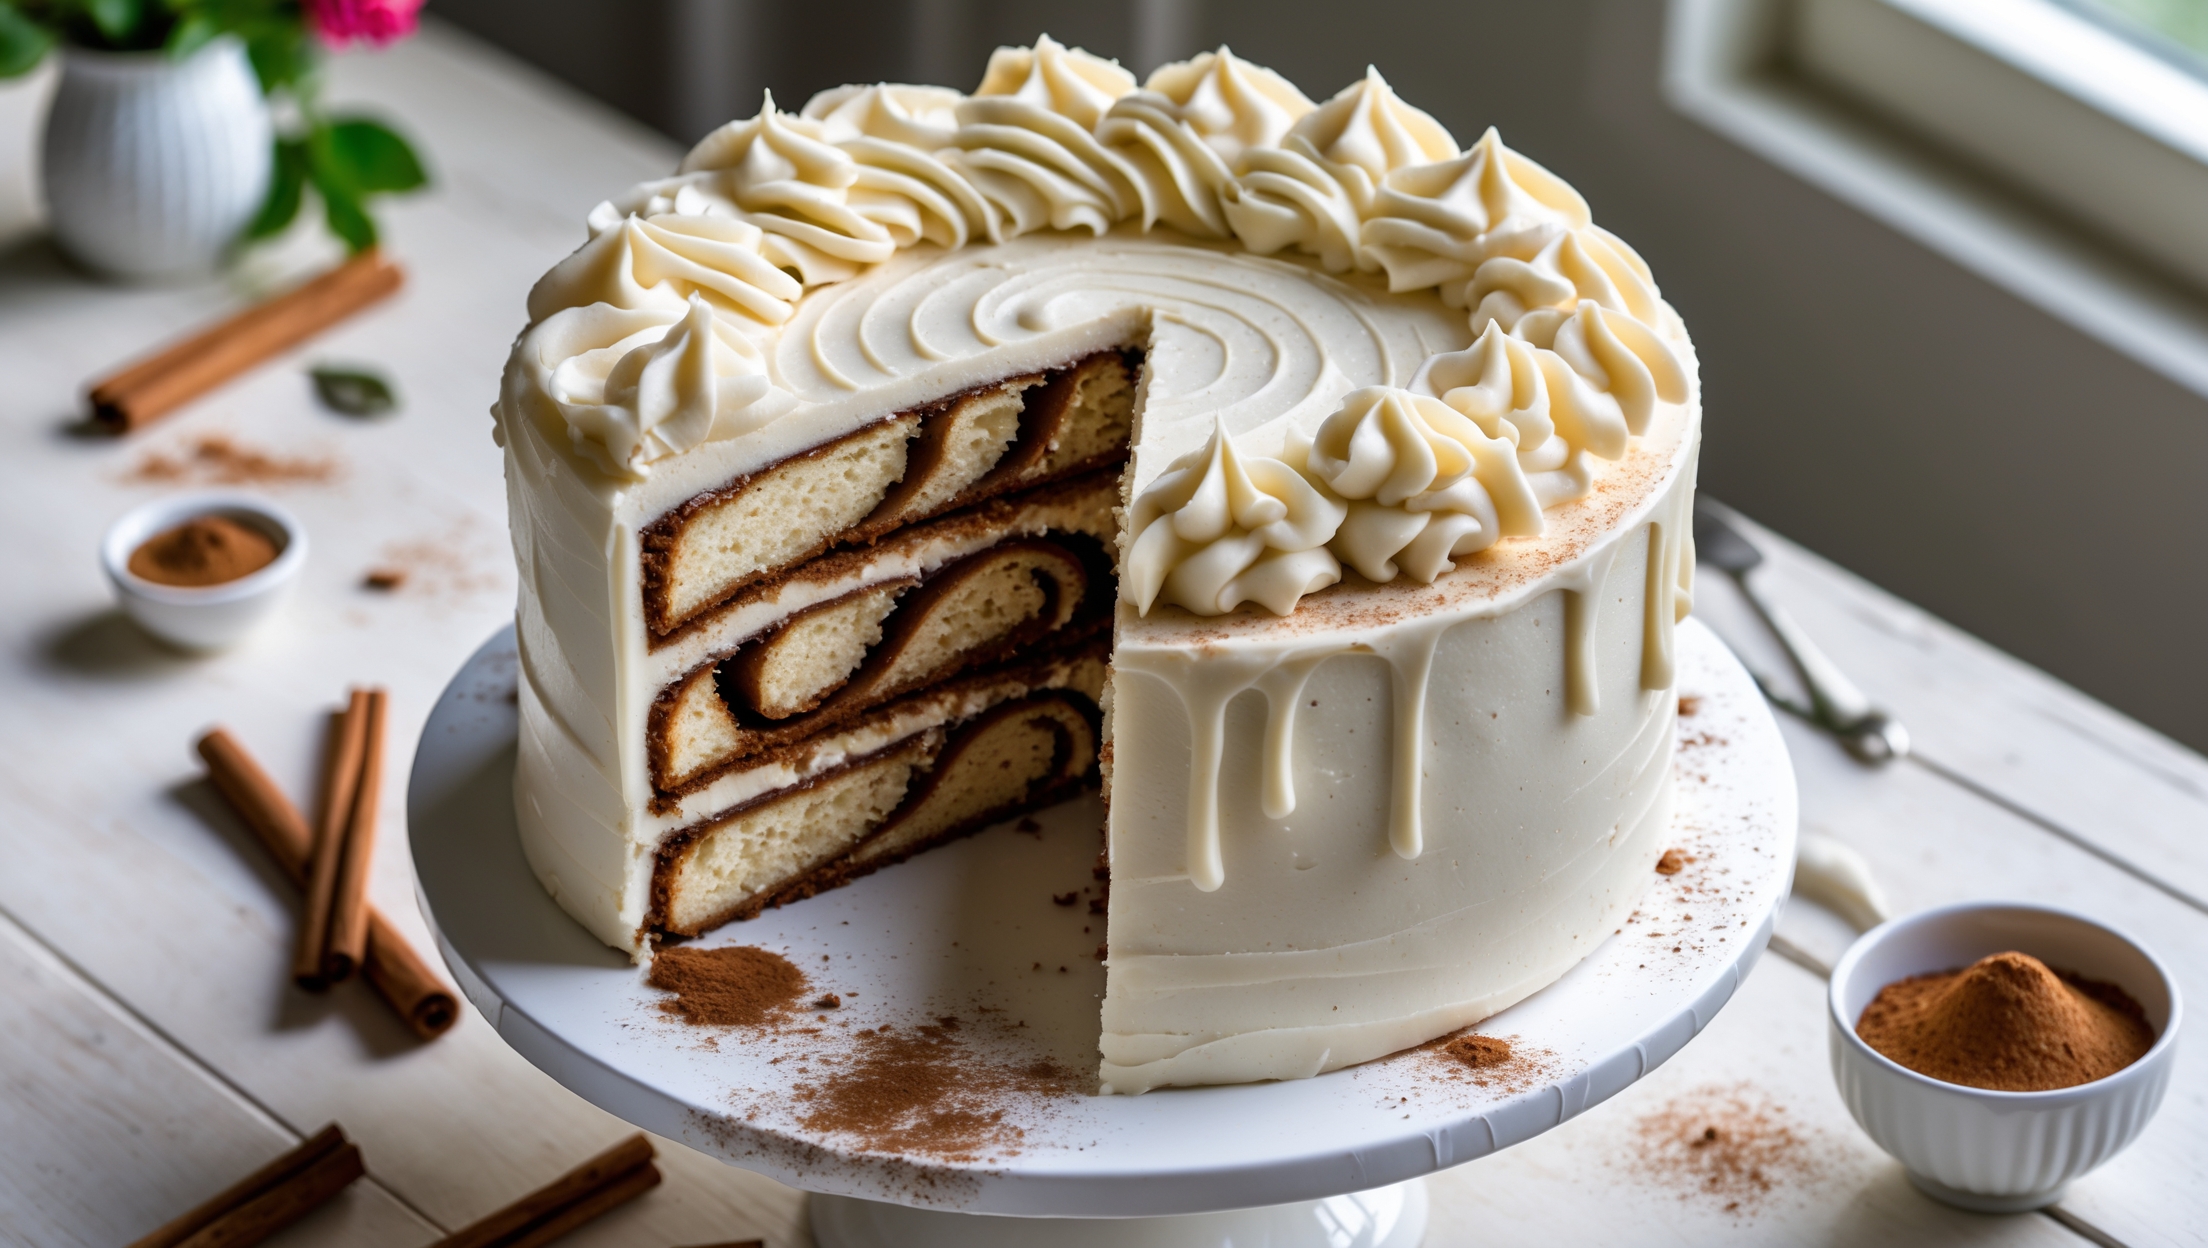
Directions
<ol class="no-list-style"><li class="MethodStepper"><h4 class="step-title">Step 1</h4>Preheat your oven to 175°C (350°F). Grease three 20cm (8-inch) round cake pans, line the bottoms with parchment paper, then grease the paper. This double preparation ensures your cakes will release perfectly.</li><li class="MethodStepper"><h4 class="step-title">Step 2</h4>Toast the walnuts by spreading them on a baking sheet and baking for 8-10 minutes until fragrant and lightly browned. Toasting intensifies the nutty flavor and creates a more pronounced contrast with the sweet maple. Let cool completely before chopping 150g for the cake batter, reserving about 12 halves for decoration.</li><li class="MethodStepper"><h4 class="step-title">Step 3</h4>In a medium bowl, whisk together the flour, baking powder, baking soda, salt, and cinnamon. Proper mixing of dry ingredients ensures even leavening and consistent texture throughout your cake.</li><li class="MethodStepper"><h4 class="step-title">Step 4</h4>In a large mixing bowl, beat the softened butter and brown sugar with an electric mixer on medium-high speed until light and fluffy, about 4-5 minutes. This extended creaming creates tiny air pockets that will expand during baking, giving your cake a tender crumb.</li><li class="MethodStepper"><h4 class="step-title">Step 5</h4>Add eggs one at a time, beating well after each addition until fully incorporated. Scrape down the sides of the bowl as needed. Adding eggs individually allows proper emulsification, preventing the batter from separating.</li><li class="MethodStepper"><h4 class="step-title">Step 6</h4>Beat in the maple syrup and vanilla extract until combined. The mixture might look slightly curdled, but don't worry – this is normal and will smooth out when you add the dry ingredients.</li><li class="MethodStepper"><h4 class="step-title">Step 7</h4>Gradually add the flour mixture to the butter mixture in three additions, alternating with the buttermilk (beginning and ending with flour), mixing on low speed just until combined after each addition. This alternating method prevents gluten overdevelopment which would result in a tough cake.</li><li class="MethodStepper"><h4 class="step-title">Step 8</h4>Gently fold in the chopped toasted walnuts with a spatula until evenly distributed throughout the batter, being careful not to overmix.</li><li class="MethodStepper"><h4 class="step-title">Step 9</h4>Divide the batter evenly among the prepared pans, using a kitchen scale if available to ensure layers of equal thickness. Smooth the tops with an offset spatula.</li><li class="MethodStepper"><h4 class="step-title">Step 10</h4>Bake for 25-30 minutes, or until a toothpick inserted into the centers comes out clean or with just a few moist crumbs. The tops should spring back when lightly pressed and the edges should start to pull away from the sides.</li><li class="MethodStepper"><h4 class="step-title">Step 11</h4>Allow the cakes to cool in the pans for 15 minutes (this stabilizes the structure), then turn out onto wire racks to cool completely. Remove the parchment paper from the bottoms.</li><li class="MethodStepper"><h4 class="step-title">Step 12</h4>For the maple buttercream, beat the softened butter in a large bowl with an electric mixer until smooth and creamy, about 2 minutes. Gradually add the sifted powdered sugar, 100g at a time, beating well after each addition.</li><li class="MethodStepper"><h4 class="step-title">Step 13</h4>Slowly pour in the maple syrup while continuing to beat. Add the vanilla extract and salt, then increase the speed to medium-high and beat for 3-4 minutes until light and fluffy. The extended whipping incorporates air for a silky, spreadable frosting.</li><li class="MethodStepper"><h4 class="step-title">Step 14</h4>To assemble the cake, place one cake layer on a serving plate or cake stand. If the tops are domed, use a serrated knife to level them first. Spread about 3/4 cup of buttercream evenly over the top. Place the second layer on top and repeat with another 3/4 cup of buttercream. Add the final layer top side down (this gives you a flat surface for decorating).</li><li class="MethodStepper"><h4 class="step-title">Step 15</h4>Apply a thin layer of buttercream all over the cake to seal in any crumbs (this is called a crumb coat), then refrigerate for 20 minutes to set. This step ensures your final layer of frosting will be clean and crumb-free.</li><li class="MethodStepper"><h4 class="step-title">Step 16</h4>After the crumb coat has chilled, apply the remaining buttercream generously over the top and sides of the cake, creating decorative swirls with your offset spatula or the back of a spoon. The chilled cake will allow you to create more defined textures in your frosting.</li><li class="MethodStepper"><h4 class="step-title">Step 17</h4>Arrange the reserved toasted walnut halves around the top edge of the cake. Just before serving, drizzle with the extra maple syrup, allowing it to run artfully down the sides.</li><li class="MethodStepper"><h4 class="step-title">Step 18</h4>For the best flavor, let the cake sit at room temperature for 30 minutes before serving. Store any leftovers in an airtight container at room temperature for up to 3 days, or refrigerate for up to a week. Bring to room temperature before serving for optimal texture and flavor.</li></ol>