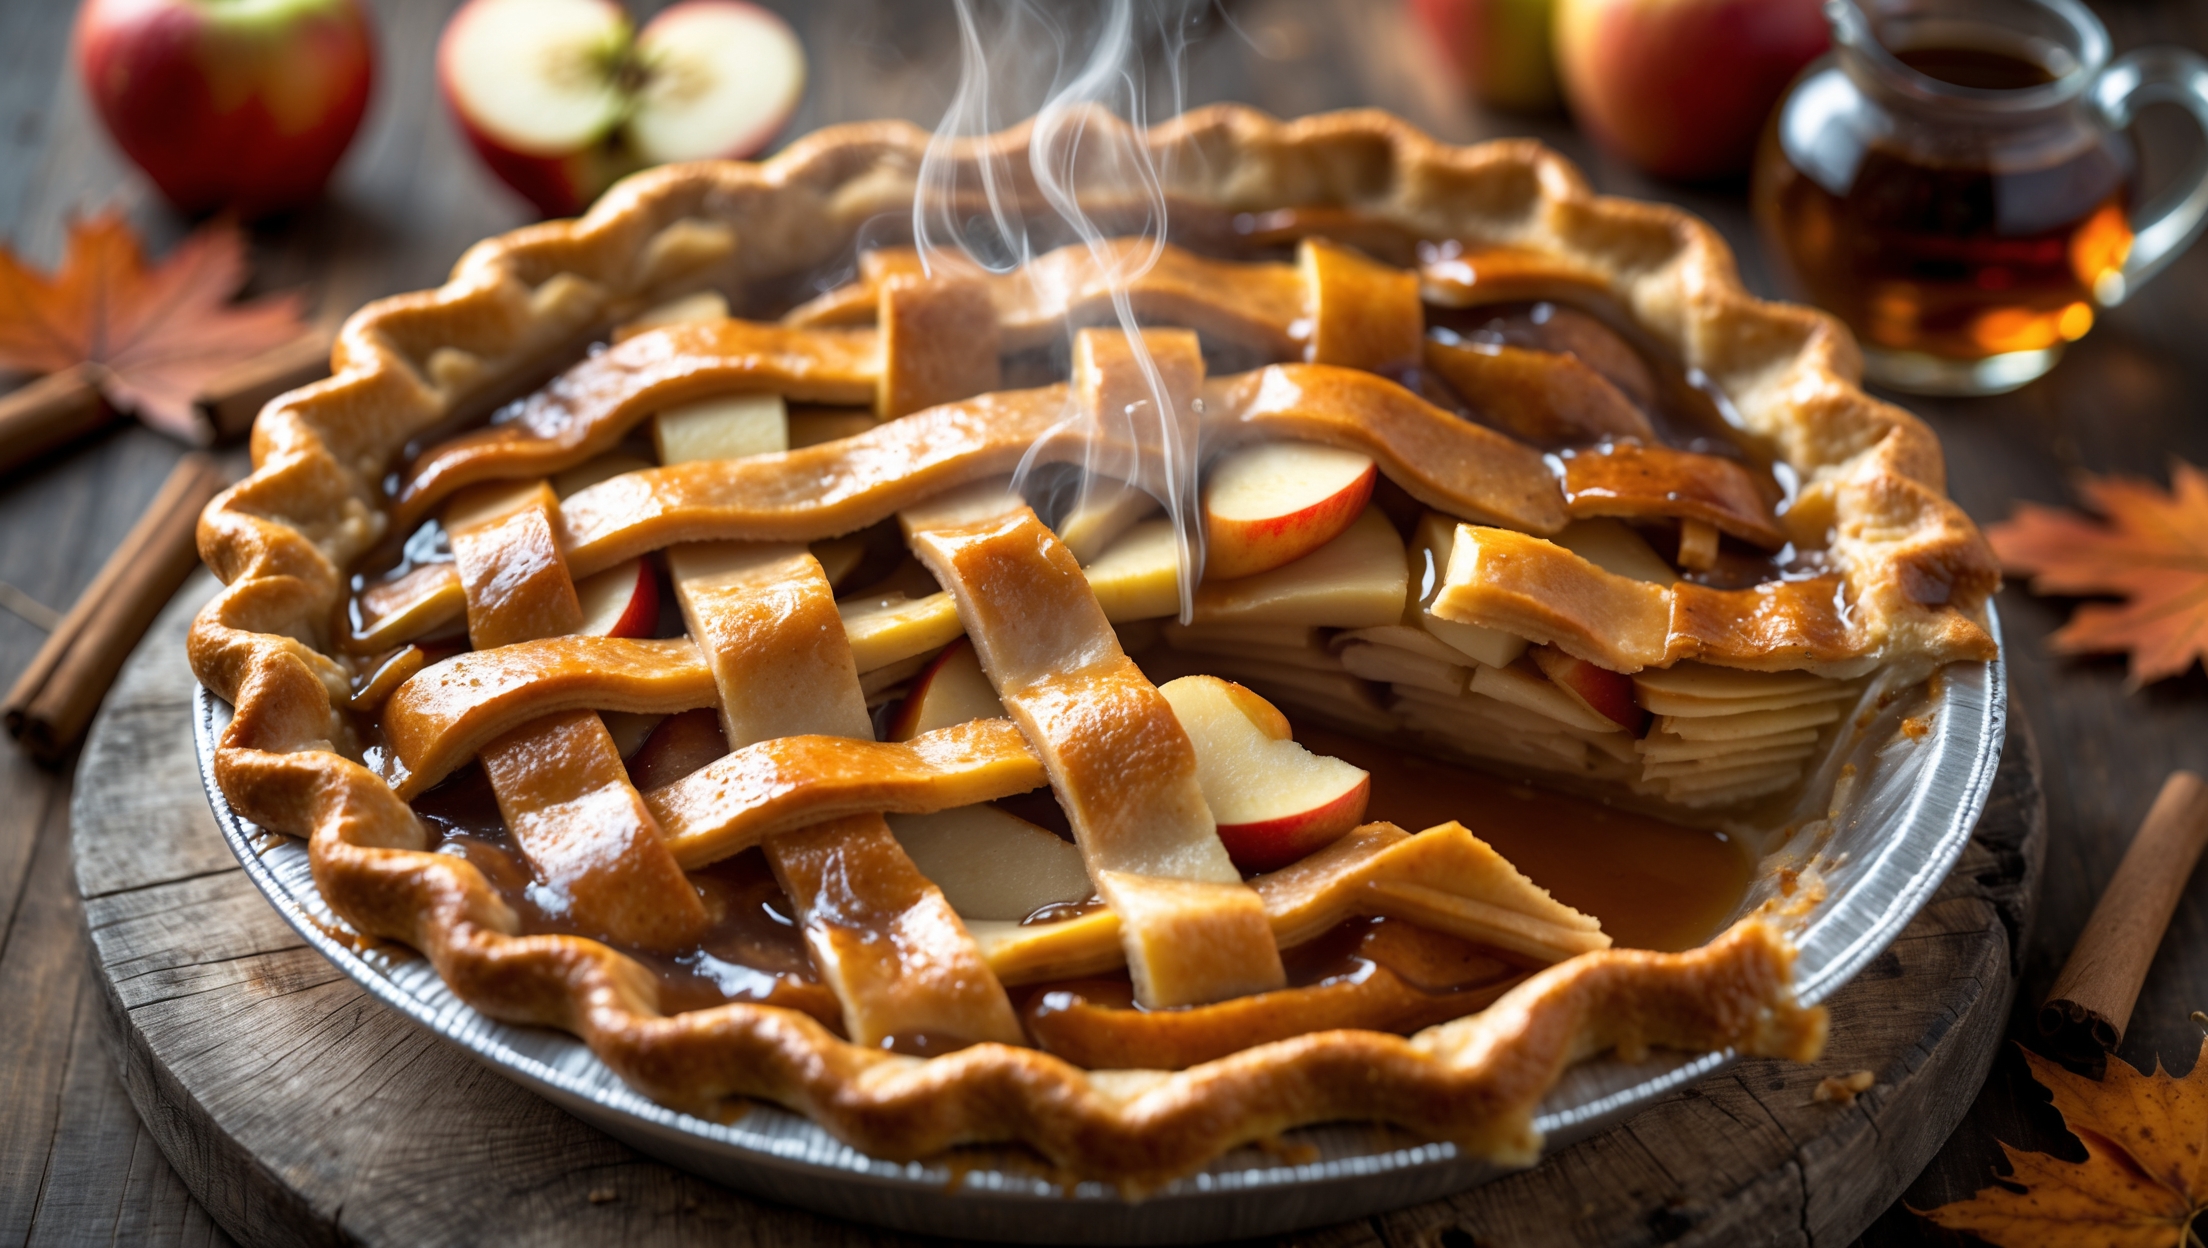
Directions
<ol class="no-list-style"><li class="MethodStepper"><h4 class="step-title">Step 1</h4>Begin by making the pastry. In a large bowl, whisk together the flour, sugar, and salt. Add the cold cubed butter and use a pastry cutter or your fingertips to work it in until the mixture resembles coarse breadcrumbs with some pea-sized butter pieces remaining. These butter pockets will create steam during baking, resulting in those coveted flaky layers.</li><li class="MethodStepper"><h4 class="step-title">Step 2</h4>Mix the ice water and apple cider vinegar in a small cup. The vinegar helps inhibit gluten formation, ensuring a tender crust. Drizzle 80ml of this mixture over the flour mixture, stirring with a fork until the dough just begins to come together. If needed, add remaining water 1 tablespoon at a time.</li><li class="MethodStepper"><h4 class="step-title">Step 3</h4>Turn the dough onto a lightly floured surface and divide into two portions, one slightly larger than the other (about 60/40 split). Form each portion into a disc, wrap in plastic, and refrigerate for at least 1 hour or up to 2 days. Cold dough is essential for a flaky crust as it prevents the butter from melting before hitting the hot oven.</li><li class="MethodStepper"><h4 class="step-title">Step 4</h4>While the dough chills, prepare your filling. In a large bowl, toss the sliced apples with lemon juice to prevent browning. In a separate bowl, whisk together the maple syrup, brown sugar, cornstarch, cinnamon, nutmeg, allspice, and salt until smooth. Pour this mixture over the apples and gently toss until every slice is coated. Let stand for 15-20 minutes to allow apples to release some juices.</li><li class="MethodStepper"><h4 class="step-title">Step 5</h4>Preheat your oven to 200°C (180°C fan/400°F) and place a baking sheet on the middle rack to preheat. This will help the bottom crust start cooking immediately, preventing sogginess.</li><li class="MethodStepper"><h4 class="step-title">Step 6</h4>Remove the larger disc of dough from the refrigerator and let it sit for 5 minutes to slightly soften. On a well-floured surface, roll it out to a 30cm circle about 3mm thick. Carefully transfer to your pie dish, gently pressing into the bottom and sides without stretching. Trim the edges, leaving a 2cm overhang. Return to the refrigerator while you prepare the top crust.</li><li class="MethodStepper"><h4 class="step-title">Step 7</h4>Roll the second disc to a 28cm circle. If making a lattice top, cut into 2.5cm strips. If doing a full top crust, be sure to cut decorative vents. Remove the bottom crust from the refrigerator and pour in the apple filling, including any accumulated juices. The cornstarch will thicken these juices during baking to prevent a watery pie.</li><li class="MethodStepper"><h4 class="step-title">Step 8</h4>For a lattice top, layer strips in an over-under pattern across the pie. For a full top crust, simply place it over the filling. Trim excess dough, then fold the bottom crust's overhang over the edges of the top crust. Crimp decoratively using your fingers or a fork to seal thoroughly.</li><li class="MethodStepper"><h4 class="step-title">Step 9</h4>Brush the entire top with egg wash for a golden sheen, then sprinkle with demerara sugar for a beautiful sparkle and crunchy texture. Place the pie on the preheated baking sheet and bake for 20 minutes at the initial high temperature to set the crust.</li><li class="MethodStepper"><h4 class="step-title">Step 10</h4>Reduce oven temperature to 180°C (160°C fan/350°F) and continue baking for 30-35 minutes more. If the edges brown too quickly, cover them with foil or a pie shield. The pie is done when the filling is bubbling vigorously through the vents or lattice (especially in the center) and the crust is deeply golden brown.</li><li class="MethodStepper"><h4 class="step-title">Step 11</h4>During the last 5 minutes of baking, brush the top crust lightly with a tablespoon of maple syrup for an extra maple flavor boost and beautiful glaze. This will caramelize slightly, adding depth to both flavor and appearance.</li><li class="MethodStepper"><h4 class="step-title">Step 12</h4>Allow the pie to cool completely on a wire rack for at least 3 hours before slicing. This resting period is crucial as it allows the filling to set properly – cutting too soon will result in a runny pie. For the cleanest slices, refrigerate for 1 hour after cooling before serving. Enjoy at room temperature or slightly warm with a scoop of vanilla ice cream!</li></ol>