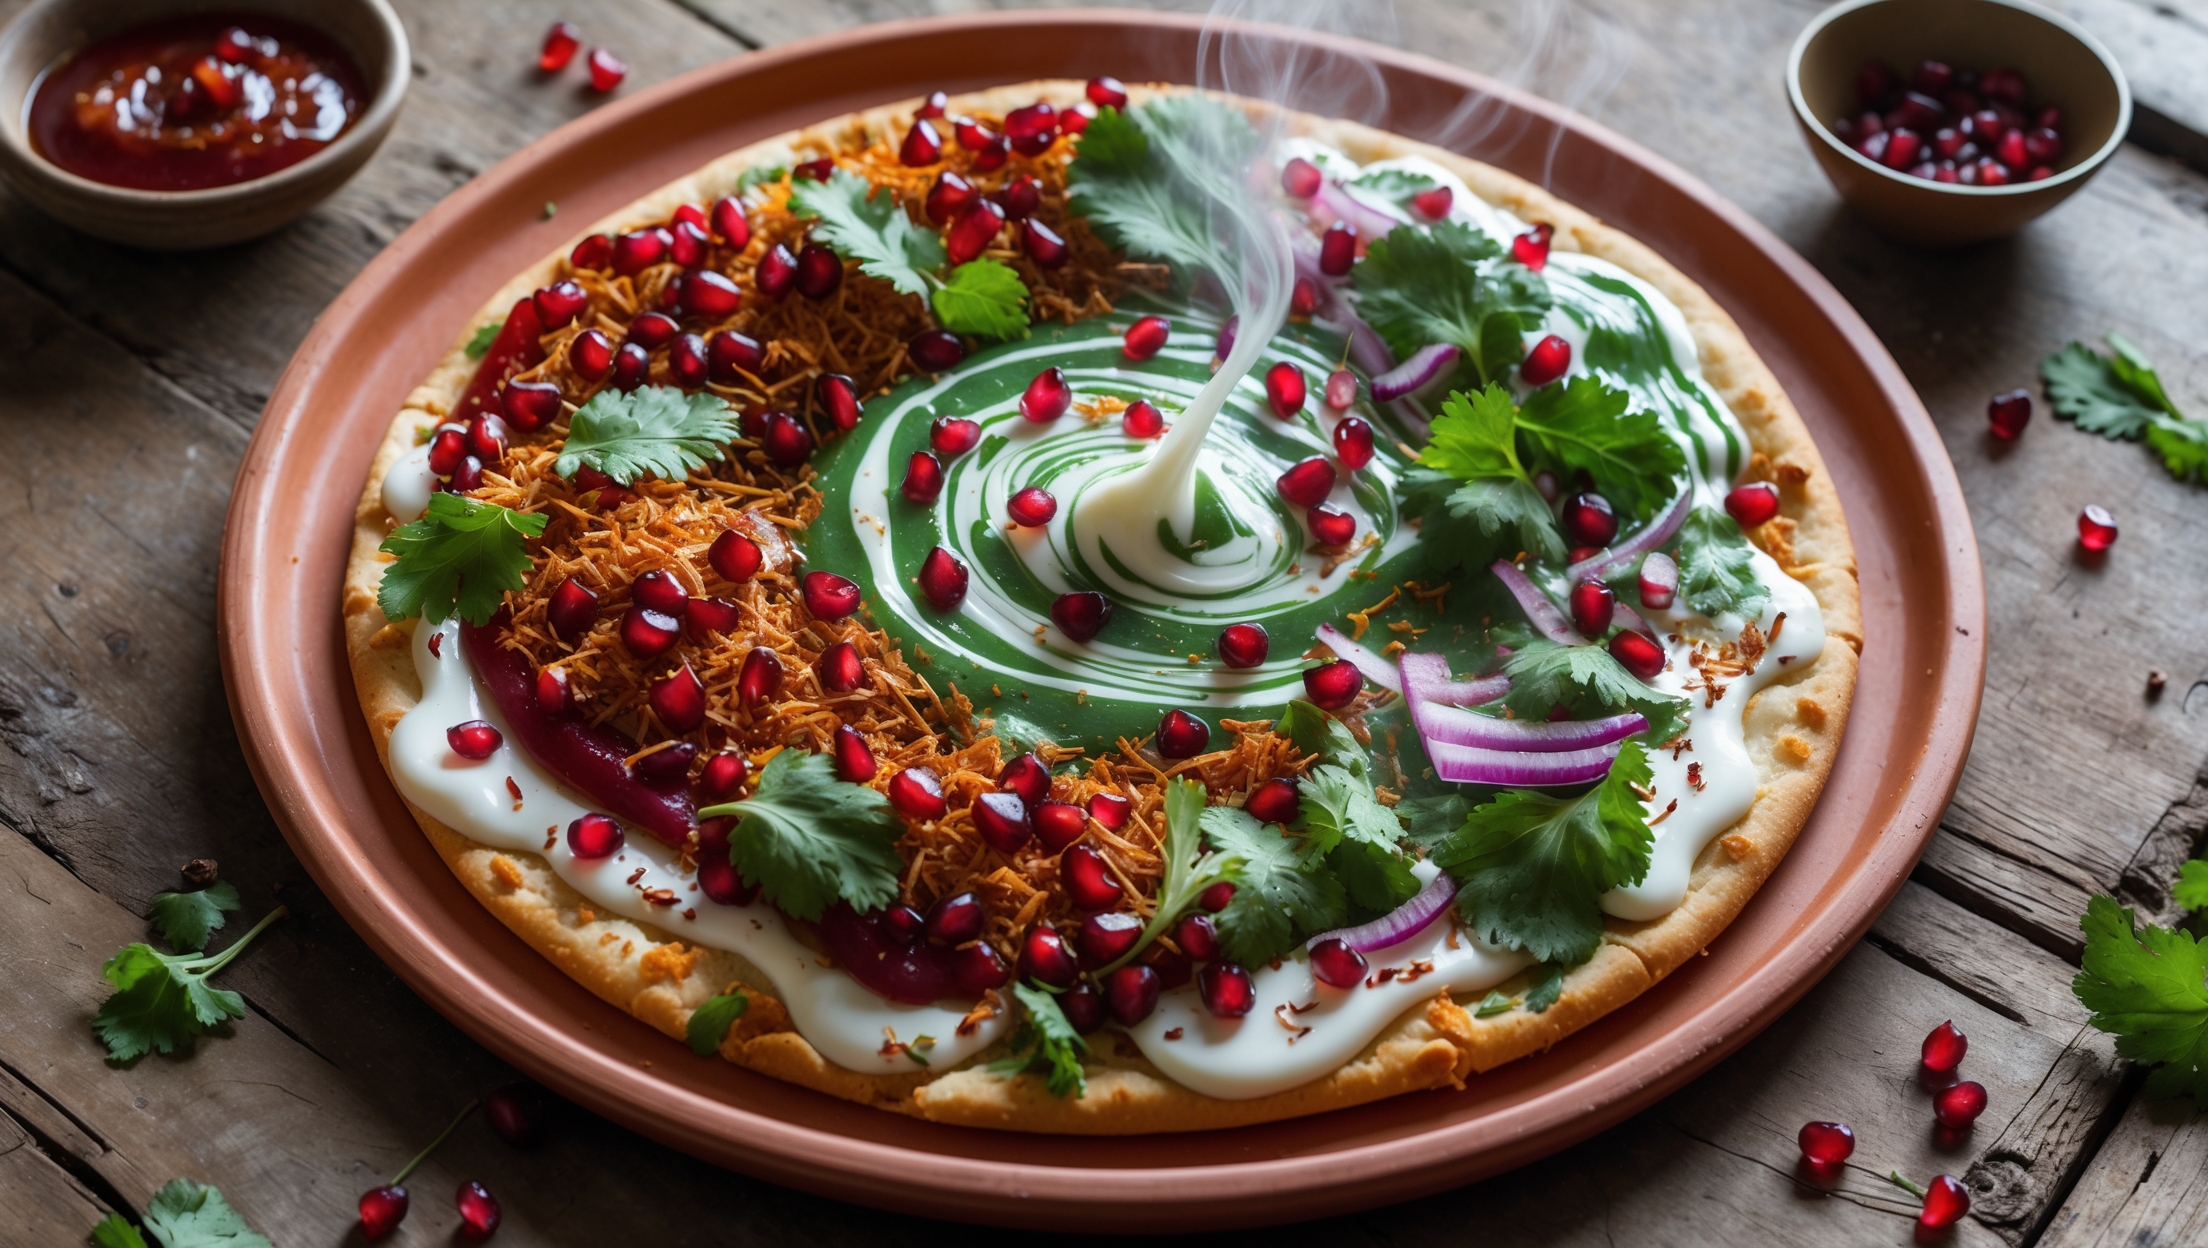
Directions
<ol class="no-list-style"><li class="MethodStepper"><h4 class="step-title">Step 1</h4>Place your pizza stone or heavy baking sheet in the oven and preheat to 250°C (480°F) for at least 30 minutes. This high temperature will help create a crispy base similar to traditional okonomiyaki.</li><li class="MethodStepper"><h4 class="step-title">Step 2</h4>In a large mixing bowl, combine the shredded cabbage, beaten eggs, tempura scraps, flour, dashi stock, and salt. Mix well until the cabbage is thoroughly coated. This mixture creates the authentic okonomiyaki texture within your pizza base.</li><li class="MethodStepper"><h4 class="step-title">Step 3</h4>Roll out your pizza dough on a well-floured surface to form a 30cm (12-inch) circle. The dough should be thin but sturdy enough to support the toppings. Transfer to a pizza peel or flat baking sheet lightly dusted with flour.</li><li class="MethodStepper"><h4 class="step-title">Step 4</h4>Brush the pizza dough with vegetable oil, then evenly spread the cabbage mixture across the dough, leaving a 2cm border around the edge for the crust. Press the cabbage mixture gently into the dough to ensure it adheres while baking.</li><li class="MethodStepper"><h4 class="step-title">Step 5</h4>Sprinkle half the mozzarella cheese over the cabbage layer, then arrange the pork belly slices evenly across the surface. The fat from the pork will render during baking, adding richness to the pizza similar to traditional okonomiyaki.</li><li class="MethodStepper"><h4 class="step-title">Step 6</h4>Carefully slide the pizza onto the preheated stone or baking sheet and bake for 12-15 minutes until the crust is golden brown and the pork is crispy. The high heat causes the cabbage to partially steam within the pizza, creating a tender interior beneath the crispy surface.</li><li class="MethodStepper"><h4 class="step-title">Step 7</h4>Remove from the oven and immediately top with remaining cheese. Drizzle with okonomiyaki sauce and Japanese mayonnaise in a crisscross pattern, mimicking the traditional okonomiyaki presentation. The residual heat will slightly melt the sauces, creating beautiful marbling.</li><li class="MethodStepper"><h4 class="step-title">Step 8</h4>Sprinkle with sliced spring onions, pickled ginger, aonori, and bonito flakes. The heat from the pizza will cause the paper-thin bonito flakes to "dance" as they react to the rising steam – a delightful visual effect that's characteristic of okonomiyaki.</li><li class="MethodStepper"><h4 class="step-title">Step 9</h4>Allow to cool slightly for 2-3 minutes before slicing. This resting time helps the toppings set and makes for cleaner slices. Serve immediately while the bonito flakes are still in motion for the full experience of this Japanese-Italian fusion creation.</li></ol>