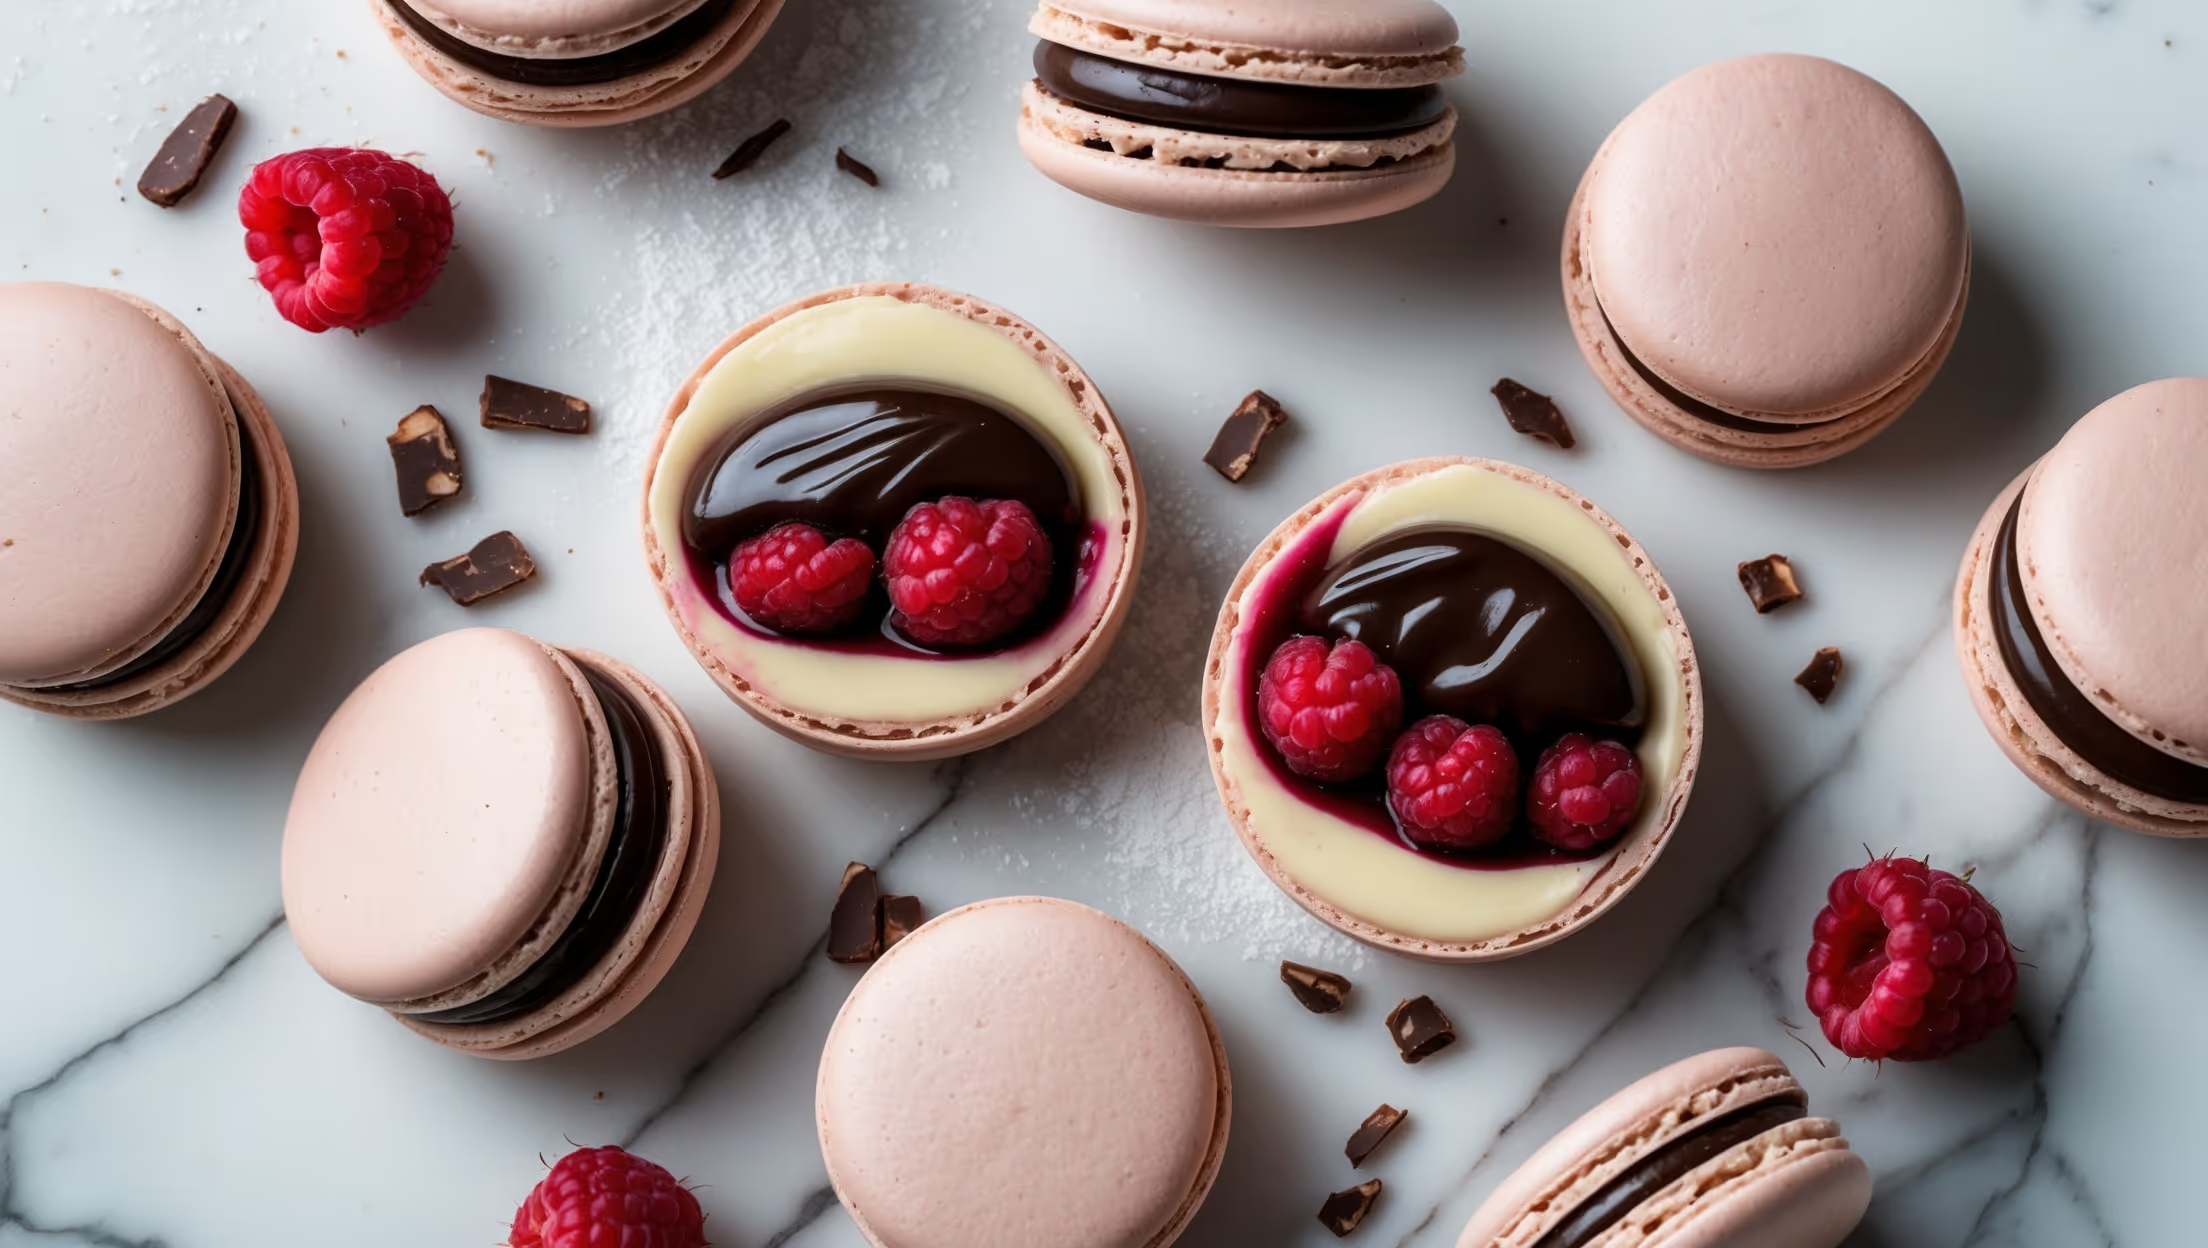
Directions
<ol class="no-list-style"><li class="MethodStepper"><h4 class="step-title">Step 1</h4>Begin your preparation 24 hours before baking by separating your egg whites and leaving them in a clean, covered container at room temperature. This aging process removes excess moisture, which is crucial for achieving stable meringue and perfect macarons.</li><li class="MethodStepper"><h4 class="step-title">Step 2</h4>Prepare your baking sheets by lining them with silicone mats or parchment paper. If using parchment, trace 3.5cm circles about 2cm apart as piping guides, then flip the paper so the ink is facing down.</li><li class="MethodStepper"><h4 class="step-title">Step 3</h4>In a food processor, pulse the ground hazelnuts and icing sugar together for about 1 minute. Sift this mixture twice through a fine-mesh sieve to remove any large particles. This ensures a smooth macaron shell without bumps.</li><li class="MethodStepper"><h4 class="step-title">Step 4</h4>In a stand mixer fitted with the whisk attachment, begin whisking the aged egg whites on medium speed with the cream of tartar and salt until foamy. Gradually add the caster sugar, one tablespoon at a time, while continuing to whisk. Increase to high speed and whisk until stiff, glossy peaks form - when you lift the whisk, the meringue should hold a straight peak without flopping over.</li><li class="MethodStepper"><h4 class="step-title">Step 5</h4>If using food coloring, add a small amount now and gently fold it in using a rubber spatula. Be careful not to deflate the meringue at this stage.</li><li class="MethodStepper"><h4 class="step-title">Step 6</h4>Add one-third of the hazelnut-sugar mixture to the meringue and fold gently using a rubber spatula, cutting through the center and scraping around the edges. Add the remaining dry ingredients in two more additions, folding until the batter flows like lava when lifted with the spatula. The ribbon of batter should disappear back into the mass within 30 seconds - this is called the "macaronage" technique and is crucial for proper texture.</li><li class="MethodStepper"><h4 class="step-title">Step 7</h4>Transfer the batter to a piping bag fitted with a round tip. Holding the bag perpendicular to the baking sheet, pipe 3.5cm rounds onto your prepared sheets. Once piped, firmly tap the baking sheets against the counter 3-4 times to release air bubbles. Let the piped macarons rest at room temperature for 30-45 minutes until they develop a skin - when touched gently with your finger, no batter should stick to it.</li><li class="MethodStepper"><h4 class="step-title">Step 8</h4>While the shells are resting, preheat your oven to 150°C. Bake one sheet at a time in the middle rack for 14-16 minutes. The macarons are done when they have developed "feet" (the ruffled bottom edge) and feel firm when gently touched, with no wobble. Allow them to cool completely on the baking sheets before attempting to remove them.</li><li class="MethodStepper"><h4 class="step-title">Step 9</h4>For the chocolate-hazelnut ganache: Heat the cream in a small saucepan until it just begins to simmer at the edges. Pour the hot cream over the chopped chocolate, let it sit for 1 minute, then stir until completely smooth. Add the hazelnut spread and butter, stirring until incorporated. Allow the ganache to cool and thicken at room temperature until pipeable, about 30-45 minutes.</li><li class="MethodStepper"><h4 class="step-title">Step 10</h4>Match macaron shells of similar size. Pipe a generous amount of the ganache onto the flat sides of half the shells, then gently sandwich with the remaining shells. Refrigerate the filled macarons in an airtight container for at least 24 hours before serving - this "maturation" process allows the flavors to develop and the shells to soften slightly for the perfect texture. Bring to room temperature for 30 minutes before enjoying.</li></ol>