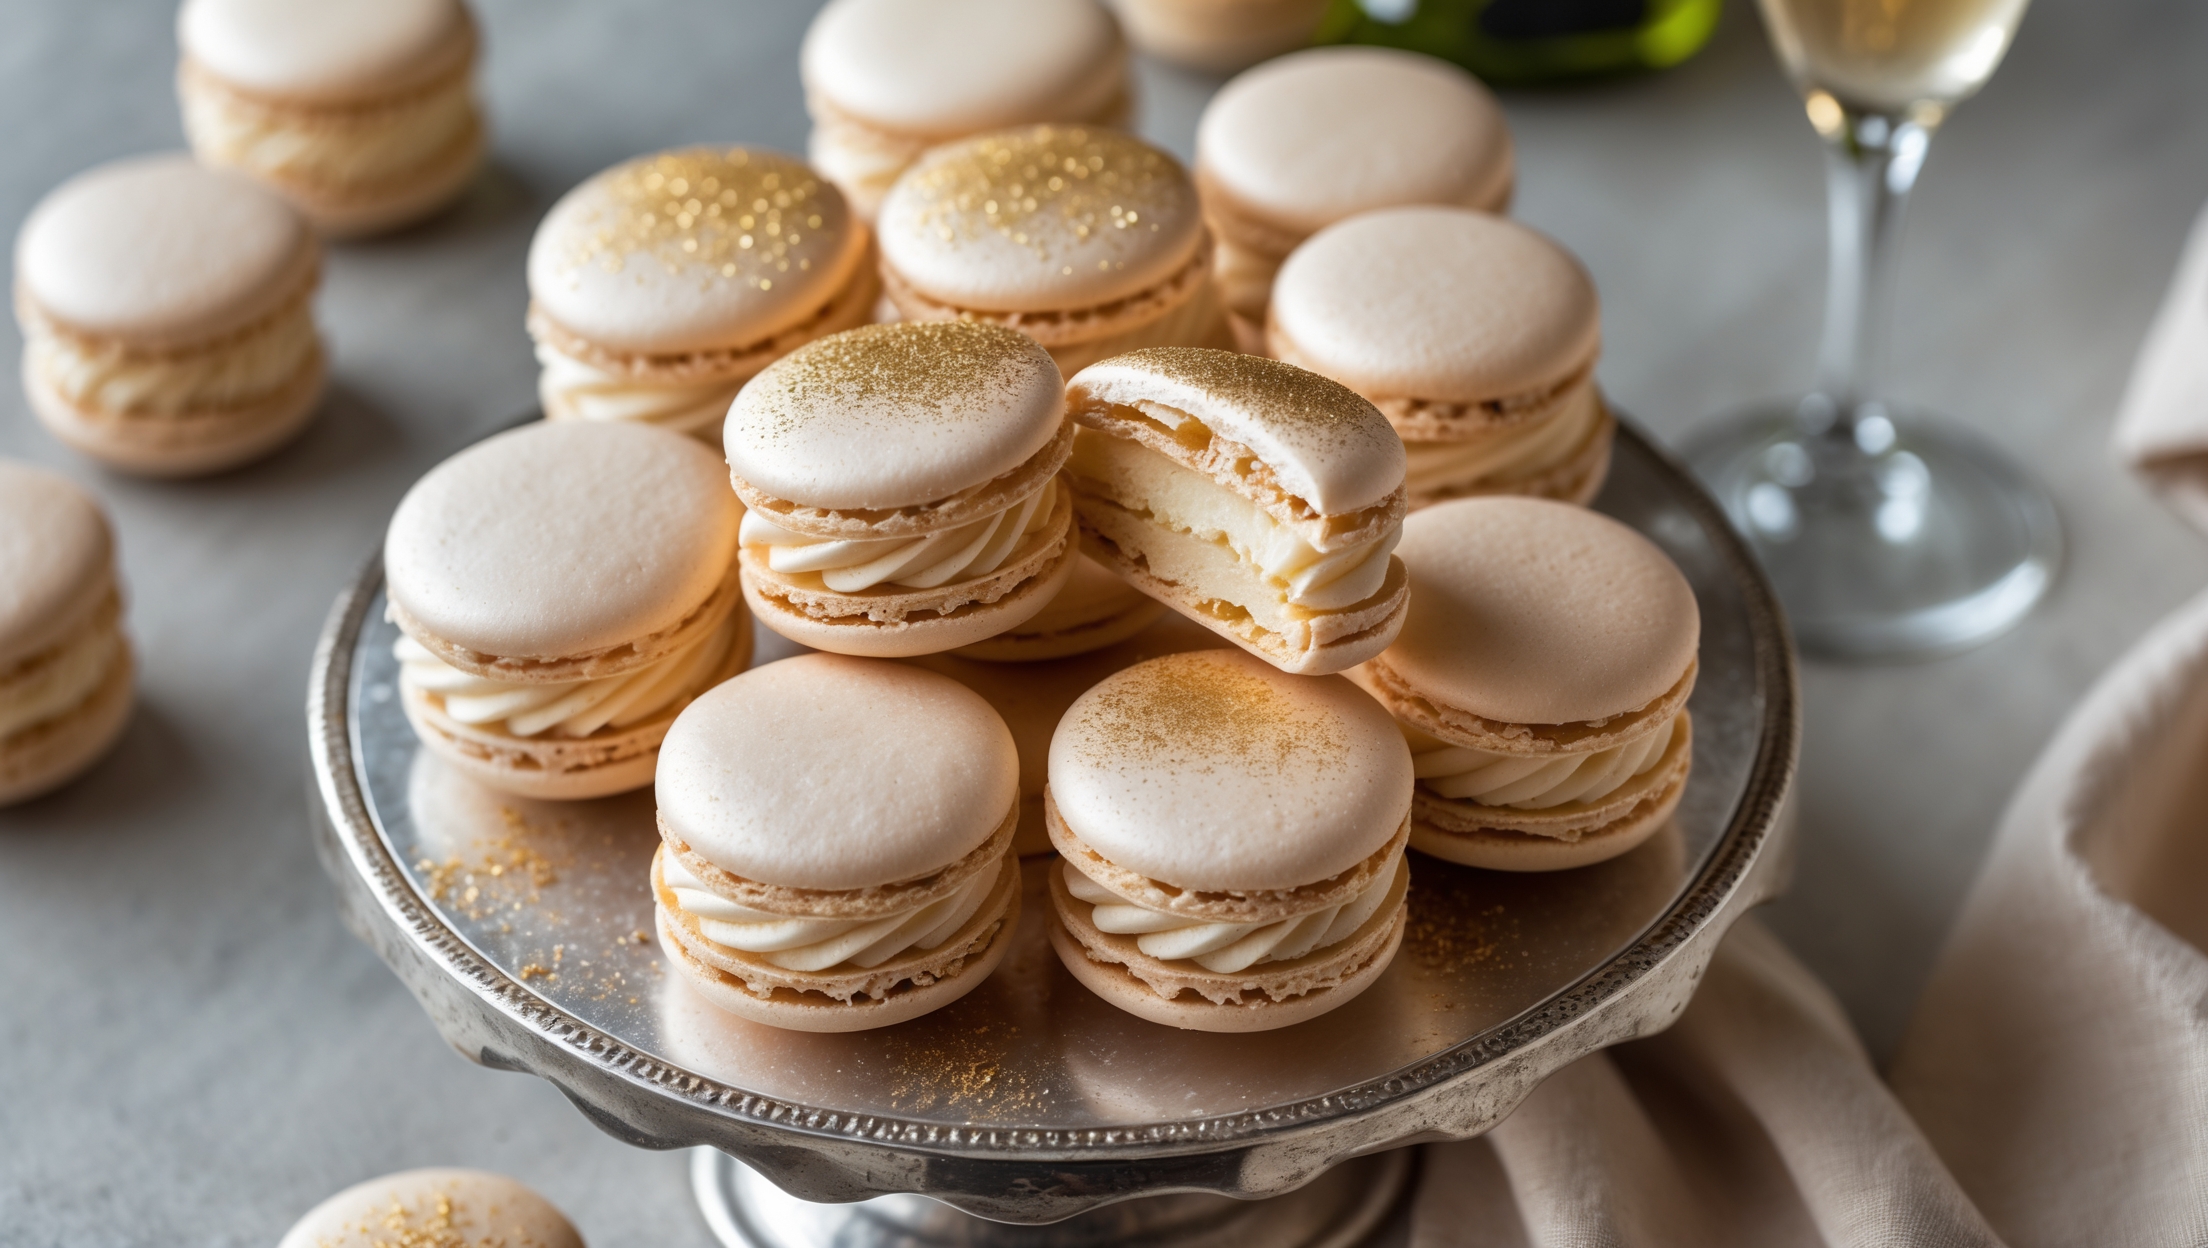
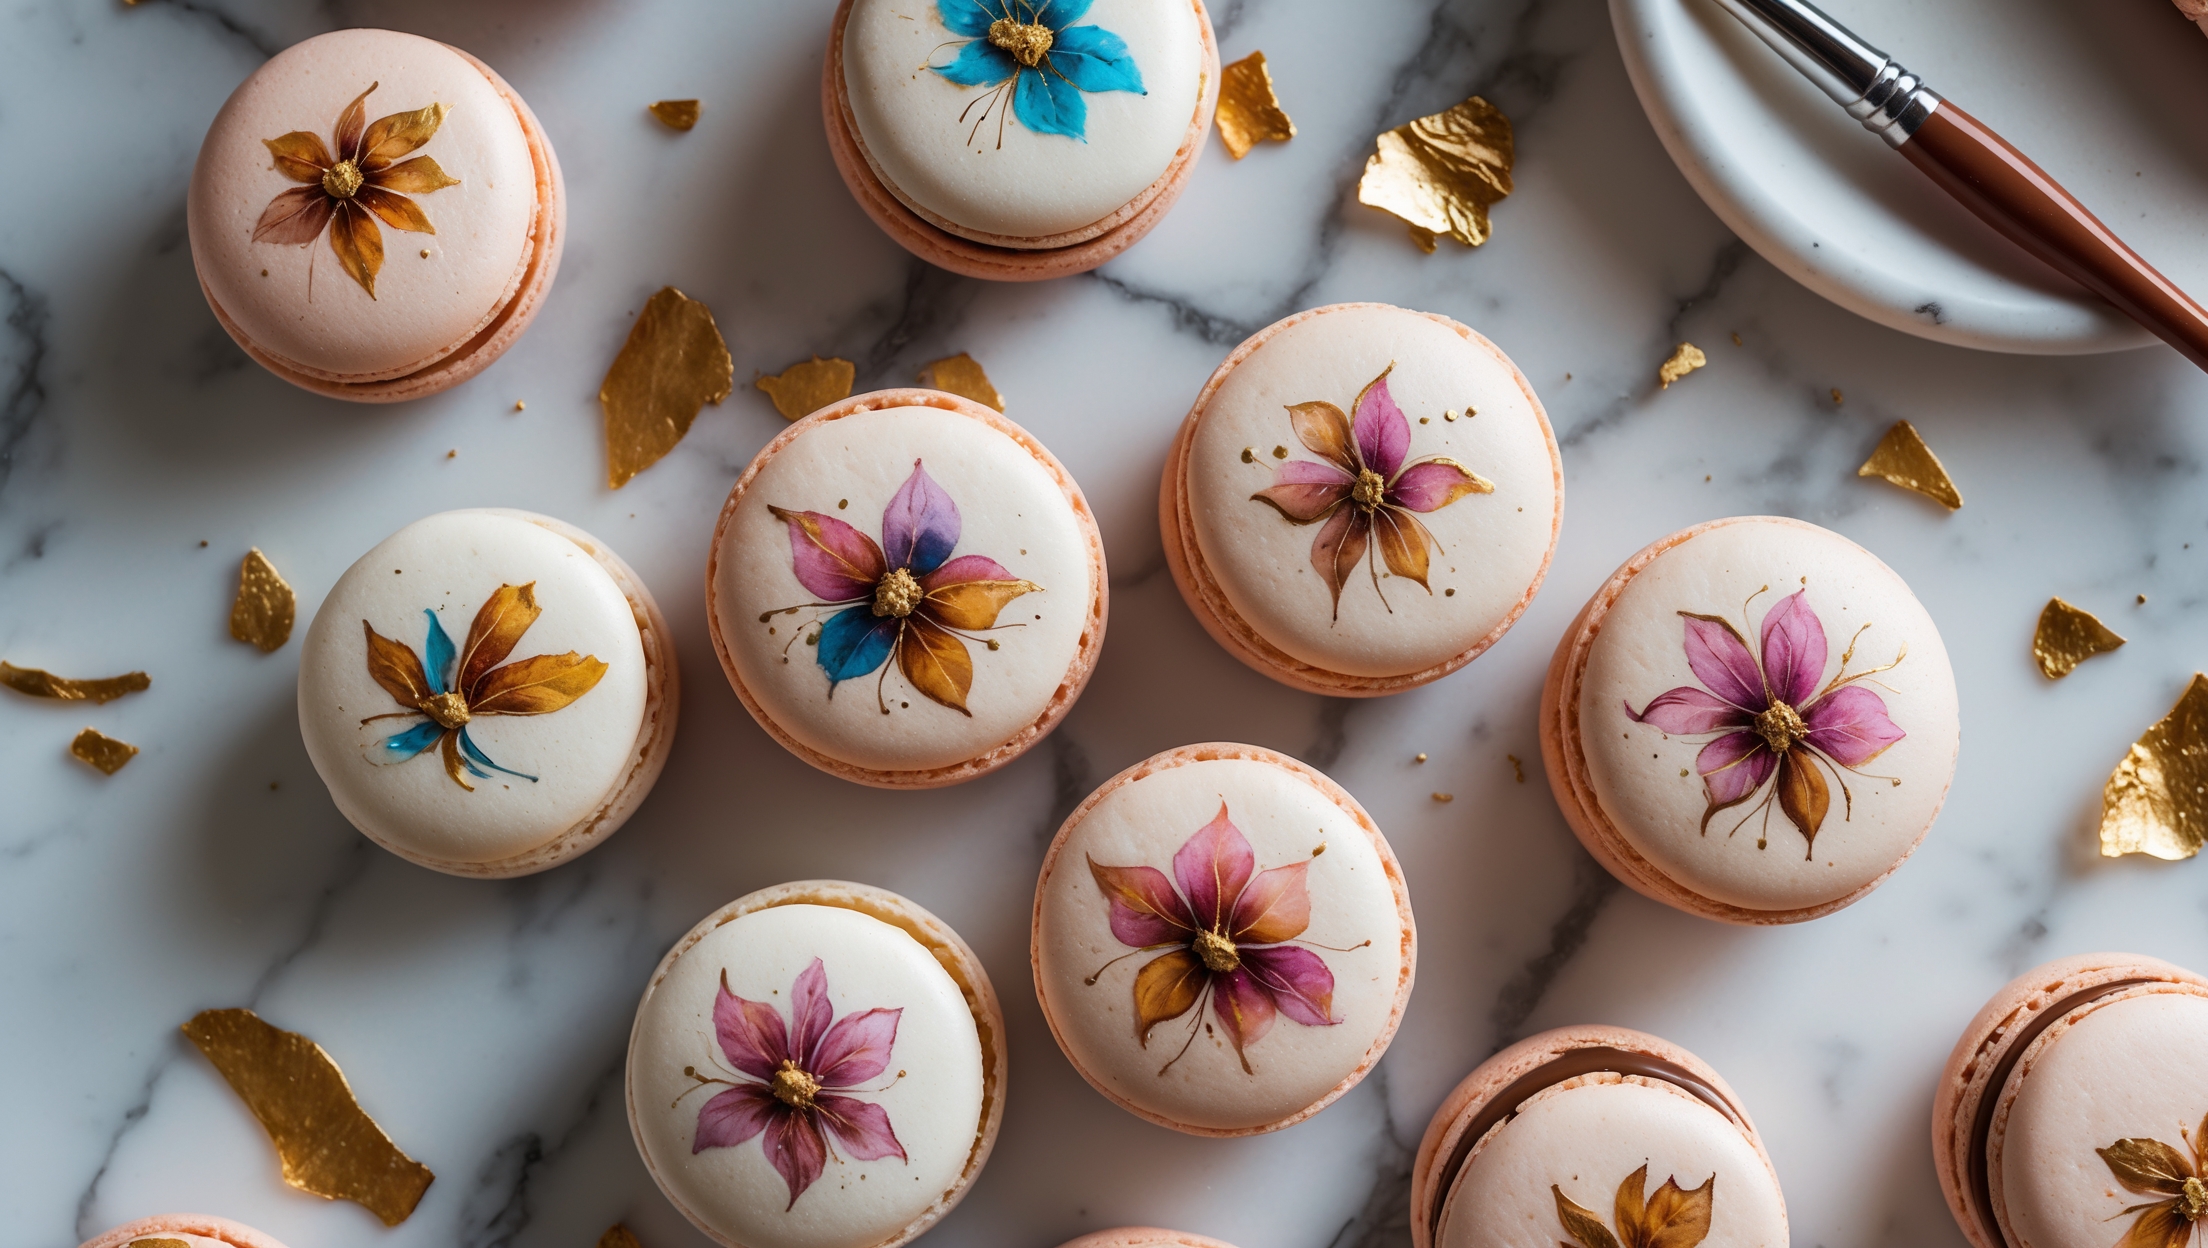
Hand-Painted Gold Leaf and Cocoa Butter Design Macarons Recipe
Ingredients
Equipment
Directions
FAQs
Find answers to your most pressing questions about this delicious recipe right here.
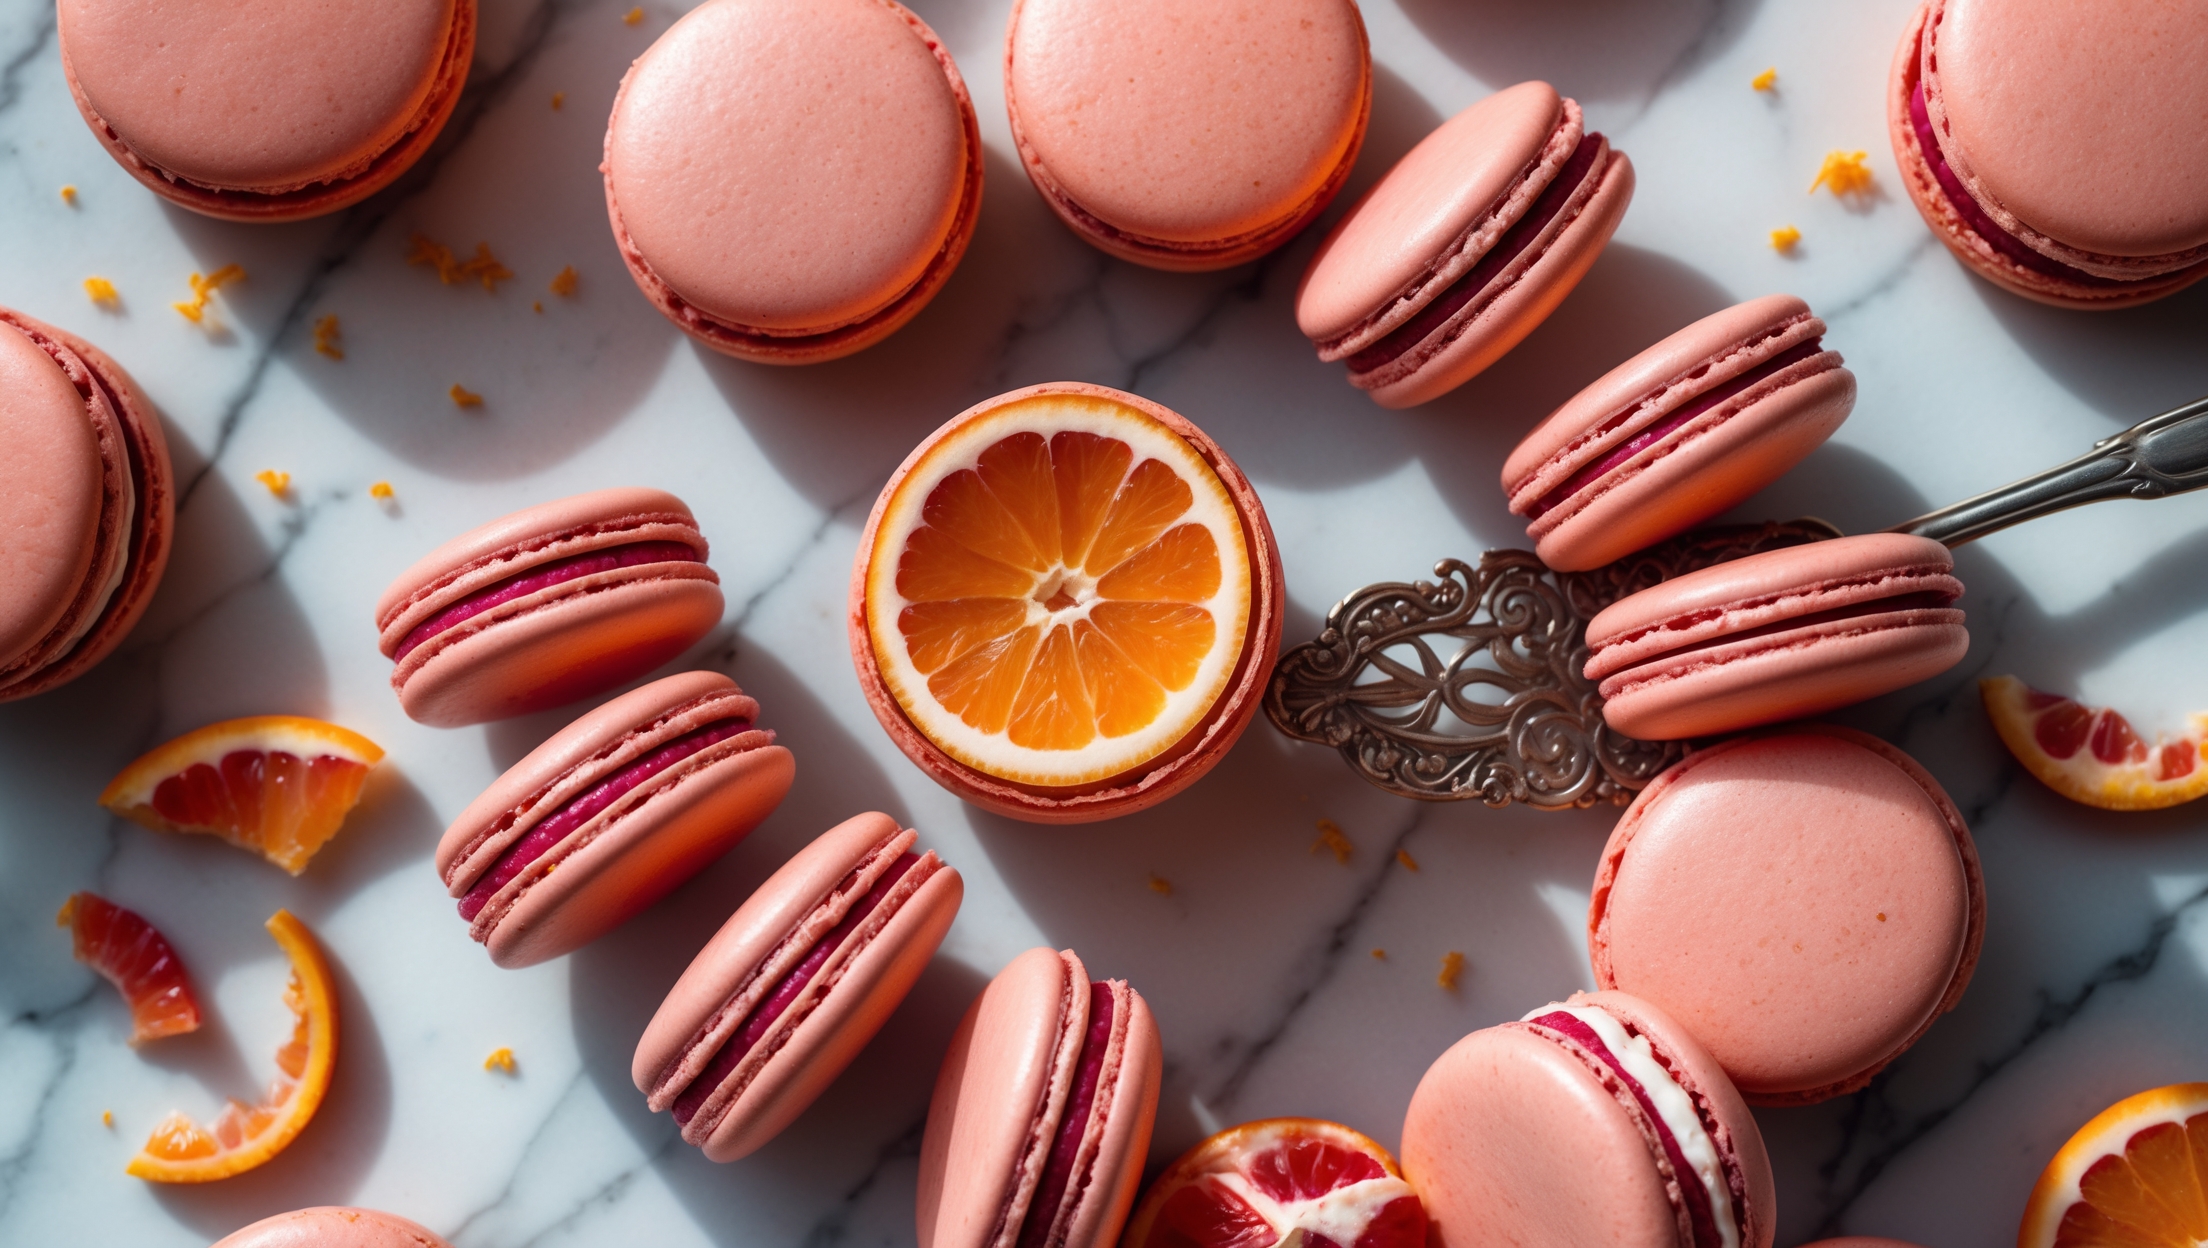
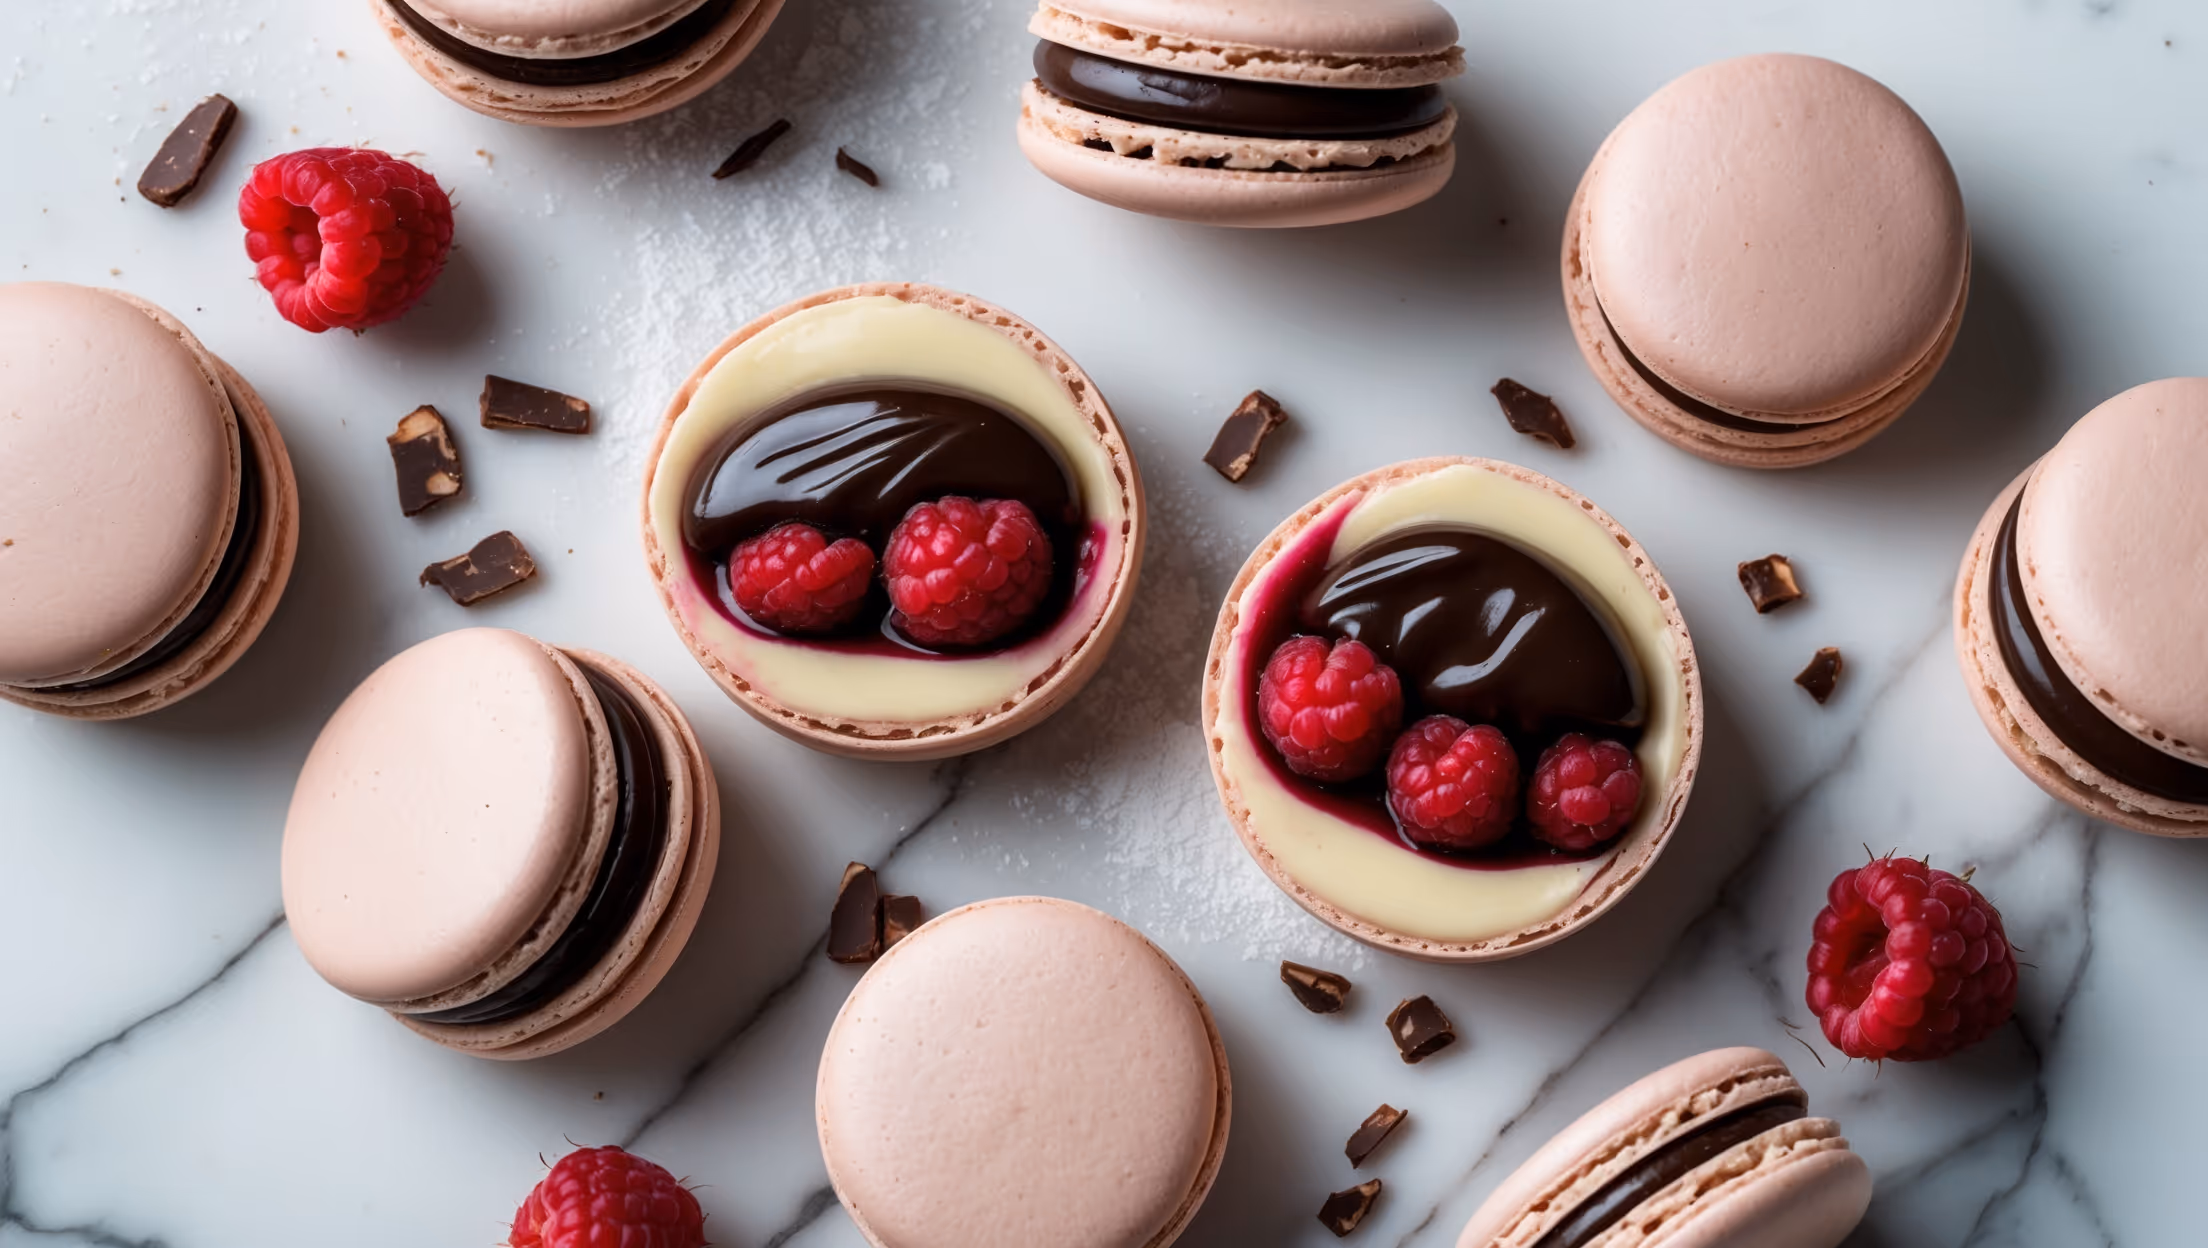
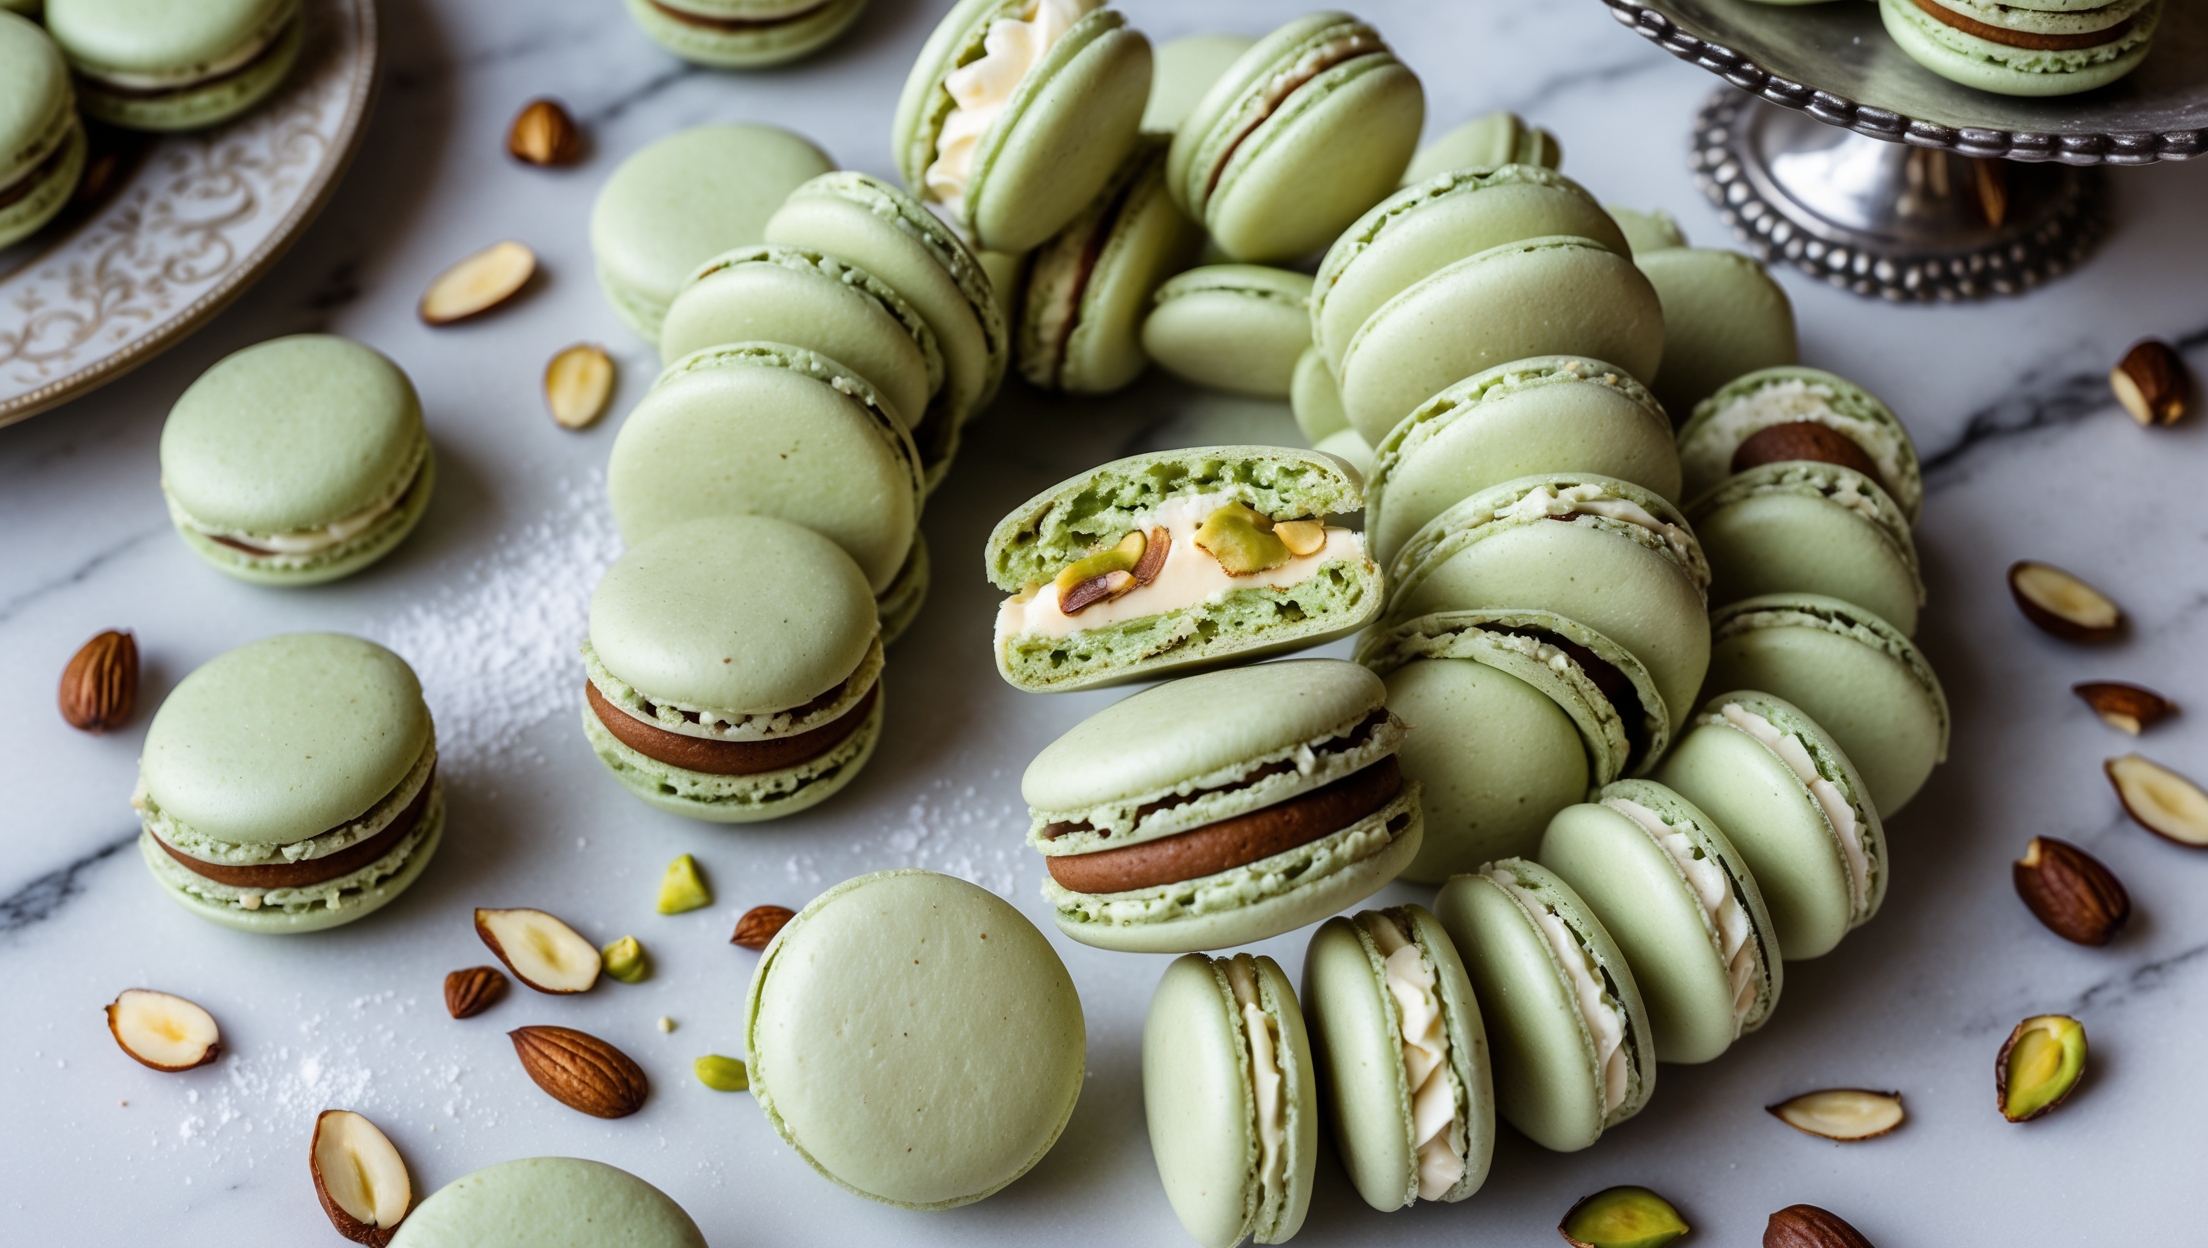
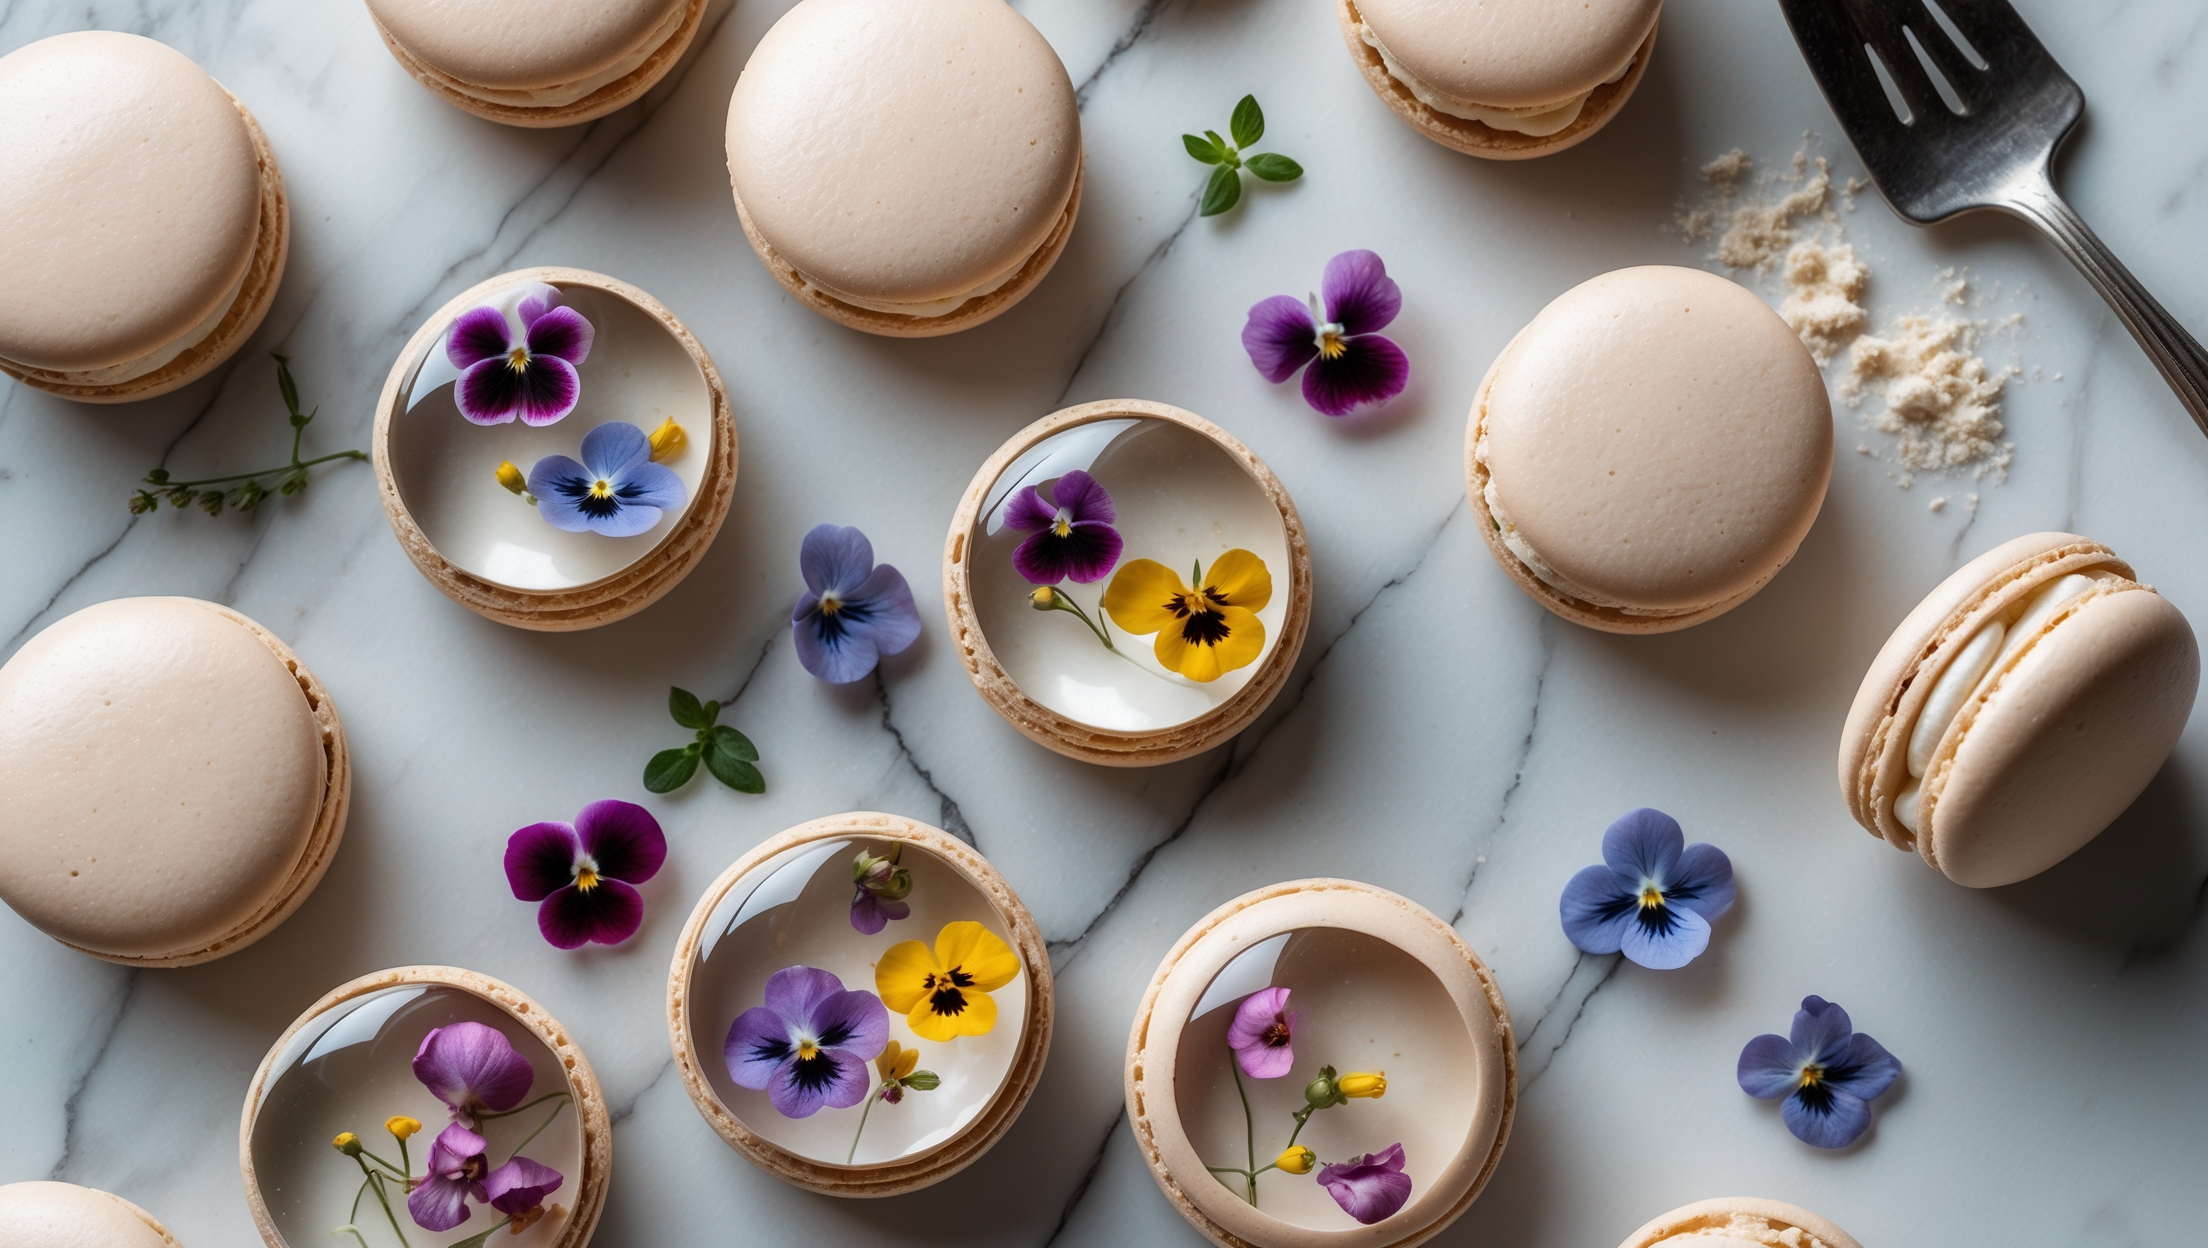
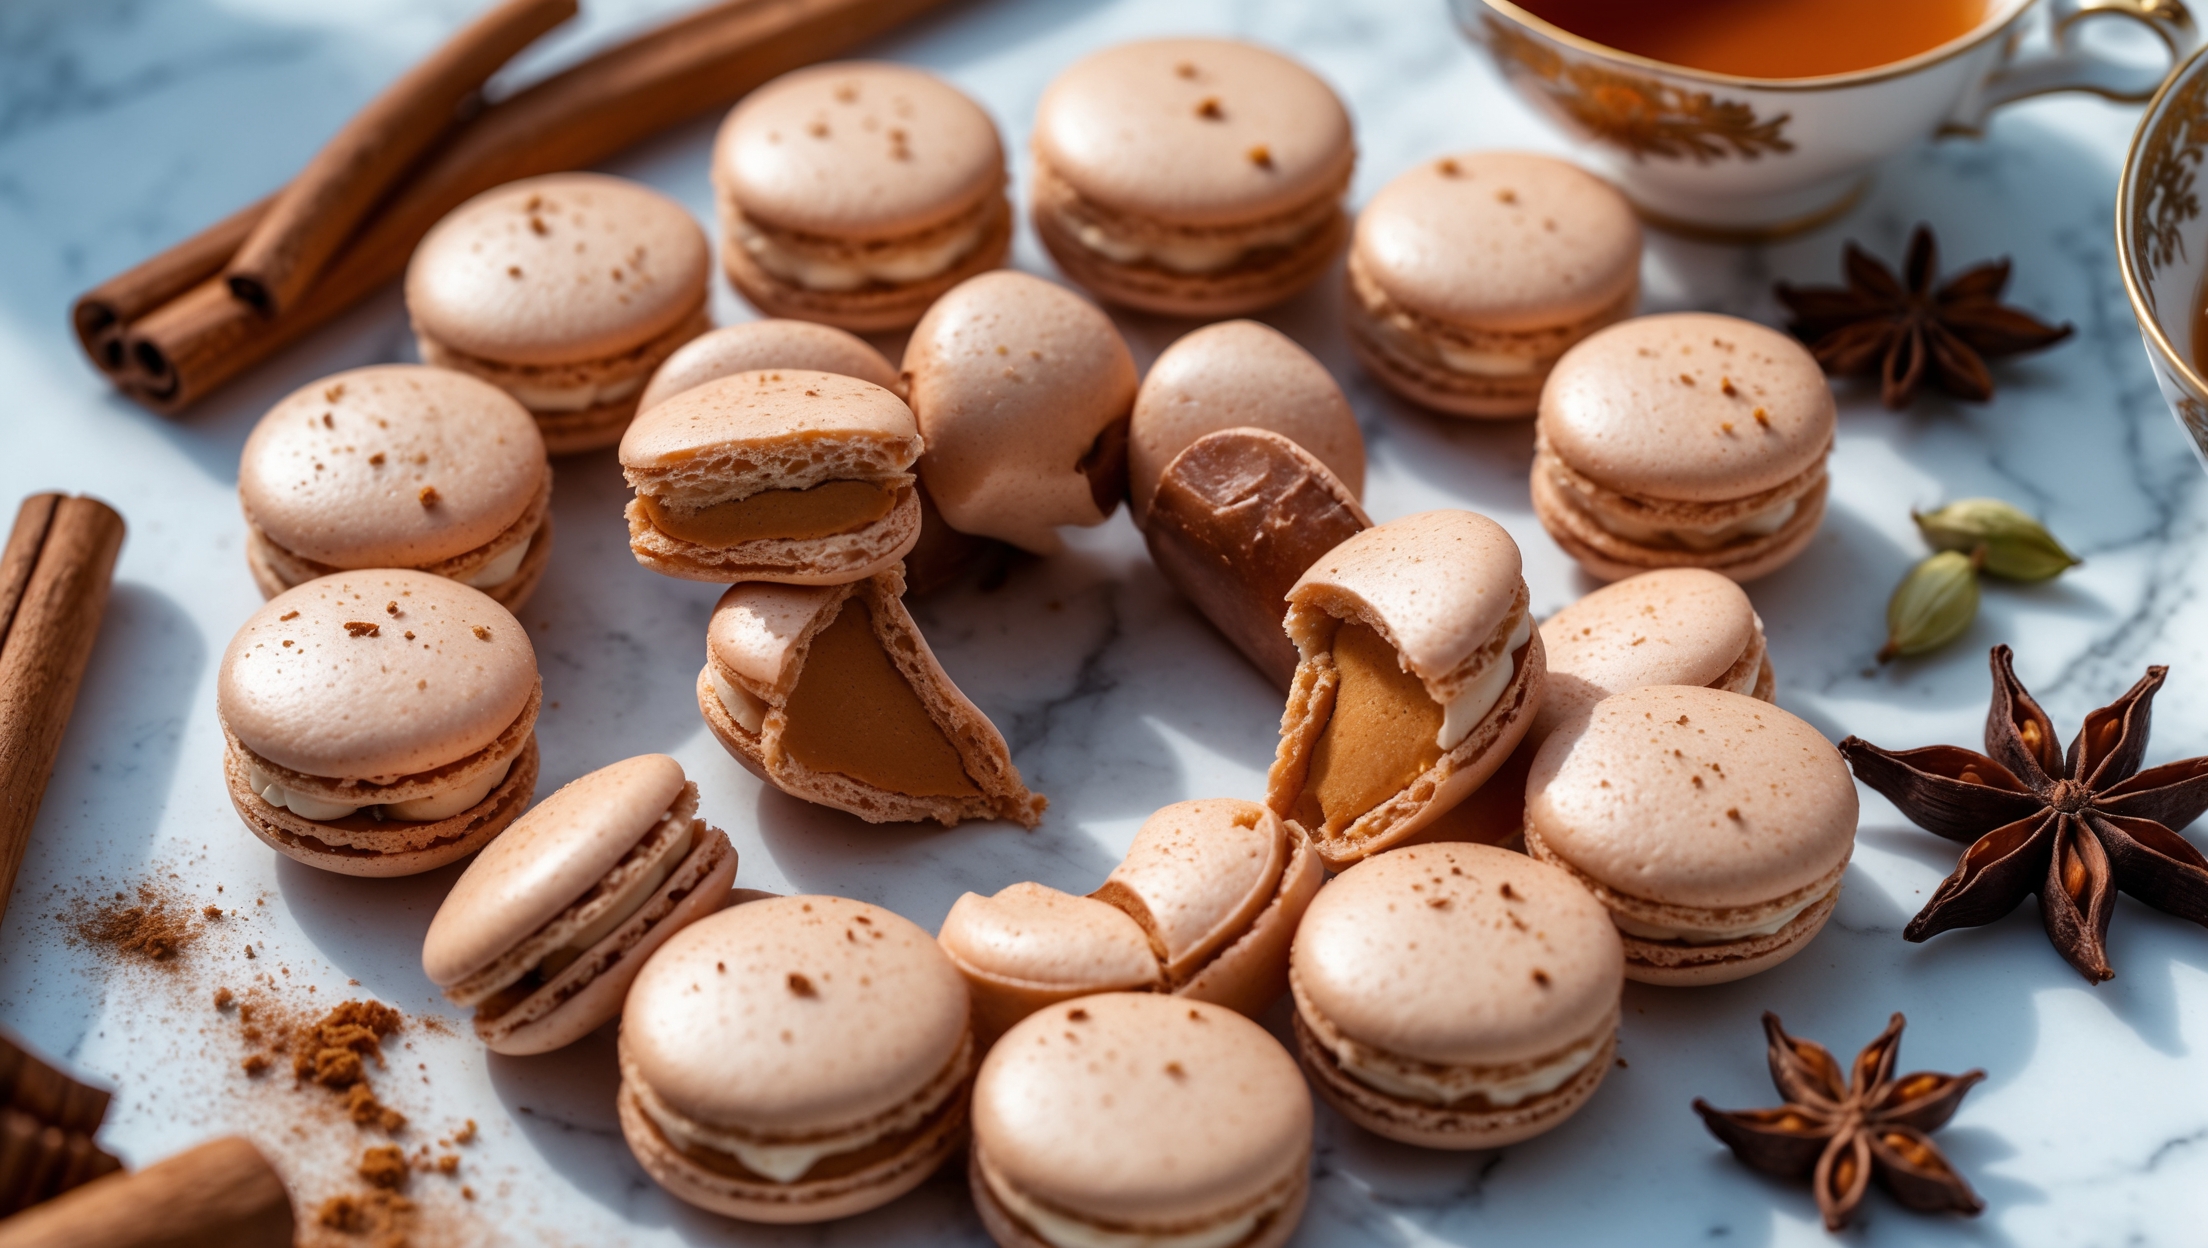
The key ingredients include aged egg whites, caster sugar, ground almonds, icing sugar, chocolate for ganache filling, edible cocoa butter in various colours, and edible gold leaf. Optional food colouring gel can be used for the base macaron shells.
Learn how to cook Hand-Painted Gold Leaf and Cocoa Butter Design Macarons by mastering the delicate meringue process, achieving the perfect macaronage, and baking at 150°C for 15-18 minutes until they develop characteristic "feet." The artistic decoration involves painting set shells with melted cocoa butter and applying gold leaf for a professional patisserie finish.
Aging egg whites (leaving them at room temperature for 24 hours) evaporates excess moisture and relaxes their protein structure, creating more stable meringue. This results in better volume, more consistent shells, and reduces the risk of cracking and hollow centres in your finished macarons.
The secret to perfect macaron "feet" is allowing the piped shells to rest until they form a dry skin (30-60 minutes), correct macaronage consistency (flowing like lava), proper oven temperature (150°C), and tapping trays after piping to release air bubbles.
To prevent smudging, ensure macarons are completely cool before decorating, melt cocoa butter to the right temperature (30-35°C), allow each colour to set before applying the next, work with thin layers, and handle finished macarons carefully. Store in a single layer until designs fully set.
Macarons
Try following recommended recipes