Directions
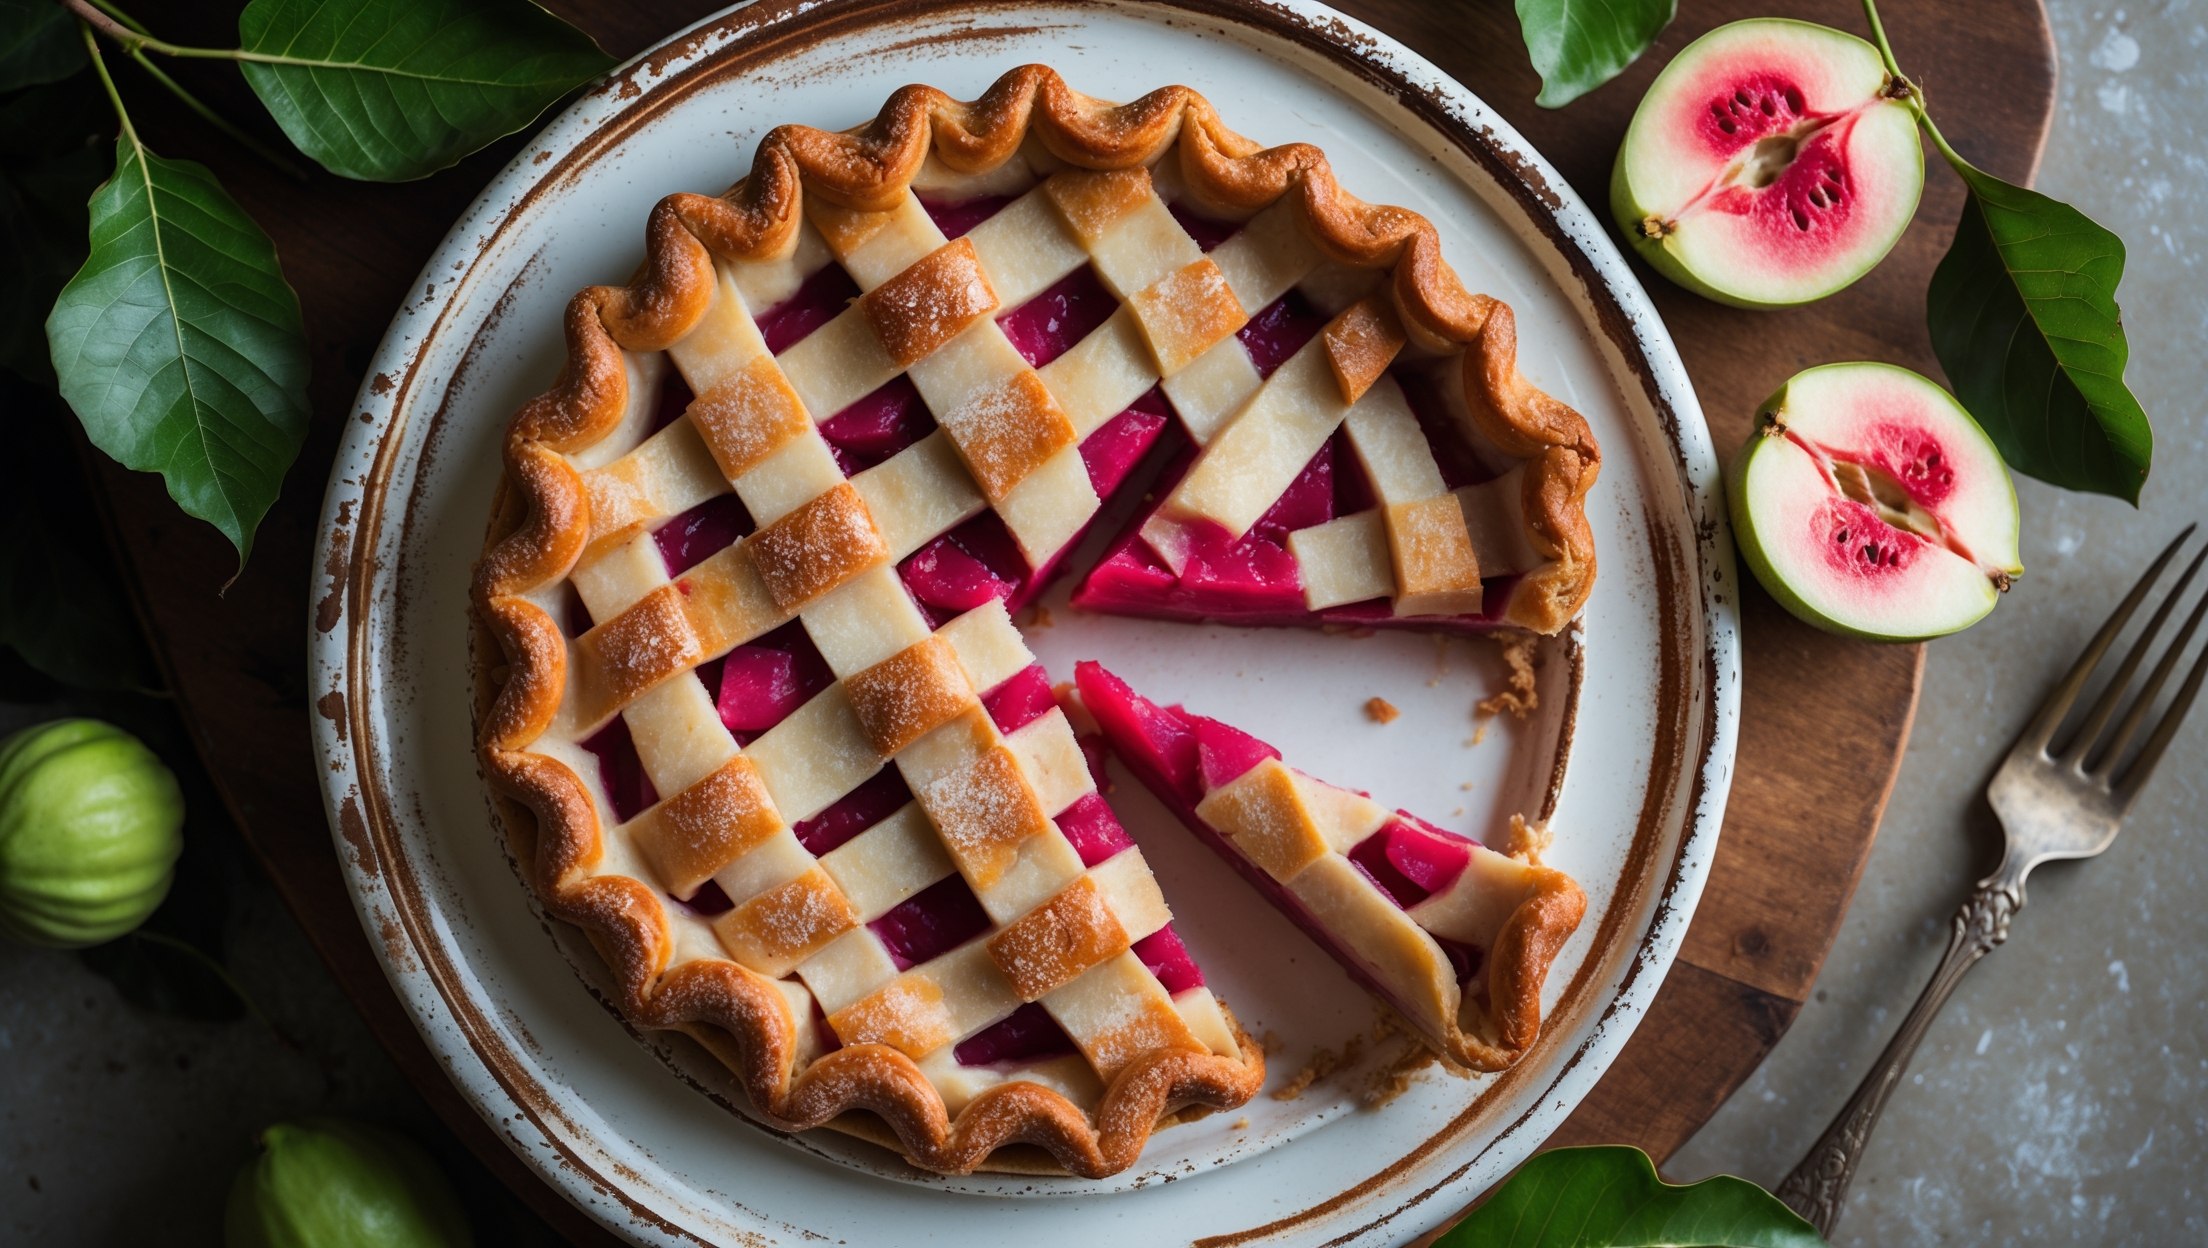
<ol class="no-list-style"> <li class="MethodStepper"> <h4 class="step-title">Step 1</h4> Start by making the pastry. In a large bowl or food processor, combine the flour, sugar, and salt. Add the cold cubed butter and pulse or use a pastry cutter to work it in until the mixture resembles coarse breadcrumbs with some pea-sized butter pieces still visible. These butter pockets will create steam during baking, resulting in flaky layers. </li> <li class="MethodStepper"> <h4 class="step-title">Step 2</h4> Gradually add the ice-cold water, 1 tablespoon at a time, mixing gently until the dough just comes together when pinched. The dough should be slightly crumbly but hold together - avoid overworking it, which can develop gluten and make the crust tough. </li> <li class="MethodStepper"> <h4 class="step-title">Step 3</h4> Divide the dough into two portions - about 60% for the bottom crust and 40% for the lattice top. Shape each into a disk, wrap in plastic wrap, and refrigerate for at least 1 hour or up to overnight. Cold dough is essential for a flaky crust as it keeps the butter from melting before hitting the hot oven. </li> <li class="MethodStepper"> <h4 class="step-title">Step 4</h4> While the dough chills, prepare the filling. If using fresh guavas, peel them, cut in half, and scoop out the seeds. Chop the flesh into small pieces. If using guava paste, cut it into small cubes. Place in a medium saucepan with sugar, cornstarch, lime juice, vanilla, salt, and cinnamon. </li> <li class="MethodStepper"> <h4 class="step-title">Step 5</h4> Cook the filling over medium heat, stirring frequently, until it thickens and begins to bubble, about 5-7 minutes. The cornstarch needs to reach boiling point to fully activate its thickening power. Remove from heat and let cool completely - hot filling will melt your pastry dough during assembly. </li> <li class="MethodStepper"> <h4 class="step-title">Step 6</h4> Preheat your oven to 200°C (390°F). On a lightly floured surface, roll the larger dough portion into a circle about 30cm (12 inches) in diameter, rotating the dough quarter turns as you roll to prevent sticking. The dough should be about 3-4mm thick. </li> <li class="MethodStepper"> <h4 class="step-title">Step 7</h4> Carefully transfer the dough to your pie dish by draping it over your rolling pin. Gently press it into the bottom and sides without stretching, which can cause shrinkage. Trim the edges leaving a 2cm overhang. Refrigerate while you prepare the lattice top. </li> <li class="MethodStepper"> <h4 class="step-title">Step 8</h4> Roll out the remaining dough to a similar thickness and cut into 2cm strips for a traditional lattice, or try different widths for a more rustic look. Keep the strips refrigerated until ready to assemble. </li> <li class="MethodStepper"> <h4 class="step-title">Step 9</h4> Pour the cooled guava filling into the chilled pie shell, spreading it evenly. The filling should come up to about 1cm below the rim of the dish - don't overfill or it may bubble over during baking. </li> <li class="MethodStepper"> <h4 class="step-title">Step 10</h4> Create the lattice top by laying half the strips in one direction, then weaving the remaining strips perpendicular to the first set. Trim and fold the bottom crust over the lattice edges, then crimp decoratively to seal. If the dough becomes too soft at any point, return it to the refrigerator briefly. </li> <li class="MethodStepper"> <h4 class="step-title">Step 11</h4> Brush the lattice and edges with beaten egg and sprinkle with coarse sugar. The egg wash creates that beautiful golden sheen while the sugar adds sparkle and crunch. </li> <li class="MethodStepper"> <h4 class="step-title">Step 12</h4> Place the pie on a baking sheet (to catch any drips) and bake in the preheated oven for 20 minutes, then reduce temperature to 180°C (350°F) and continue baking for another 30-35 minutes, until the crust is deeply golden and the filling is bubbling through the lattice. The initial high temperature helps set the structure of the crust before the filling heats through. </li> <li class="MethodStepper"> <h4 class="step-title">Step 13</h4> Allow the pie to cool completely on a wire rack for at least 3 hours before slicing. This cooling period is crucial as it allows the filling to set - cutting too soon will result in a runny filling. For the cleanest slices, refrigerate for 1-2 hours after cooling. </li> <li class="MethodStepper"> <h4 class="step-title">Step 14</h4> Serve at room temperature with a scoop of vanilla ice cream or a dollop of whipped cream. The pie will keep covered at room temperature for 2 days, or refrigerated for up to 5 days, though the crust will soften slightly over time. </li> </ol>