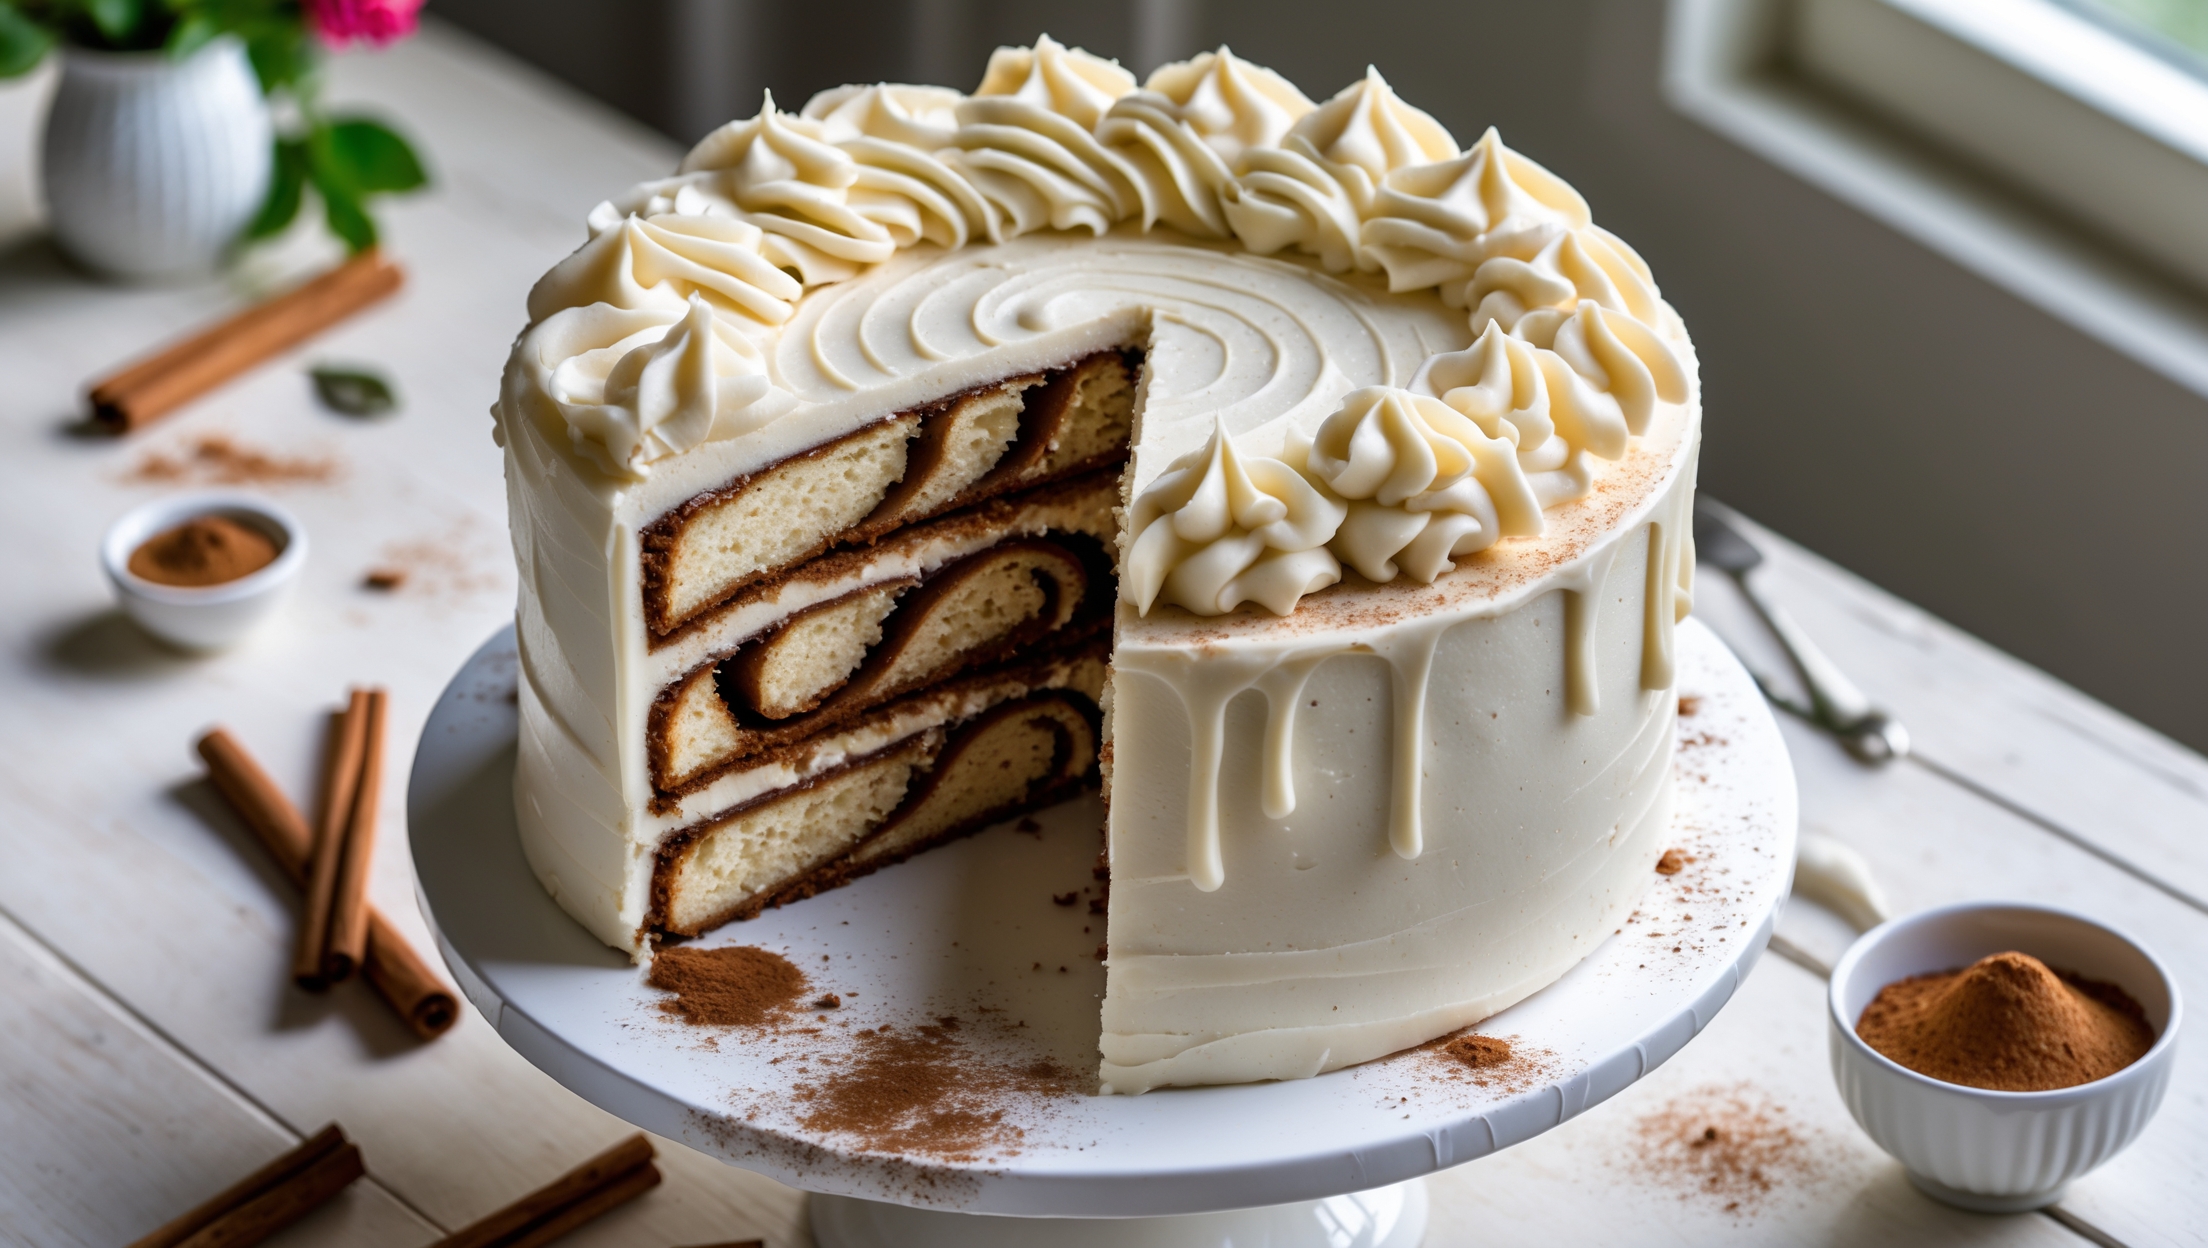
Directions
<ol class="no-list-style"><li class="MethodStepper"><h4 class="step-title">Step 1</h4>Preheat your oven to 175°C (350°F). Grease three 20cm (8-inch) round cake pans, line the bottoms with parchment paper, then grease the parchment. This double preparation ensures your cakes will release perfectly without sticking.</li><li class="MethodStepper"><h4 class="step-title">Step 2</h4>In a medium bowl, whisk together the flour, baking powder, baking soda, and salt. This pre-mixing of dry ingredients ensures they'll incorporate evenly throughout the batter, preventing pockets of leavening agents that could cause uneven rising.</li><li class="MethodStepper"><h4 class="step-title">Step 3</h4>In the bowl of your stand mixer fitted with the paddle attachment, beat the butter on medium-high speed until smooth and creamy, about 1 minute. Add the sugar and cream together until light and fluffy, about 4-5 minutes. Don't rush this step—proper creaming incorporates air into the batter, creating a lighter cake texture.</li><li class="MethodStepper"><h4 class="step-title">Step 4</h4>Add the whole eggs and egg whites one at a time, beating well after each addition and scraping down the sides of the bowl as needed. Mix in the vanilla extract. The mixture may look slightly curdled—that's perfectly normal at this stage.</li><li class="MethodStepper"><h4 class="step-title">Step 5</h4>With the mixer on low speed, add the dry ingredients in three portions, alternating with the buttermilk in two portions, beginning and ending with the dry ingredients. Mix just until combined after each addition. Overmixing develops gluten, which can lead to a tough cake.</li><li class="MethodStepper"><h4 class="step-title">Step 6</h4>Gently fold in the rainbow sprinkles using a rubber spatula. Use jimmies sprinkles rather than nonpareils, as nonpareils will bleed their color instantly when they come into contact with the wet batter. Fold just until evenly distributed—about 10-12 gentle folds should do it.</li><li class="MethodStepper"><h4 class="step-title">Step 7</h4>Divide the batter evenly between the prepared pans. I recommend using a digital kitchen scale to ensure each pan gets the same amount for even baking. Smooth the tops with your spatula and tap the pans gently on the counter to release any large air bubbles.</li><li class="MethodStepper"><h4 class="step-title">Step 8</h4>Bake for 23-27 minutes, or until a toothpick inserted in the center comes out clean and the tops spring back when lightly touched. The cakes should be pulling away slightly from the sides of the pans. If your oven has hot spots, rotate the pans halfway through baking.</li><li class="MethodStepper"><h4 class="step-title">Step 9</h4>Allow the cakes to cool in the pans for 10 minutes, then turn out onto wire racks to cool completely. To prevent doming, you can place a clean kitchen towel over the cakes while they cool—the gentle weight and trapped steam helps flatten any slight dome.</li><li class="MethodStepper"><h4 class="step-title">Step 10</h4>For the buttercream, beat the butter in your stand mixer on medium-high speed until pale and creamy, about 3-4 minutes. The extended beating time creates a lighter, fluffier frosting base by incorporating air into the butter.</li><li class="MethodStepper"><h4 class="step-title">Step 11</h4>Gradually add the sifted powdered sugar, about 125g at a time, beating well after each addition. Add the heavy cream, vanilla extract, and salt, then beat on medium-high speed for 4-5 minutes until extremely light and fluffy. If the buttercream is too thick, add a bit more cream; if too thin, add more powdered sugar.</li><li class="MethodStepper"><h4 class="step-title">Step 12</h4>If you'd like to color your buttercream, divide it and add gel food coloring as desired. Gel coloring won't thin your buttercream like liquid food coloring might.</li><li class="MethodStepper"><h4 class="step-title">Step 13</h4>To assemble, level the cake layers if needed using a cake leveler or serrated knife. Place the first layer on your serving plate or cake board. Spread about 200g of buttercream evenly over the top. Add the second layer and repeat with another 200g of buttercream. Place the final layer on top, bottom-side up (this gives you a perfectly flat top surface).</li><li class="MethodStepper"><h4 class="step-title">Step 14</h4>Apply a thin crumb coat of frosting all over the cake, then refrigerate for 20-30 minutes to set. This crucial step seals in any loose crumbs before the final layer of frosting.</li><li class="MethodStepper"><h4 class="step-title">Step 15</h4>Apply the final layer of buttercream, smoothing the sides and top with an offset spatula or bench scraper. For the smoothest finish, dip your spatula in hot water, wipe dry, then glide it over the frosting—the slight warmth helps create a silky surface.</li><li class="MethodStepper"><h4 class="step-title">Step 16</h4>Decorate the cake as desired with remaining buttercream and additional sprinkles. For a professional touch, try pressing sprinkles around the bottom edge of the cake, or create a sprinkle border on top. You can also pipe decorative borders or rosettes using fitted piping bags.</li><li class="MethodStepper"><h4 class="step-title">Step 17</h4>For the best flavor and texture, let the completed cake sit at room temperature for 1-2 hours before serving. This allows the flavors to meld and the cake to soften to the perfect consistency. Store any leftover cake covered at room temperature for up to 3 days, or refrigerate for up to 5 days—just bring to room temperature before serving for the best texture.</li></ol>