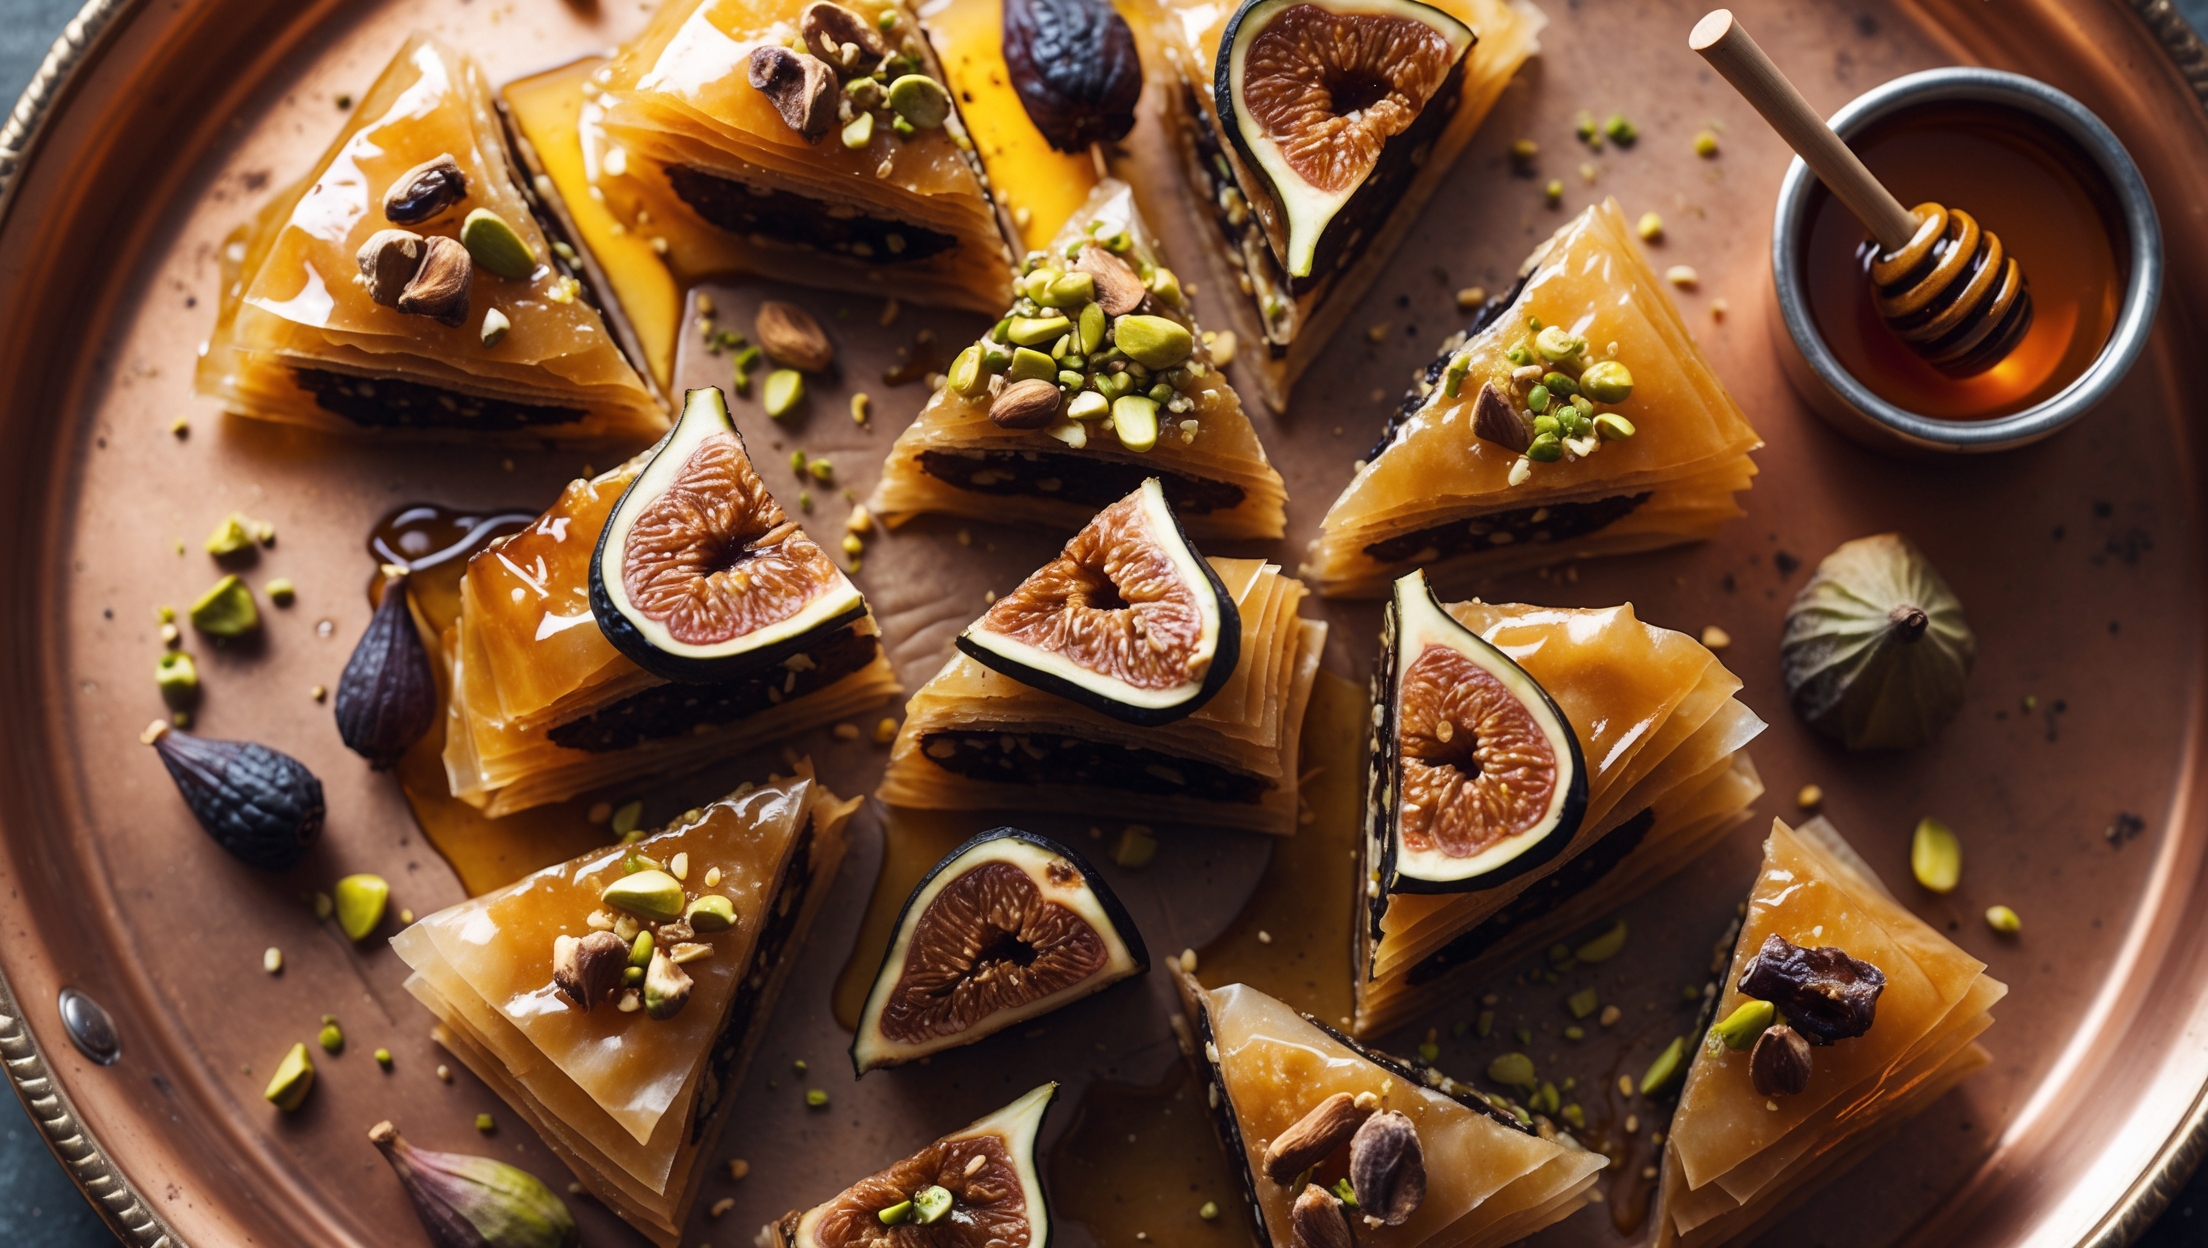
Directions
<ol class="no-list-style"><li class="MethodStepper"><h4 class="step-title">Step 1</h4>Begin by preparing your workstation. Preheat your oven to 180°C (350°F). Unwrap the phyllo dough and cover it with a slightly damp kitchen towel to prevent it from drying out as you work. Melt the butter in a small saucepan over low heat, being careful not to brown it.</li><li class="MethodStepper"><h4 class="step-title">Step 2</h4>For the filling, combine the finely chopped figs, walnuts, pistachios, and almonds in a food processor and pulse until coarsely ground but not pasty. Transfer to a bowl and stir in the cinnamon, cardamom, cloves, and orange zest until evenly distributed. The spices will bloom in the oven, infusing your baklava with warm, aromatic flavors.</li><li class="MethodStepper"><h4 class="step-title">Step 3</h4>Brush the bottom and sides of your baking dish with melted butter. Carefully place one sheet of phyllo in the bottom of the dish, allowing any excess to climb up the sides. Brush generously with melted butter. The butter not only adds flavor but creates those characteristic crisp layers as it separates the phyllo sheets during baking.</li><li class="MethodStepper"><h4 class="step-title">Step 4</h4>Repeat this process with 7 more sheets of phyllo, brushing each with butter before adding the next. Don't worry if sheets tear slightly – just patch them together and continue layering. The multiple layers will disguise any imperfections.</li><li class="MethodStepper"><h4 class="step-title">Step 5</h4>Sprinkle one-third of the fig and nut mixture evenly over the phyllo base, pressing down gently to create a level surface. Top with 4 sheets of phyllo, brushing each with butter before adding the next.</li><li class="MethodStepper"><h4 class="step-title">Step 6</h4>Add another third of the fig mixture, followed by 4 more buttered phyllo sheets. Spread the final third of the fig mixture, then top with 8 sheets of phyllo, brushing each sheet generously with butter, including the final top layer. The top and bottom sections having more phyllo sheets provides structural integrity to your baklava.</li><li class="MethodStepper"><h4 class="step-title">Step 7</h4>Using a sharp knife, cut the unbaked baklava into diamond shapes by making parallel cuts about 4cm apart diagonally across the pan, then making parallel cuts in the opposite direction. Be sure to cut all the way to the bottom of the dish, as cutting after baking would crush the delicate layers.</li><li class="MethodStepper"><h4 class="step-title">Step 8</h4>Bake in the preheated oven for 40-45 minutes, or until the top is golden brown and crisp. The slow baking ensures that all layers cook through while developing a beautiful color and texture.</li><li class="MethodStepper"><h4 class="step-title">Step 9</h4>While the baklava is baking, prepare the syrup. Combine honey, sugar, water, cinnamon stick, cardamom pods, and orange peel in a medium saucepan. Bring to a boil, reduce heat, and simmer for 15 minutes. Remove from heat, strain out the spices and orange peel, then stir in the orange blossom water and lemon juice. The acid in the lemon juice prevents the syrup from crystallizing while adding a brightness that balances the sweetness.</li><li class="MethodStepper"><h4 class="step-title">Step 10</h4>When the baklava comes out of the oven, immediately pour the hot syrup evenly over the hot baklava, making sure to get it into all the cut lines. You'll hear a satisfying sizzle as the syrup hits the hot pastry, beginning the absorption process that makes baklava so delectable.</li><li class="MethodStepper"><h4 class="step-title">Step 11</h4>Let the baklava cool completely in the pan, uncovered, for at least 4 hours or preferably overnight. This resting period allows the syrup to be fully absorbed and the flavors to meld together harmoniously.</li><li class="MethodStepper"><h4 class="step-title">Step 12</h4>Once cooled, you can re-cut along the lines to ensure clean separation of pieces. Store at room temperature in an airtight container for up to 1 week. The baklava actually improves after a day or two as the flavors continue to develop.</li></ol>