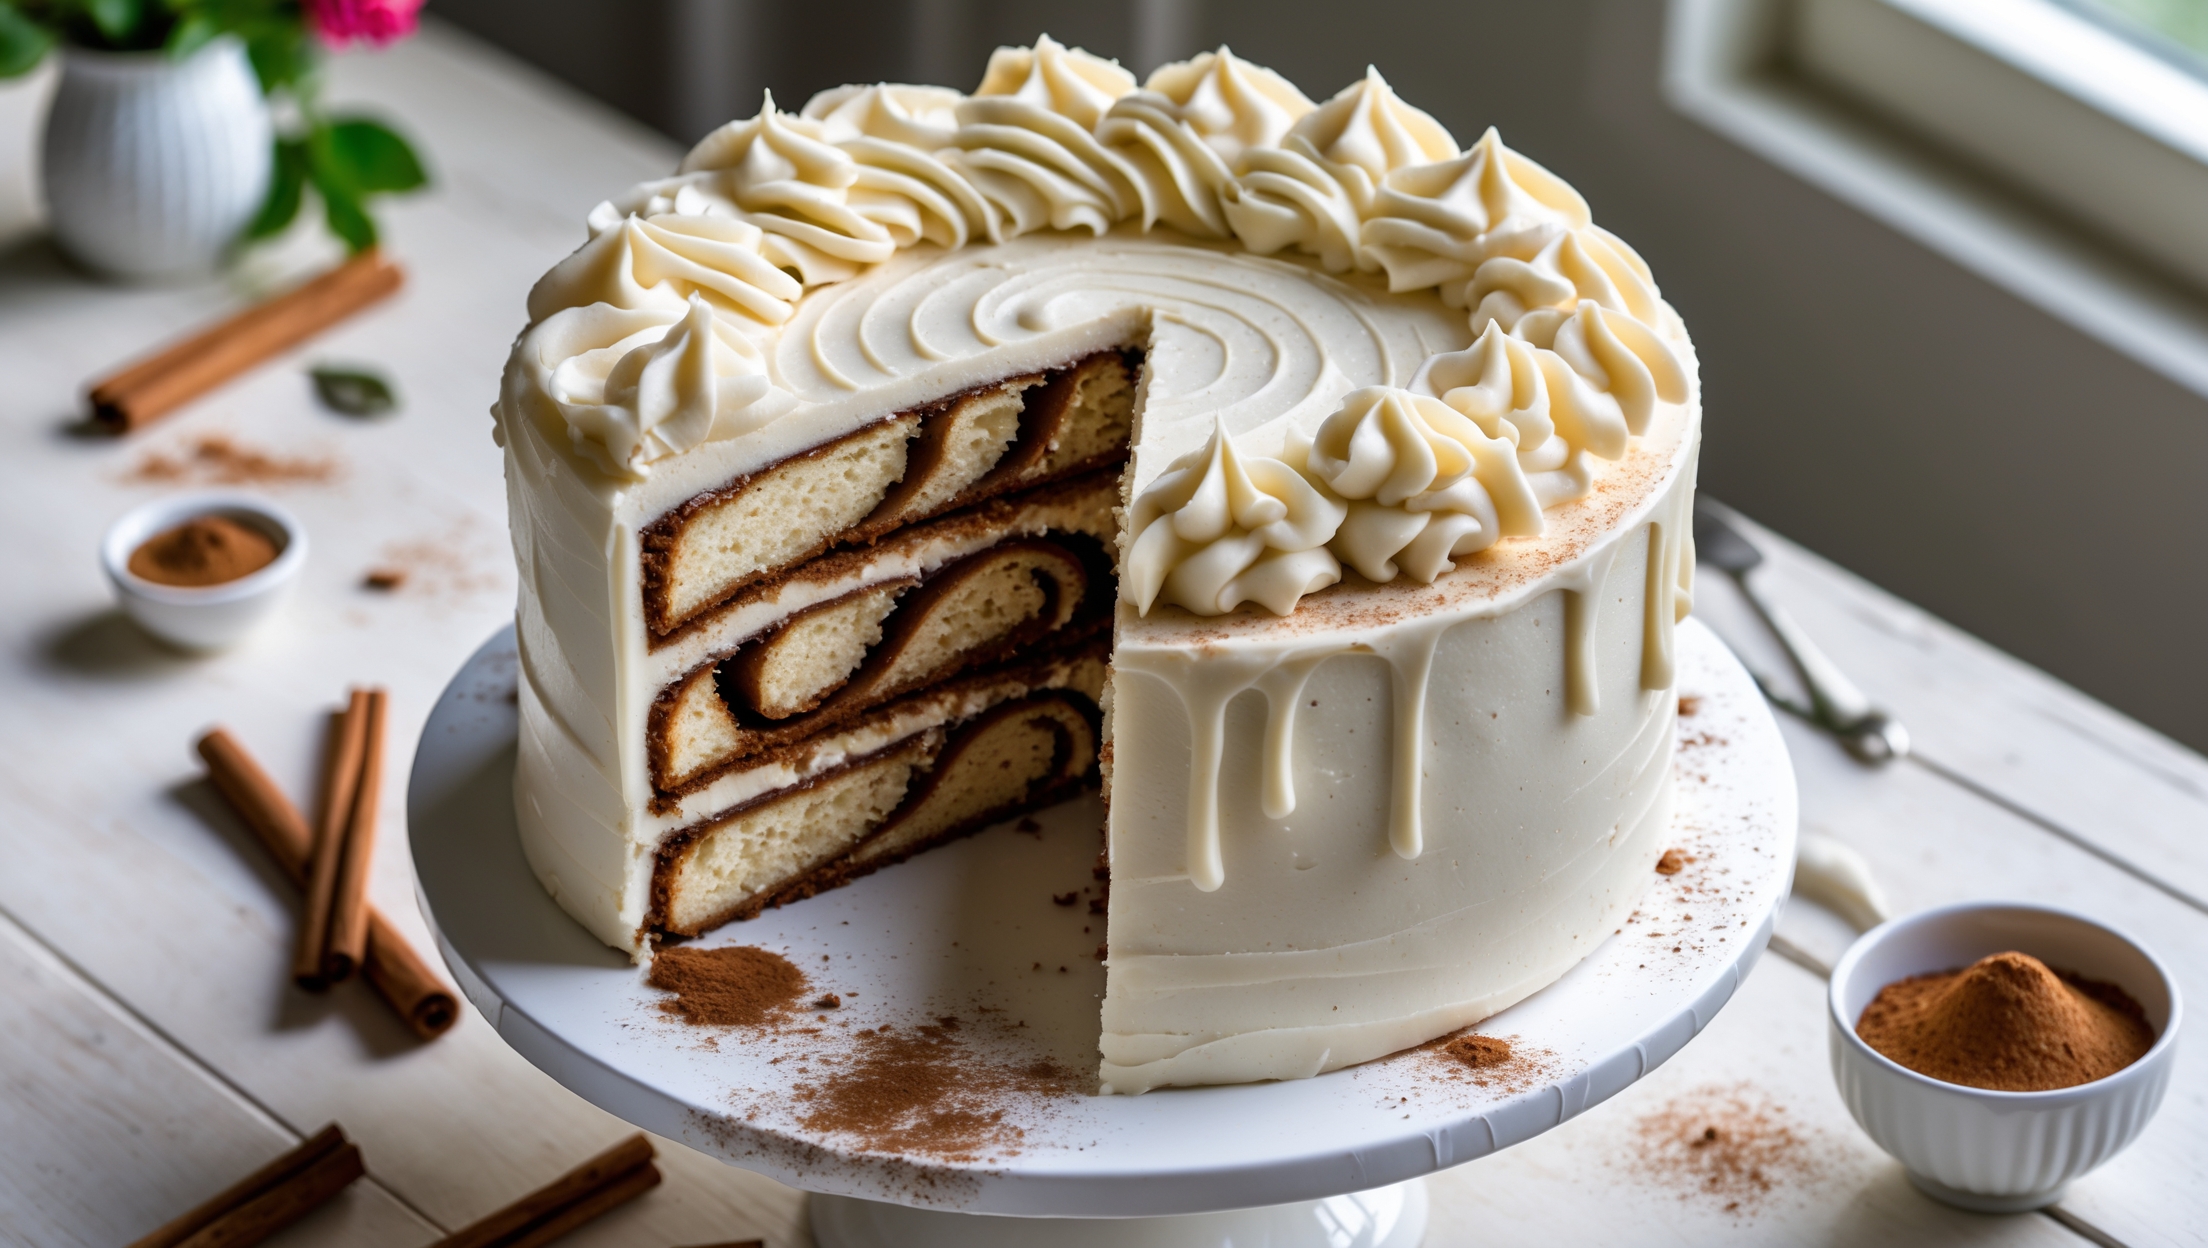
Directions
<ol class="no-list-style"><li class="MethodStepper"><h4 class="step-title">Step 1</h4>Preheat your oven to 180°C (160°C fan). Grease and line three 20cm round cake tins with parchment paper. If you only have one or two tins, you can bake in batches, but keep the remaining batter covered at room temperature.</li><li class="MethodStepper"><h4 class="step-title">Step 2</h4>In a medium bowl, whisk together the flour, baking powder, and salt. This even distribution of leavening agents ensures your cake will rise uniformly.</li><li class="MethodStepper"><h4 class="step-title">Step 3</h4>In a stand mixer fitted with the paddle attachment (or using an electric hand mixer), beat the butter on medium speed until creamy, about 1 minute. Gradually add the sugar and continue beating for 4-5 minutes until very pale and fluffy. This extended creaming process incorporates air, which is crucial for a light, tender crumb.</li><li class="MethodStepper"><h4 class="step-title">Step 4</h4>Add the eggs one at a time, beating well after each addition. If the mixture looks curdled, don't worry—it will come together when you add the flour. Scrape down the sides of the bowl and add the vanilla extract.</li><li class="MethodStepper"><h4 class="step-title">Step 5</h4>With the mixer on low speed, add the flour mixture in three parts, alternating with the milk, beginning and ending with the flour (flour-milk-flour-milk-flour). Mix until just combined after each addition. Take care not to overmix, as this develops gluten which can make your cake tough.</li><li class="MethodStepper"><h4 class="step-title">Step 6</h4>Divide the batter evenly between the prepared tins (about 450g per tin if you want to be precise). Smooth the tops with an offset spatula. Tap the tins gently on the counter to remove any large air bubbles.</li><li class="MethodStepper"><h4 class="step-title">Step 7</h4>Bake for 25-30 minutes or until a toothpick inserted into the center comes out clean and the cakes spring back when lightly touched. The edges should be pulling away slightly from the sides of the tin.</li><li class="MethodStepper"><h4 class="step-title">Step 8</h4>Allow the cakes to cool in the tins for 10 minutes before turning out onto wire racks to cool completely. If your cakes have domed tops, use a serrated knife to level them when completely cool.</li><li class="MethodStepper"><h4 class="step-title">Step 9</h4>While the cakes cool, prepare the fig filling. Dice 8 figs into small pieces. In a small saucepan, warm the honey and lemon juice just until thin and easy to stir. Add half of the honey mixture to the diced figs and gently toss to coat. Reserve the remaining honey mixture for drizzling.</li><li class="MethodStepper"><h4 class="step-title">Step 10</h4>For the mascarpone frosting, in a large bowl, beat the mascarpone with the sifted icing sugar and vanilla until smooth. In a separate bowl, whip the double cream to soft peaks. Gently fold the whipped cream into the mascarpone mixture until smooth and well combined. Be careful not to overmix, as the frosting can become grainy or separate.</li><li class="MethodStepper"><h4 class="step-title">Step 11</h4>To assemble the cake, place one cake layer on a serving plate or cake stand. Spread a generous layer of the mascarpone frosting over the top, then scatter half of the honeyed fig pieces. Repeat with the second cake layer, more frosting, and the remaining honeyed figs.</li><li class="MethodStepper"><h4 class="step-title">Step 12</h4>Place the final cake layer on top, then cover the entire cake with a thin layer of frosting (this is your "crumb coat"). Refrigerate for 30 minutes to set this layer, which will make the final frosting much easier to apply.</li><li class="MethodStepper"><h4 class="step-title">Step 13</h4>Apply the remaining frosting to the chilled cake, creating smooth sides and top with an offset spatula and cake scraper. Work slowly and patiently for the best results. Don't worry if it's not perfectly smooth—a slightly rustic finish works beautifully with this cake.</li><li class="MethodStepper"><h4 class="step-title">Step 14</h4>For the decoration, slice the remaining figs in halves or quarters and arrange them on top of the cake. Drizzle with the reserved honey mixture and garnish with fresh thyme sprigs if using.</li><li class="MethodStepper"><h4 class="step-title">Step 15</h4>For the best flavor and texture, refrigerate the assembled cake for at least 1 hour before serving, but remove it from the refrigerator 30 minutes before slicing to allow the frosting to soften slightly. The cake will keep refrigerated for up to 3 days, though the fresh figs are best enjoyed within 24 hours.</li></ol>