Directions
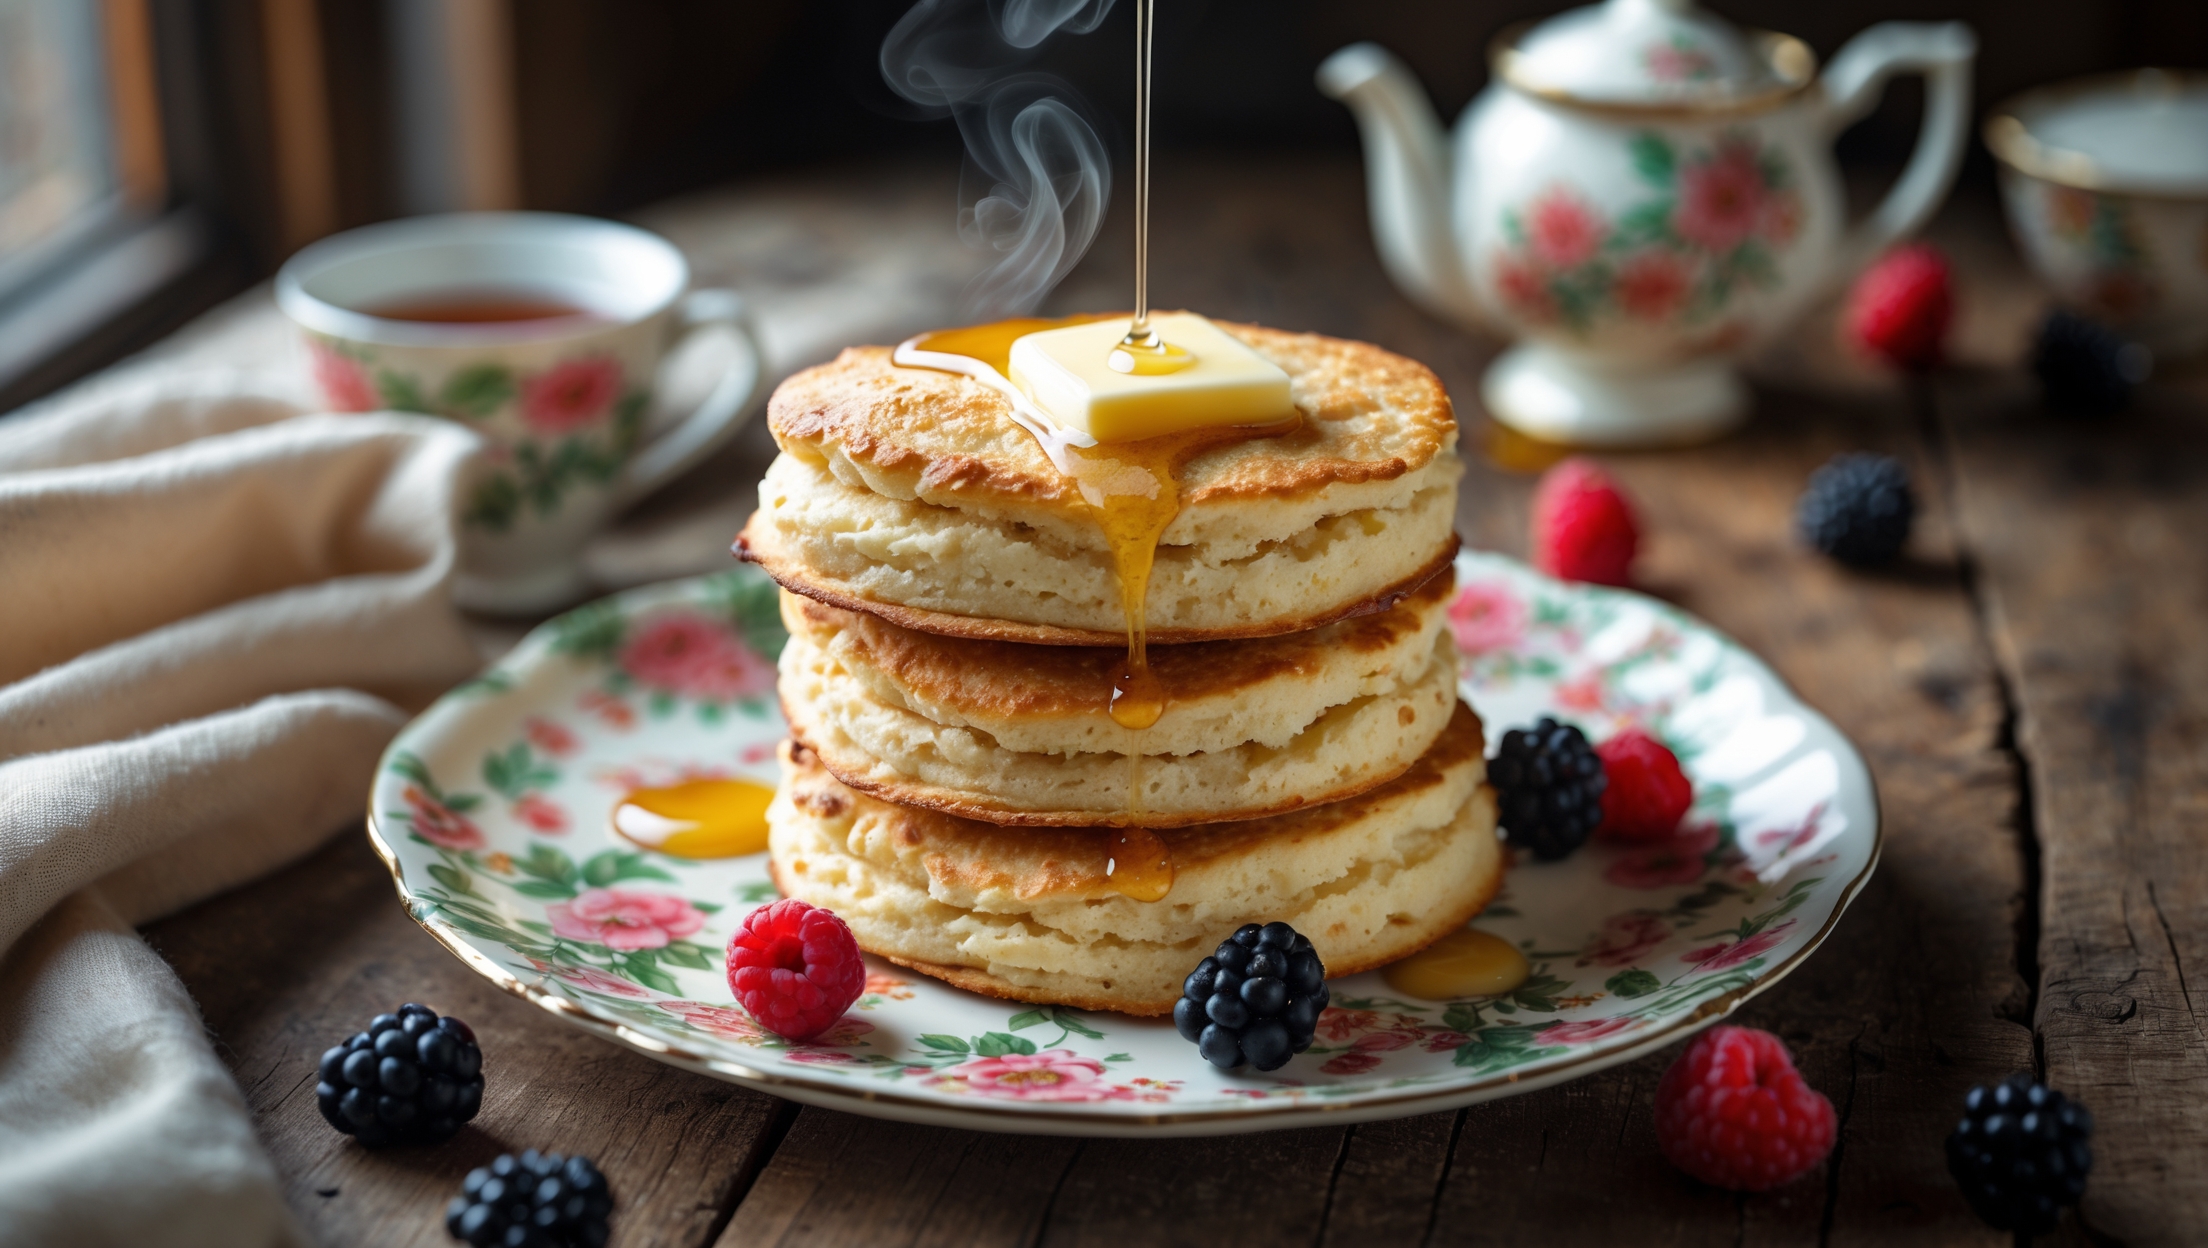
<ol class="no-list-style"><li class="MethodStepper"><h4 class="step-title">Step 1</h4>Sift the self-raising flour and salt into a large mixing bowl. This aerates the flour, which helps produce lighter scones. Make a well in the center – this technique allows for easier incorporation of wet ingredients.</li><li class="MethodStepper"><h4 class="step-title">Step 2</h4>Add the caster sugar and mix well. The sugar not only adds sweetness but helps with browning when the scones cook.</li><li class="MethodStepper"><h4 class="step-title">Step 3</h4>In a separate jug, whisk together the egg, milk, melted butter and vanilla extract (if using) until well combined. The melted butter enriches the batter while ensuring a tender crumb.</li><li class="MethodStepper"><h4 class="step-title">Step 4</h4>Gradually pour the wet ingredients into the well in the flour mixture, whisking continuously until you have a smooth batter about the consistency of thick cream. Don't overmix – stop as soon as the lumps disappear to avoid developing the gluten, which would make the scones tough.</li><li class="MethodStepper"><h4 class="step-title">Step 5</h4>Allow the mixture to rest for 5 minutes. This resting period lets the flour fully hydrate and relaxes the gluten, resulting in a fluffier texture.</li><li class="MethodStepper"><h4 class="step-title">Step 6</h4>Heat a large non-stick frying pan or griddle over medium heat. Add a small knob of butter and spread it around to coat the surface. When the butter is gently bubbling but not browning, your pan is at the perfect temperature.</li><li class="MethodStepper"><h4 class="step-title">Step 7</h4>Using a ladle or measuring cup, drop approximately 60ml (about 2 tablespoons) of batter onto the hot pan, keeping the scones well-spaced as they will spread slightly. You should be able to cook 3-4 at a time, depending on your pan size.</li><li class="MethodStepper"><h4 class="step-title">Step 8</h4>Cook until bubbles appear on the surface and the edges look set, about 2-3 minutes. When you see these visual cues, the scones are ready to flip. If they're browning too quickly, reduce the heat slightly.</li><li class="MethodStepper"><h4 class="step-title">Step 9</h4>Flip the scones over using a spatula and cook for another 1-2 minutes until golden brown and cooked through. The second side will cook more quickly than the first.</li><li class="MethodStepper"><h4 class="step-title">Step 10</h4>Transfer the cooked drop scones to a wire rack covered with a clean tea towel. Cover them with the towel to keep them warm and soft while you cook the remaining batter. Add a little more butter to the pan between batches if needed.</li><li class="MethodStepper"><h4 class="step-title">Step 11</h4>Serve warm with your favorite toppings – traditional options include butter, jam, honey or golden syrup. For a special breakfast, try fresh berries and a dollop of yogurt or whipped cream. These drop scones are best enjoyed fresh, but any leftovers can be stored in an airtight container for up to 2 days and reheated briefly before serving.</li></ol>