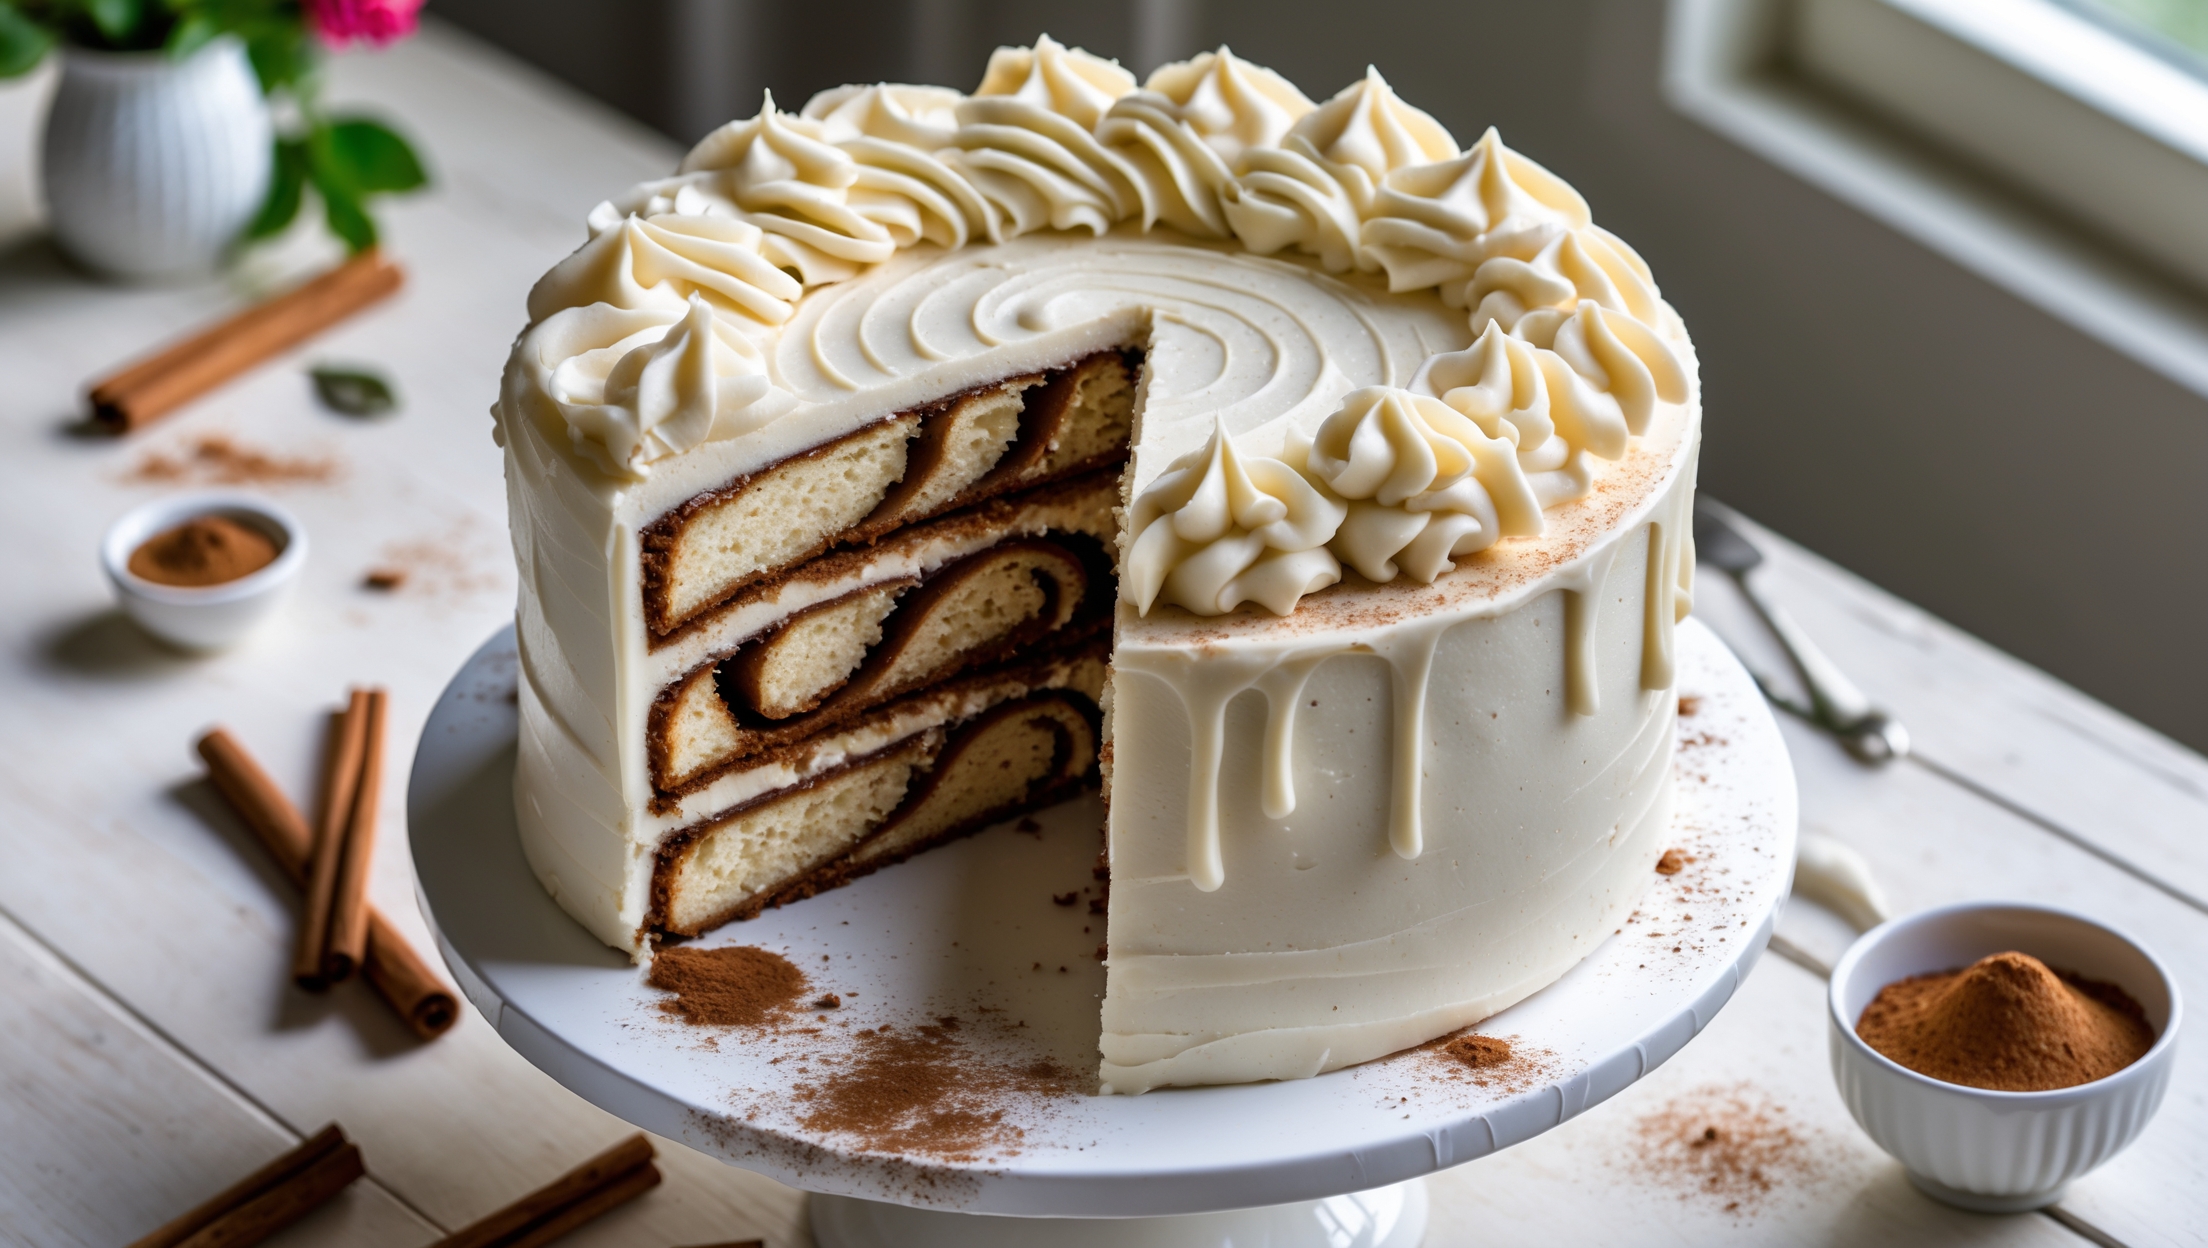
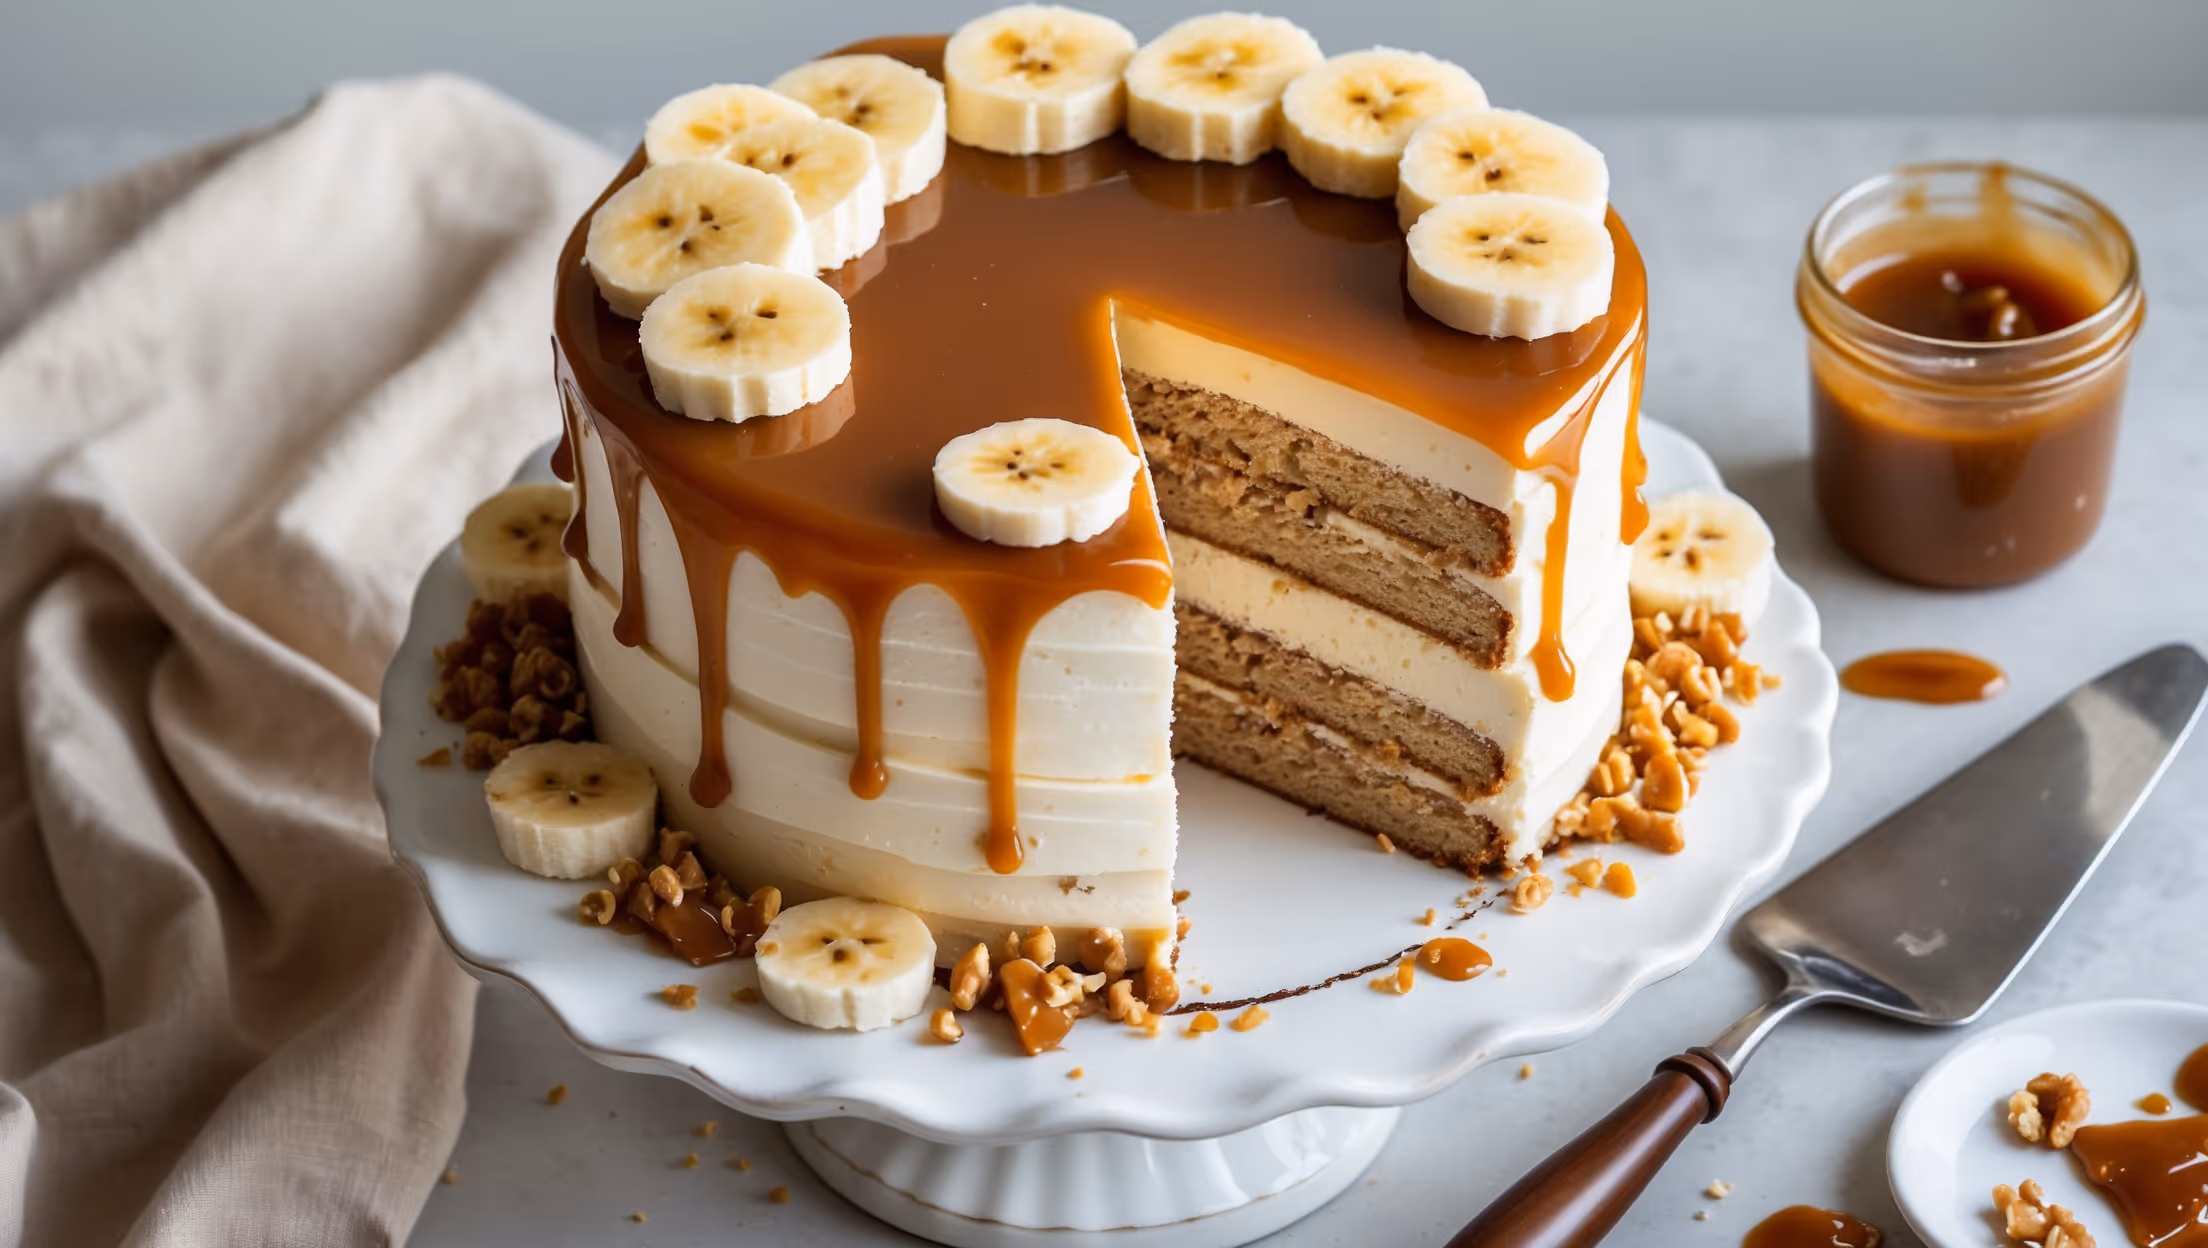
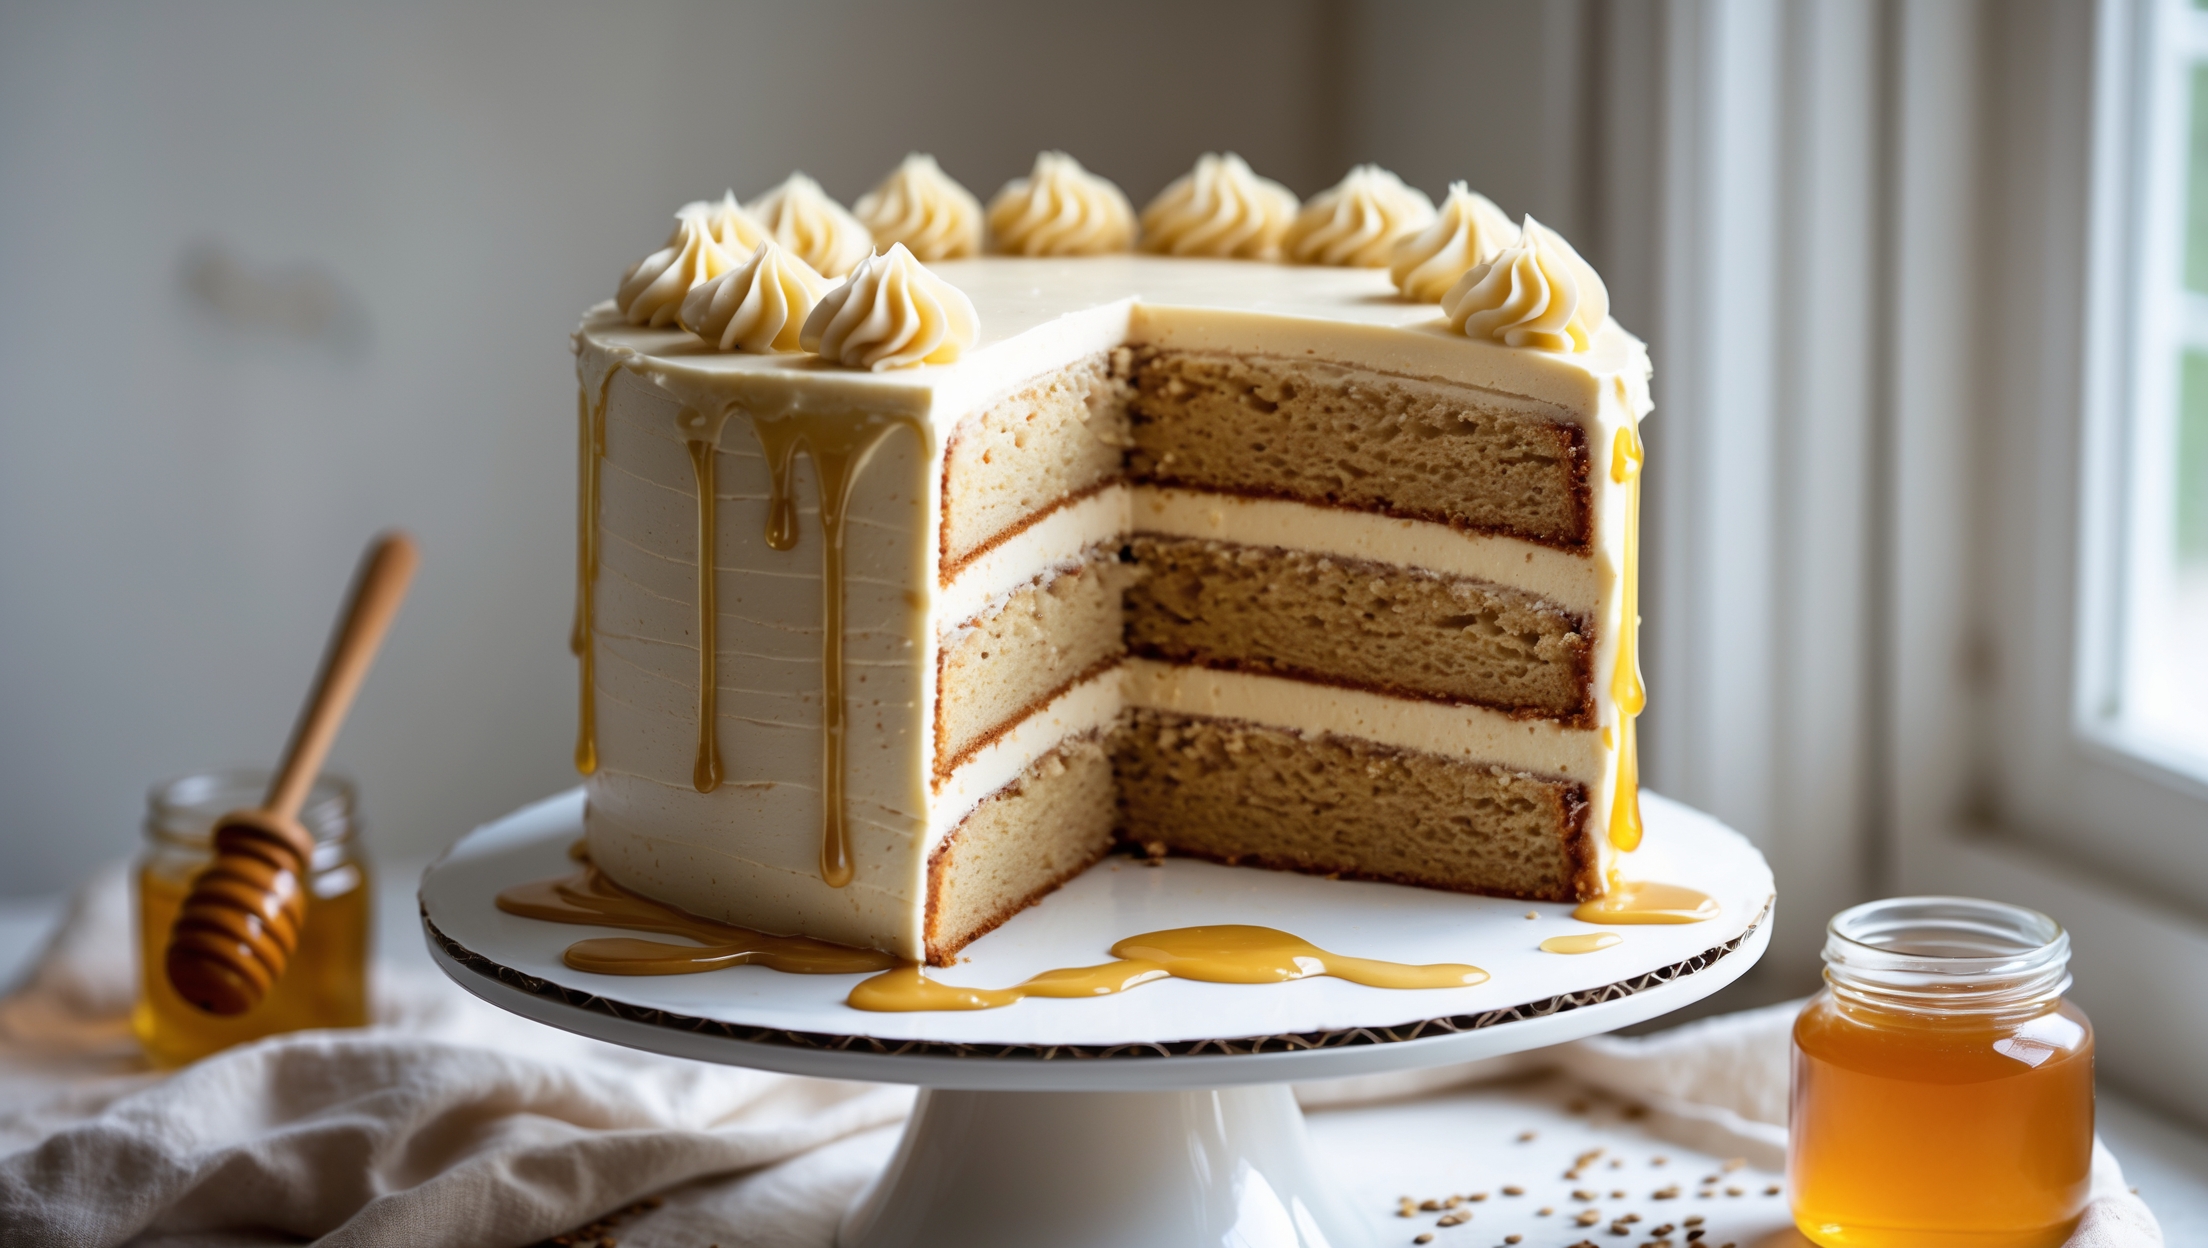
Dulce de Leche Layer Cake Recipe
Ingredients
Equipment
Directions
FAQs
Find answers to your most pressing questions about this delicious recipe right here.
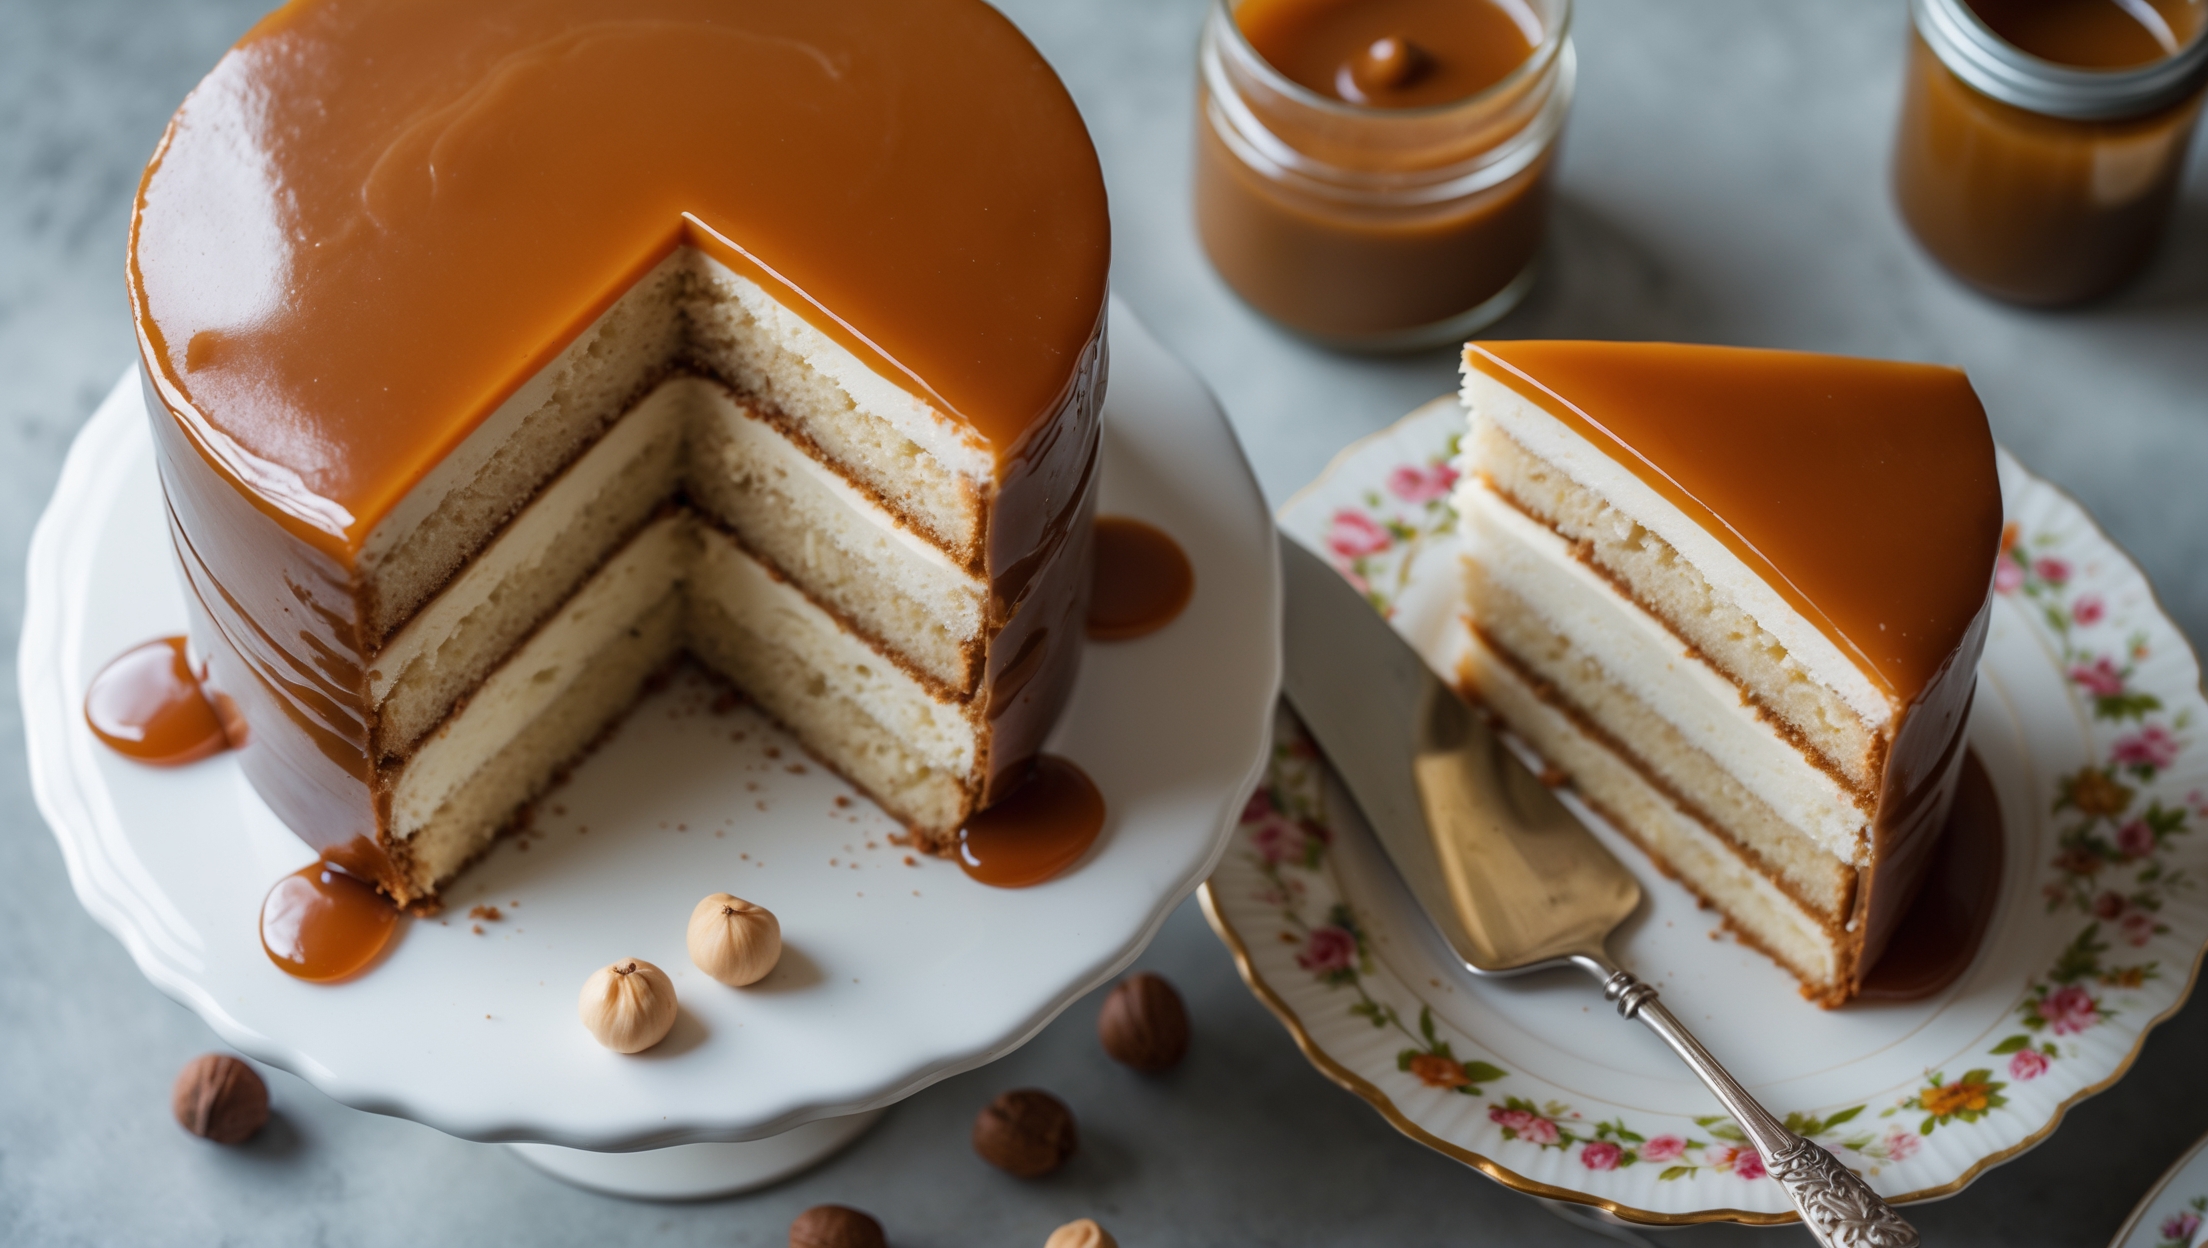
This cake requires all-purpose flour, baking powder, butter, sugar, eggs, vanilla extract, and milk for the sponge layers. The buttercream needs butter, dulce de leche, powdered sugar, and vanilla. The caramel drip is made with sugar, heavy cream, butter and salt.
Learn how to cook Dulce de Leche Layer Cake by making vanilla sponge layers first, then prepare the dulce de leche buttercream. Slice each cake into two layers, stack them with buttercream between each layer, frost the entire cake, and finish with a caramel drip. The process involves careful temperature control for the perfect caramel consistency.
Absolutely! To make homemade dulce de leche, simmer a can of sweetened condensed milk in water for 2-3 hours (ensuring it stays fully submerged), or pour condensed milk into a baking dish, cover with foil, and bake in a water bath at 160°C for about 90 minutes until caramelised.
You can make this caramel layer cake 1-2 days in advance, storing it in an airtight container in the refrigerator. For best flavour and texture, allow it to come to room temperature for 1-2 hours before serving. The cake layers can also be frozen for up to a month before assembly.
The key to perfect drips is temperature control: your cake should be chilled and the caramel should be warm but not hot (around 32-35°C). Test one drip on the back of the cake first. If it runs too far, your caramel is too warm; if it's too thick, gently reheat it.
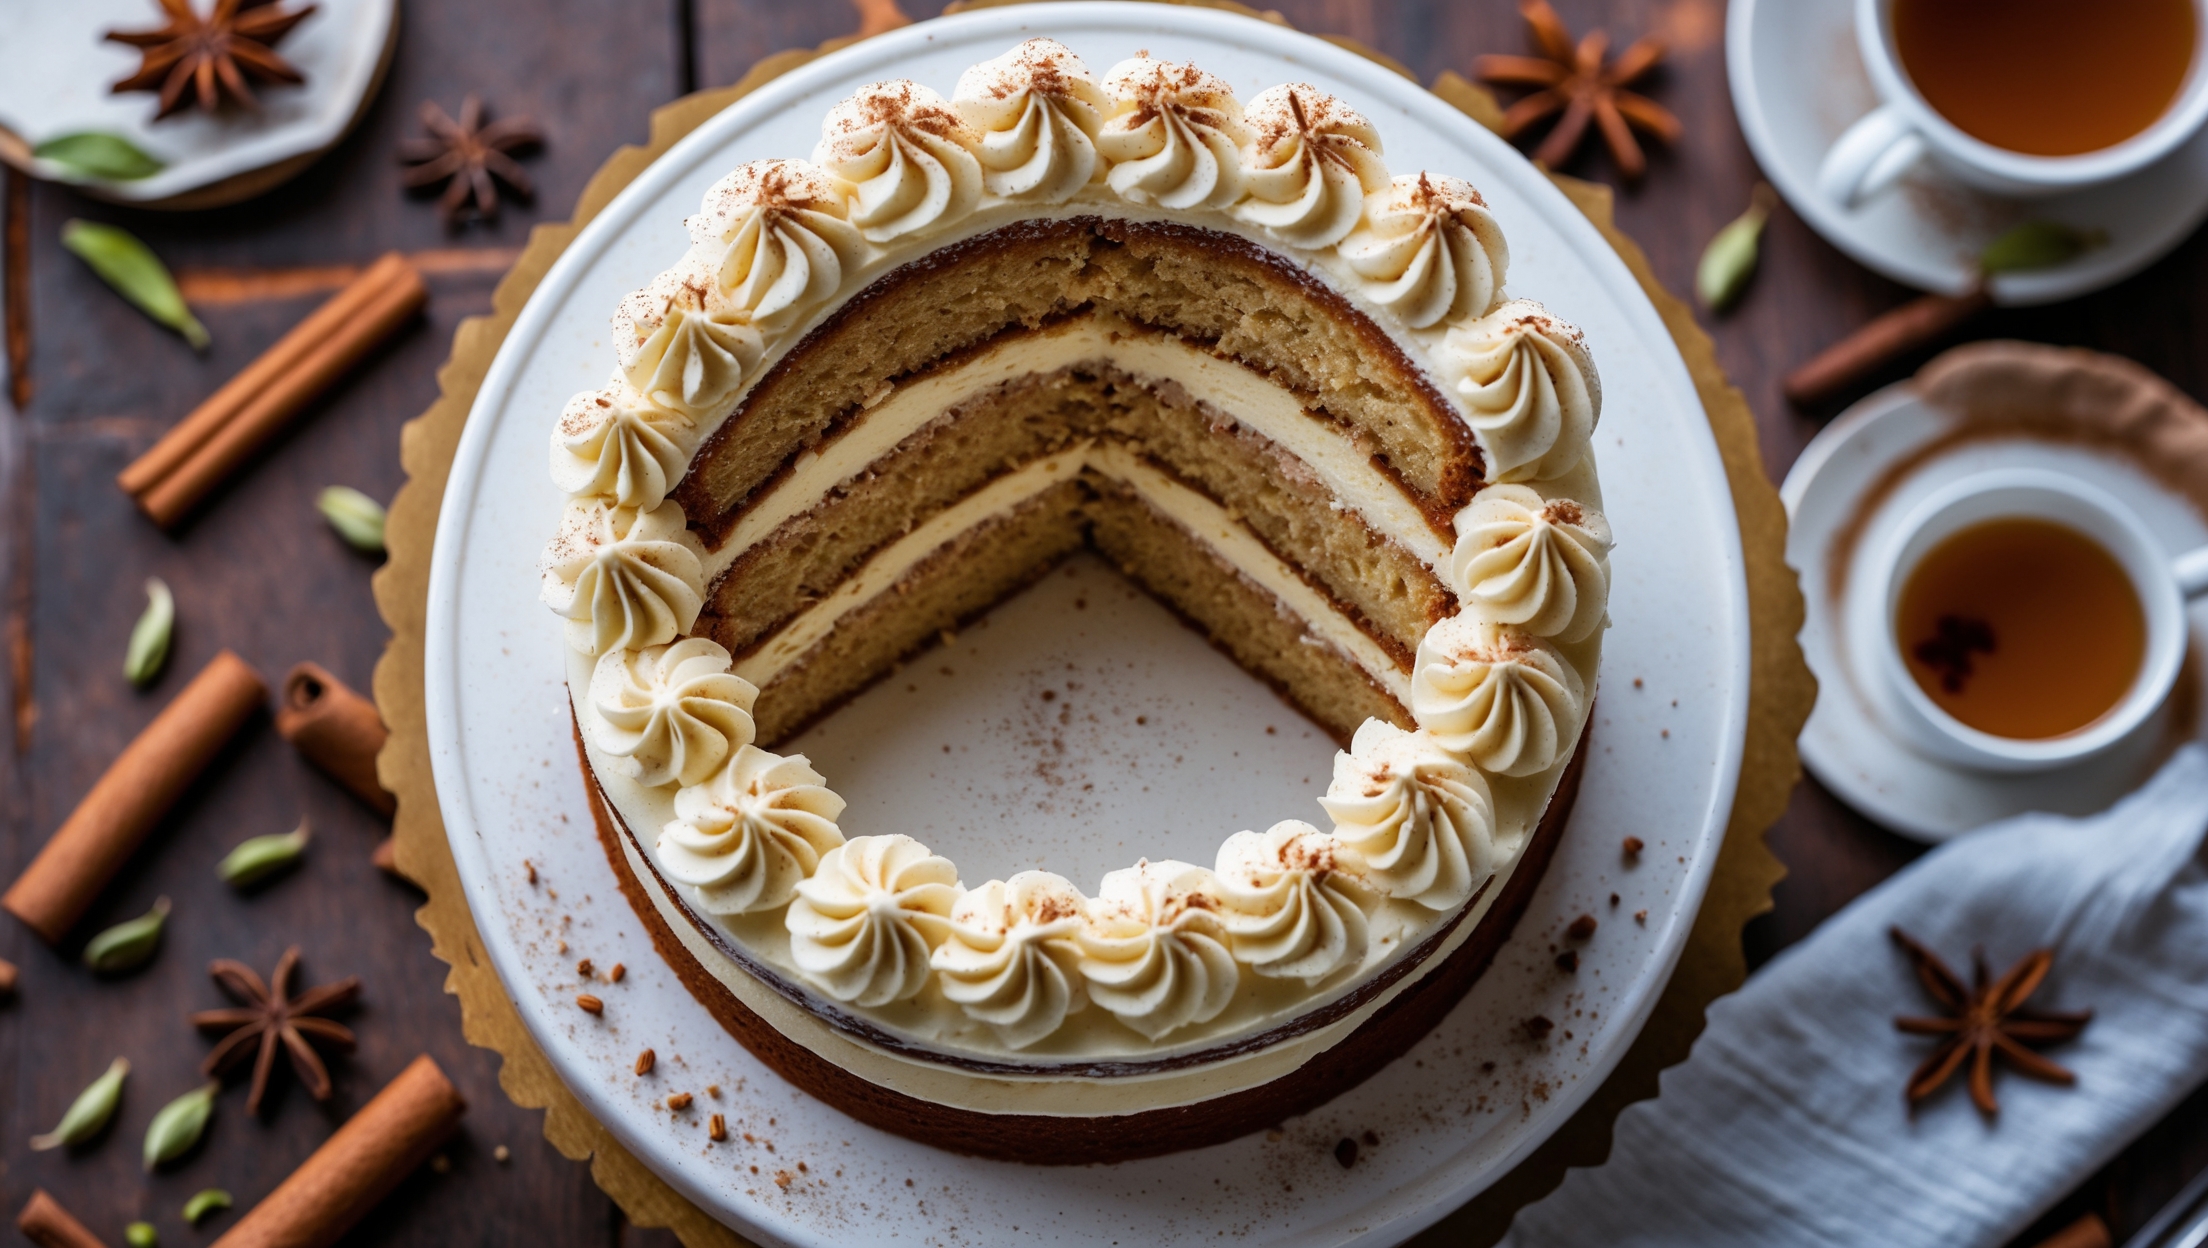
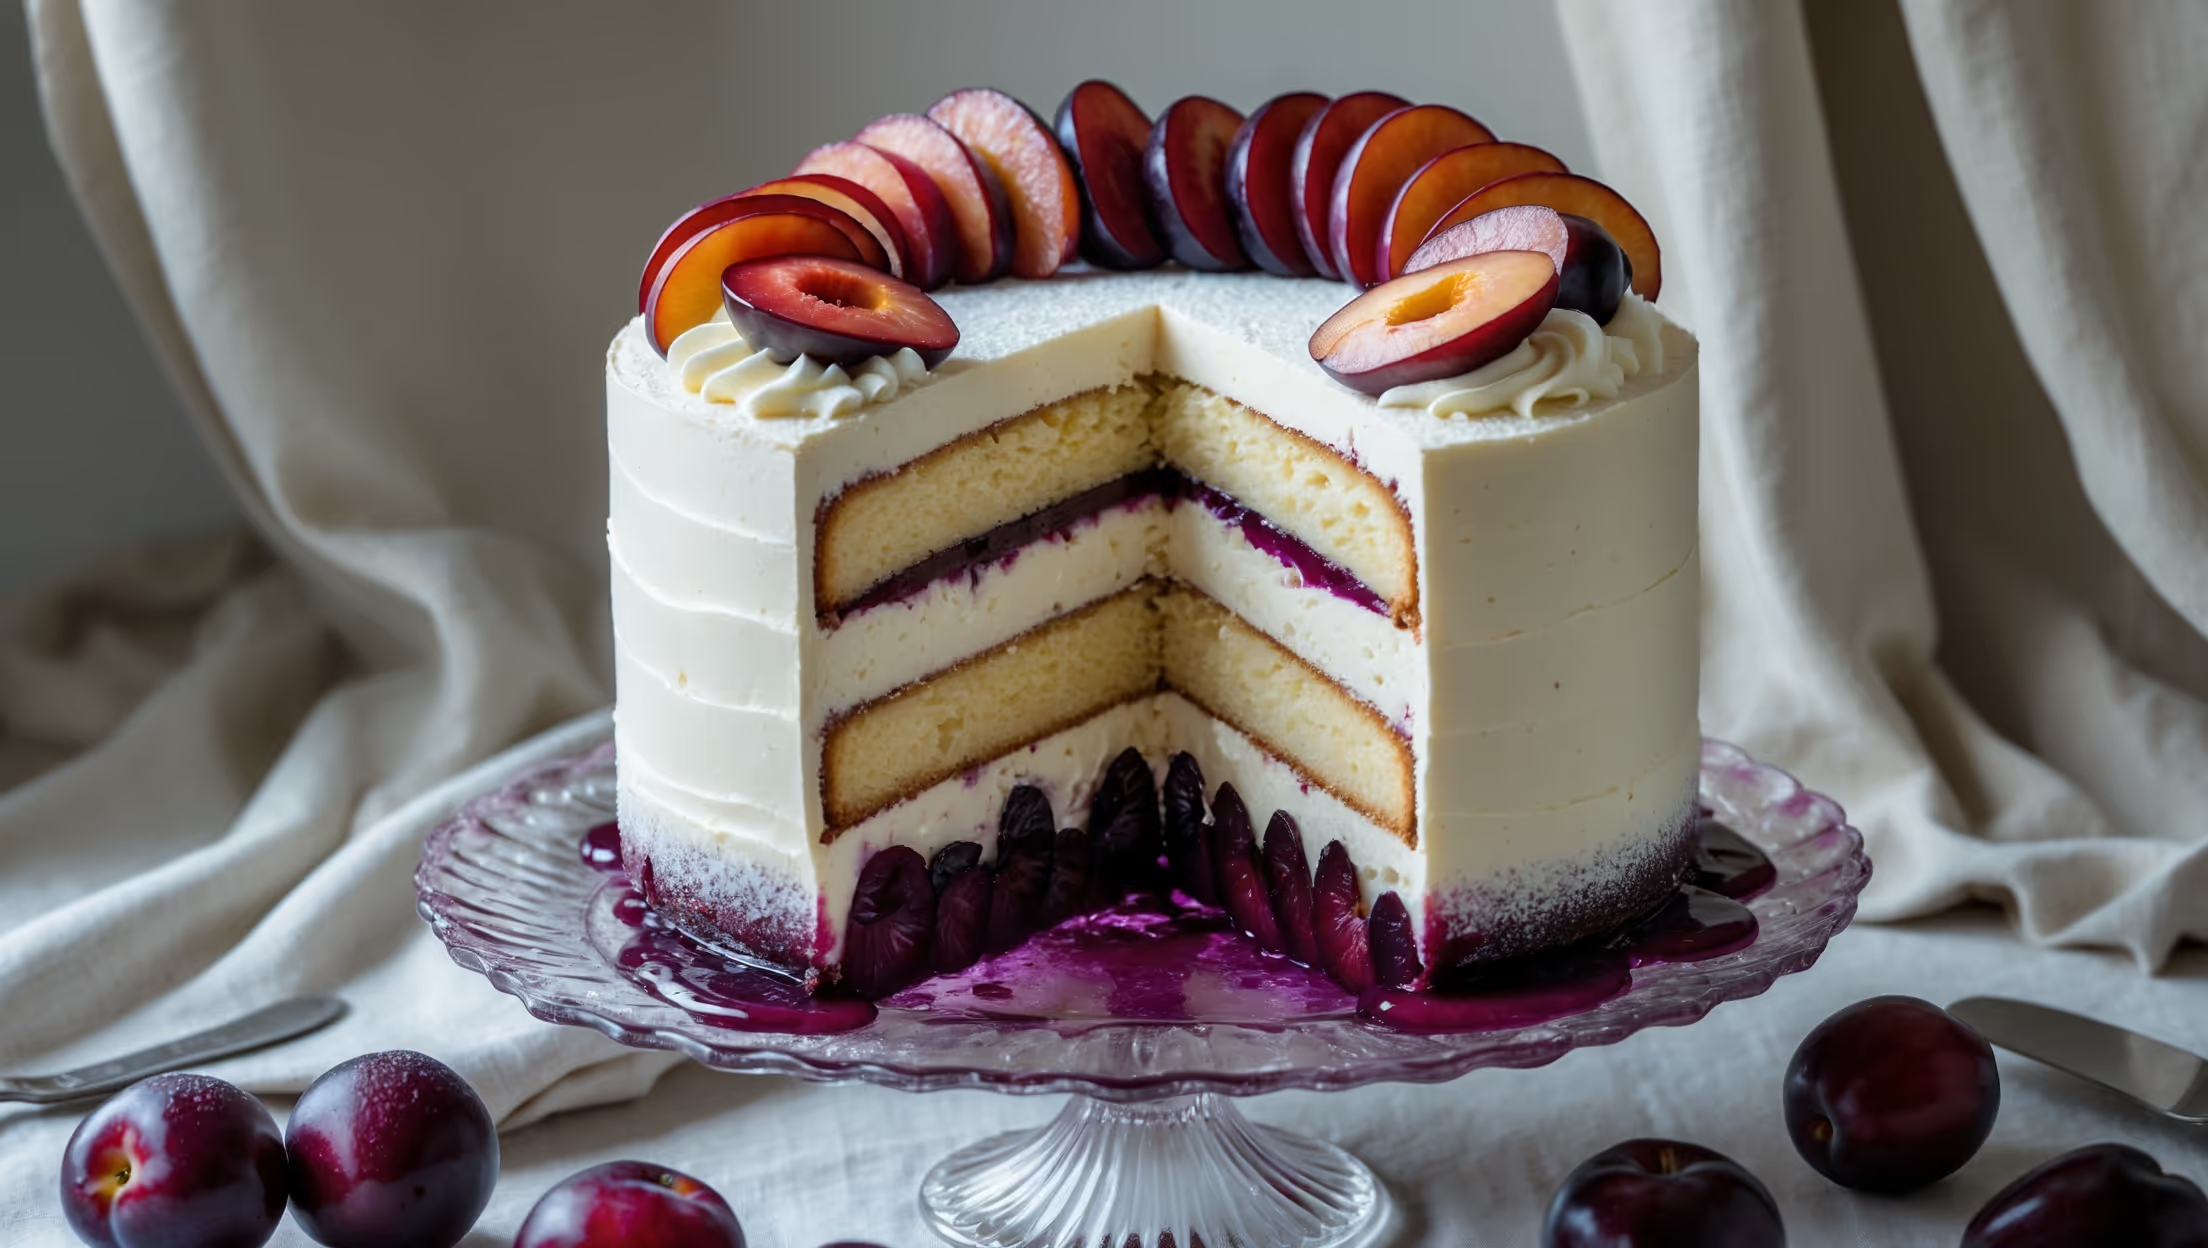
Layer Cakes
Try following recommended recipes