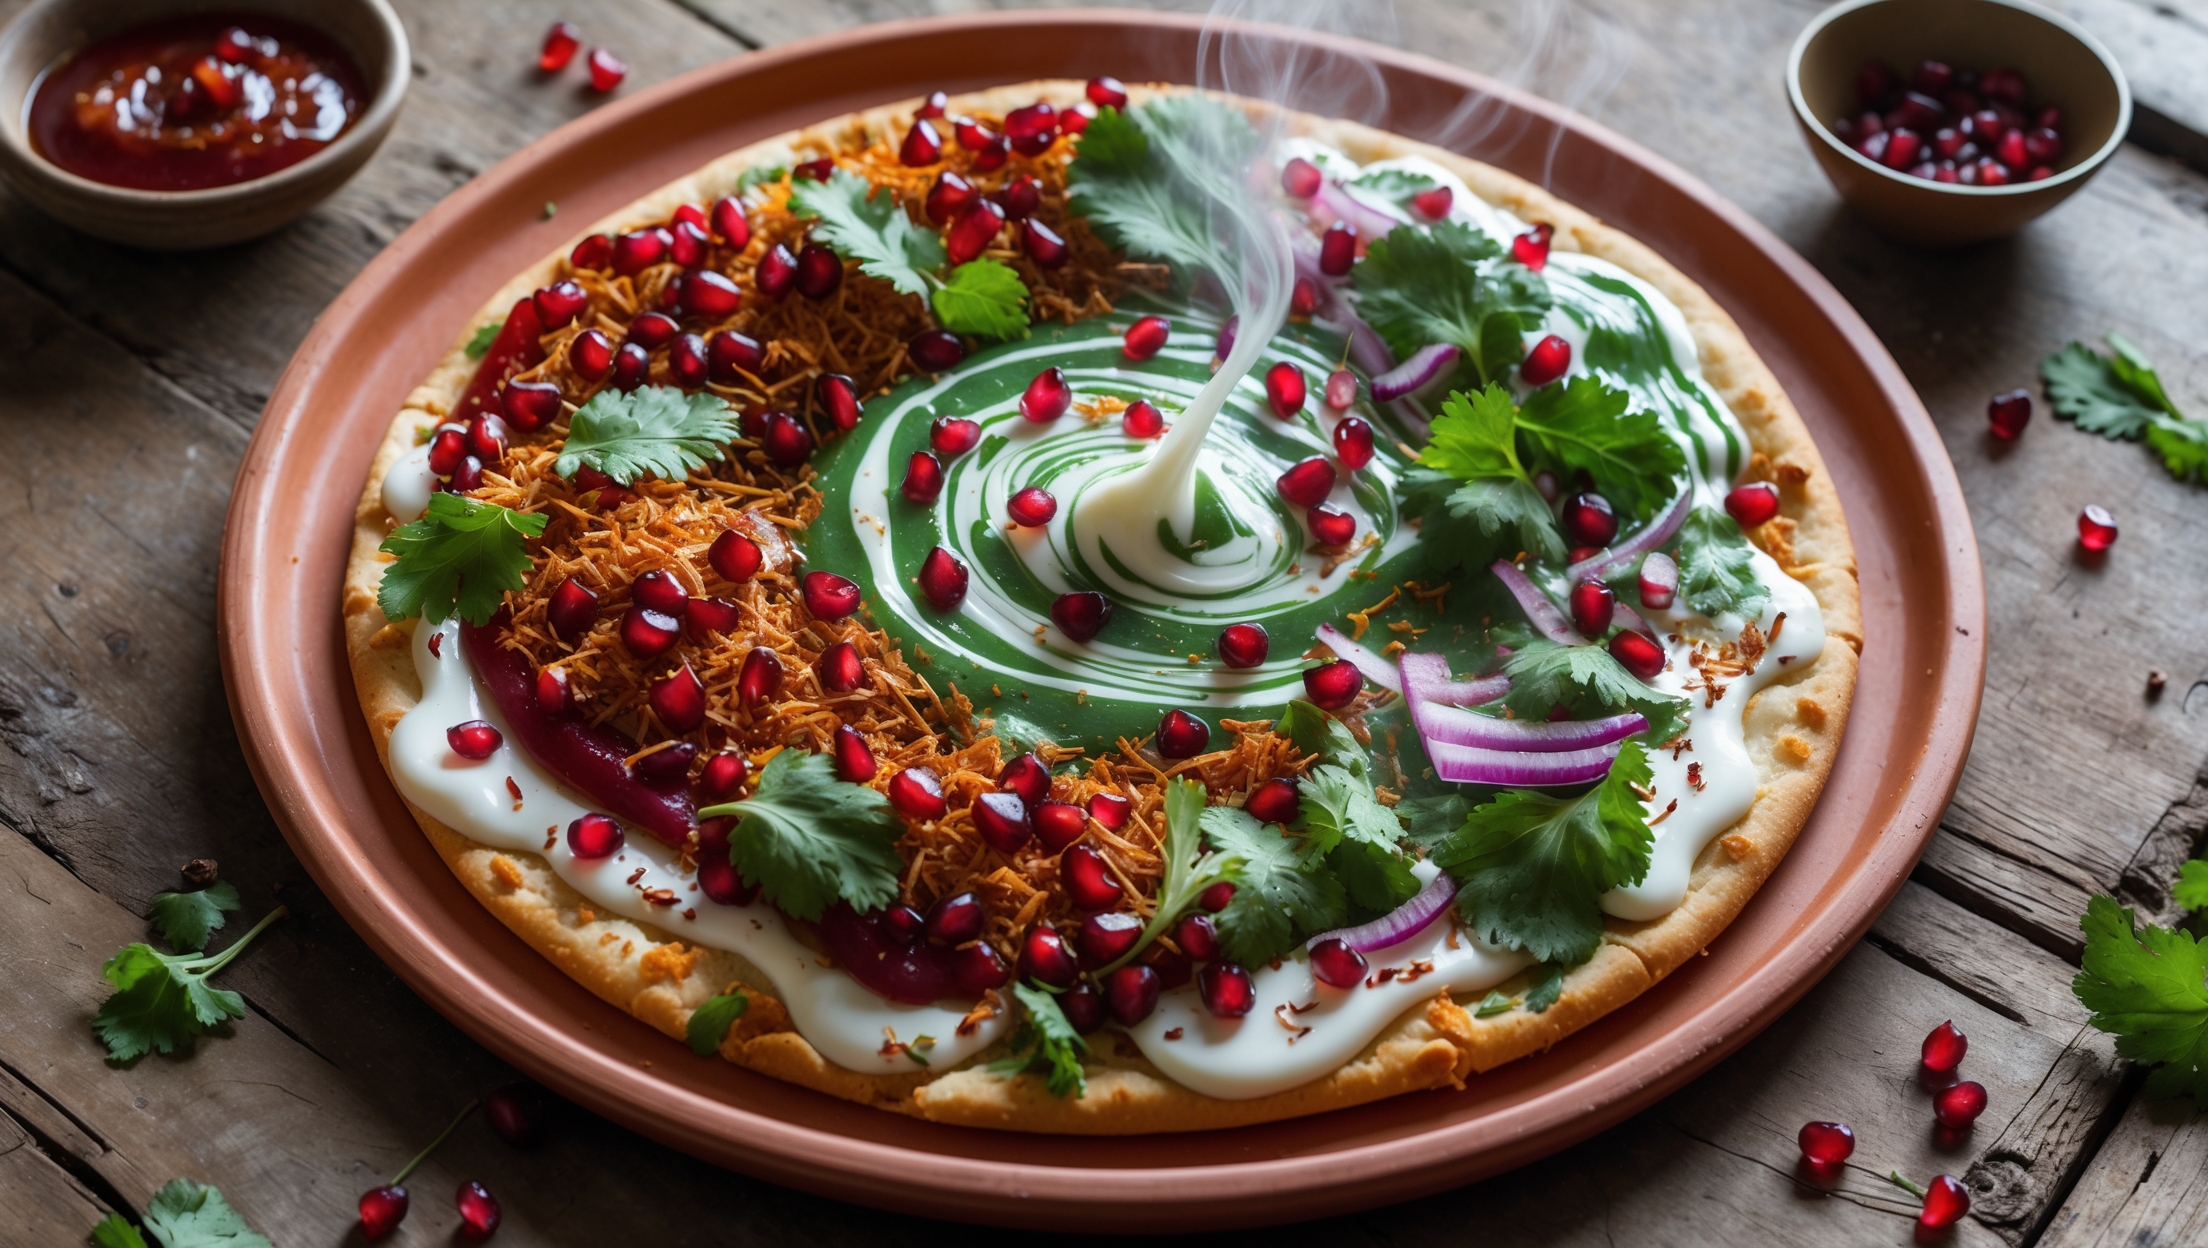
Directions
<ol class="no-list-style"> <li class="MethodStepper"> <h4 class="step-title">Step 1</h4> In a large bowl or stand mixer, combine the flour and salt. In a separate small bowl, dissolve the yeast in lukewarm water (about 35°C/95°F - warm but not hot, as excessive heat will kill the yeast). Let it sit for 5-10 minutes until foamy, which indicates the yeast is active and ready. </li> <li class="MethodStepper"> <h4 class="step-title">Step 2</h4> Make a well in the center of your flour mixture and pour in the yeast mixture and olive oil. Mix slowly until a shaggy dough forms, then knead by hand on a floured surface (or with dough hook on medium-low speed) for 8-10 minutes until smooth and elastic. The dough should be slightly tacky but not sticky - it should clean the sides of the bowl when using a mixer. This extended kneading develops gluten, giving your crust its characteristic chew. </li> <li class="MethodStepper"> <h4 class="step-title">Step 3</h4> Shape the dough into a tight ball, place in a lightly oiled bowl, and cover with plastic wrap or a damp cloth. Allow it to rise in a warm place (around 24°C/75°F) for 1.5-2 hours, or until doubled in size. The slow rise develops flavor in your dough. </li> <li class="MethodStepper"> <h4 class="step-title">Step 4</h4> While the dough rises, prepare your sauce by combining the tomato sauce with minced garlic, dried oregano, a pinch of salt, and freshly ground black pepper. Let it sit at room temperature to allow the flavors to meld together. </li> <li class="MethodStepper"> <h4 class="step-title">Step 5</h4> Place your pizza stone or steel in the oven and preheat to the highest possible temperature (ideally 250-275°C/475-525°F) for at least 45 minutes. The preheated surface will instantly start cooking the bottom of your pizza, replicating the intense heat of a professional pizza oven. </li> <li class="MethodStepper"> <h4 class="step-title">Step 6</h4> After the dough has risen, gently punch it down to release air bubbles. Divide the dough in half and form two tight balls. Cover and let rest for 20 minutes. This final rest makes the dough more pliable and easier to shape. </li> <li class="MethodStepper"> <h4 class="step-title">Step 7</h4> On a lightly floured surface, stretch or roll one dough ball into a 30cm/12-inch circle, keeping the edges slightly thicker than the middle. Work from the center outward, using your knuckles or palm to gently stretch the dough, rotating it as you go. Avoid using a rolling pin if possible as it can push out the air bubbles that create a beautiful texture. </li> <li class="MethodStepper"> <h4 class="step-title">Step 8</h4> Sprinkle cornmeal or semolina onto your pizza peel to prevent sticking, then transfer the stretched dough onto it. Give the peel a gentle shake to ensure the dough moves freely and isn't sticking. </li> <li class="MethodStepper"> <h4 class="step-title">Step 9</h4> Working quickly, spread half the sauce in a thin layer over the dough, leaving a 2cm border for the crust. Top with half the mozzarella, half the salami slices arranged evenly, and a sprinkle of chili flakes. Less is more with toppings - overcrowding will prevent proper cooking. </li> <li class="MethodStepper"> <h4 class="step-title">Step 10</h4> With a quick jerking motion, slide the pizza from the peel onto the preheated stone or steel. Bake for 8-10 minutes until the crust is golden brown with charred spots, the cheese is bubbling, and the salami edges are crispy. Look for leopard spotting on the crust - small charred bubbles that indicate perfect cooking. </li> <li class="MethodStepper"> <h4 class="step-title">Step 11</h4> Remove the pizza using the peel and immediately drizzle with a little olive oil. Let it cool for 1-2 minutes before slicing to allow the cheese to set slightly. Garnish with fresh basil leaves. </li> <li class="MethodStepper"> <h4 class="step-title">Step 12</h4> Repeat steps 7-11 with the second dough ball and remaining ingredients. Enjoy your Diavola pizza while it's hot and the cheese is at its most stretchy! </li> </ol>