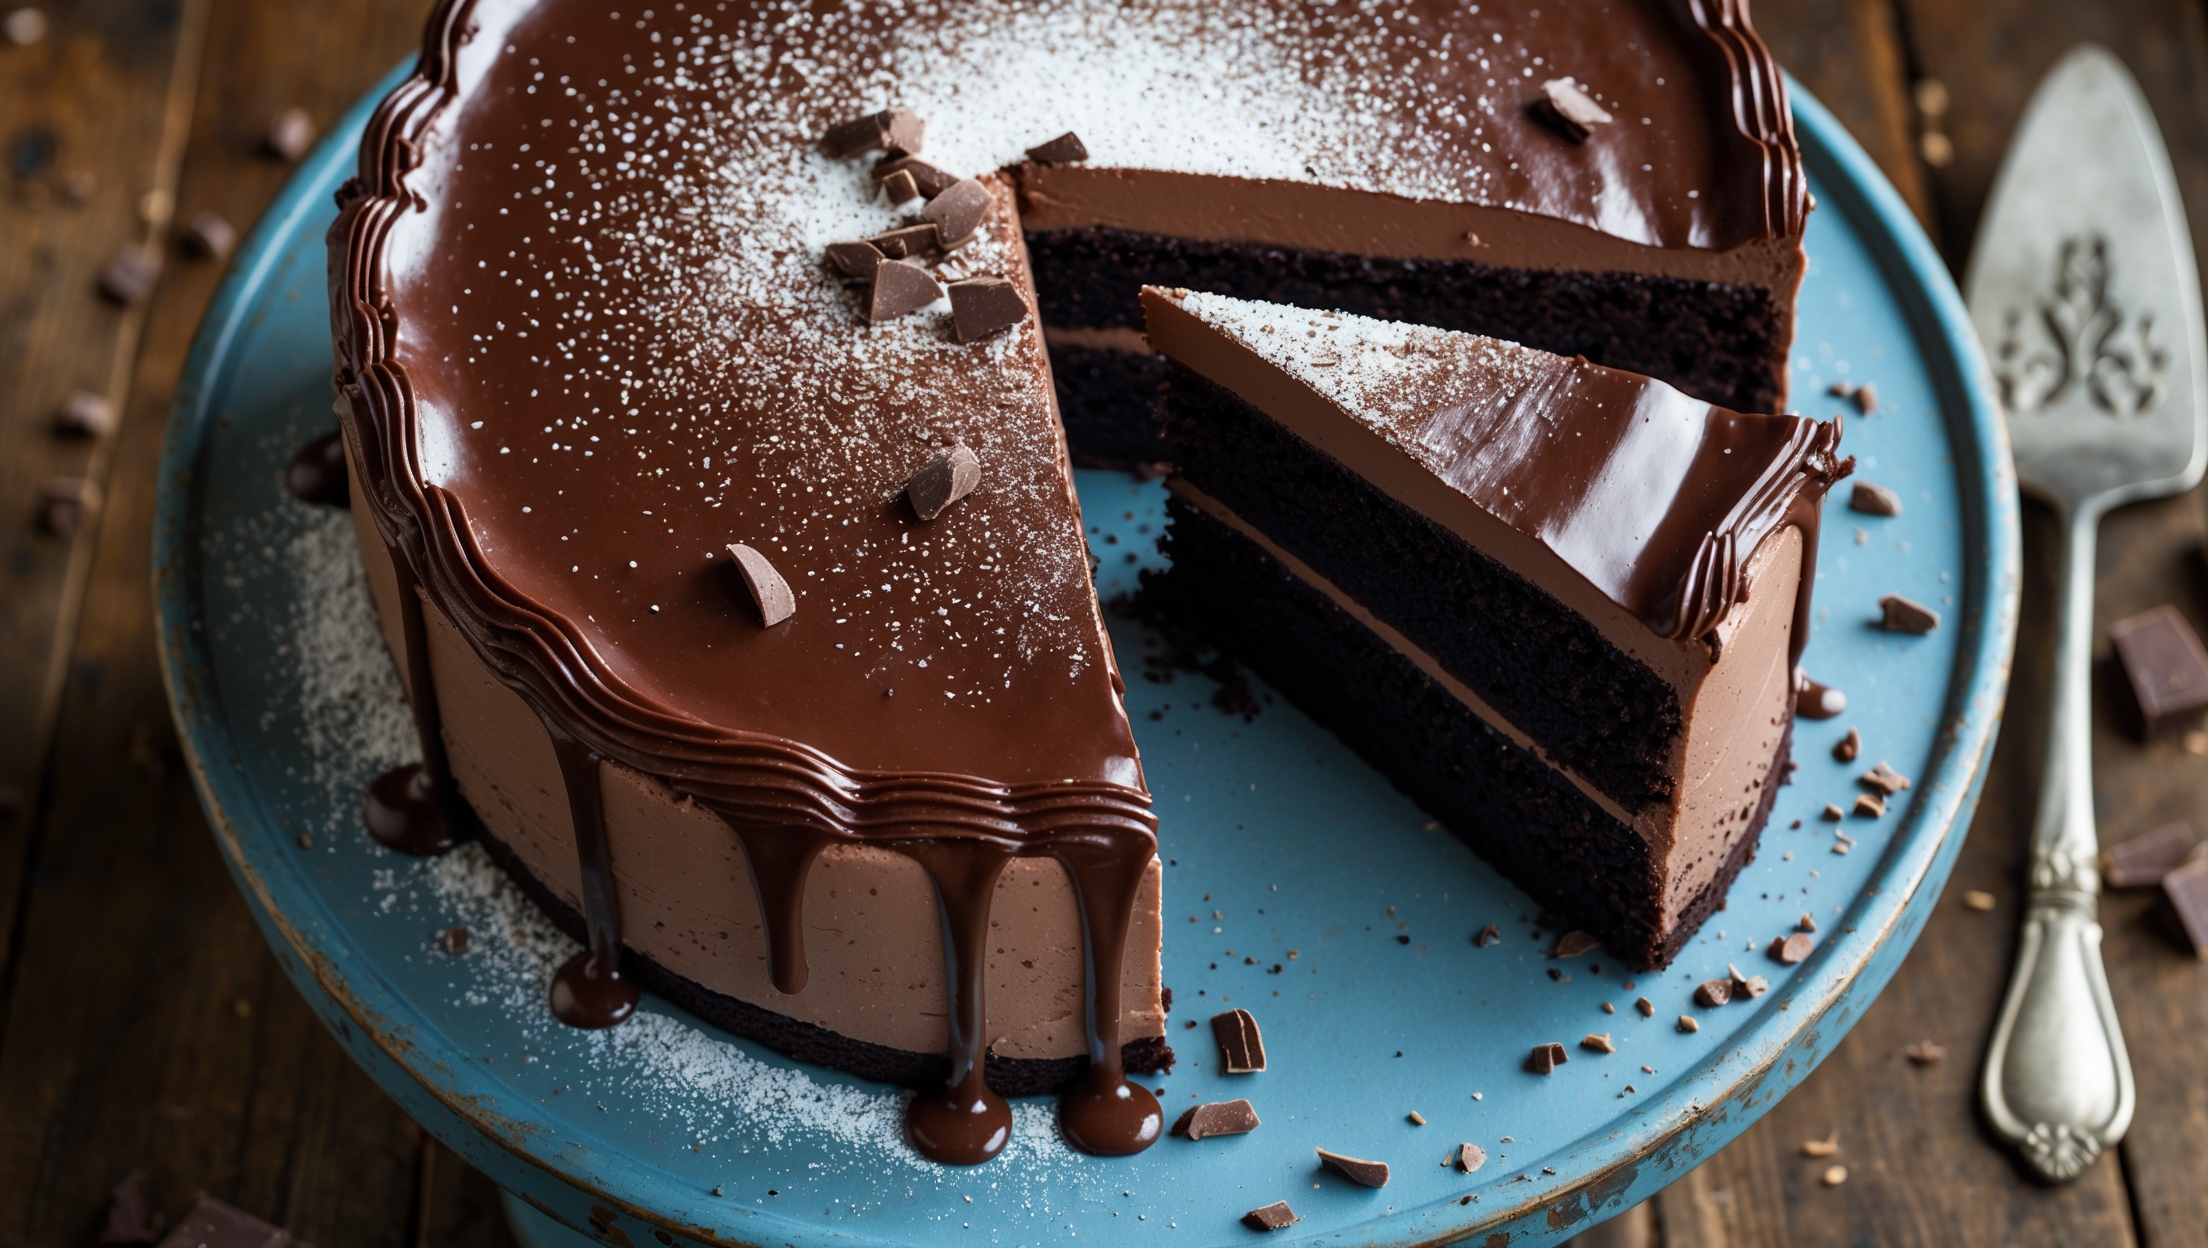
Devil's Food Layer Cake Recipe
Ingredients
Equipment
Directions
FAQs
Find answers to your most pressing questions about this delicious recipe right here.
This decadent cake requires all-purpose flour, Dutch-processed cocoa powder, baking soda, baking powder, salt, butter, sugar, eggs, vanilla, buttermilk, and hot coffee. The silky chocolate frosting needs butter, powdered sugar, cocoa powder, cream, vanilla, salt, and melted chocolate.
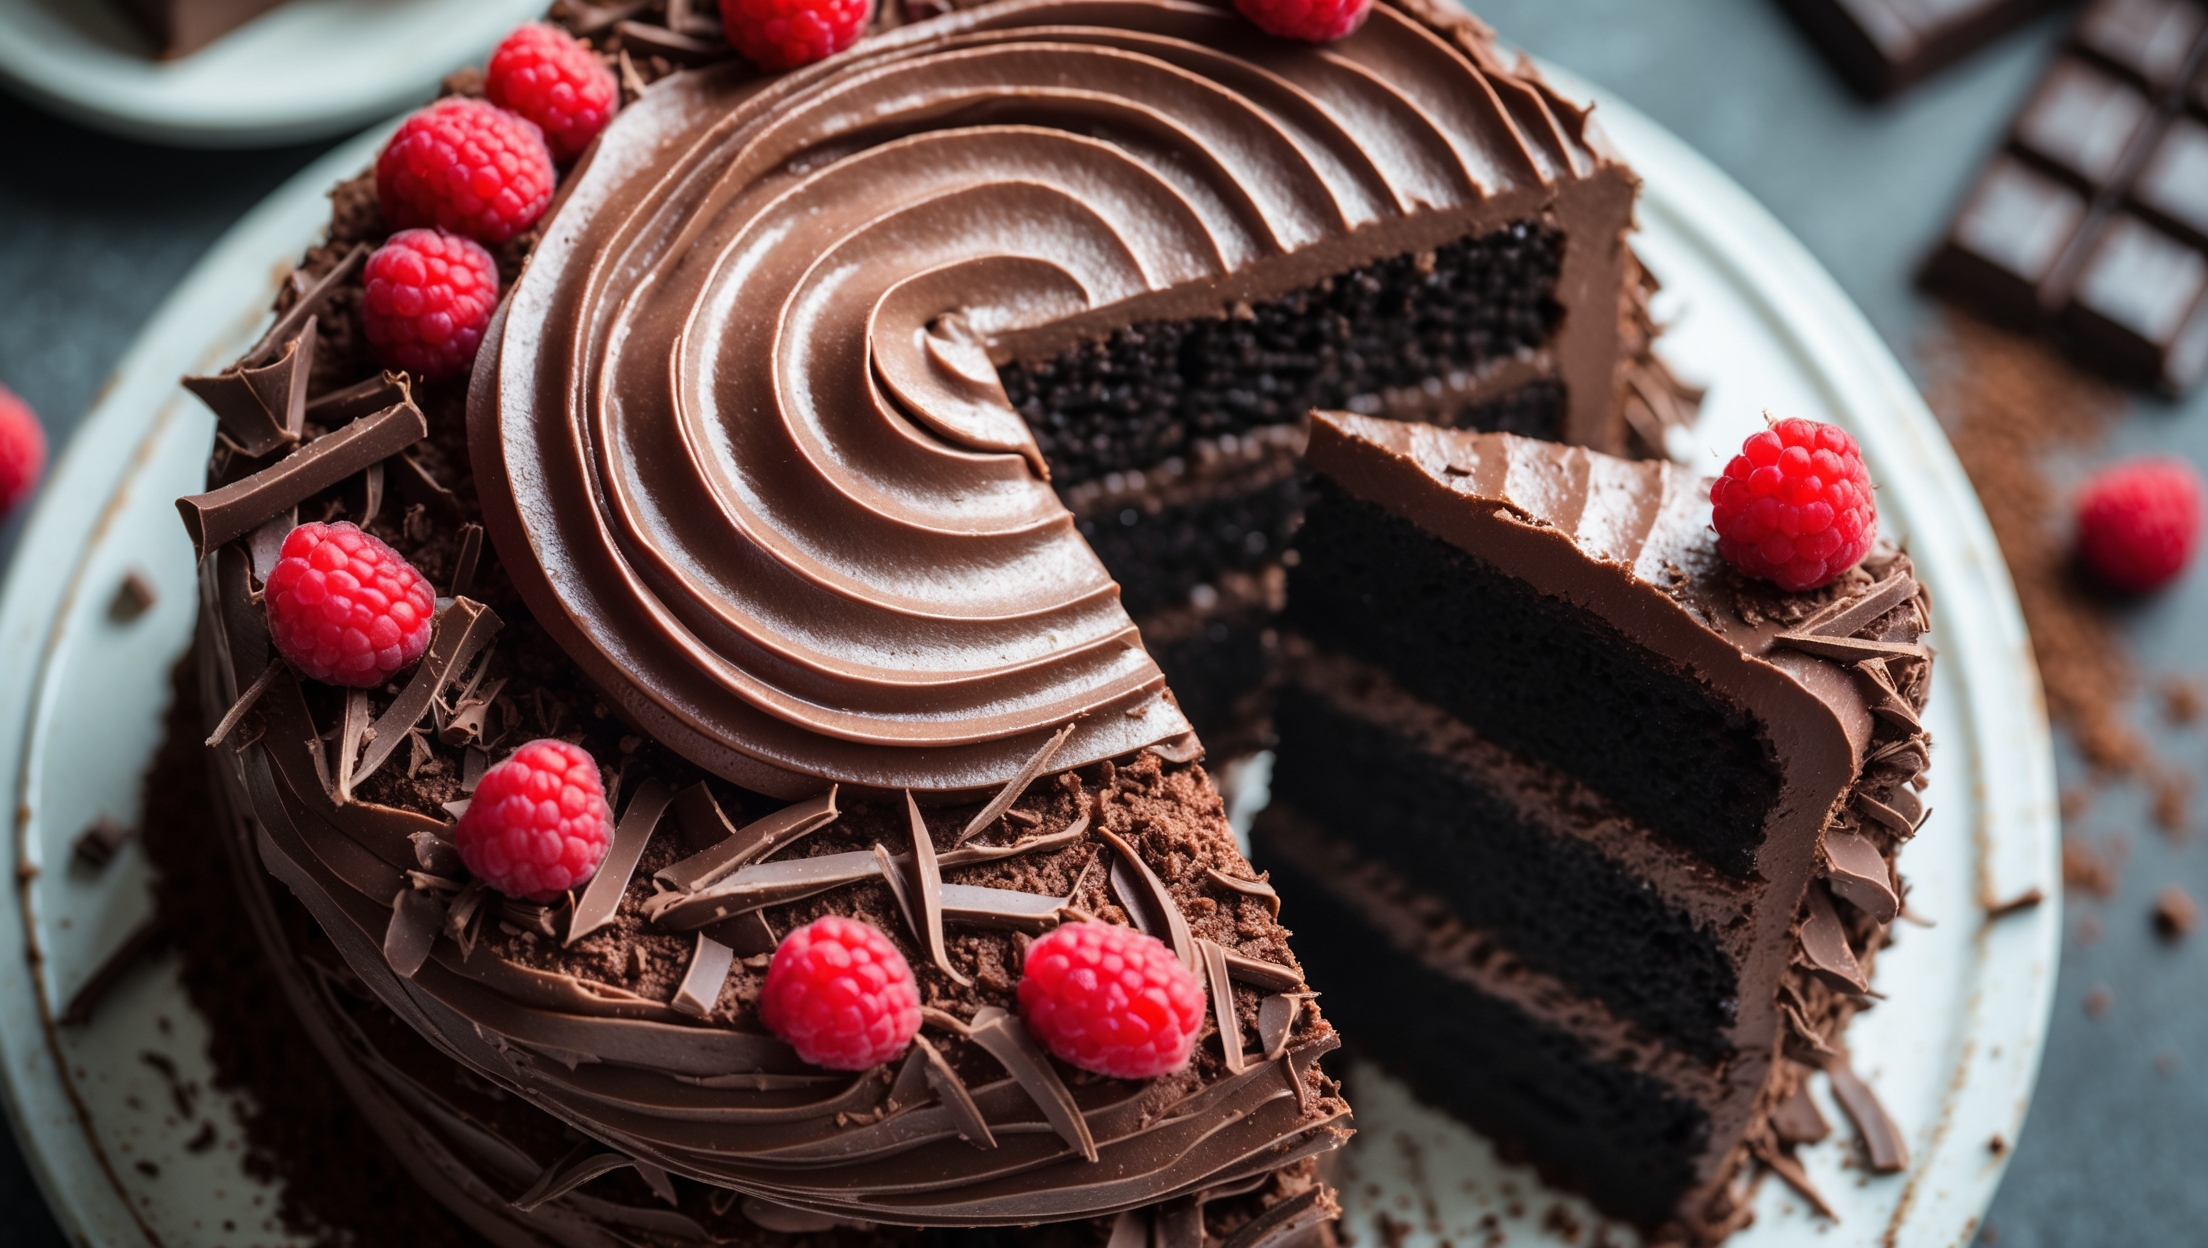
Learn how to cook Devil's Food Layer Cake by first creating a light, airy batter with alternating dry and wet ingredients, enhanced with hot coffee to intensify the chocolate flavour. Bake in three pans at 175°C for 22-25 minutes until just set, then cool completely before applying the silky chocolate frosting between layers and around the entire cake.
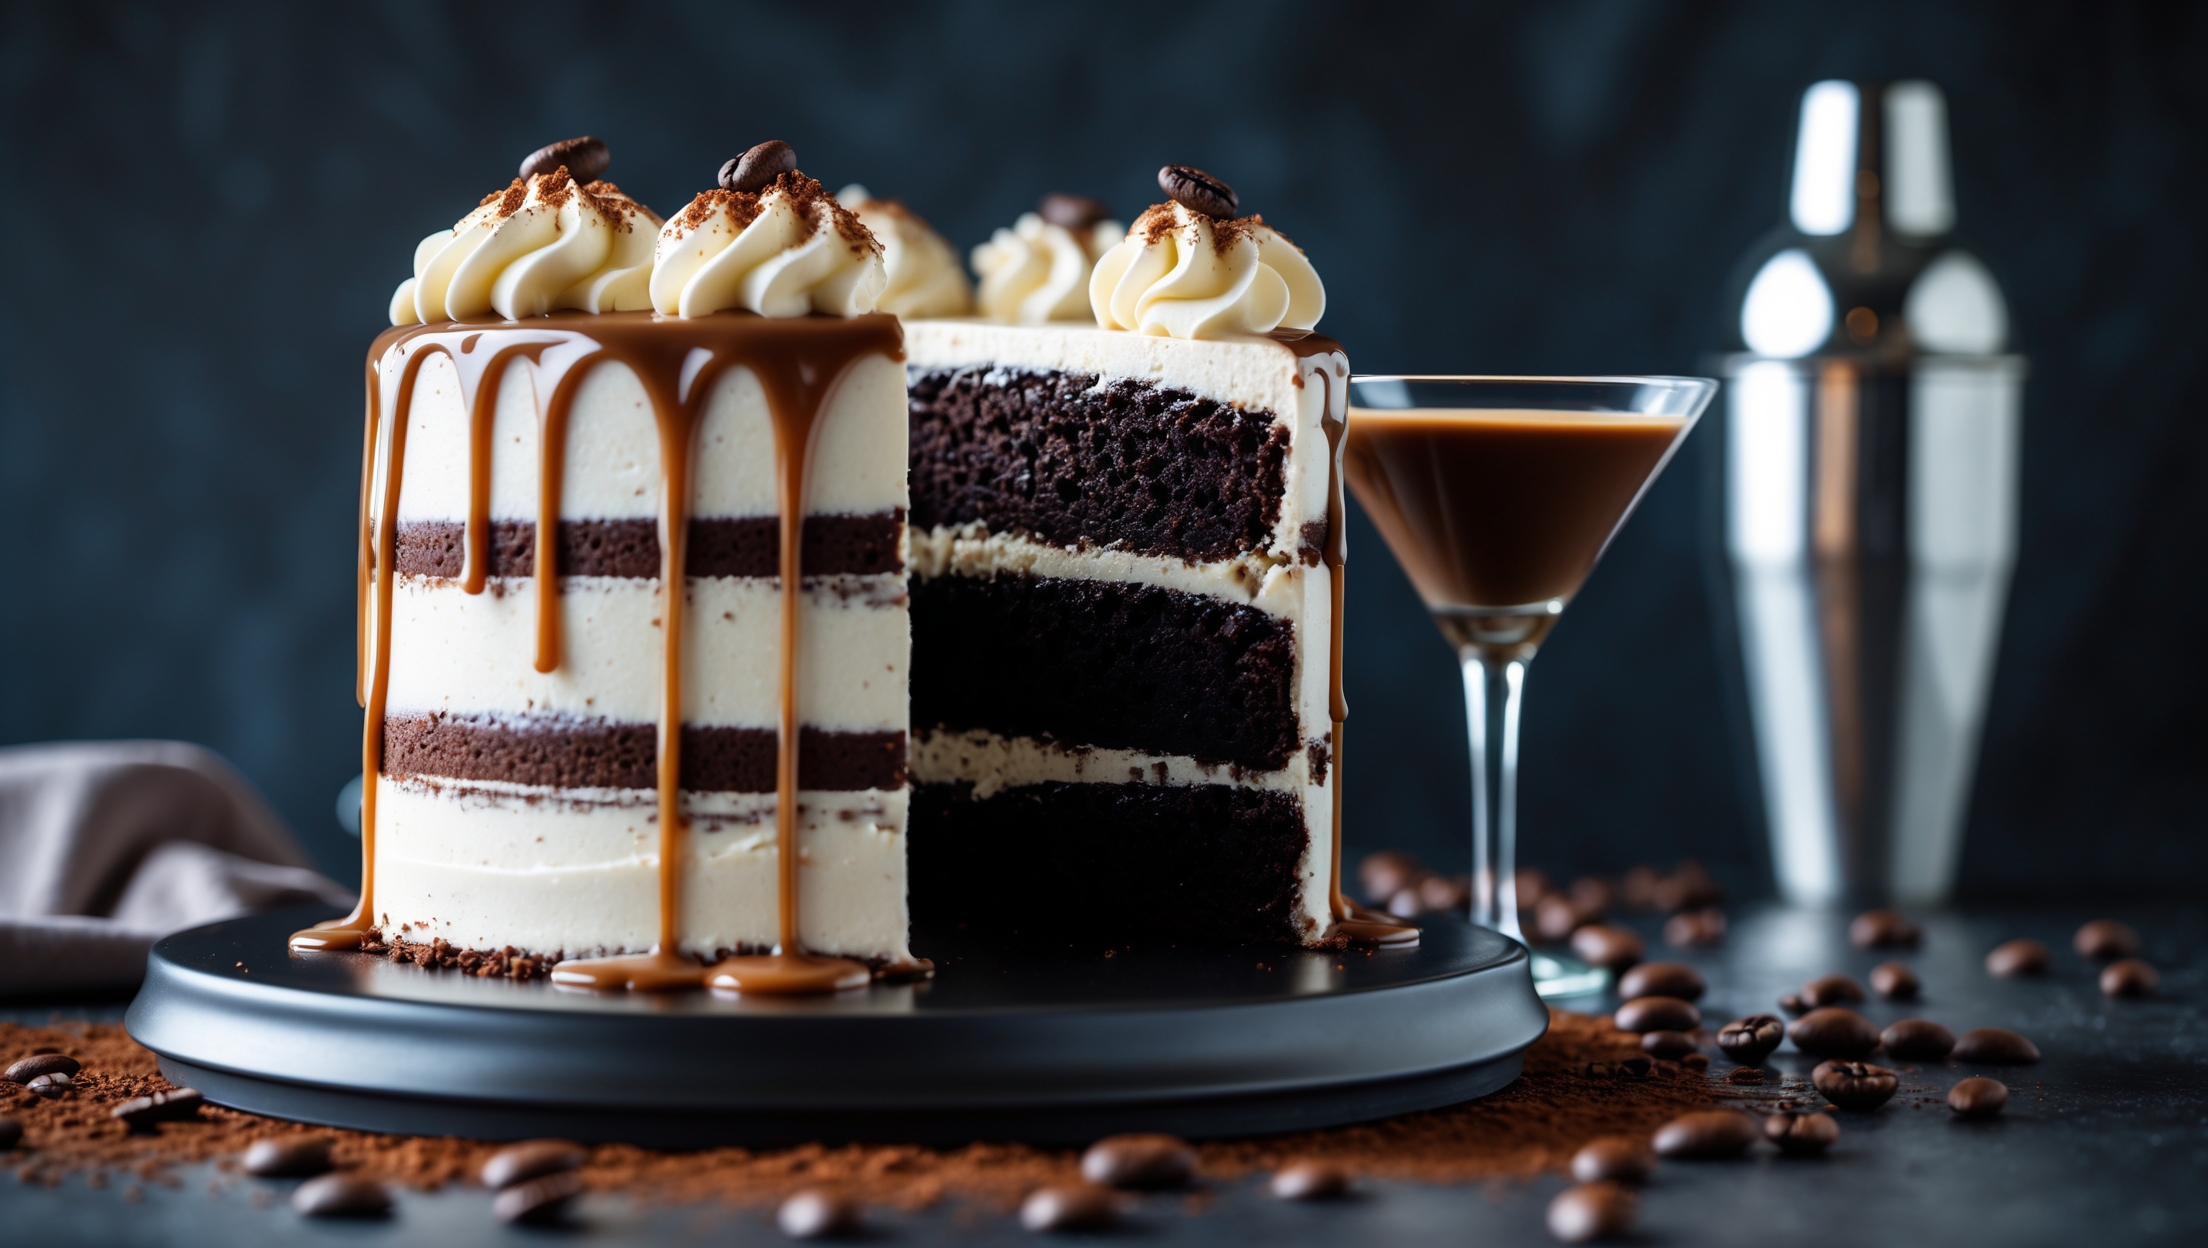
Coffee enhances and deepens the chocolate flavour without making the cake taste like coffee. The hot liquid also helps bloom the cocoa powder, releasing more flavour. You can substitute with hot water or hot chai tea if preferred, though you'll lose some flavour complexity.
Devil's Food cake is distinguished by its exceptionally moist, airy texture and deep chocolate flavour. It traditionally uses hot liquid (coffee in this recipe), baking soda for lift, and a higher ratio of cocoa powder to flour, creating a dramatically darker, richer cake than standard chocolate varieties.
Prevent dryness by measuring ingredients precisely, not overmixing the batter, using room temperature ingredients, and most importantly, not overbaking. Remove the cakes when a toothpick shows moist crumbs. For longer storage, apply a simple syrup soak or wrap cooled layers in cling film before frosting.
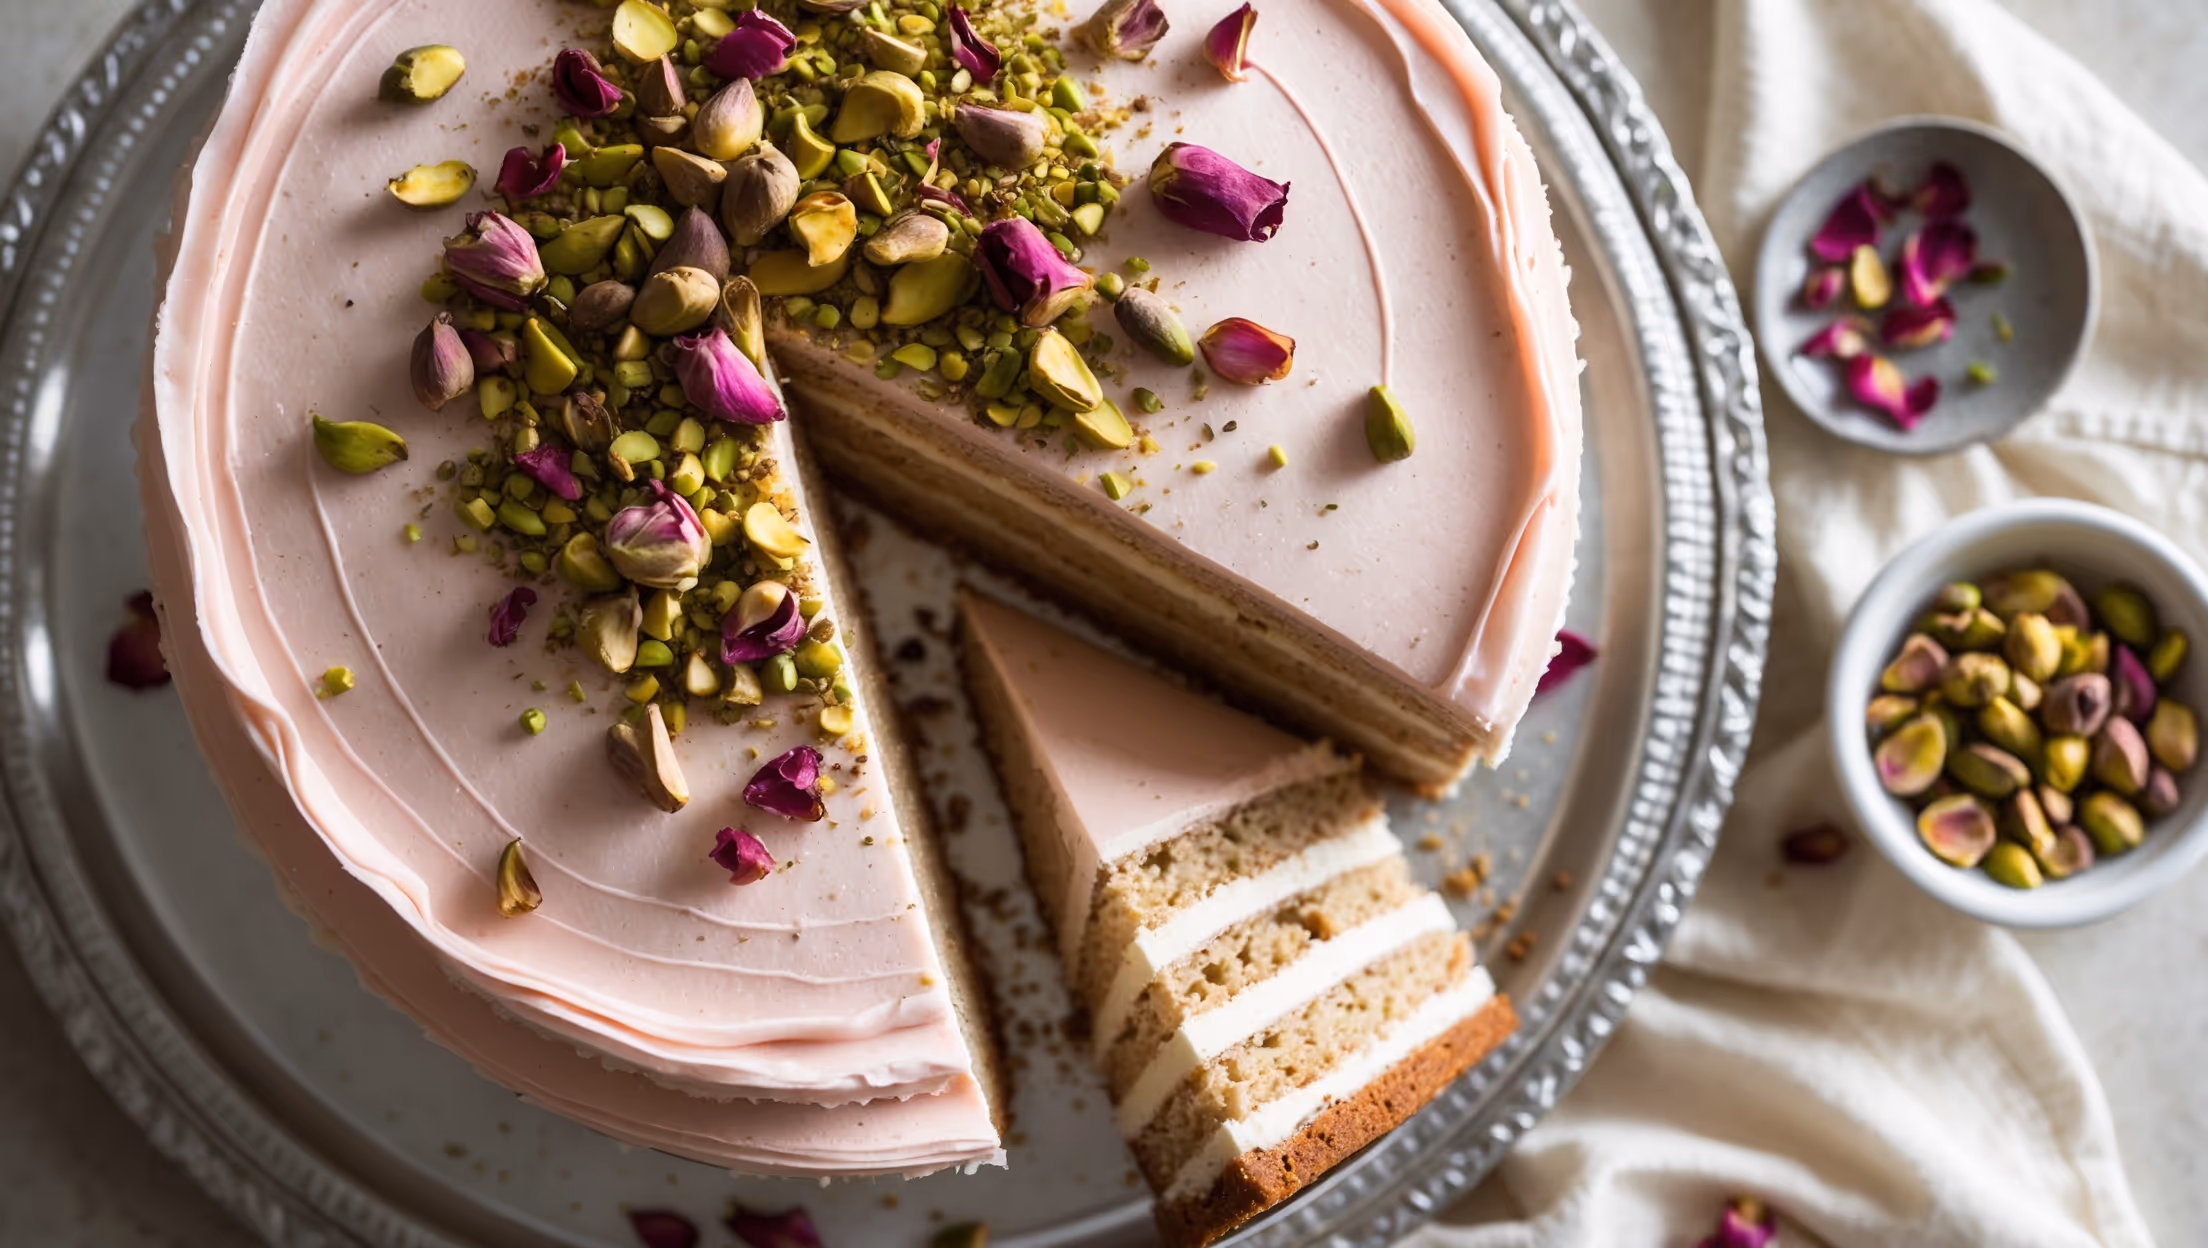
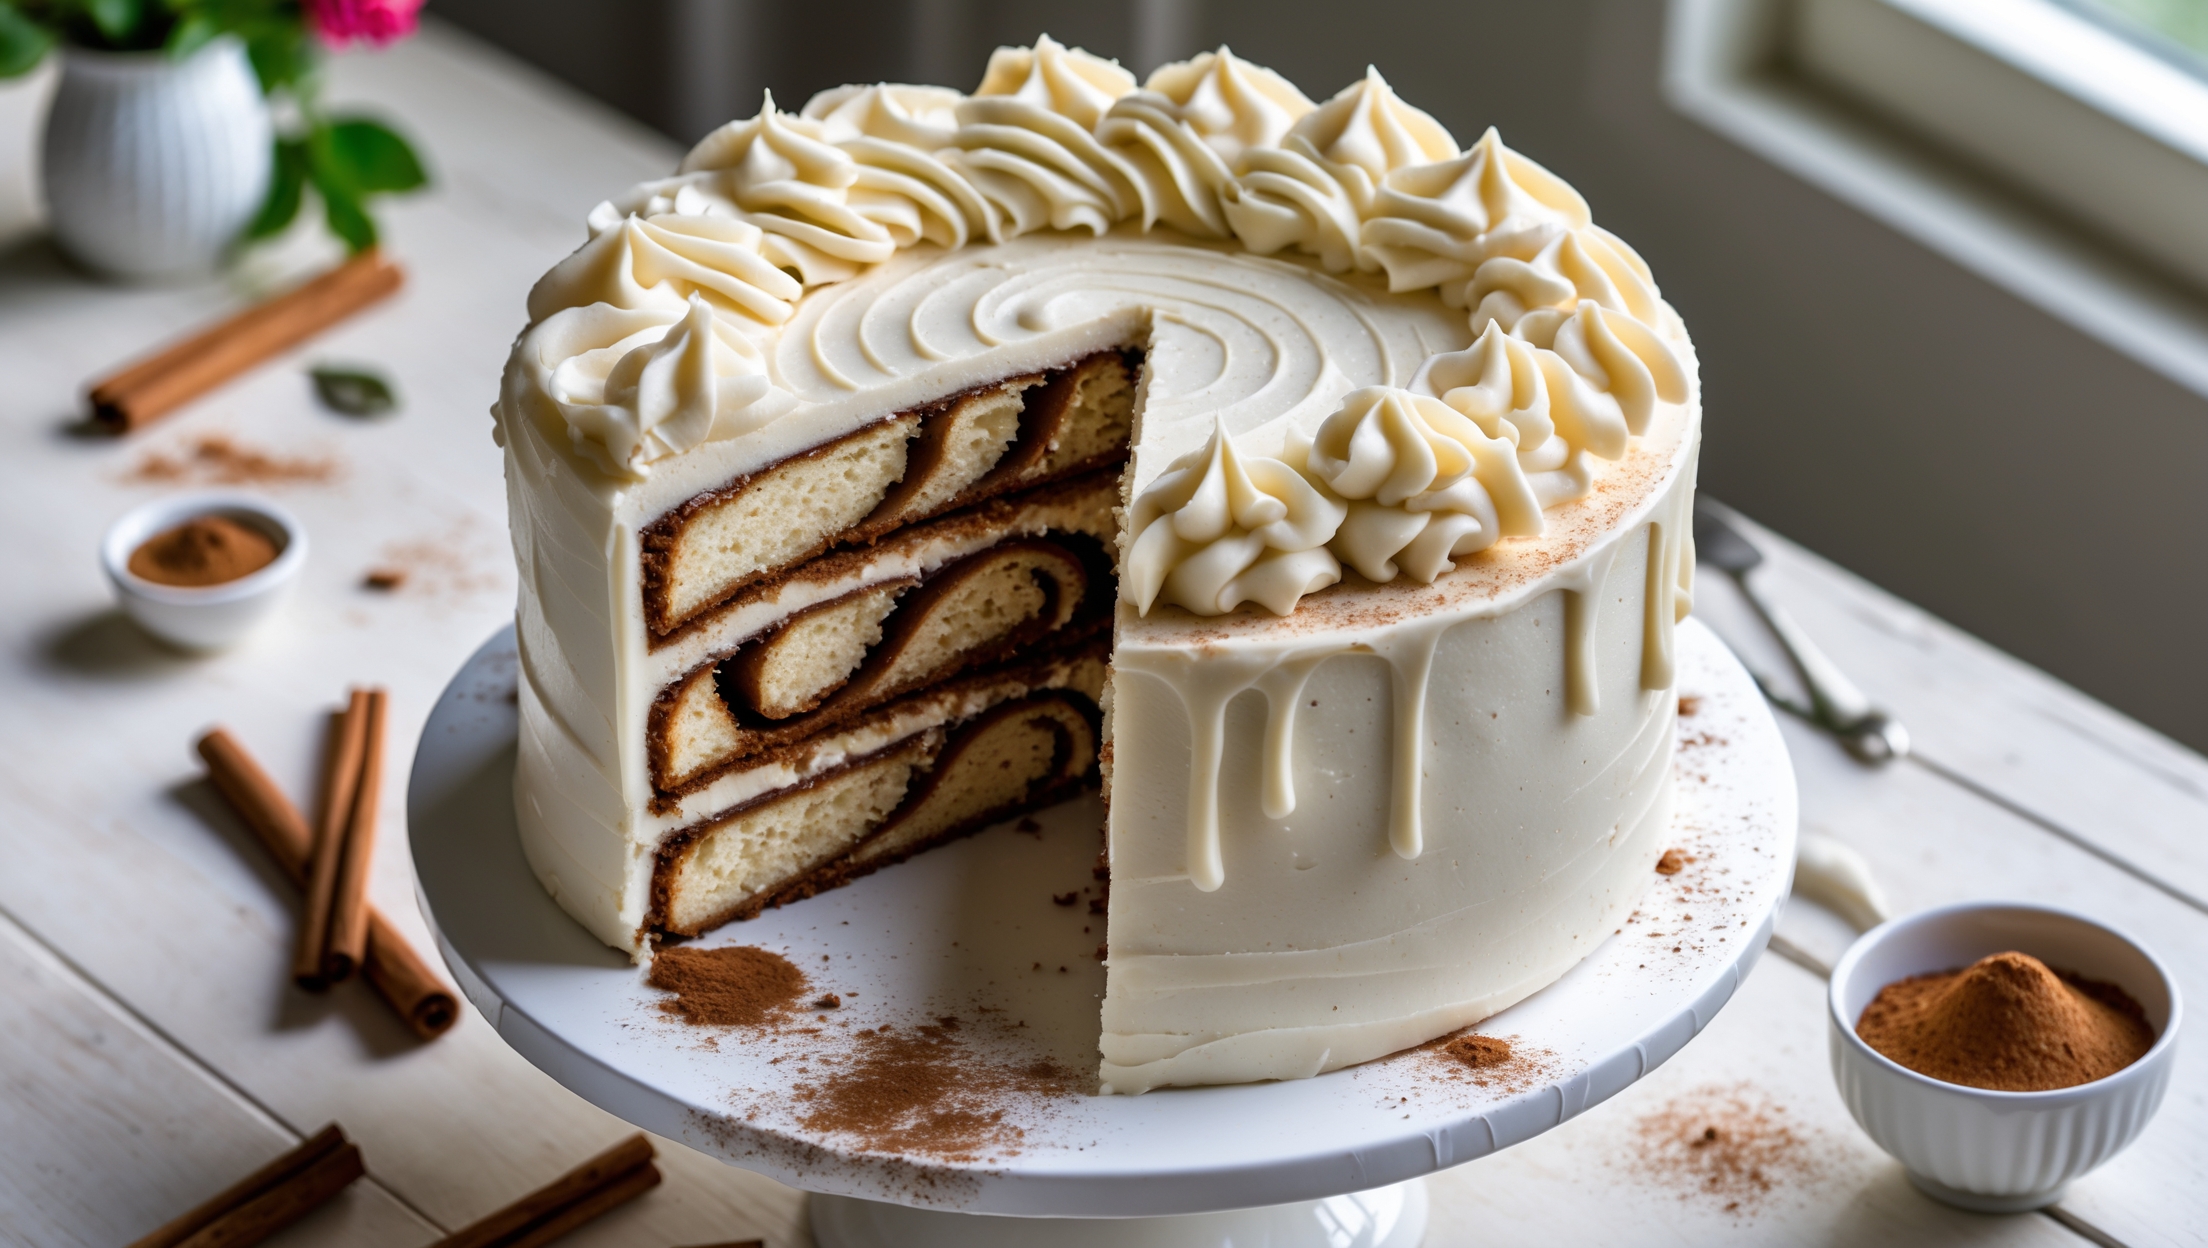
Layer Cakes
Try following recommended recipes