Directions
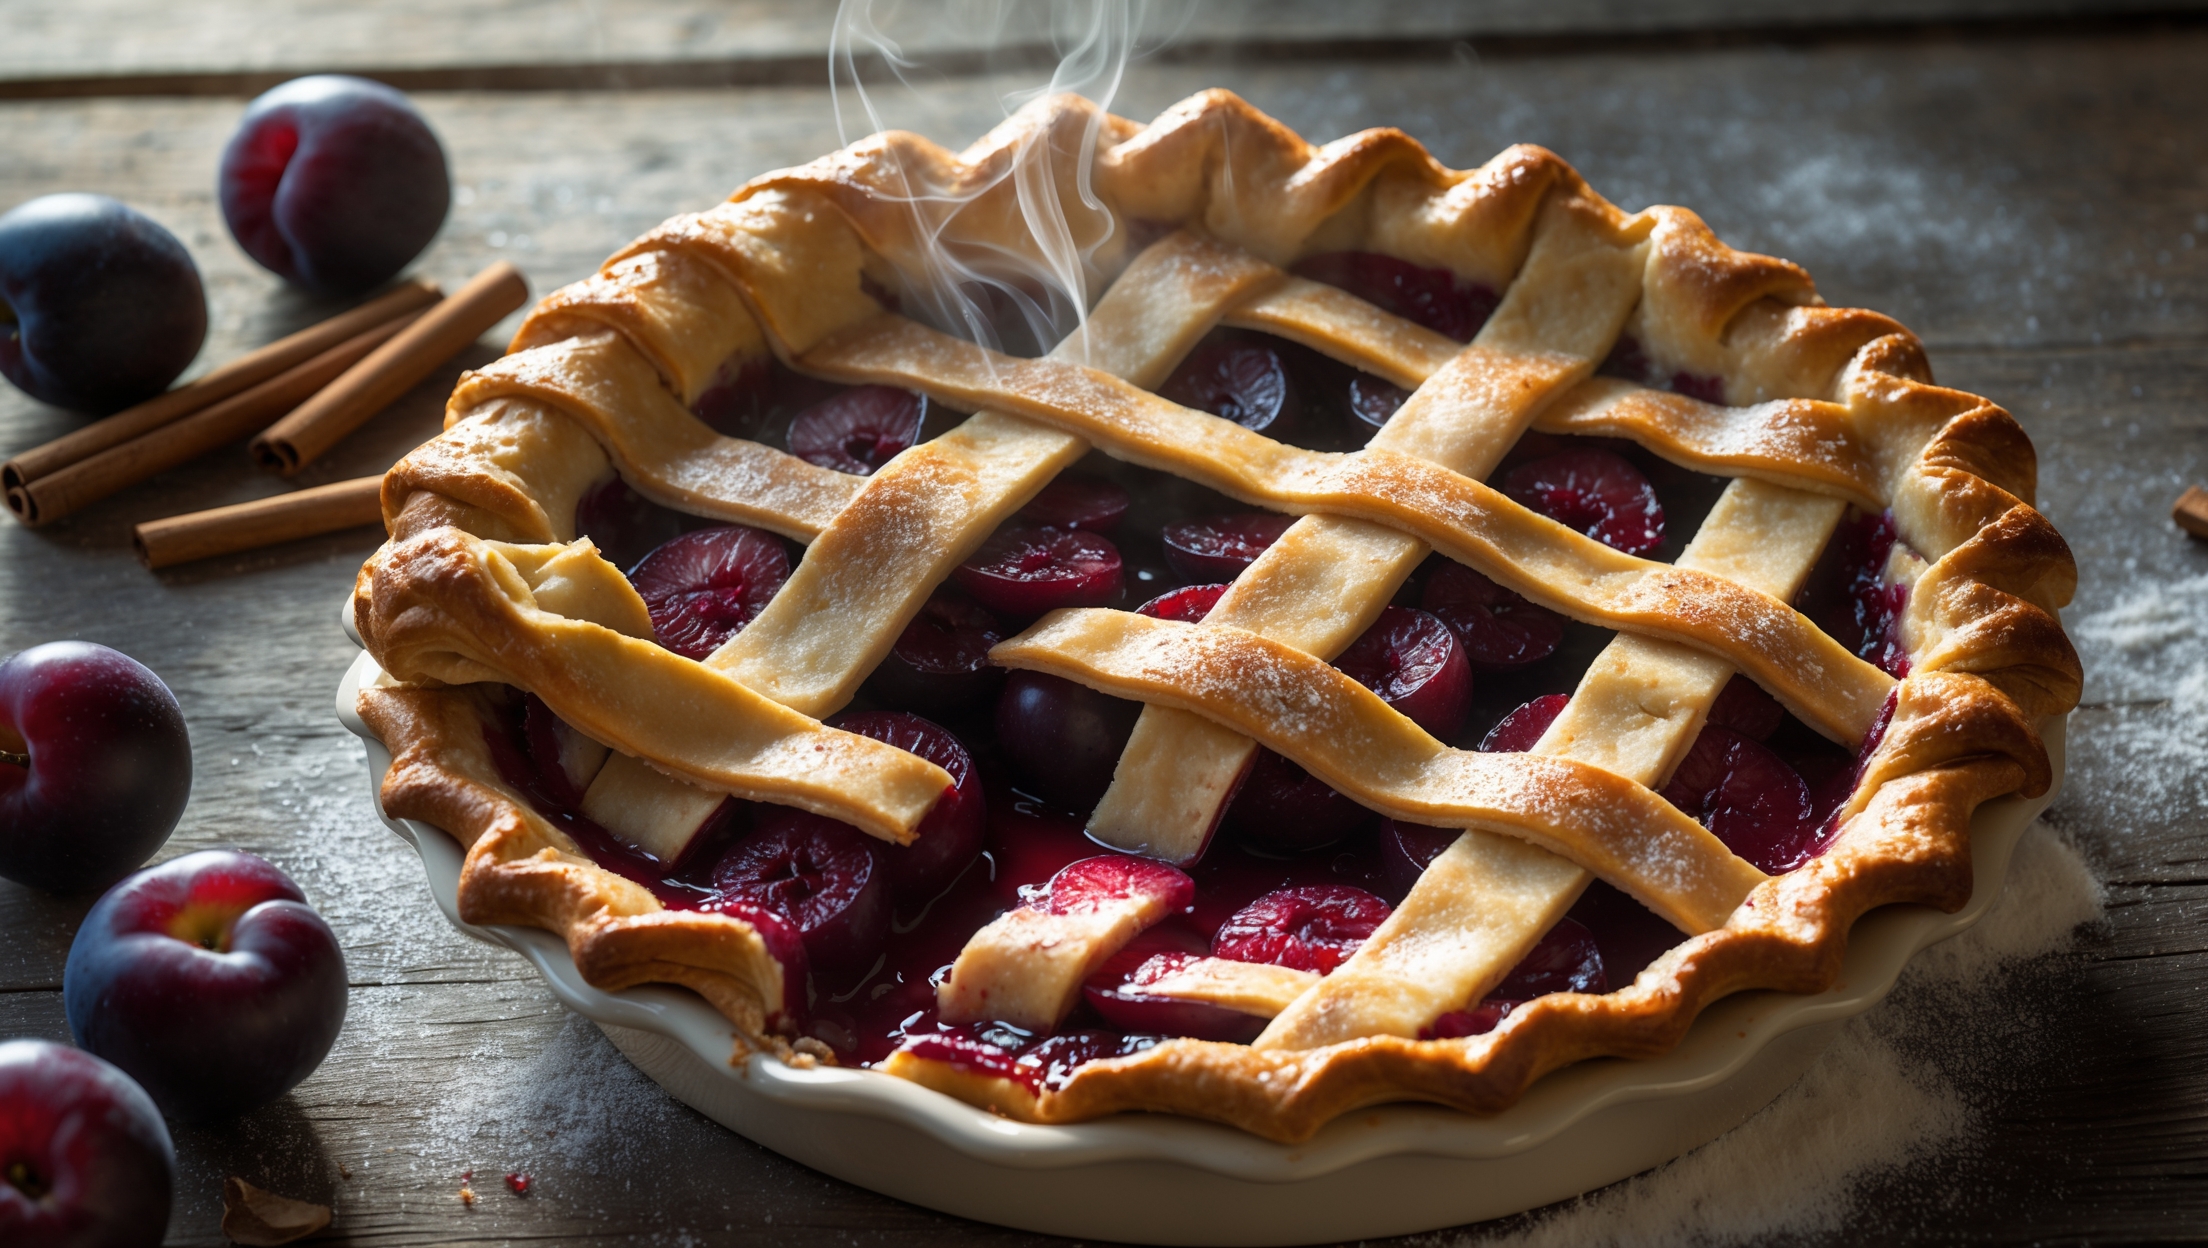
<ol class="no-list-style"><li class="MethodStepper"><h4 class="step-title">Step 1</h4>First, make the pastry. Place the flour, salt and cubed cold butter in a large bowl. Using your fingertips, rub the butter into the flour until the mixture resembles breadcrumbs (or use a food processor with short pulses). The key is to work quickly to keep the butter cold, which will result in a flakier crust.</li><li class="MethodStepper"><h4 class="step-title">Step 2</h4>Stir in the caster sugar, then gradually add the ice-cold water, 1 tablespoon at a time, mixing with a knife until the dough just comes together. You want the dough to hold when pressed between your fingers but not feel sticky. This minimal handling prevents the development of gluten, ensuring your crust remains tender.</li><li class="MethodStepper"><h4 class="step-title">Step 3</h4>Divide the dough into two portions – about ⅔ for the base and ⅓ for the lattice top. Shape each into flat discs, wrap in cling film and refrigerate for at least 30 minutes. Cold pastry is much easier to handle and will hold its shape better during baking.</li><li class="MethodStepper"><h4 class="step-title">Step 4</h4>Meanwhile, prepare your filling. In a large saucepan, combine the plums, sugar, cornflour, cinnamon, nutmeg, lemon juice, vanilla and salt. Cook over medium heat for about 5-7 minutes, stirring gently until the sugar dissolves and the plums start to release their juices. Pre-cooking the filling reduces excess moisture, helping to prevent a soggy bottom crust.</li><li class="MethodStepper"><h4 class="step-title">Step 5</h4>Remove from heat and allow the filling to cool completely. This is an important step – adding hot filling to raw pastry will melt the butter in the dough and compromise your flaky layers.</li><li class="MethodStepper"><h4 class="step-title">Step 6</h4>Preheat your oven to 200°C (180°C fan) and place a baking sheet in the oven to heat up. Rolling out pastry on a lightly floured surface, take the larger disc and roll to about 3mm thickness, creating a circle approximately 30cm in diameter. Keep rotating the pastry as you roll to ensure even thickness.</li><li class="MethodStepper"><h4 class="step-title">Step 7</h4>Carefully transfer the pastry to your pie dish by draping it over the rolling pin. Gently press into the corners without stretching the dough (stretching leads to shrinkage during baking). Trim the excess leaving about 1cm overhang. Refrigerate while preparing the lattice.</li><li class="MethodStepper"><h4 class="step-title">Step 8</h4>Roll out the remaining pastry to the same thickness. Cut into even strips about 2cm wide using a pastry wheel or sharp knife. Keep these strips chilled if your kitchen is warm.</li><li class="MethodStepper"><h4 class="step-title">Step 9</h4>Remove the pie shell from the refrigerator and add the cooled plum filling, creating a slight mound in the center. Arrange half the pastry strips parallel across the pie with small gaps between. Fold back every other strip halfway, then place a strip perpendicular across the unfolded strips. Unfold the folded strips over the perpendicular strip. Repeat this weaving process to create a lattice pattern across the entire pie.</li><li class="MethodStepper"><h4 class="step-title">Step 10</h4>Trim the lattice strips in line with the edge of the dish, then fold the overhanging base pastry over and crimp decoratively using your fingers or a fork to seal. This crimped edge not only looks beautiful but also helps secure the filling during baking.</li><li class="MethodStepper"><h4 class="step-title">Step 11</h4>Brush the lattice and edges with beaten egg for a professional shine, then sprinkle generously with demerara sugar to create a sweet, crunchy finish.</li><li class="MethodStepper"><h4 class="step-title">Step 12</h4>Place the pie on the preheated baking sheet (the hot sheet helps cook the bottom crust properly) and bake for 20 minutes at 200°C. Then reduce the temperature to 180°C and continue baking for 30-35 minutes until the crust is deeply golden and the filling is bubbling through the lattice. If the edges brown too quickly, cover them loosely with foil.</li><li class="MethodStepper"><h4 class="step-title">Step 13</h4>Allow the pie to cool on a wire rack for at least 2 hours before slicing. This resting period is crucial as it allows the filling to set properly - cut too soon and you'll have a runny filling that won't hold its shape. Your patience will be rewarded with perfect, clean slices!</li><li class="MethodStepper"><h4 class="step-title">Step 14</h4>Serve warm or at room temperature with a scoop of vanilla ice cream or a dollop of lightly whipped cream. The pie will keep at room temperature, loosely covered, for 2 days, or refrigerated for up to 4 days. Gently warm slices in the oven before serving if desired.</li></ol>