Chocolate Mousse Phyllo Cups Recipe
Ingredients
Equipment
Directions
FAQs
Find answers to your most pressing questions about this delicious recipe right here.
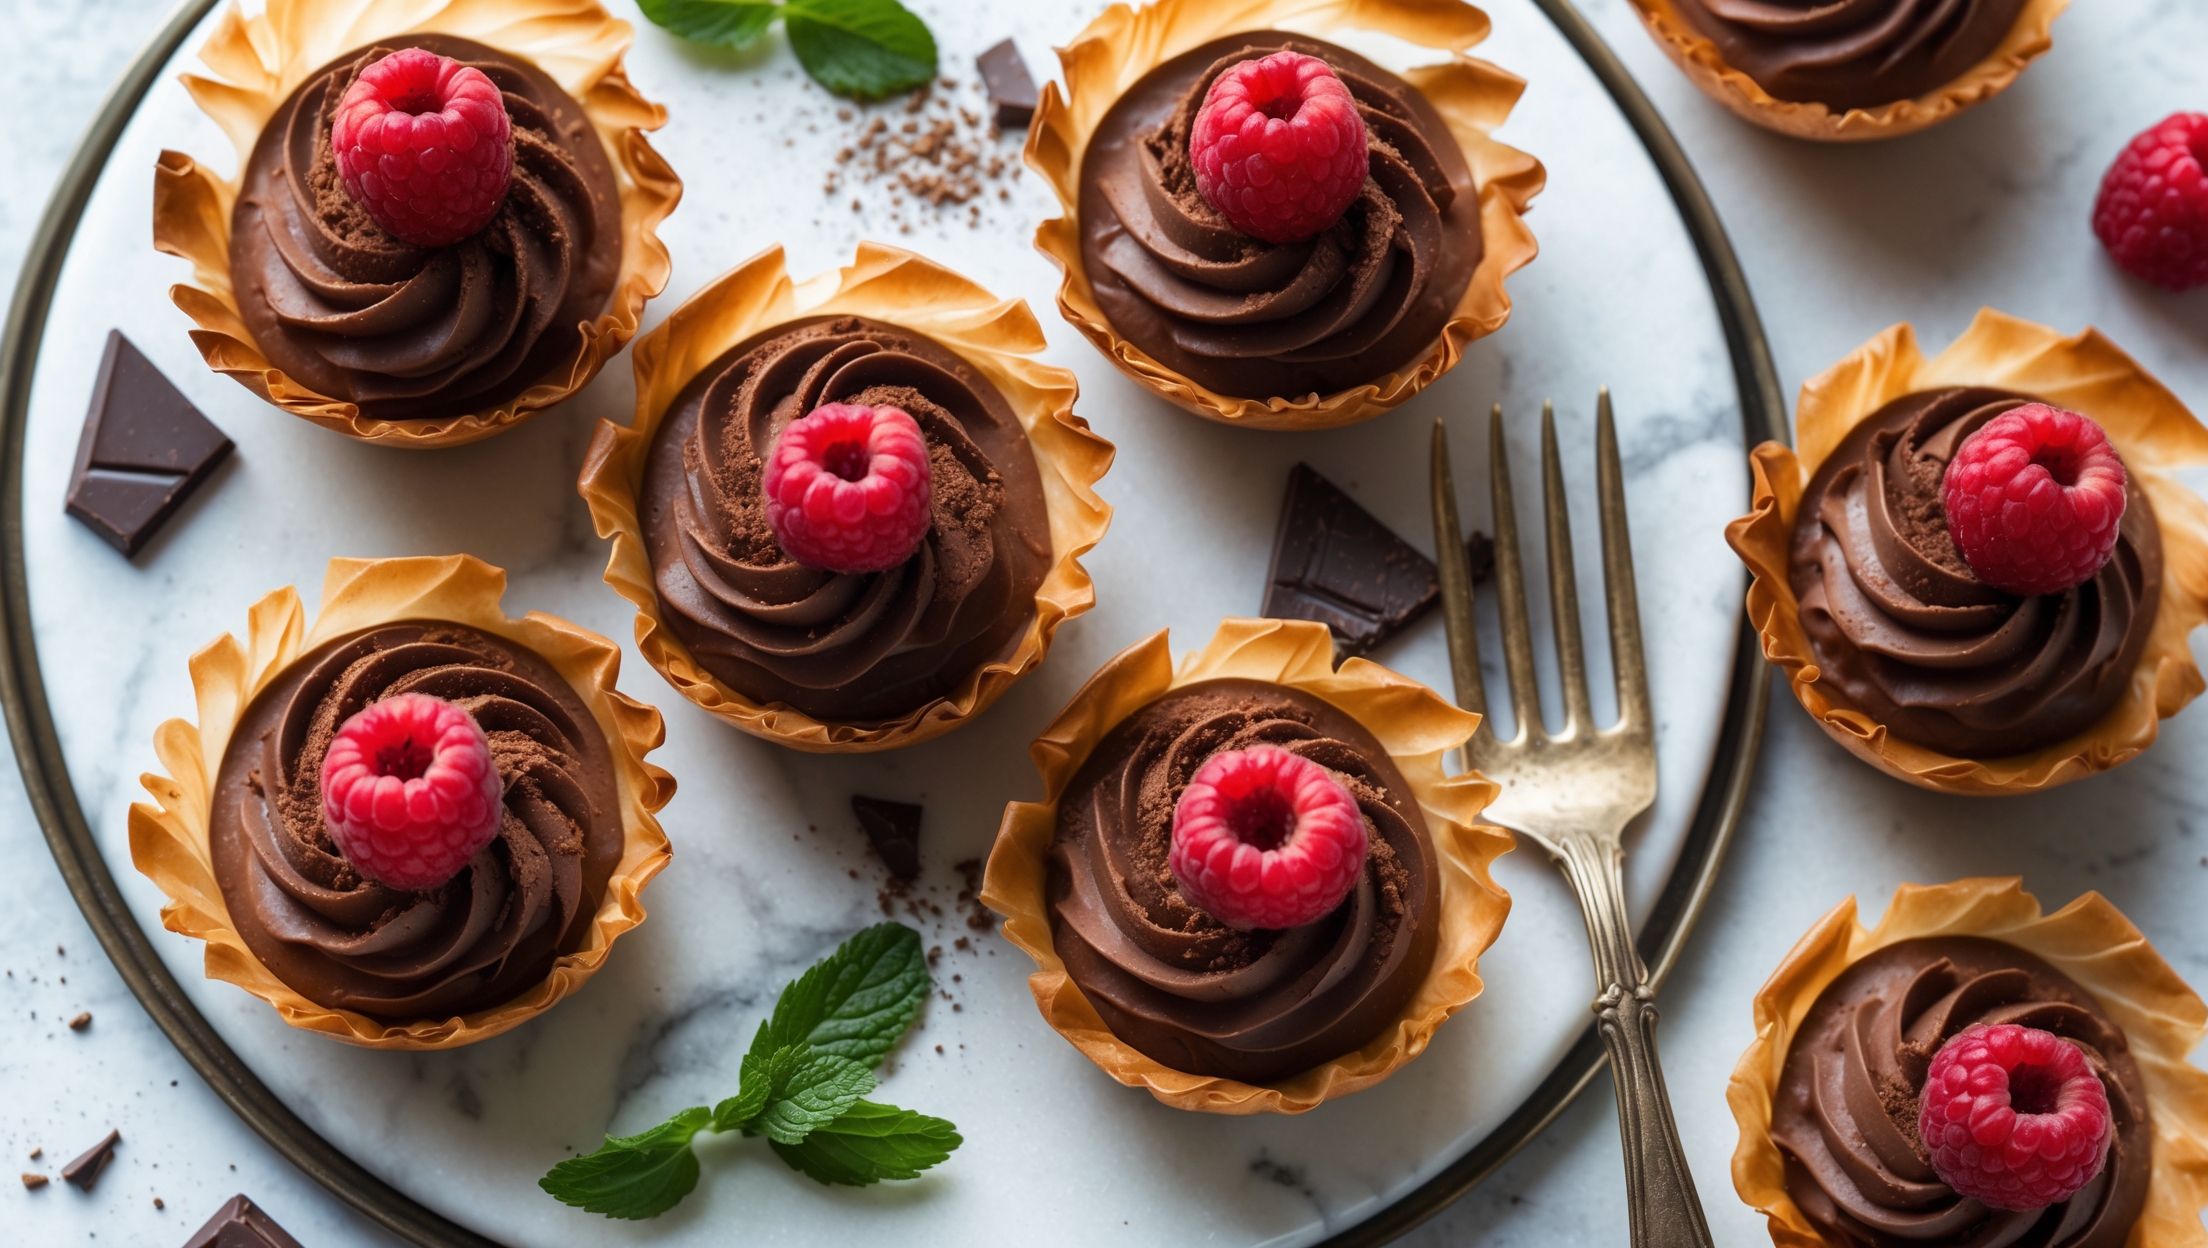
The recipe requires phyllo pastry, unsalted butter, sugar, dark chocolate, eggs, heavy cream, vanilla, salt, fresh berries, cocoa powder, and optional mint leaves. These combine to create crispy phyllo shells filled with silky chocolate mousse topped with fresh berries.
Learn how to cook Chocolate Mousse Phyllo Cups by layering buttered phyllo sheets, cutting them into squares, and baking in mini muffin tins until golden. Then prepare a silky chocolate mousse by melting chocolate with butter, folding in egg whites and whipped cream. Pipe the chilled mousse into the cups and garnish with fresh berries for an elegant dessert.
Yes! The phyllo cups can be made 2-3 days ahead and stored in an airtight container. The chocolate mousse can be prepared up to 24 hours in advance and kept refrigerated. However, for best texture, only fill the cups within 2 hours of serving to maintain their crispness.
The key to phyllo success is keeping unused sheets covered with a slightly damp kitchen towel while working, as they dry out quickly. Work efficiently, brush each layer lightly with melted butter, and don't worry about small tears—layering will hide imperfections and still create beautifully flaky cups.
For gluten-free versions, substitute phyllo with gluten-free tart shells. For dairy-free options, use plant-based butter and coconut cream instead of heavy cream. Vegan adaptations can use aquafaba in place of egg whites and silken tofu with chocolate for the mousse base.
Filo Pastry
Try following recommended recipes


