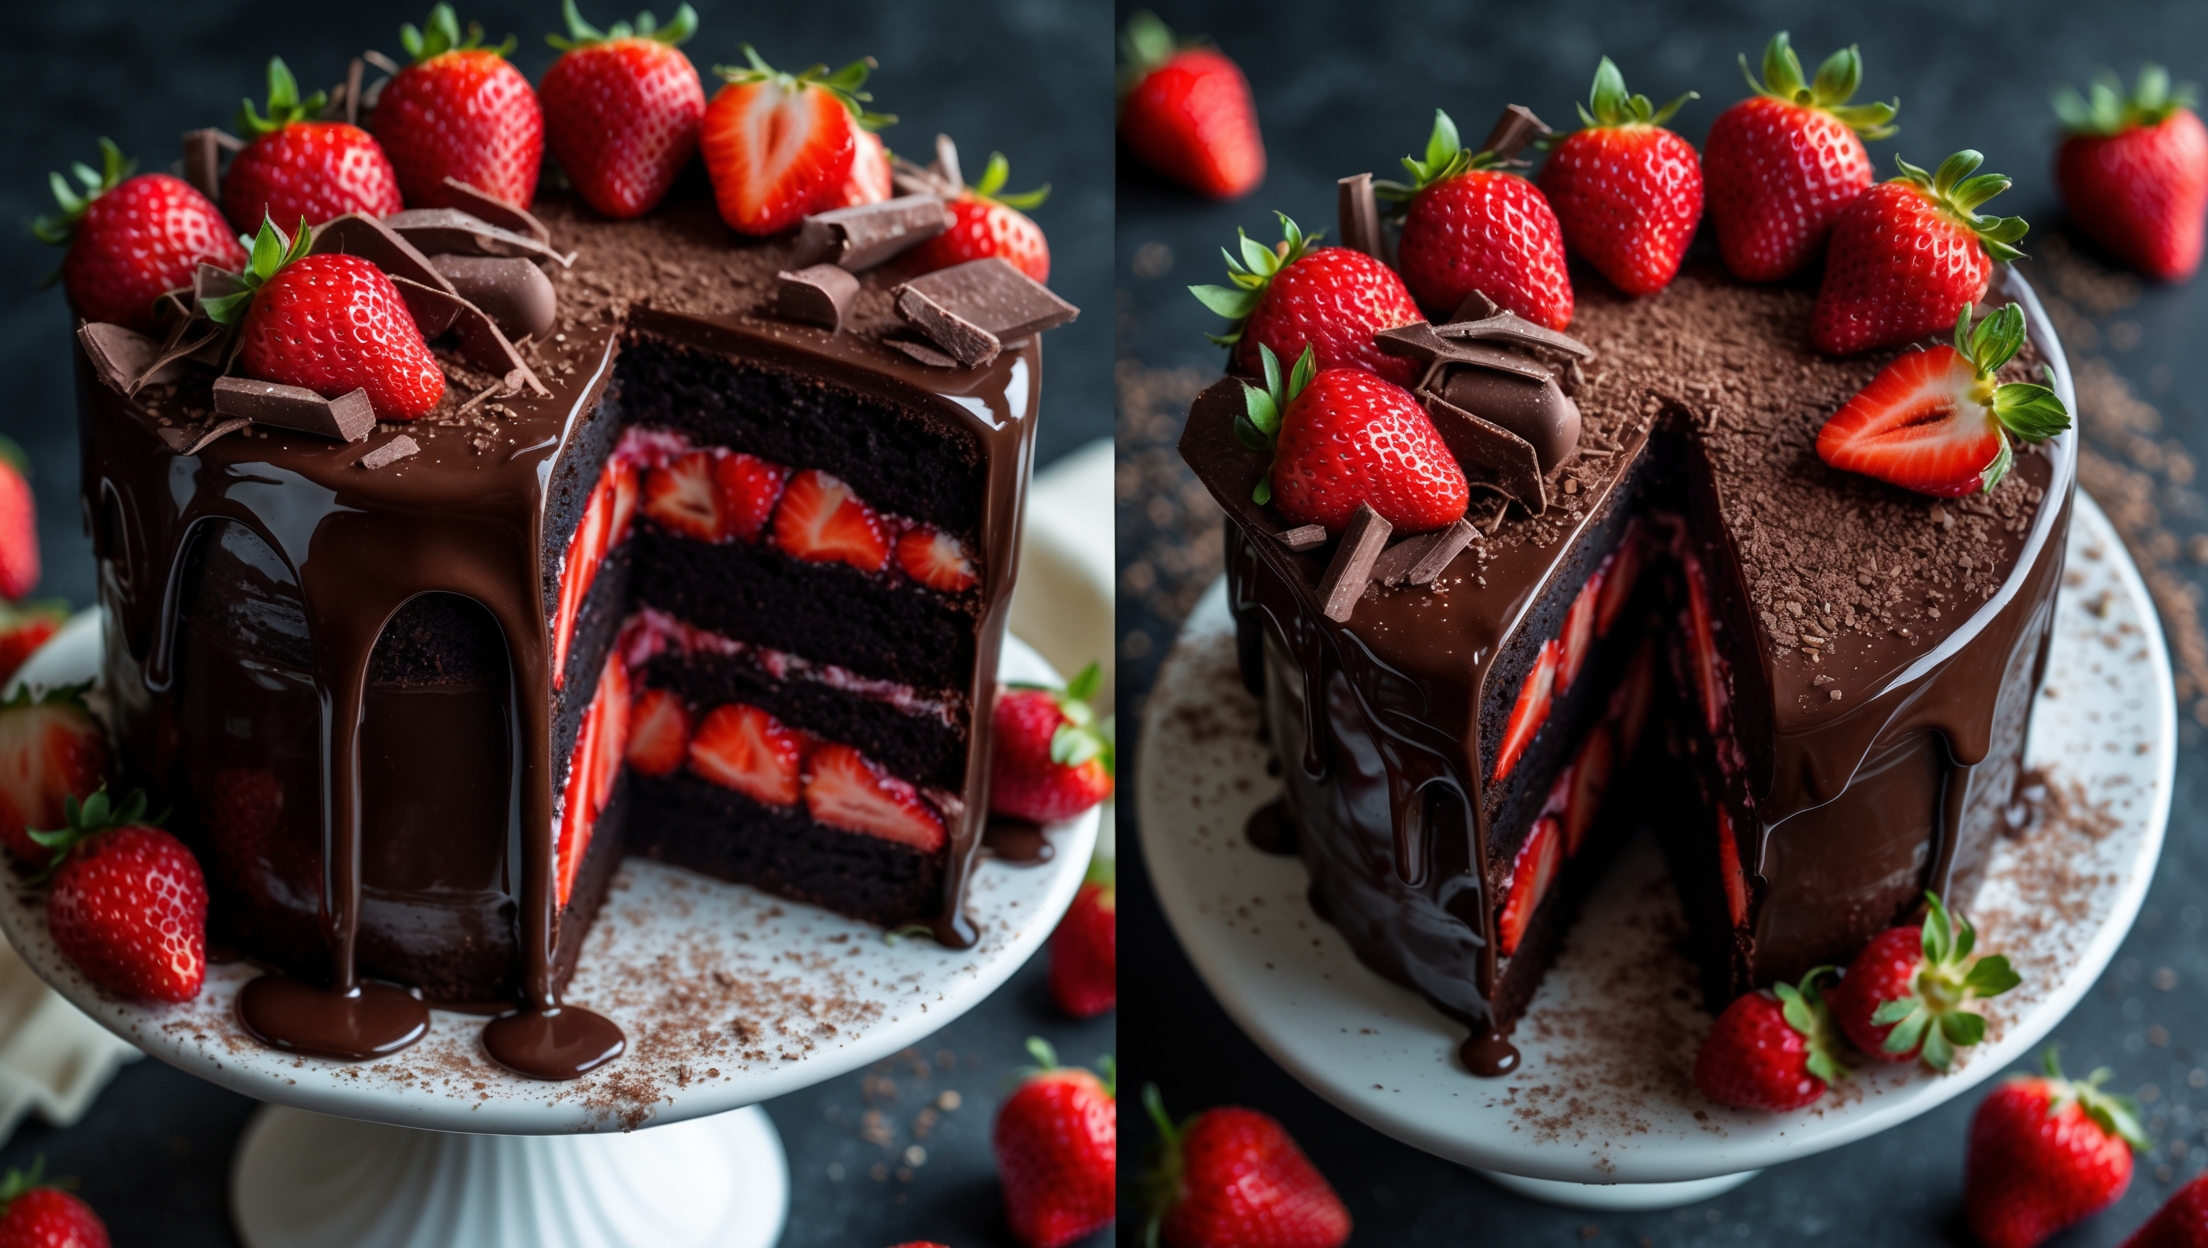
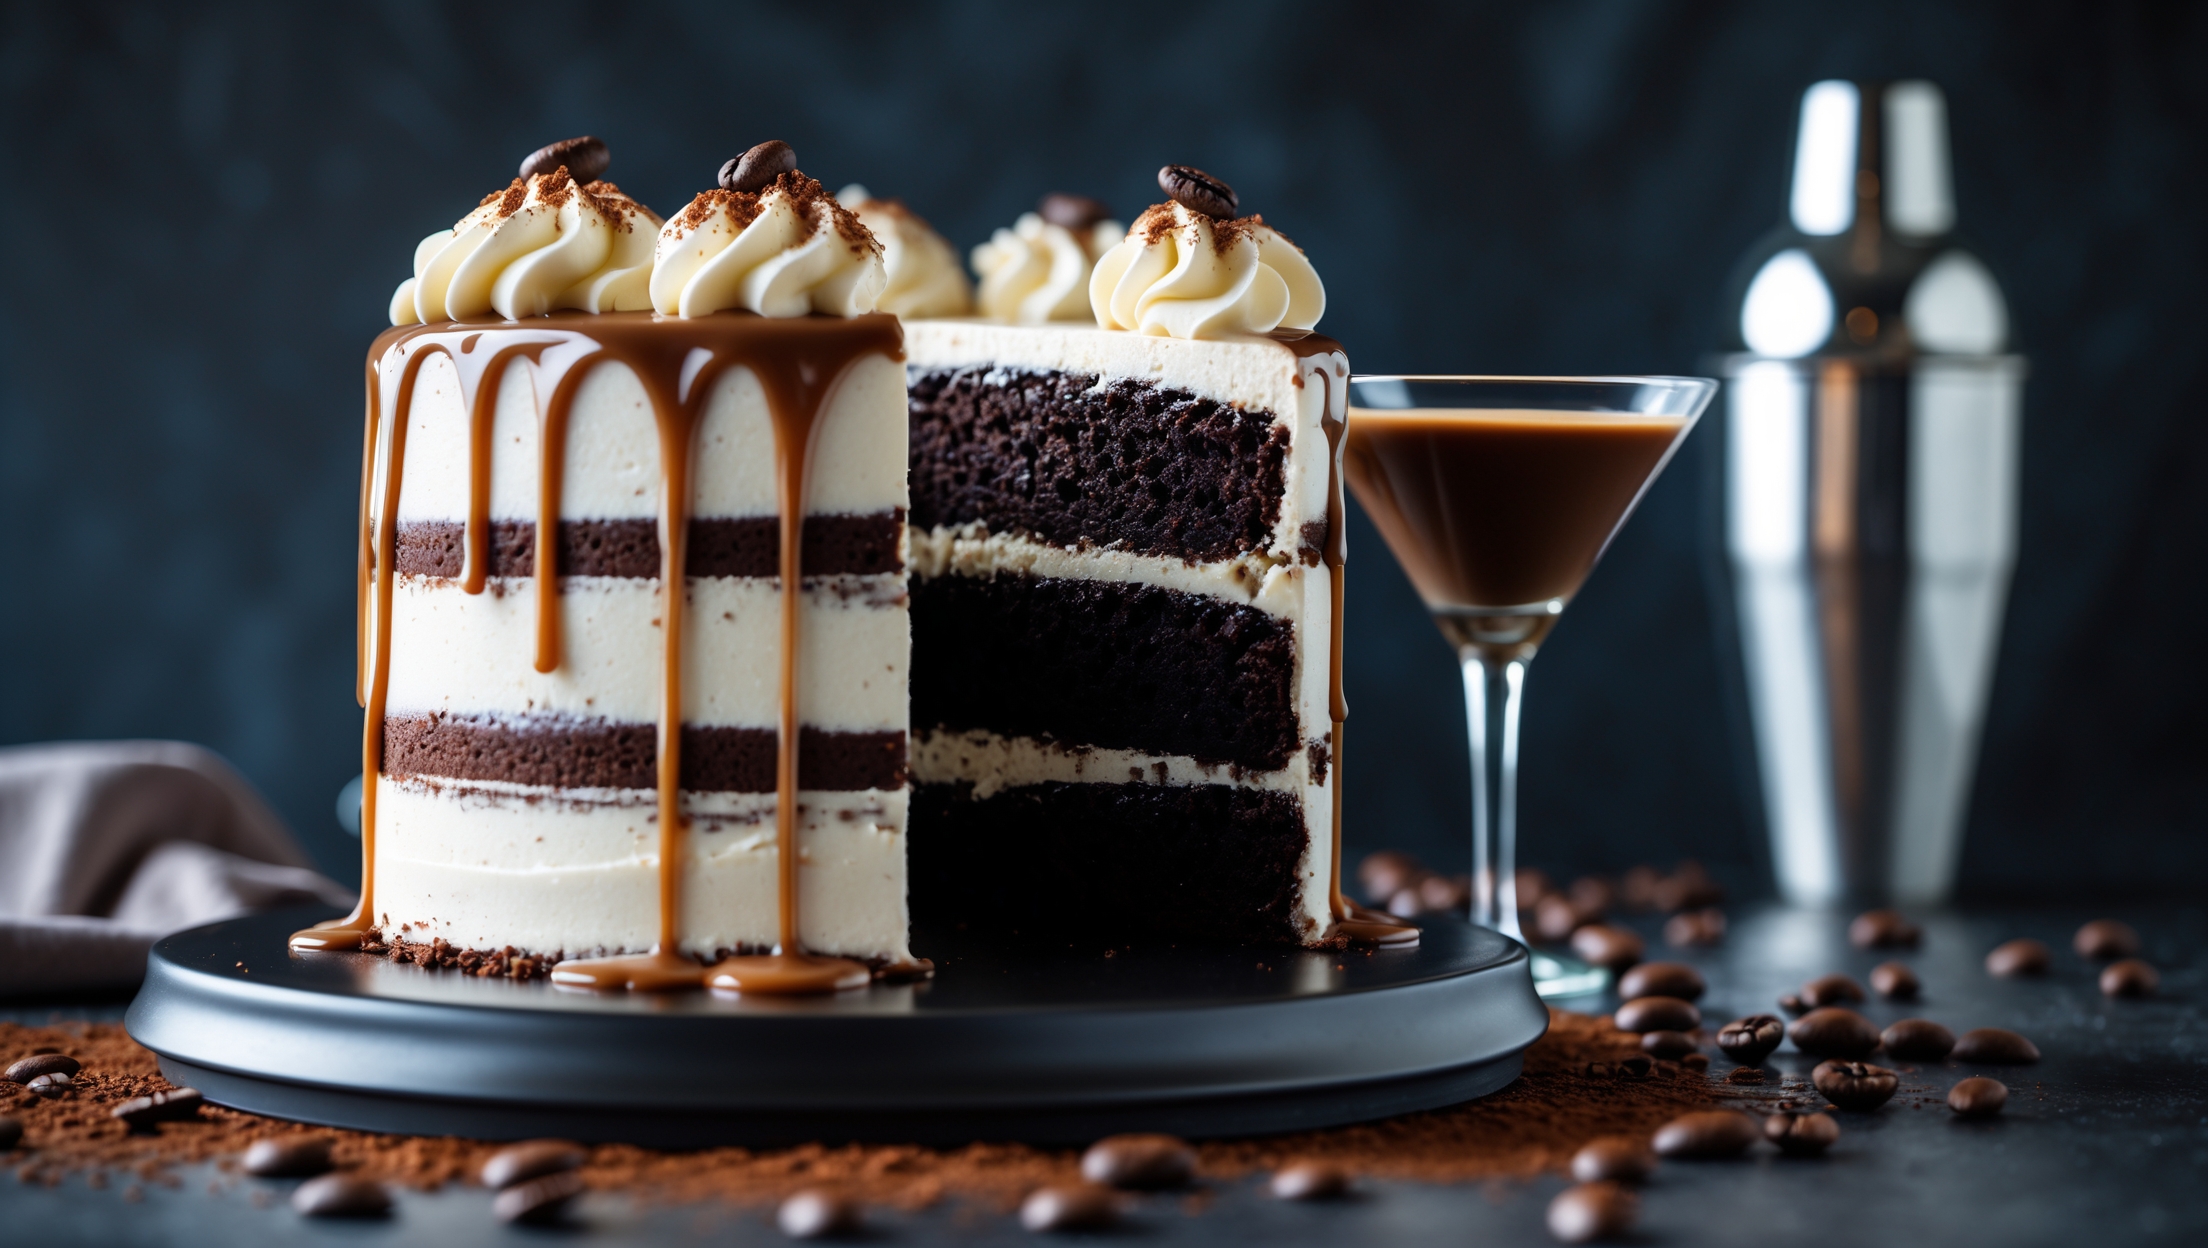
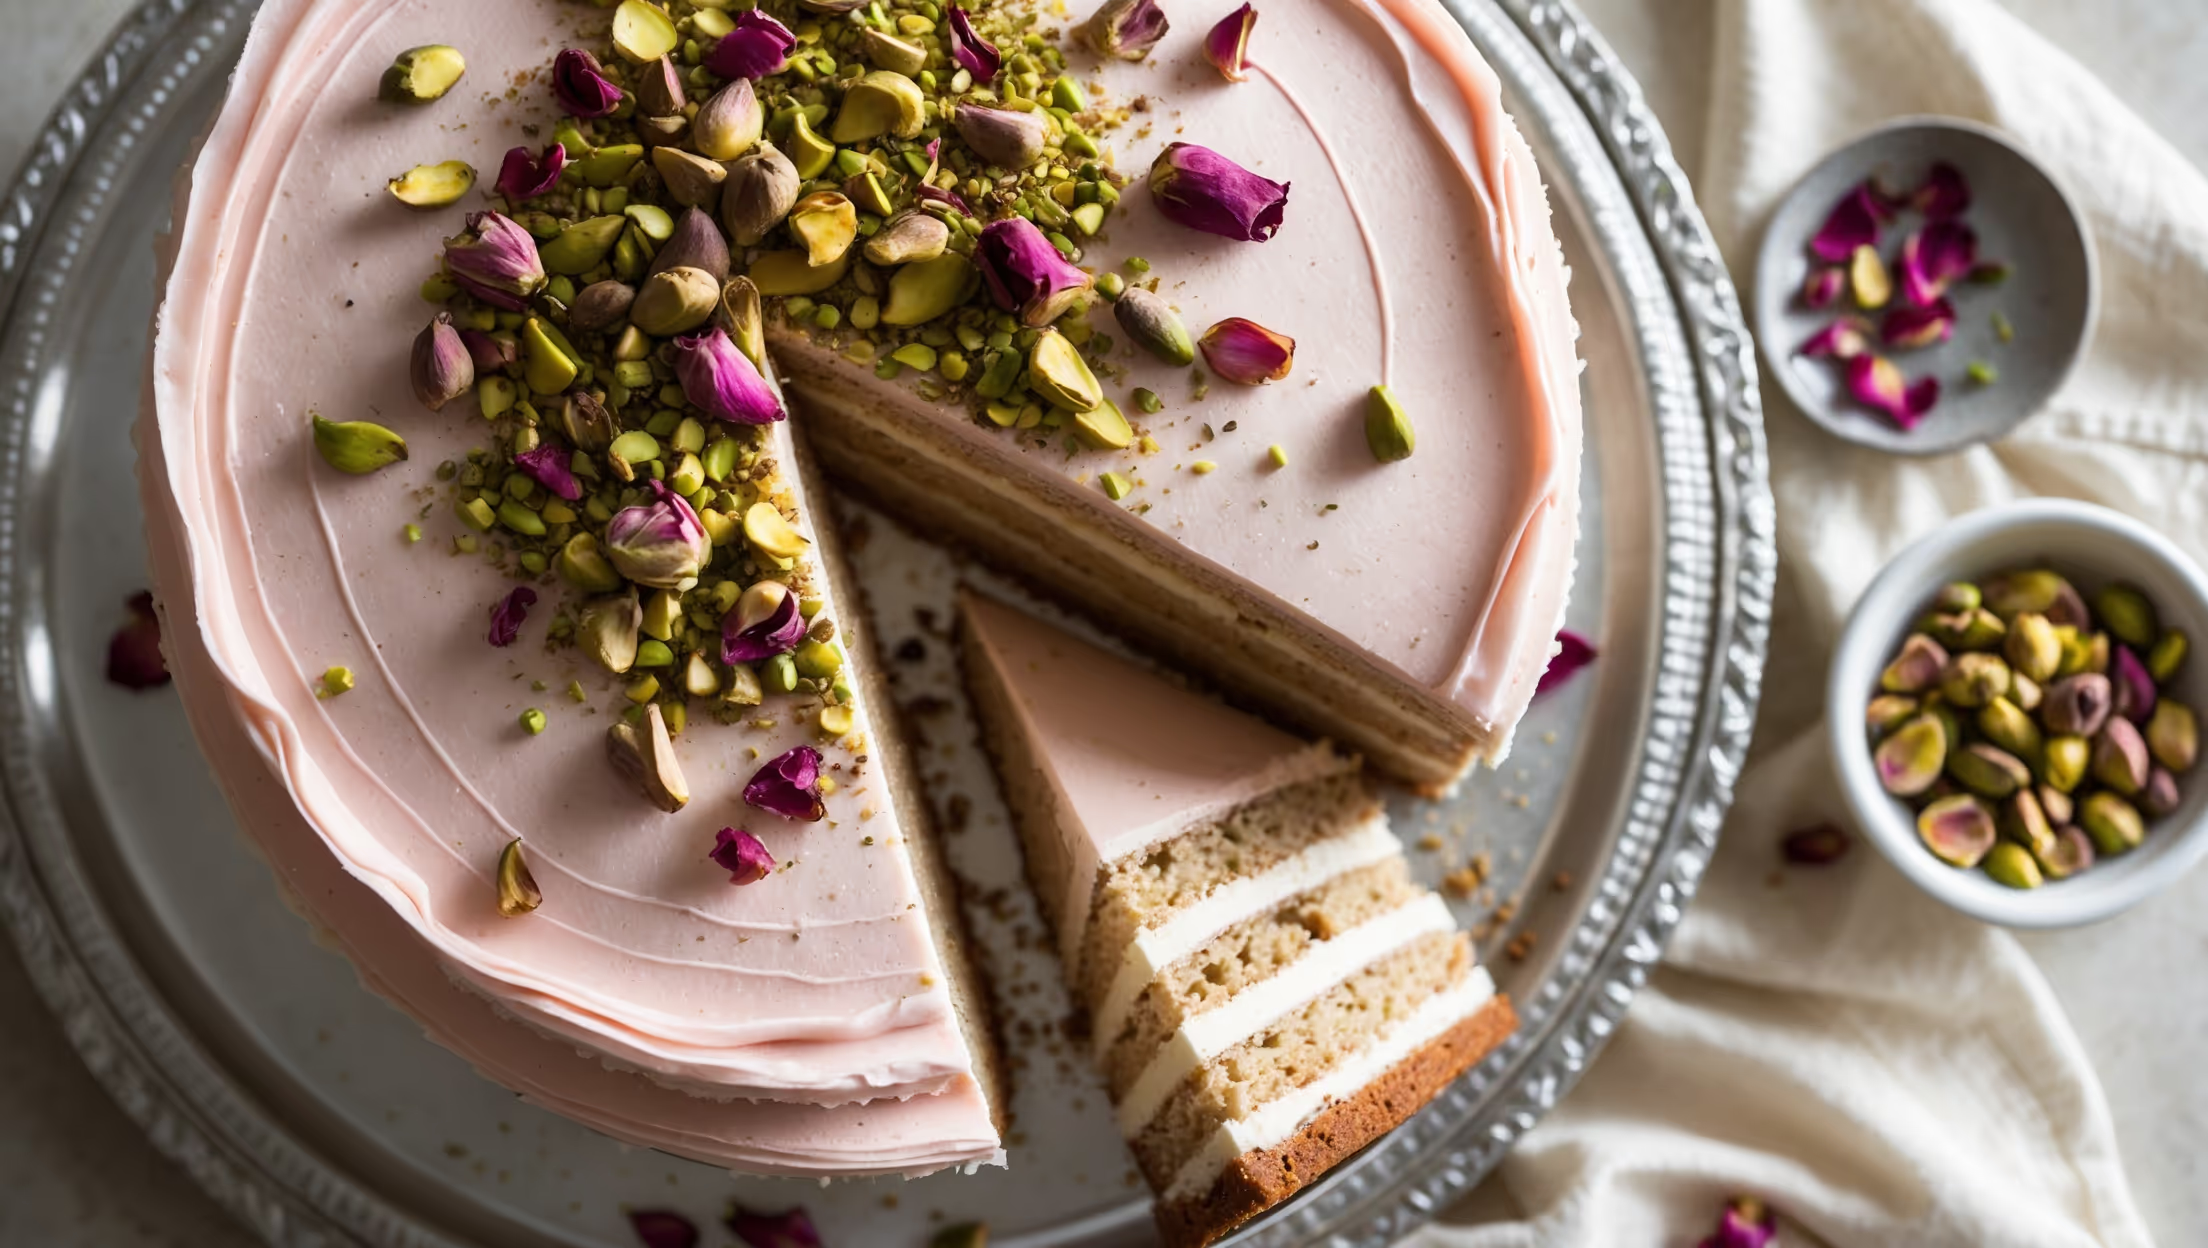
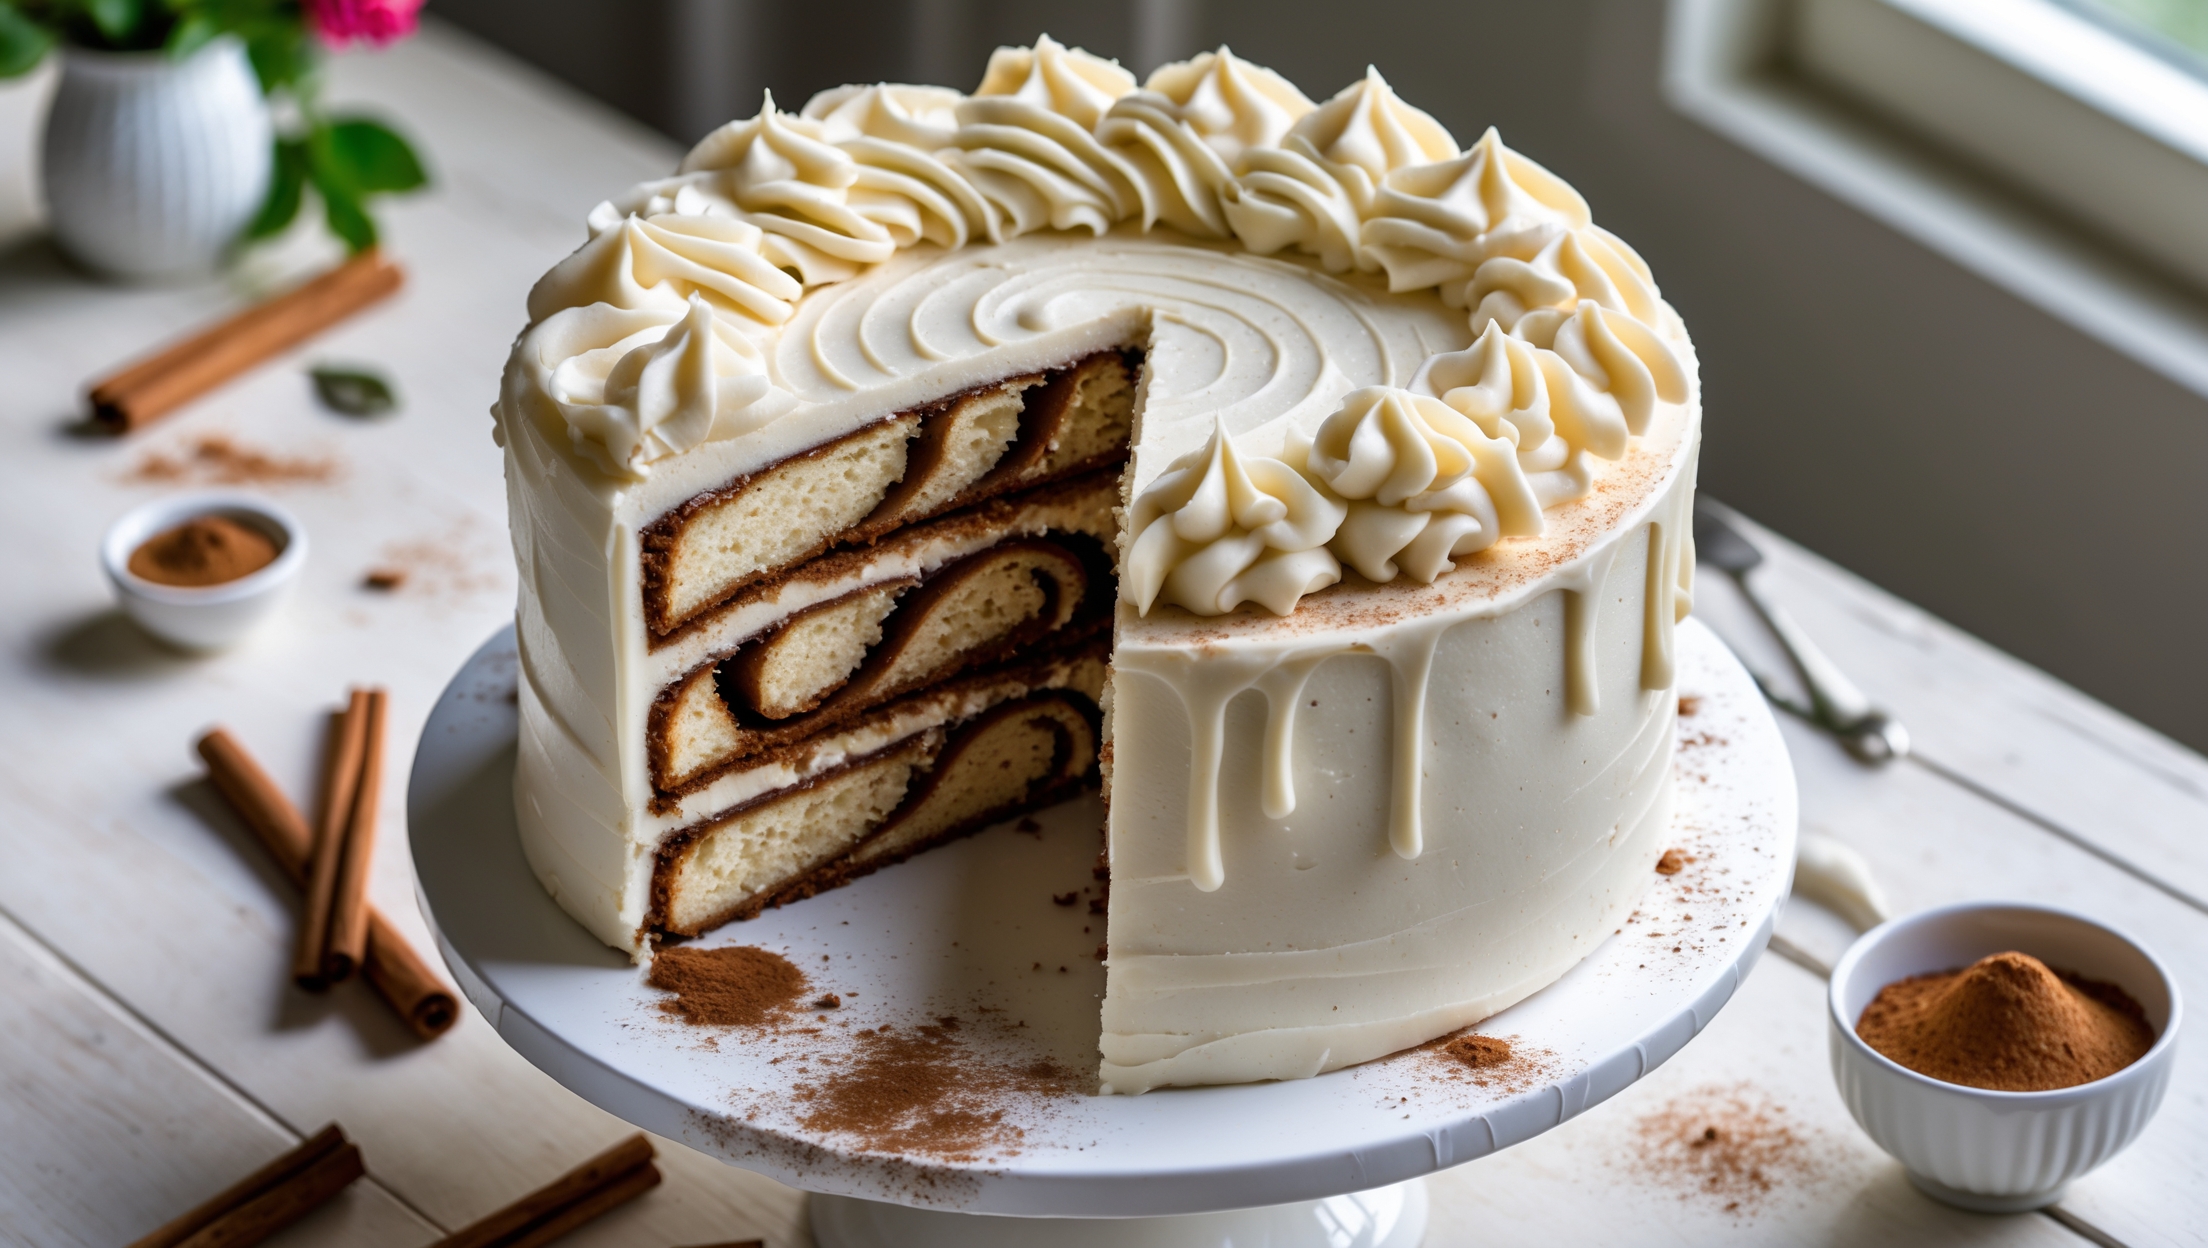
<ol class="no-list-style"><li class="MethodStepper"><h4 class="step-title">Step 1</h4>Preheat your oven to 180°C (350°F) and position the rack in the center. Grease three 20cm (8-inch) round cake pans and line the bottoms with parchment paper. For extra insurance against sticking, lightly dust the sides with cocoa powder, tapping out any excess.</li><li class="MethodStepper"><h4 class="step-title">Step 2</h4>In a large bowl, whisk together the flour, cocoa powder, sugar, baking powder, baking soda, and salt until well combined. The cocoa powder tends to form lumps, so be thorough in breaking these up for a smooth batter.</li><li class="MethodStepper"><h4 class="step-title">Step 3</h4>In another bowl, whisk together the eggs, vegetable oil, buttermilk, and vanilla extract until smooth. The buttermilk's acidity will react with the baking soda, creating a tender crumb in your finished cake.</li><li class="MethodStepper"><h4 class="step-title">Step 4</h4>Gradually add the wet ingredients to the dry ingredients, mixing on low speed just until combined. Be careful not to overmix, which can develop too much gluten and result in a tough cake. Scrape down the sides of the bowl as needed.</li><li class="MethodStepper"><h4 class="step-title">Step 5</h4>Slowly pour in the hot coffee (or hot water), stirring carefully. The batter will become quite thin—this is normal! The hot liquid blooms the cocoa powder, intensifying the chocolate flavor while creating a moist, tender cake.</li><li class="MethodStepper"><h4 class="step-title">Step 6</h4>Divide the batter evenly between the three prepared pans. To ensure equal layers, use a digital kitchen scale if available. Bake for 25-30 minutes, or until a toothpick inserted in the center comes out with a few moist crumbs (but no wet batter). Rotate the pans halfway through baking if your oven has hot spots.</li><li class="MethodStepper"><h4 class="step-title">Step 7</h4>Allow the cakes to cool in the pans for 10 minutes before turning them out onto wire racks to cool completely. If the cakes have domed tops, level them with a serrated knife once completely cool. A flat surface will ensure your layer cake is stable and professional-looking.</li><li class="MethodStepper"><h4 class="step-title">Step 8</h4>For the mint buttercream, beat the softened butter in a stand mixer fitted with the paddle attachment on medium-high speed for 5 minutes until pale and fluffy. This extended beating incorporates air for a light, fluffy frosting base.</li><li class="MethodStepper"><h4 class="step-title">Step 9</h4>Reduce the mixer speed to low and gradually add the sifted powdered sugar, about 100g at a time, letting each addition incorporate before adding more. After all sugar is added, increase speed to medium and beat for 2 minutes.</li><li class="MethodStepper"><h4 class="step-title">Step 10</h4>Add the mint extract, salt, and 3 tablespoons of milk. Beat for another 3 minutes until light and fluffy. If the buttercream seems too thick, add the remaining tablespoon of milk. Add a few drops of green food coloring gel if desired, mixing until you achieve a soft mint color. Remember, you can always add more color but can't take it away!</li><li class="MethodStepper"><h4 class="step-title">Step 11</h4>For the chocolate ganache, place the chopped chocolate in a heat-proof bowl. Heat the heavy cream in a small saucepan until it just begins to simmer around the edges (do not boil). Pour the hot cream over the chocolate and let it sit undisturbed for 2 minutes.</li><li class="MethodStepper"><h4 class="step-title">Step 12</h4>Gently stir the chocolate and cream until smooth and glossy. Let the ganache cool at room temperature until it reaches a spreadable consistency, about 15-20 minutes. It should coat the back of a spoon but still flow slowly.</li><li class="MethodStepper"><h4 class="step-title">Step 13</h4>To assemble the cake, place one leveled cake layer on a serving plate or cake board. Spread about 1 cup of mint buttercream evenly over the top. Top with the second cake layer and repeat. Place the final cake layer on top, bottom side up for a perfectly flat top surface.</li><li class="MethodStepper"><h4 class="step-title">Step 14</h4>Apply a thin crumb coat of mint buttercream all over the cake and refrigerate for 20 minutes. This seals in any loose crumbs and provides a smooth base for the final frosting. After chilling, frost the entire cake with the remaining mint buttercream, creating a smooth finish with an offset spatula.</li><li class="MethodStepper"><h4 class="step-title">Step 15</h4>Once the ganache has reached the right consistency, pour or spoon it onto the center of the cake top, gently pushing it to the edges so it drips decoratively down the sides. Work quickly as the cold buttercream will start to set the ganache.</li><li class="MethodStepper"><h4 class="step-title">Step 16</h4>Refrigerate the cake for about 10 minutes to set the ganache. Just before serving, decorate with fresh mint leaves, chocolate curls, and Andes mints if using. For the best flavor experience, let the cake stand at room temperature for 30 minutes before serving, as cold temperatures can dull the flavor nuances of both the chocolate and mint.</li></ol>