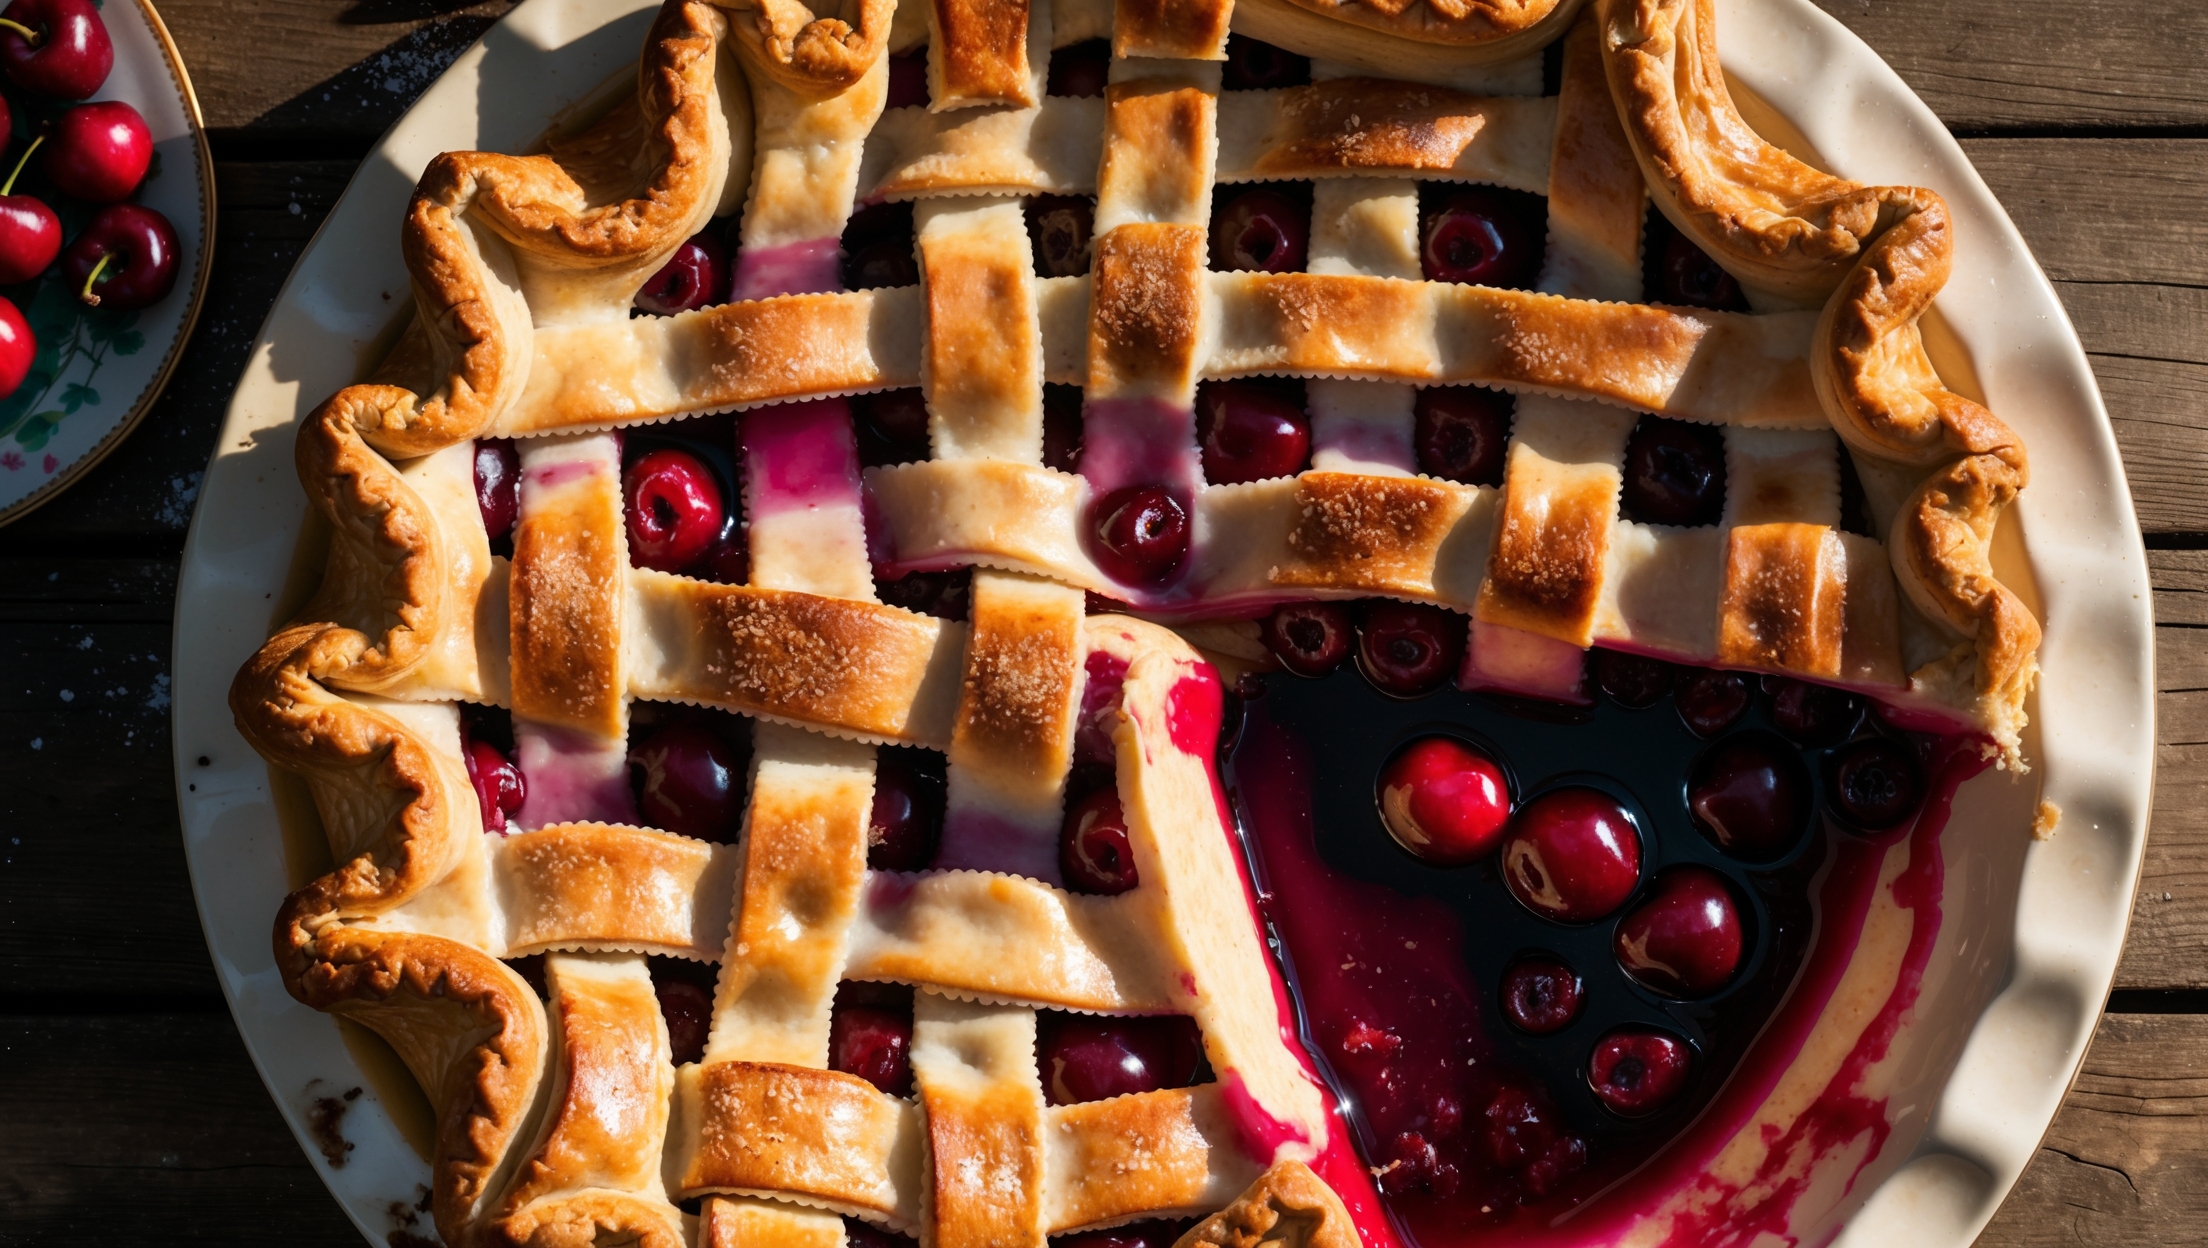
Directions
<ol class="no-list-style"><li class="MethodStepper"><h4 class="step-title">Step 1</h4>Start by making the pie dough. In a large bowl, whisk together flour, sugar, and salt. Add the cold cubed butter and use a pastry cutter or your fingertips to work it into the flour until you have pea-sized pieces. The variation in butter size creates pockets of steam during baking, resulting in those desirable flaky layers.</li><li class="MethodStepper"><h4 class="step-title">Step 2</h4>Combine the ice water and apple cider vinegar. Drizzle over the flour mixture, 1 tablespoon at a time, stirring with a fork until the dough just begins to come together. You may not need all the liquid – stop when the dough holds together when pinched. The vinegar inhibits gluten development, ensuring a tender crust.</li><li class="MethodStepper"><h4 class="step-title">Step 3</h4>Divide the dough into two portions, one slightly larger (about 60%) for the bottom crust. Shape each into a flat disc, wrap tightly in plastic wrap, and refrigerate for at least 2 hours or up to 2 days. This resting period allows the gluten to relax and the butter to firm up again.</li><li class="MethodStepper"><h4 class="step-title">Step 4</h4>While the dough chills, prepare the filling. In a large bowl, gently toss the pitted cherries with sugar, cornstarch, lemon juice, extracts, and salt until evenly coated. Let sit for 15-20 minutes to allow the cherries to release some juice and the sugar to begin dissolving.</li><li class="MethodStepper"><h4 class="step-title">Step 5</h4>Preheat your oven to 200°C (400°F) with a rack in the lower third. Place a baking sheet on the rack to preheat (this helps cook the bottom crust properly).</li><li class="MethodStepper"><h4 class="step-title">Step 6</h4>On a lightly floured surface, roll out the larger disc of dough to a 30cm (12-inch) circle about 3mm (1/8 inch) thick. Work quickly while the dough is still cool. Transfer to your pie dish by draping it over your rolling pin, then gently easing it into the corners without stretching. Trim the edges leaving a 2.5cm (1-inch) overhang.</li><li class="MethodStepper"><h4 class="step-title">Step 7</h4>Pour the cherry filling into the prepared crust, including any accumulated juices. The cornstarch will thicken these juices during baking, creating that perfect slice-able consistency.</li><li class="MethodStepper"><h4 class="step-title">Step 8</h4>Roll out the remaining dough disc to a 30cm (12-inch) circle. For a lattice top, cut into 2.5cm (1-inch) strips. Arrange half the strips across the pie in one direction, then weave the remaining strips perpendicular to create the lattice pattern. For beginners, you can simply lay strips in both directions without weaving.</li><li class="MethodStepper"><h4 class="step-title">Step 9</h4>Trim the lattice strips even with the bottom crust overhang, then fold both the lattice and bottom crust edges under themselves and crimp decoratively using your fingers or a fork to seal.</li><li class="MethodStepper"><h4 class="step-title">Step 10</h4>Brush the top crust with egg wash and sprinkle generously with coarse sugar for a beautiful sparkle and extra crunch. The egg wash promotes that coveted golden-brown color.</li><li class="MethodStepper"><h4 class="step-title">Step 11</h4>Place the pie on the preheated baking sheet and bake for 20 minutes at 200°C (400°F). Then reduce the temperature to 180°C (350°F) and continue baking for 35-40 minutes more, until the filling is bubbling vigorously (especially in the center) and the crust is deeply golden. If the edges brown too quickly, shield them with foil or a pie shield.</li><li class="MethodStepper"><h4 class="step-title">Step 12</h4>Allow the pie to cool completely on a wire rack for at least 4 hours before slicing. This cooling period is crucial for the filling to set properly – cutting too soon will result in a runny filling. For the cleanest slices, refrigerate the cooled pie for 1 hour before serving. Enjoy at room temperature or slightly warm with a scoop of vanilla ice cream!</li></ol>