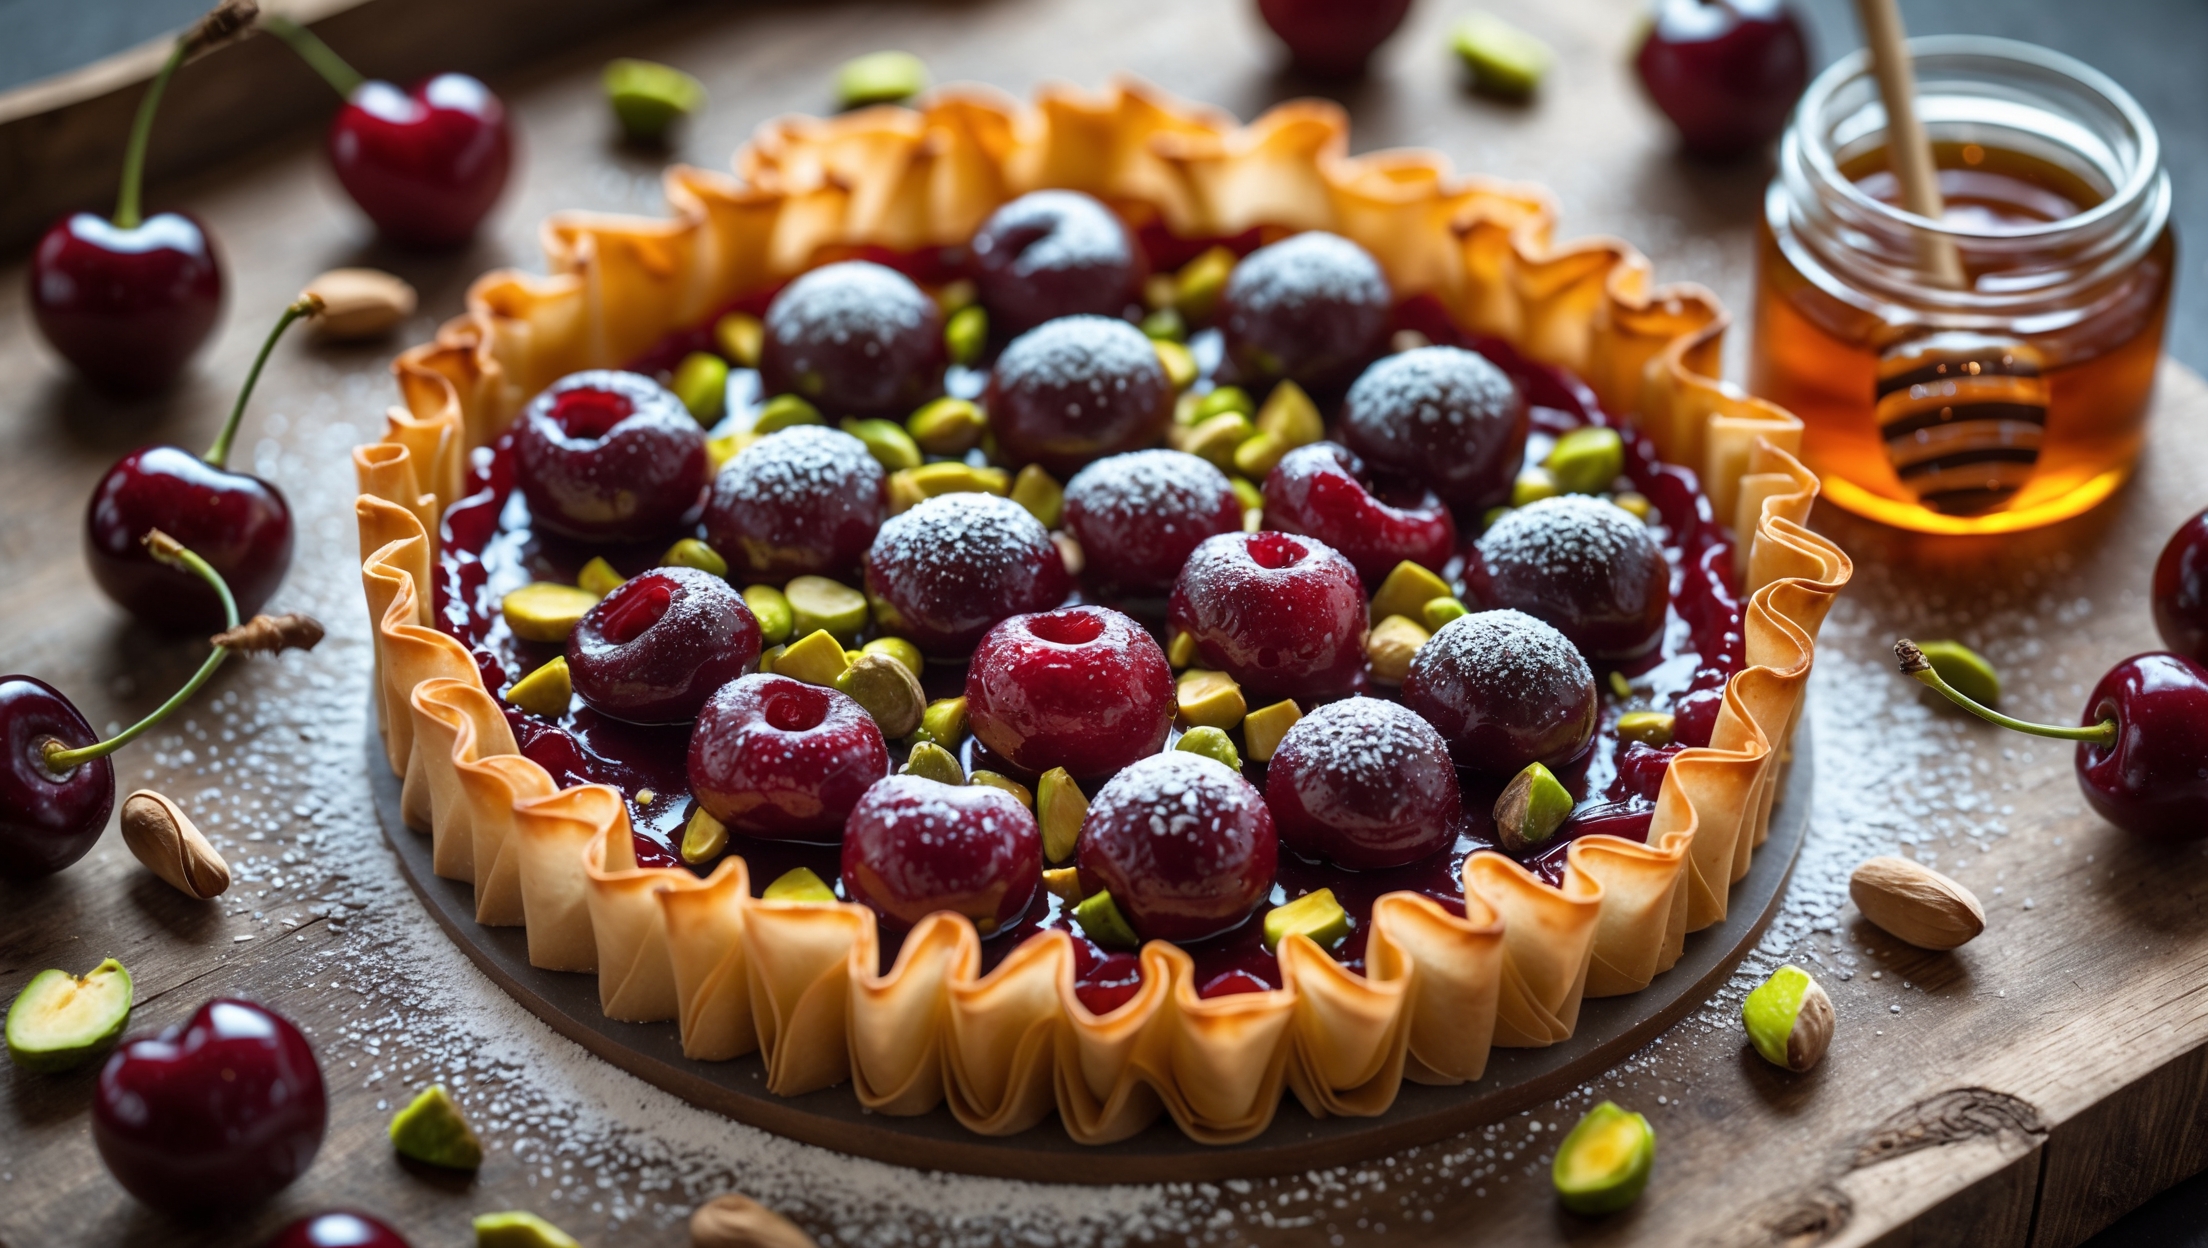
Directions
<ol class="no-list-style"><li class="MethodStepper"><h4 class="step-title">Step 1</h4>Preheat your oven to 190°C (375°F) and place a rack in the middle position. If using frozen phyllo pastry, ensure it's fully thawed according to package directions (typically overnight in the refrigerator). Keep the phyllo covered with a damp cloth while you work to prevent it drying out.</li><li class="MethodStepper"><h4 class="step-title">Step 2</h4>Prepare your cherry filling by combining the pitted cherries, sugar, cornstarch, lemon juice, and vanilla in a medium bowl. Gently toss until cherries are evenly coated. The cornstarch will thicken the cherry juices as they bake, preventing a soggy tart base.</li><li class="MethodStepper"><h4 class="step-title">Step 3</h4>Lay out your first sheet of phyllo on a clean work surface and brush it lightly with melted butter. The key is to use a light touch – you want a thin, even coating that will create flaky, delicate layers. Place a second sheet on top, slightly offset to create a star pattern, and brush with butter. Continue with the remaining sheets, rotating each new sheet slightly, until you've used all 8 sheets.</li><li class="MethodStepper"><h4 class="step-title">Step 4</h4>Transfer the layered phyllo to your tart pan (or onto a baking sheet if making a free-form tart). Gently press the center down to create a shallow indent for your filling, leaving the edges standing tall to form a decorative border. Don't worry if some edges tear – the rustic look adds to the charm of this dessert.</li><li class="MethodStepper"><h4 class="step-title">Step 5</h4>Spoon the cherry mixture into the center of your phyllo nest, leaving about a 5cm border around the edges. Scatter 75g of the chopped pistachios over the cherries, reserving the rest for garnish. The pistachios will toast as they bake, enhancing their nutty flavor.</li><li class="MethodStepper"><h4 class="step-title">Step 6</h4>Gently fold and scrunch the overhanging phyllo edges partially over the filling, creating decorative waves and folds. Brush these exposed edges with remaining melted butter to ensure they turn golden and crisp during baking.</li><li class="MethodStepper"><h4 class="step-title">Step 7</h4>Bake for 25-30 minutes, until the phyllo is golden brown and the cherry filling is bubbling at the edges. If you notice the phyllo browning too quickly, loosely cover the edges with foil to prevent burning. The filling should be visibly thickened and glossy when done.</li><li class="MethodStepper"><h4 class="step-title">Step 8</h4>While the tart bakes, prepare the honey glaze by combining the honey and water in a small saucepan. Heat gently until just warm and fully mixed. This will thin the honey just enough to make it easy to brush over the finished tart.</li><li class="MethodStepper"><h4 class="step-title">Step 9</h4>Remove the tart from the oven and immediately brush the exposed phyllo edges and cherry filling with the warm honey glaze. This adds a beautiful shine and subtle sweetness. Sprinkle the remaining chopped pistachios over the top while still warm.</li><li class="MethodStepper"><h4 class="step-title">Step 10</h4>Allow the tart to cool for at least 15 minutes before serving – this gives the filling time to set slightly. Just before serving, dust lightly with powdered sugar if desired. This tart is best enjoyed the day it's made, when the phyllo is at its crispest. Serve warm or at room temperature, perhaps with a dollop of Greek yogurt or vanilla ice cream alongside.</li></ol>