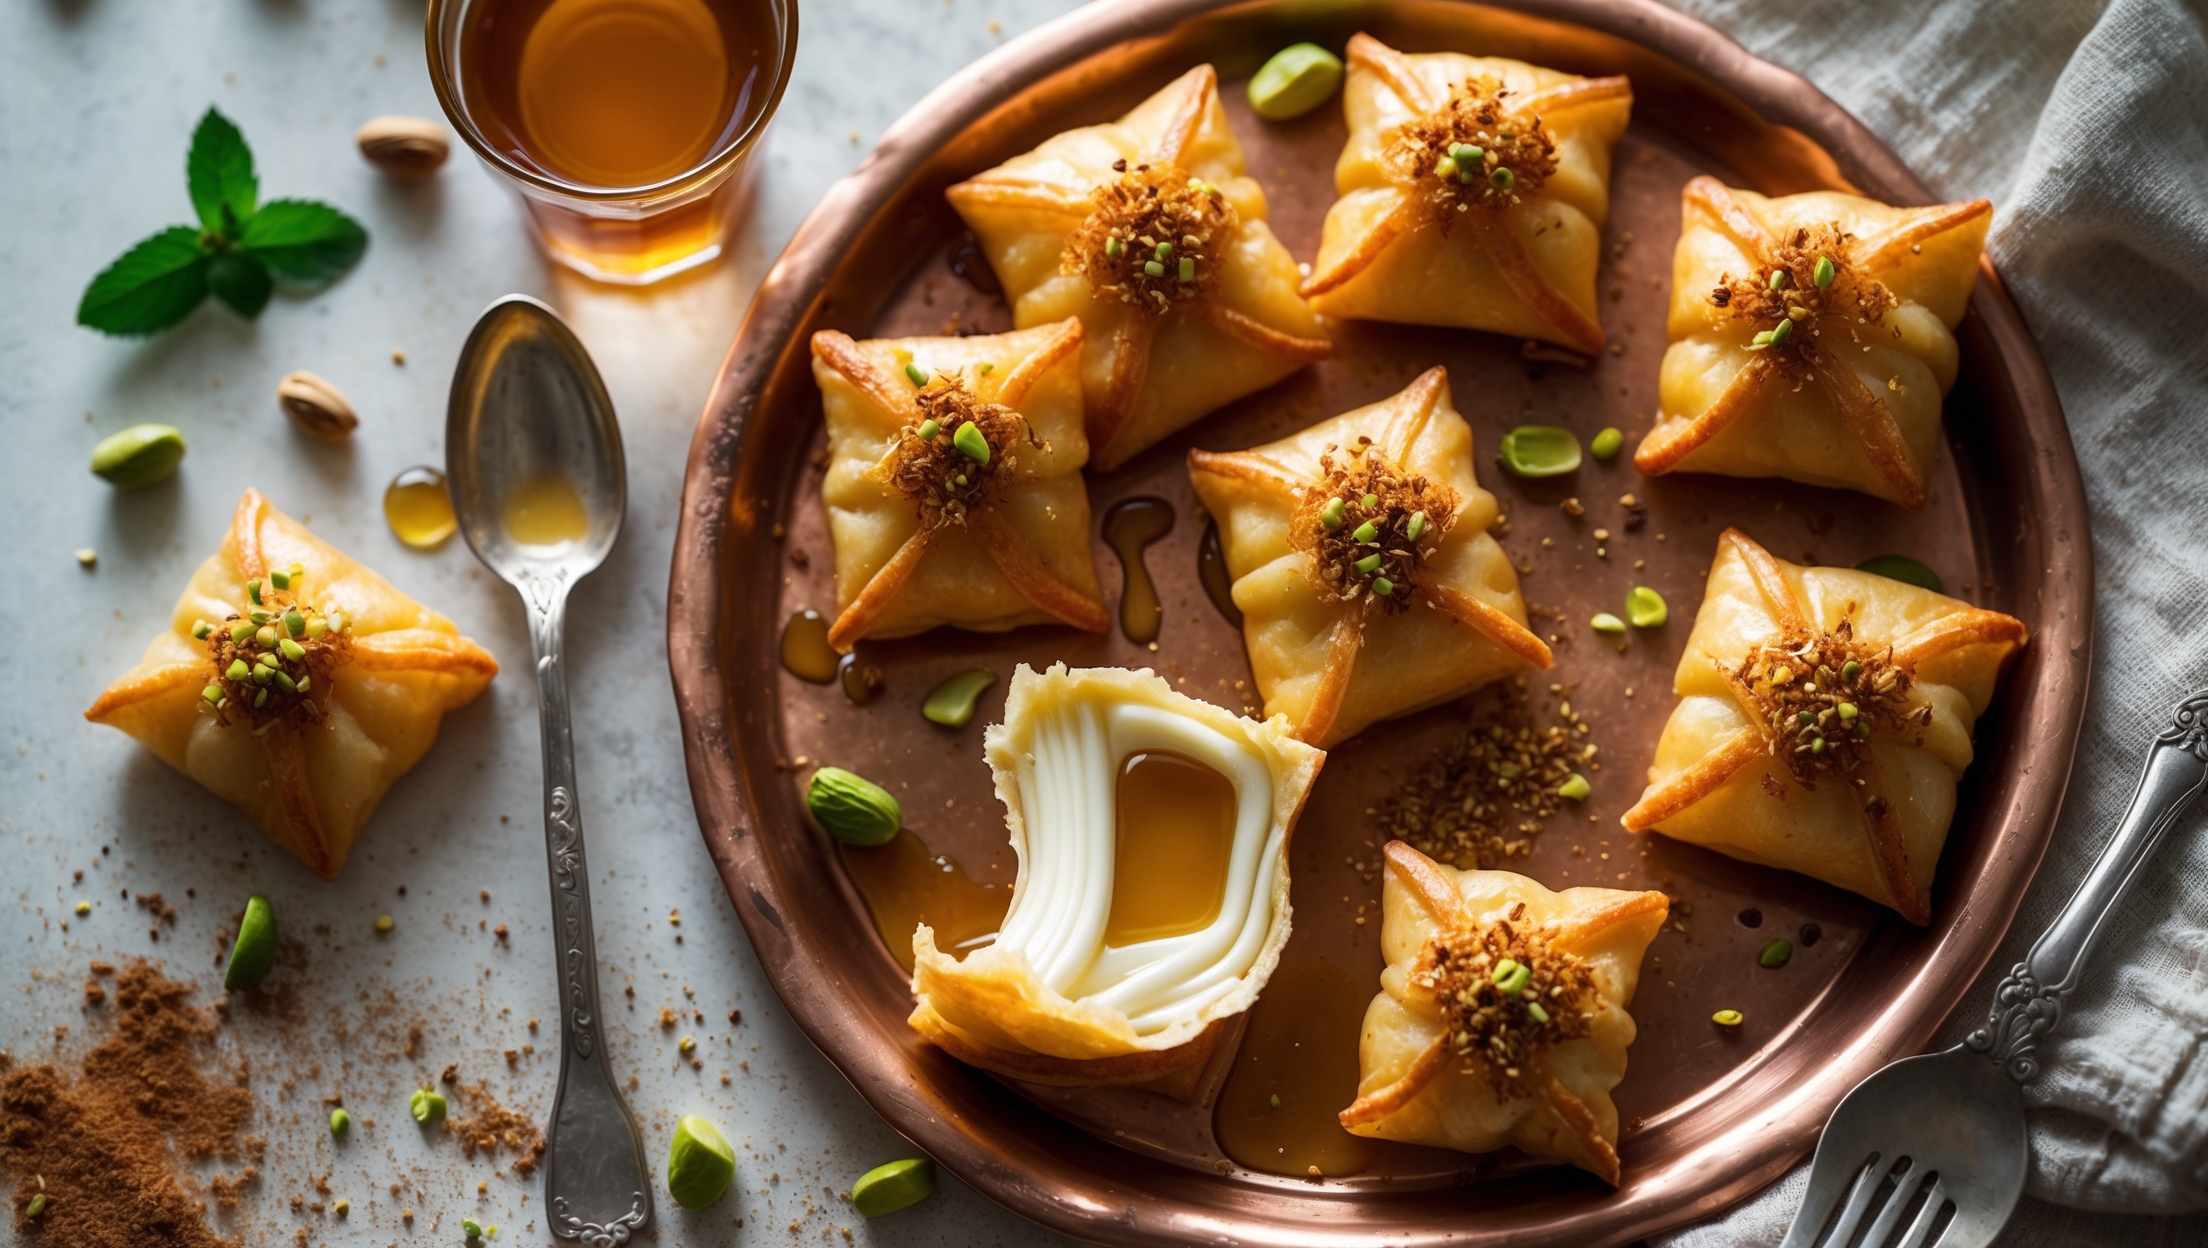
Directions
<ol class="no-list-style"><li class="MethodStepper"><h4 class="step-title">Step 1</h4>Begin by preheating your oven to 180°C (350°F) and placing your kadaifi pastry in a large bowl. Gently separate and loosen the strands with your fingers, being careful not to break them too much – think of it as carefully fluffing hair rather than pulling it apart.</li><li class="MethodStepper"><h4 class="step-title">Step 2</h4>Pour the melted butter over the kadaifi strands and toss gently with your hands until all strands are evenly coated. The butter not only adds flavor but also ensures your pastry will bake to a beautiful golden crisp rather than drying out.</li><li class="MethodStepper"><h4 class="step-title">Step 3</h4>In a medium bowl, thoroughly mix the ricotta, feta, and mozzarella cheeses with the beaten eggs, chopped mint, lemon zest, and cinnamon. The eggs will bind the mixture together during baking, while the herbs and spices add subtle aromatic notes that complement the honey syrup.</li><li class="MethodStepper"><h4 class="step-title">Step 4</h4>Spread half of the buttered kadaifi strands in an even layer in your baking dish, pressing down gently to create a base. The strands should be somewhat loose but interconnected to form a cohesive layer.</li><li class="MethodStepper"><h4 class="step-title">Step 5</h4>Spread the cheese mixture evenly over the kadaifi base, leaving about a 1cm border around the edges. This border will allow the top and bottom pastry layers to seal together, preventing the cheese from leaking out during baking.</li><li class="MethodStepper"><h4 class="step-title">Step 6</h4>Cover the cheese filling with the remaining kadaifi strands, tucking in any edges and ensuring the cheese is completely enclosed. Press down gently to compact the layers slightly without squashing them – we want some structure but to maintain the delicate texture of the pastry.</li><li class="MethodStepper"><h4 class="step-title">Step 7</h4>Using a sharp knife, score the top of the kadaifi into diamond or square shapes, cutting all the way through to the bottom. This step is essential as it allows even baking and makes serving much easier after baking.</li><li class="MethodStepper"><h4 class="step-title">Step 8</h4>Bake in the preheated oven for 45-50 minutes, until the top is a deep golden brown and crispy. The pastry should look dry and the strands should crackle slightly when touched. If it's browning too quickly, loosely cover with foil after 30 minutes.</li><li class="MethodStepper"><h4 class="step-title">Step 9</h4>While the kadaifi is baking, prepare the syrup by combining honey, water, sugar, cinnamon stick, cloves, and lemon peel in a small saucepan. Bring to a gentle boil, then reduce heat and simmer for 5 minutes. Remove from heat, discard the spices and lemon peel, and stir in the lemon juice. The acid in the lemon juice prevents the syrup from crystallizing.</li><li class="MethodStepper"><h4 class="step-title">Step 10</h4>When the kadaifi comes out of the oven, immediately pour the warm syrup evenly over the hot pastry. You'll hear a satisfying sizzle as the syrup is absorbed into the crispy strands. The contrast between hot pastry and syrup ensures optimal absorption without sogginess.</li><li class="MethodStepper"><h4 class="step-title">Step 11</h4>Allow the kadaifi to cool for at least 1 hour, which gives the syrup time to penetrate the pastry and allows the cheese to set slightly. This resting period is crucial for the flavors to meld and the texture to stabilize.</li><li class="MethodStepper"><h4 class="step-title">Step 12</h4>Before serving, sprinkle with chopped pistachios for color and crunch. Serve at room temperature, when the contrast between the crispy exterior and the creamy cheese filling is at its most pronounced. Cheese Kadaifi can be stored covered at room temperature for 2-3 days, though the texture is best on the first or second day.</li></ol>