California-Style Pizza Recipe
Ingredients
Equipment
Directions
FAQs
Find answers to your most pressing questions about this delicious recipe right here.
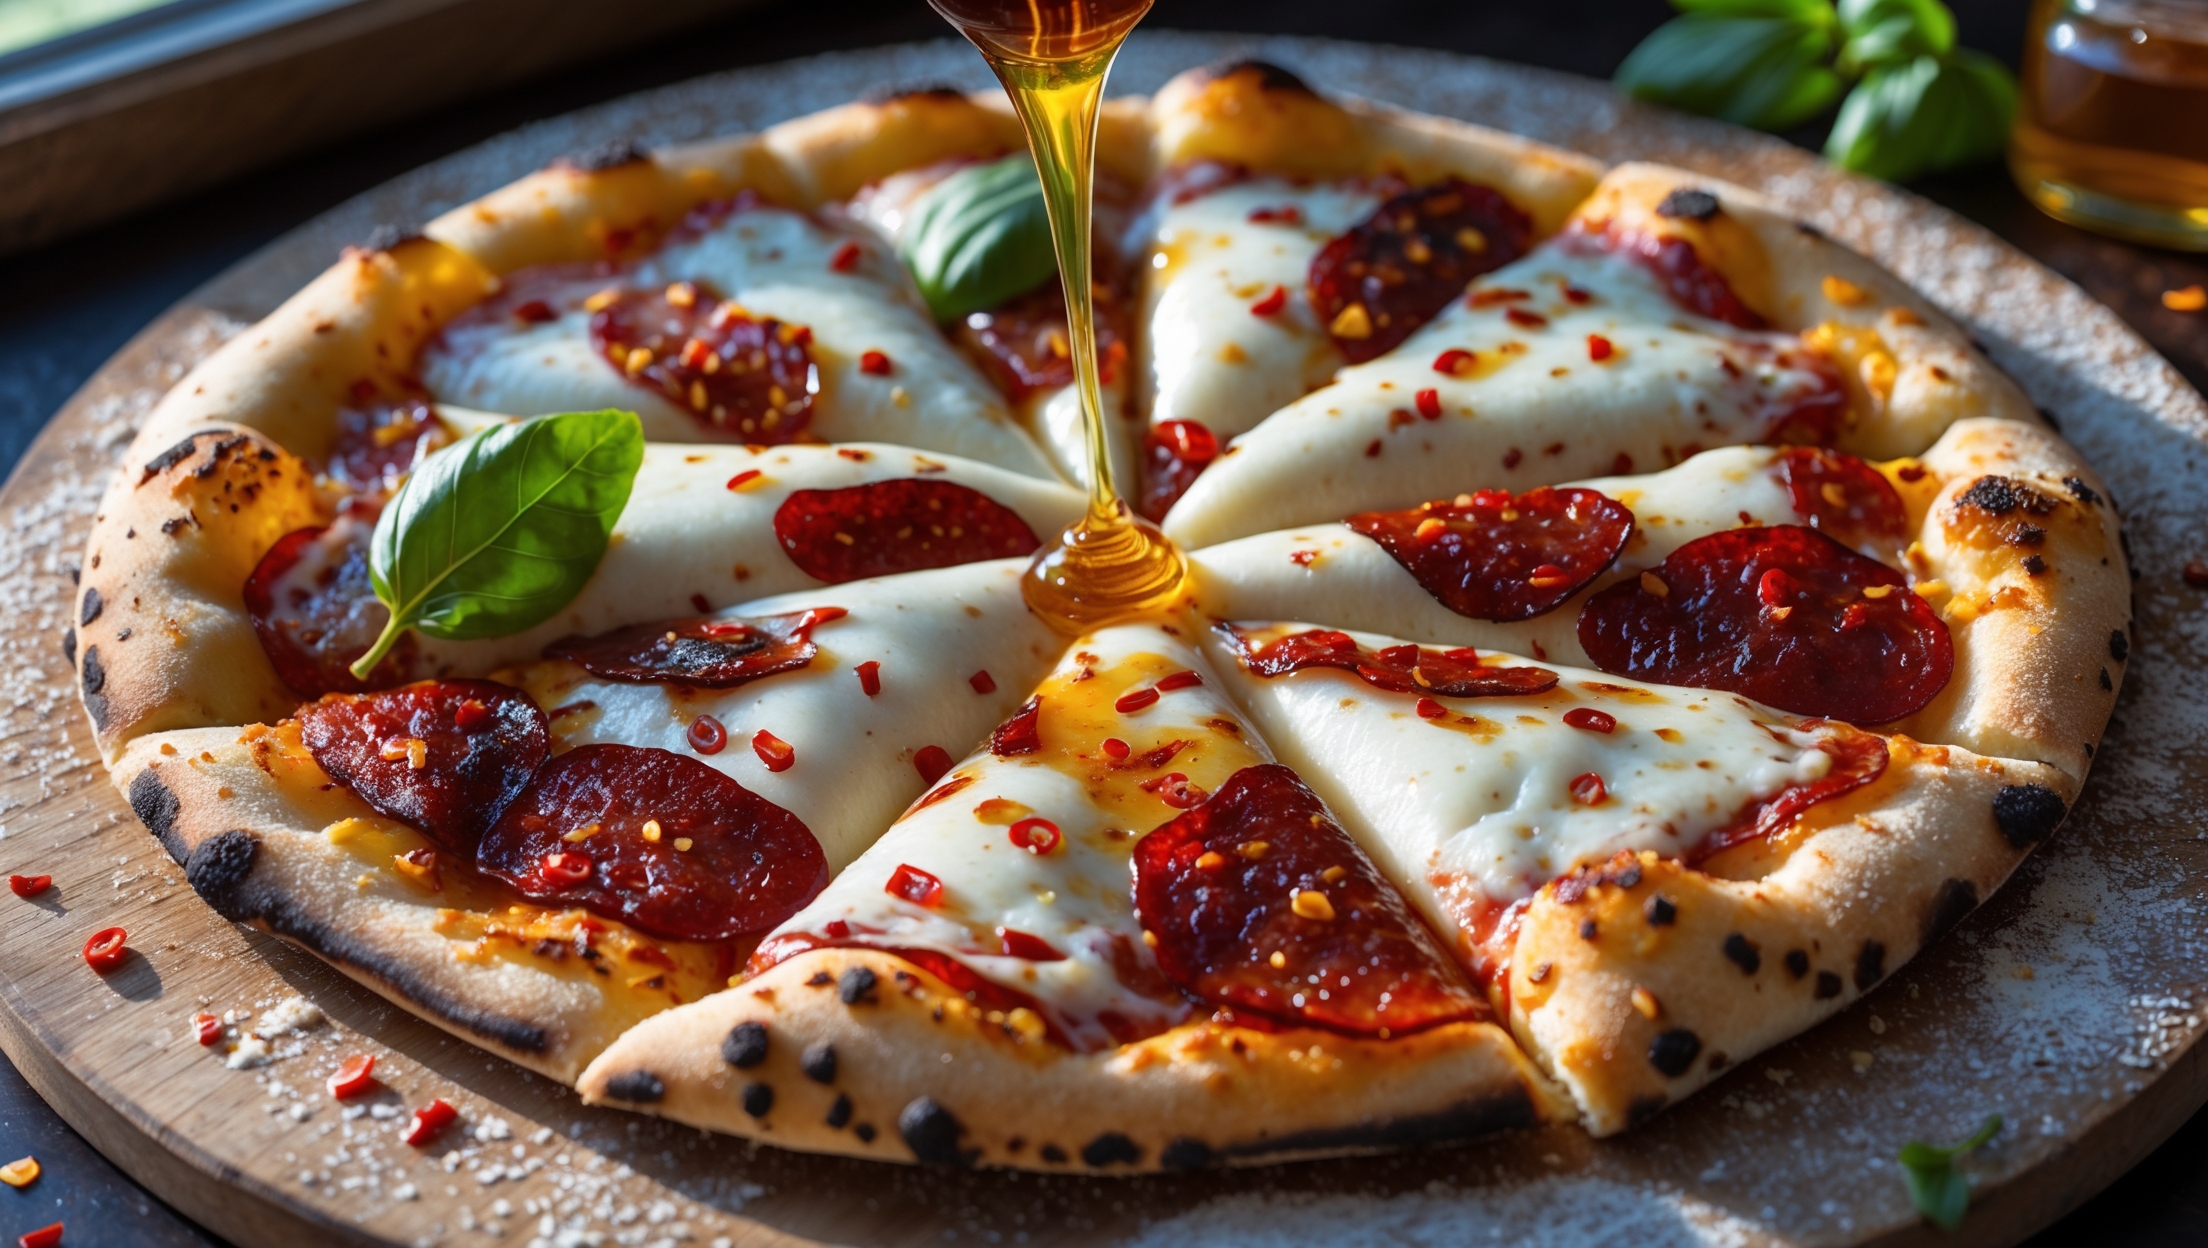
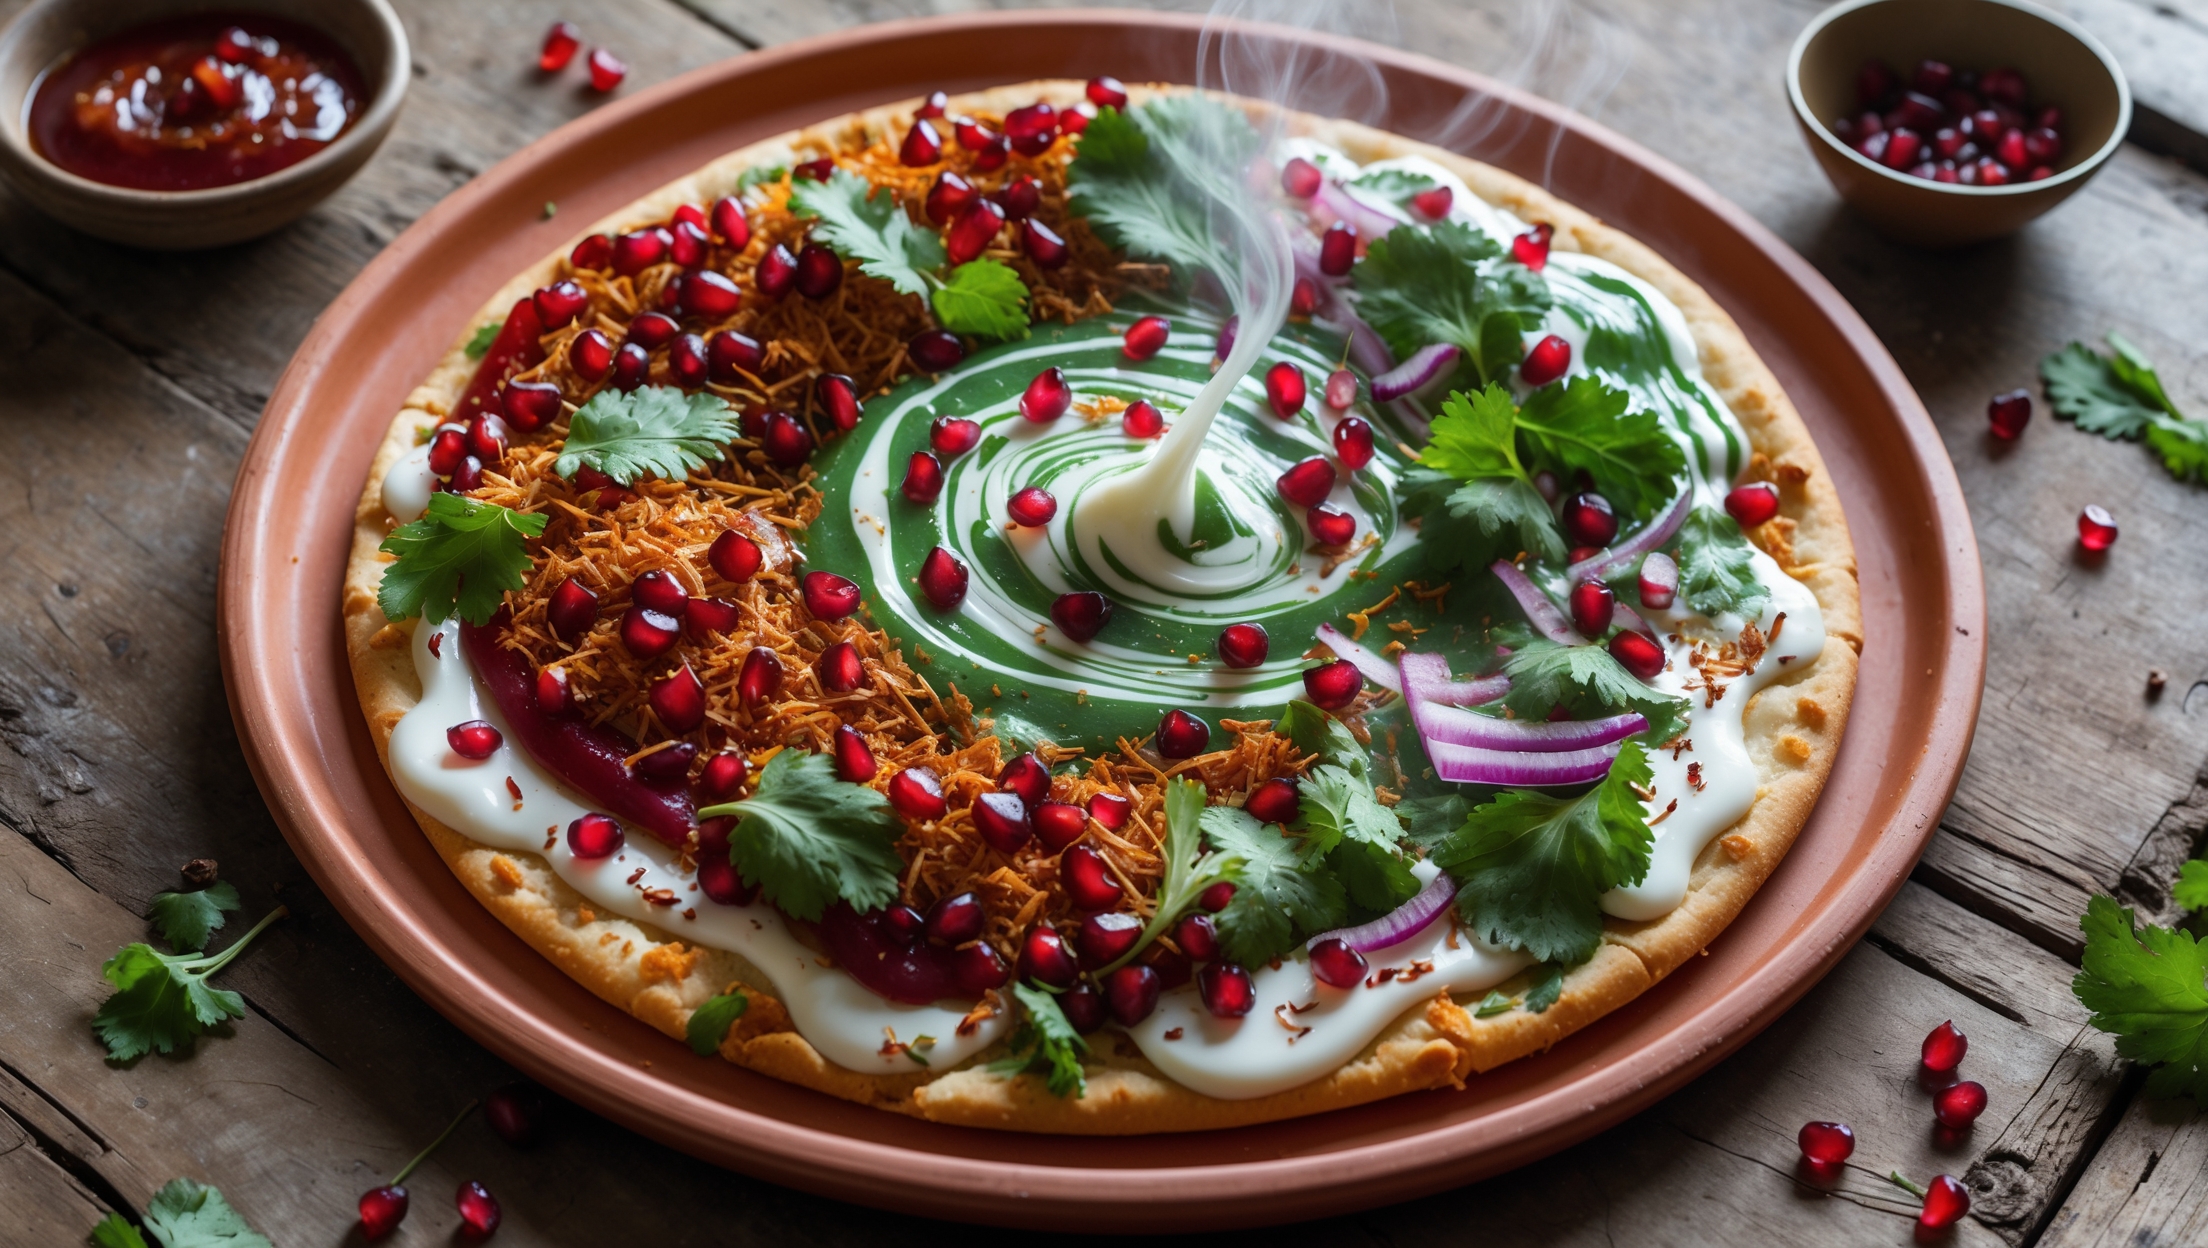
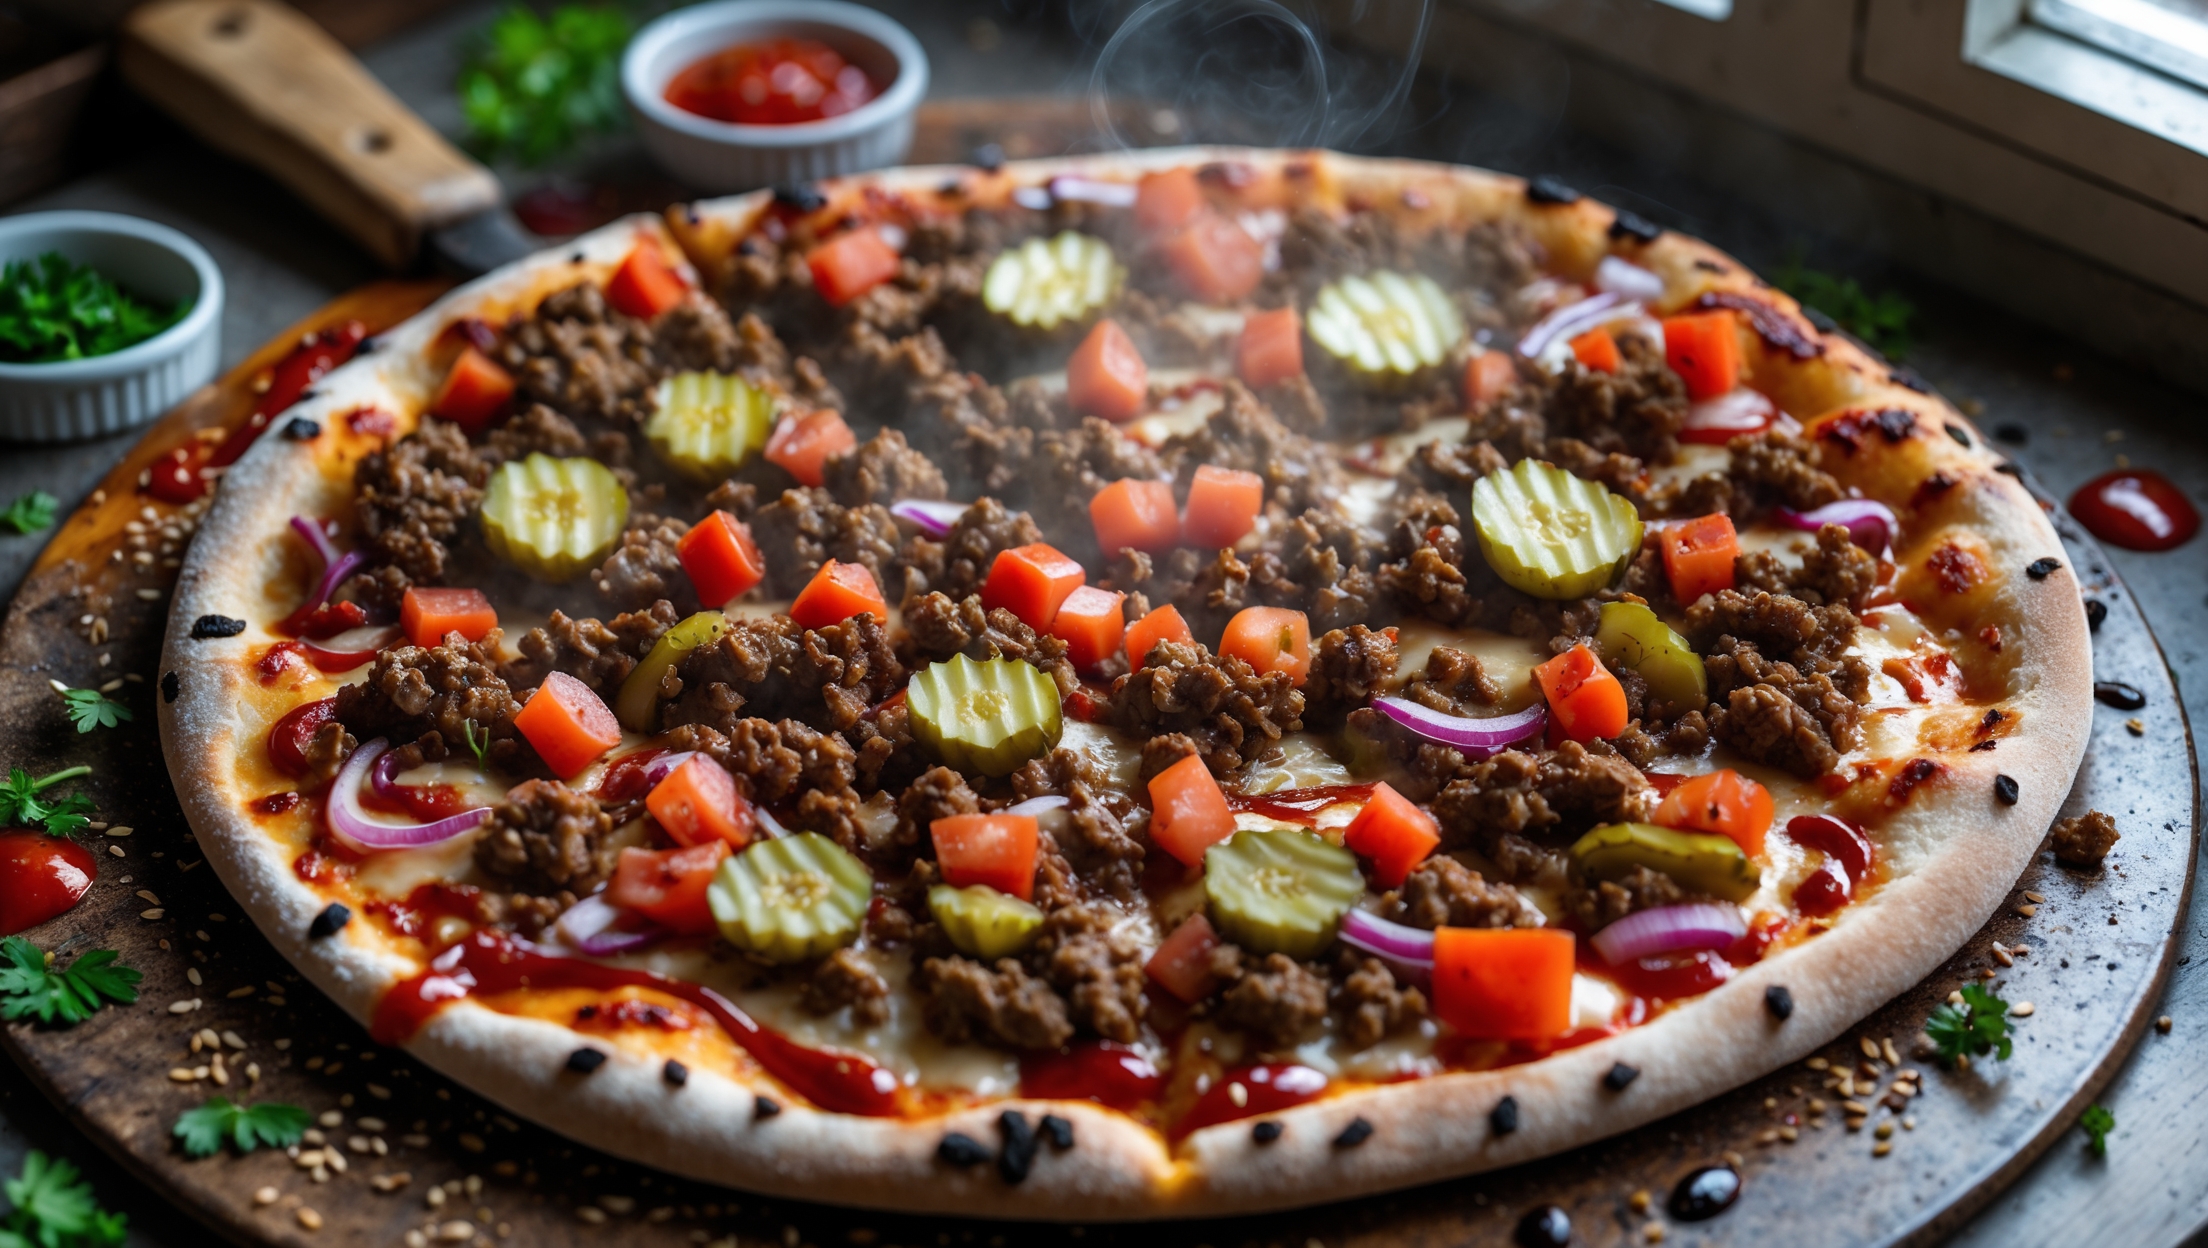
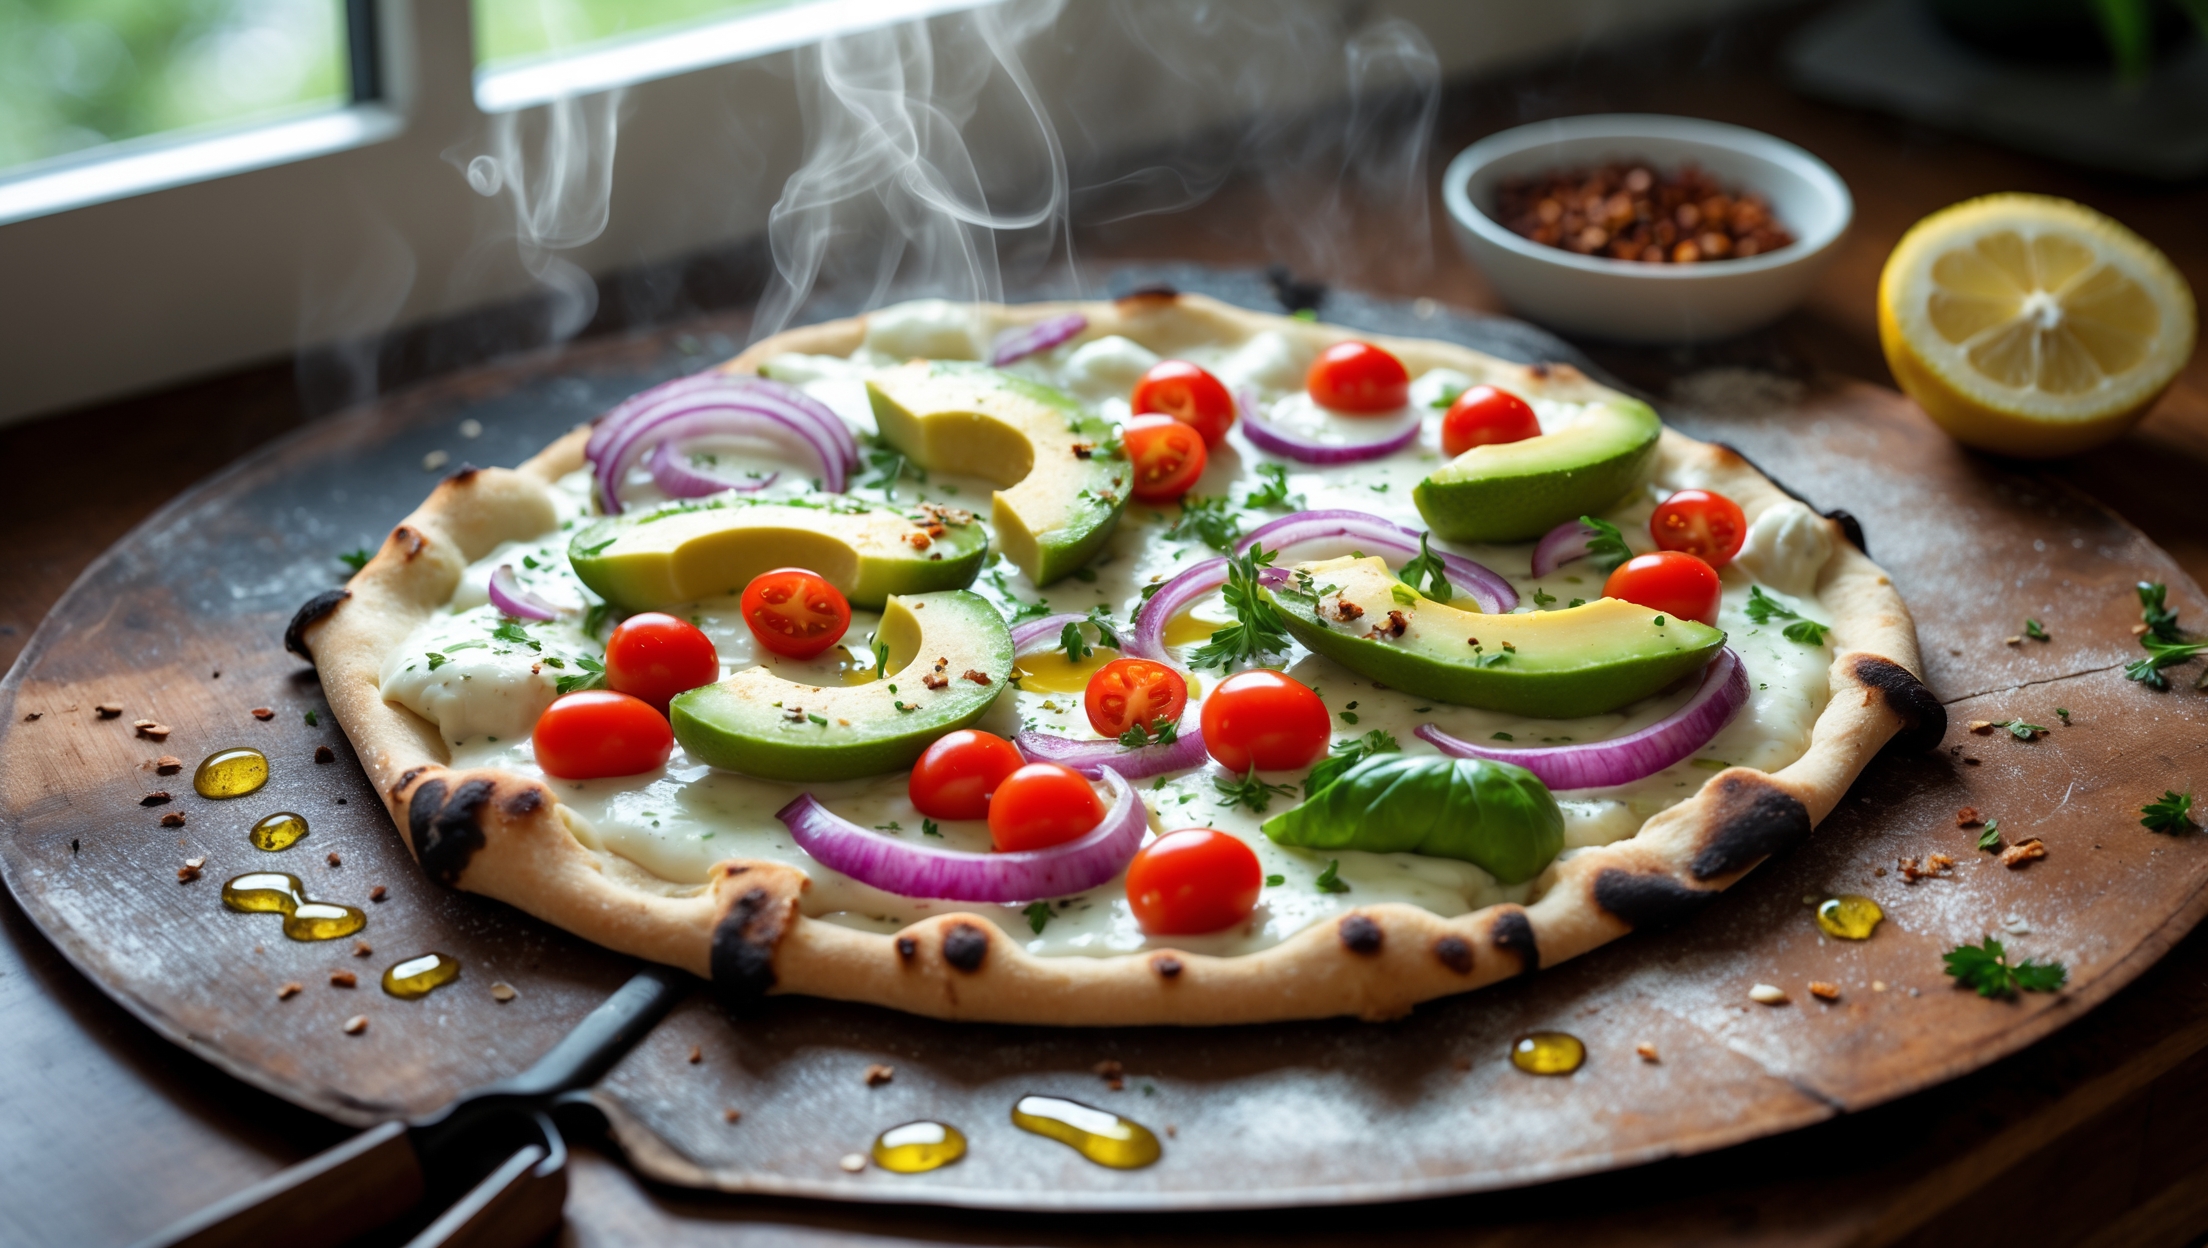
California-Style Pizza features bread flour, yeast, olive oil, mozzarella and goat cheese, plus fresh toppings like avocado, cherry tomatoes, red onion, arugula, basil, and sun-dried tomatoes, finished with a balsamic glaze for that signature West Coast flavour.
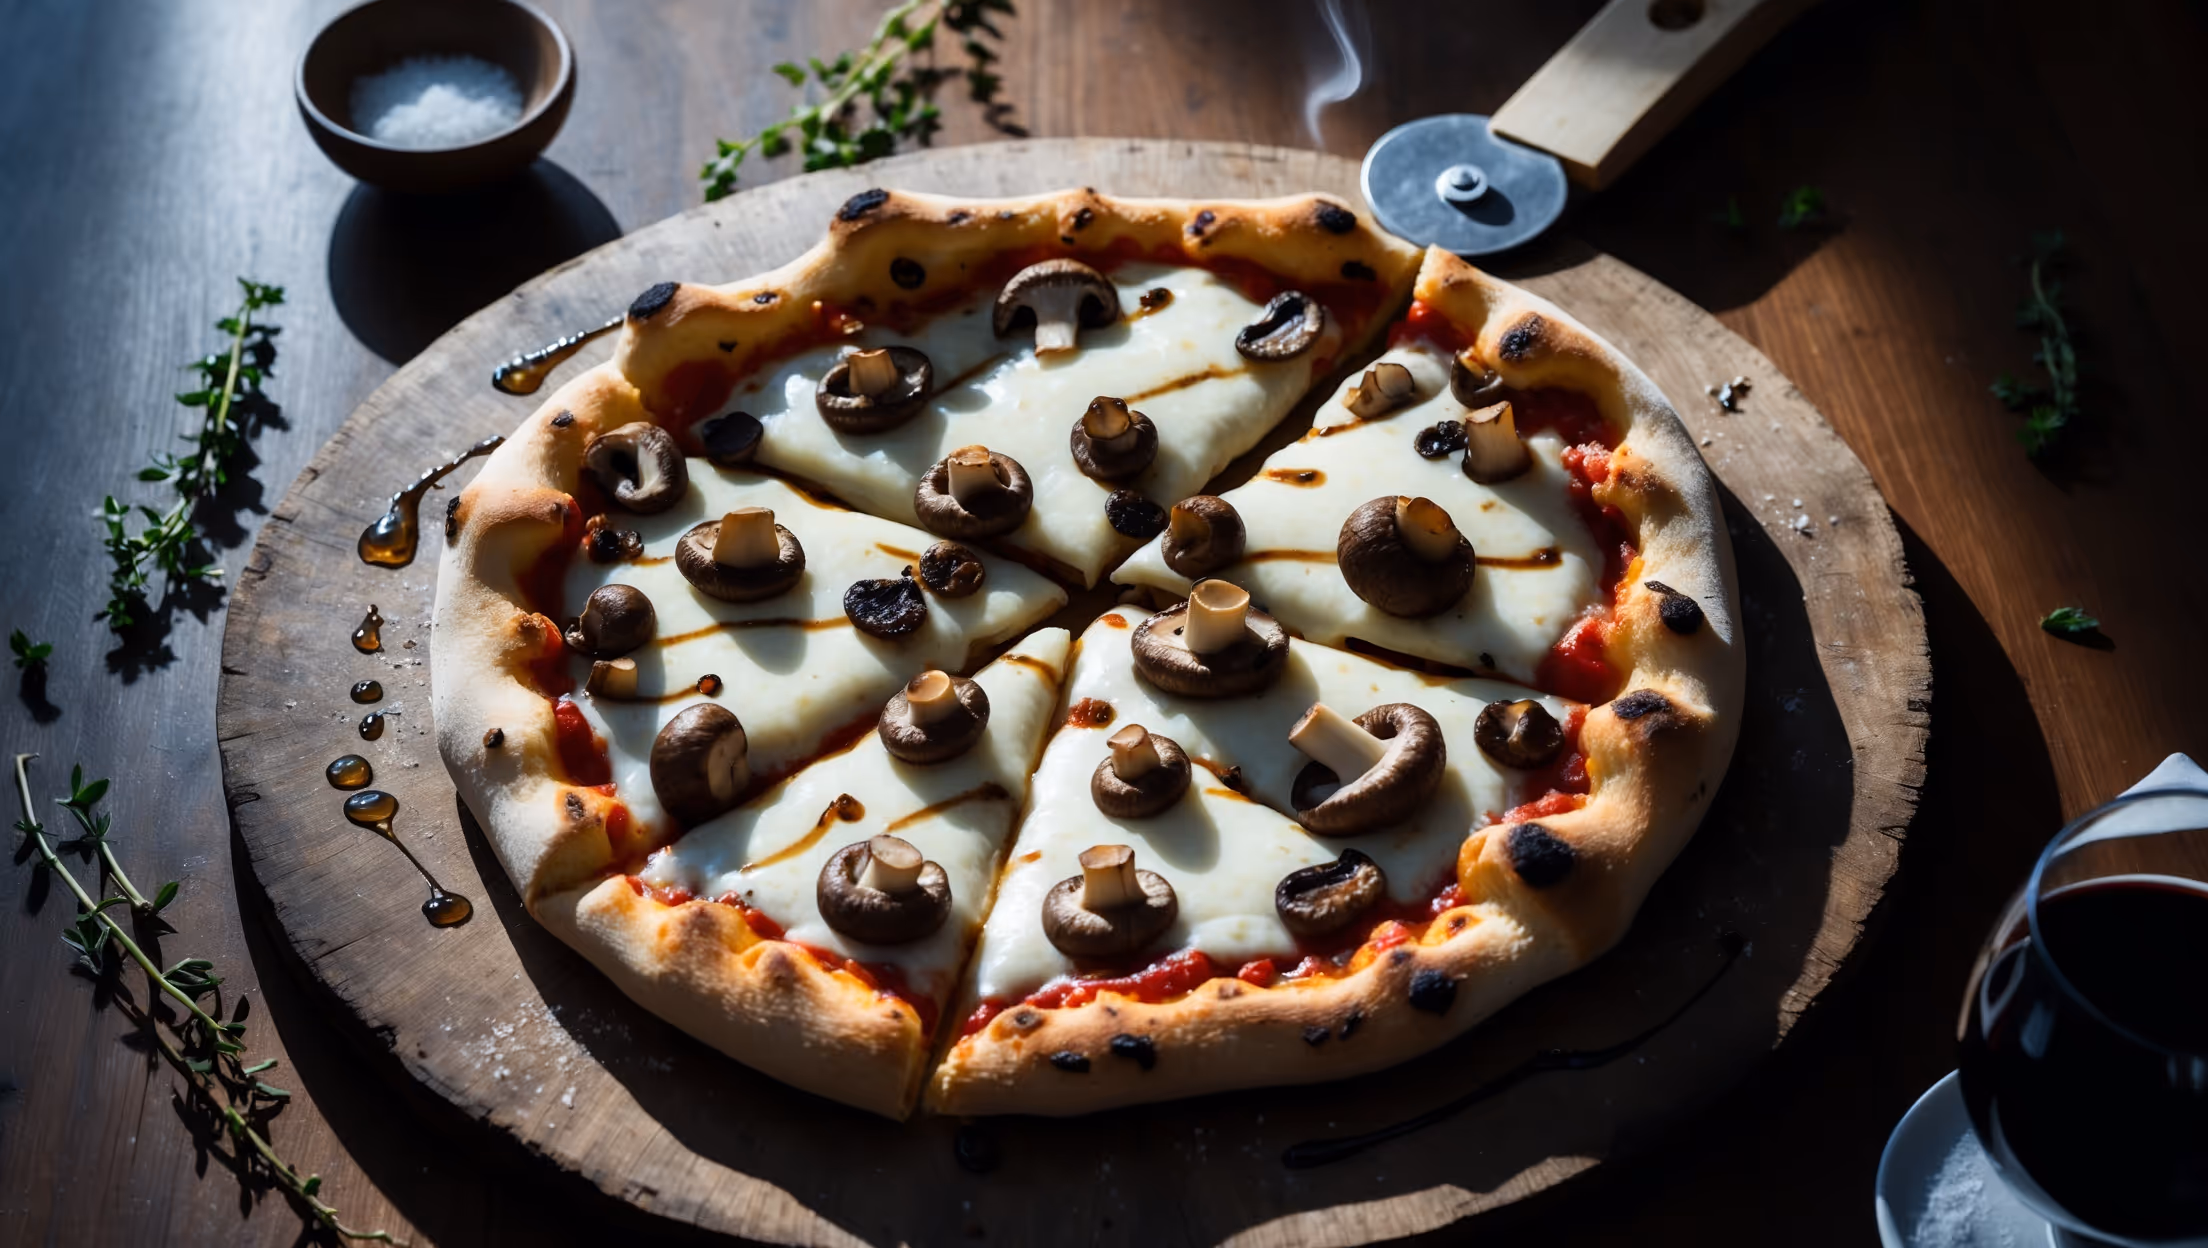
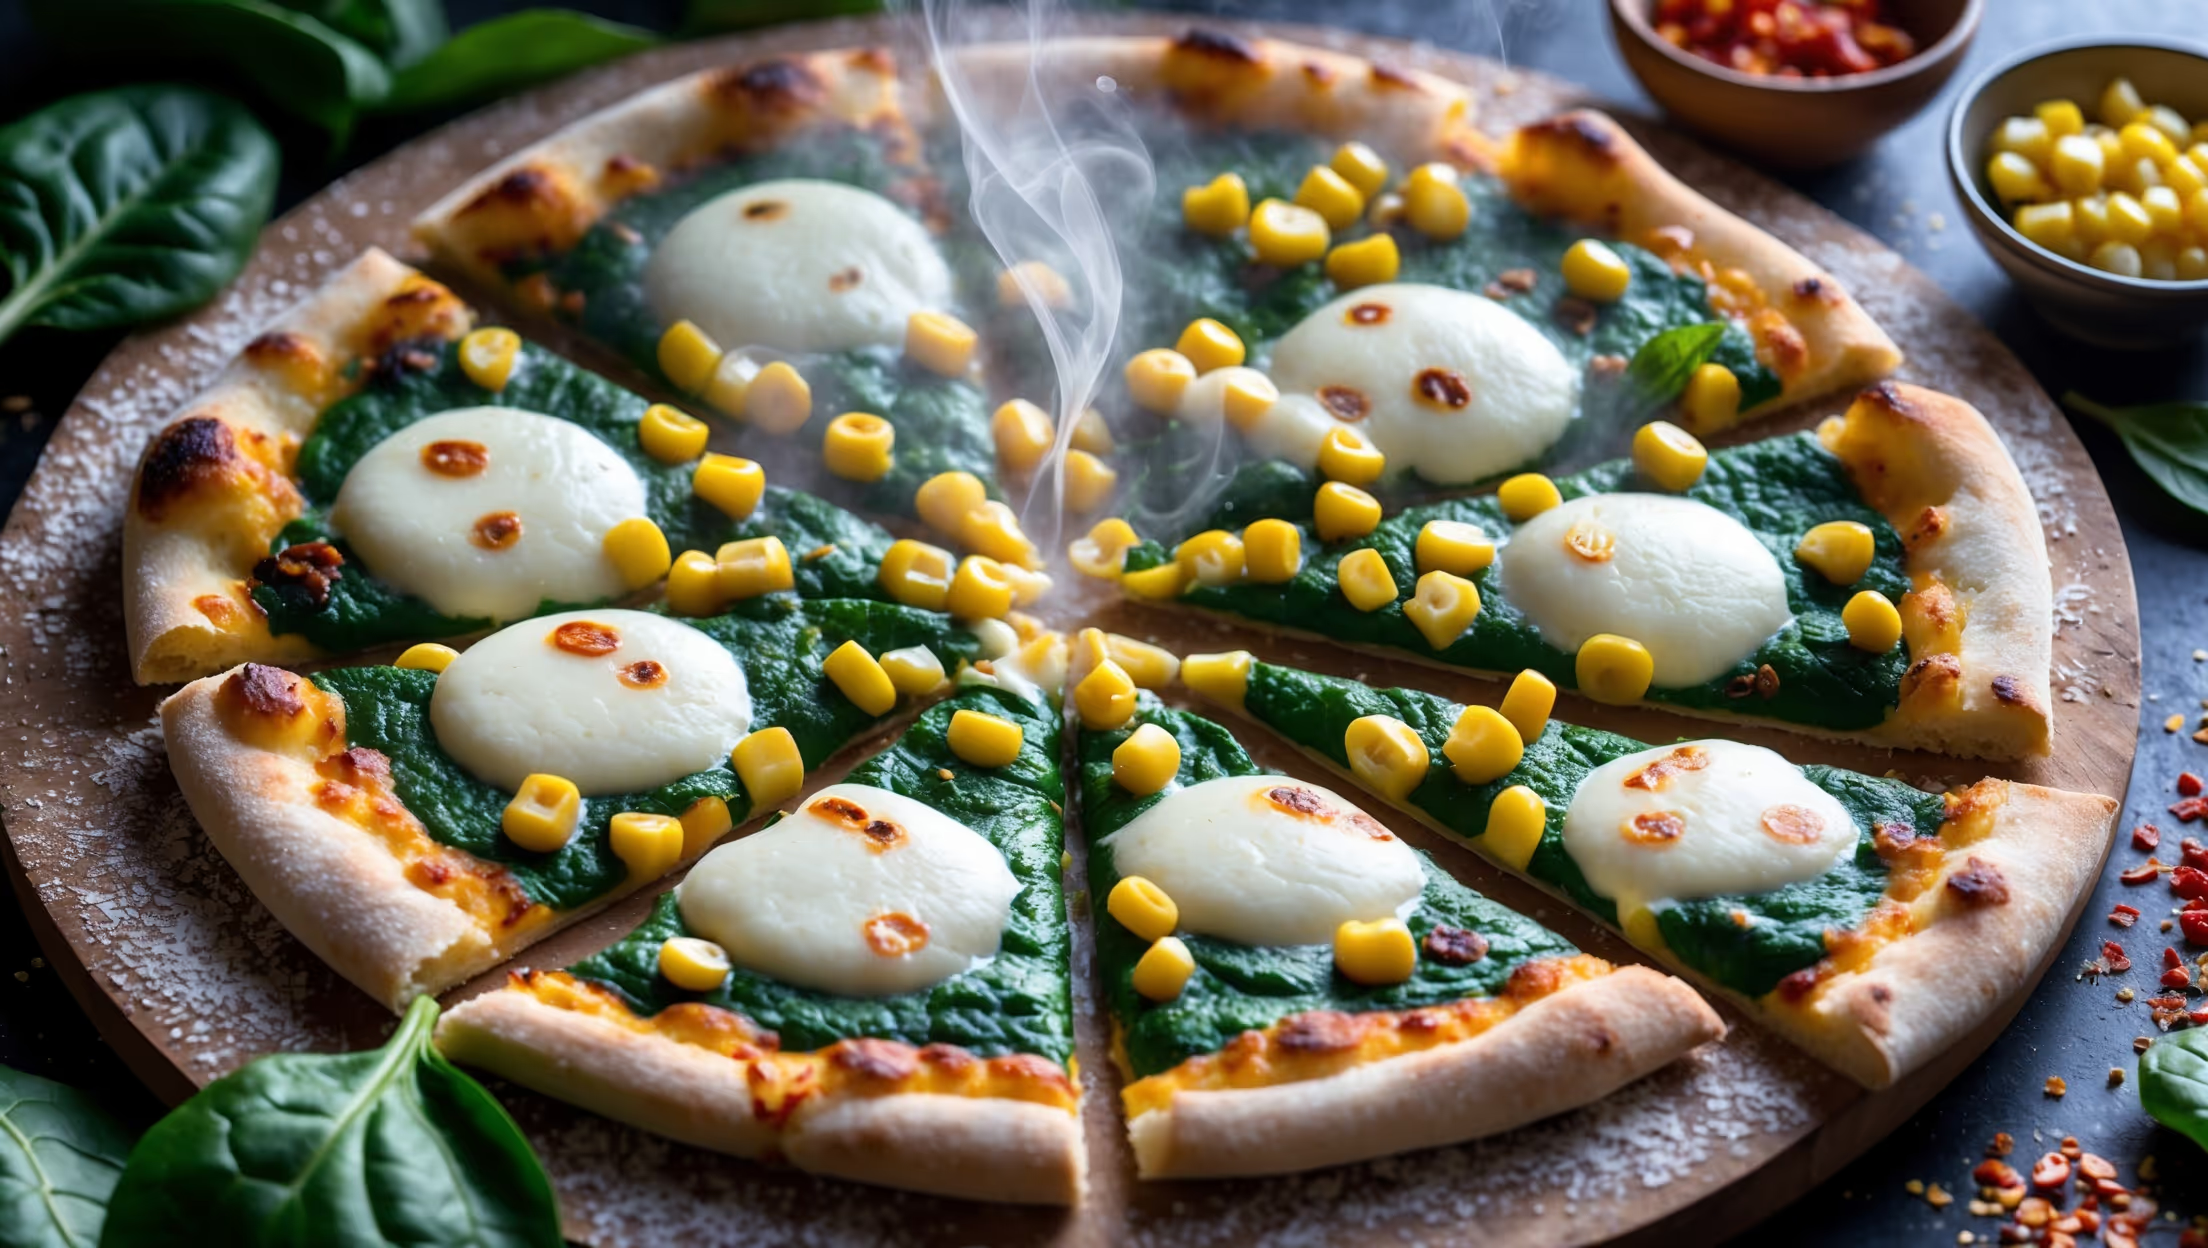
Learn how to cook California-Style Pizza by mastering a thin, crispy crust that bakes at high temperatures (250-275°C) on a preheated pizza stone. The key technique involves properly stretching the dough, pre-baking with minimal cheese, then finishing with fresh toppings after baking to maintain their vibrant flavours and textures.
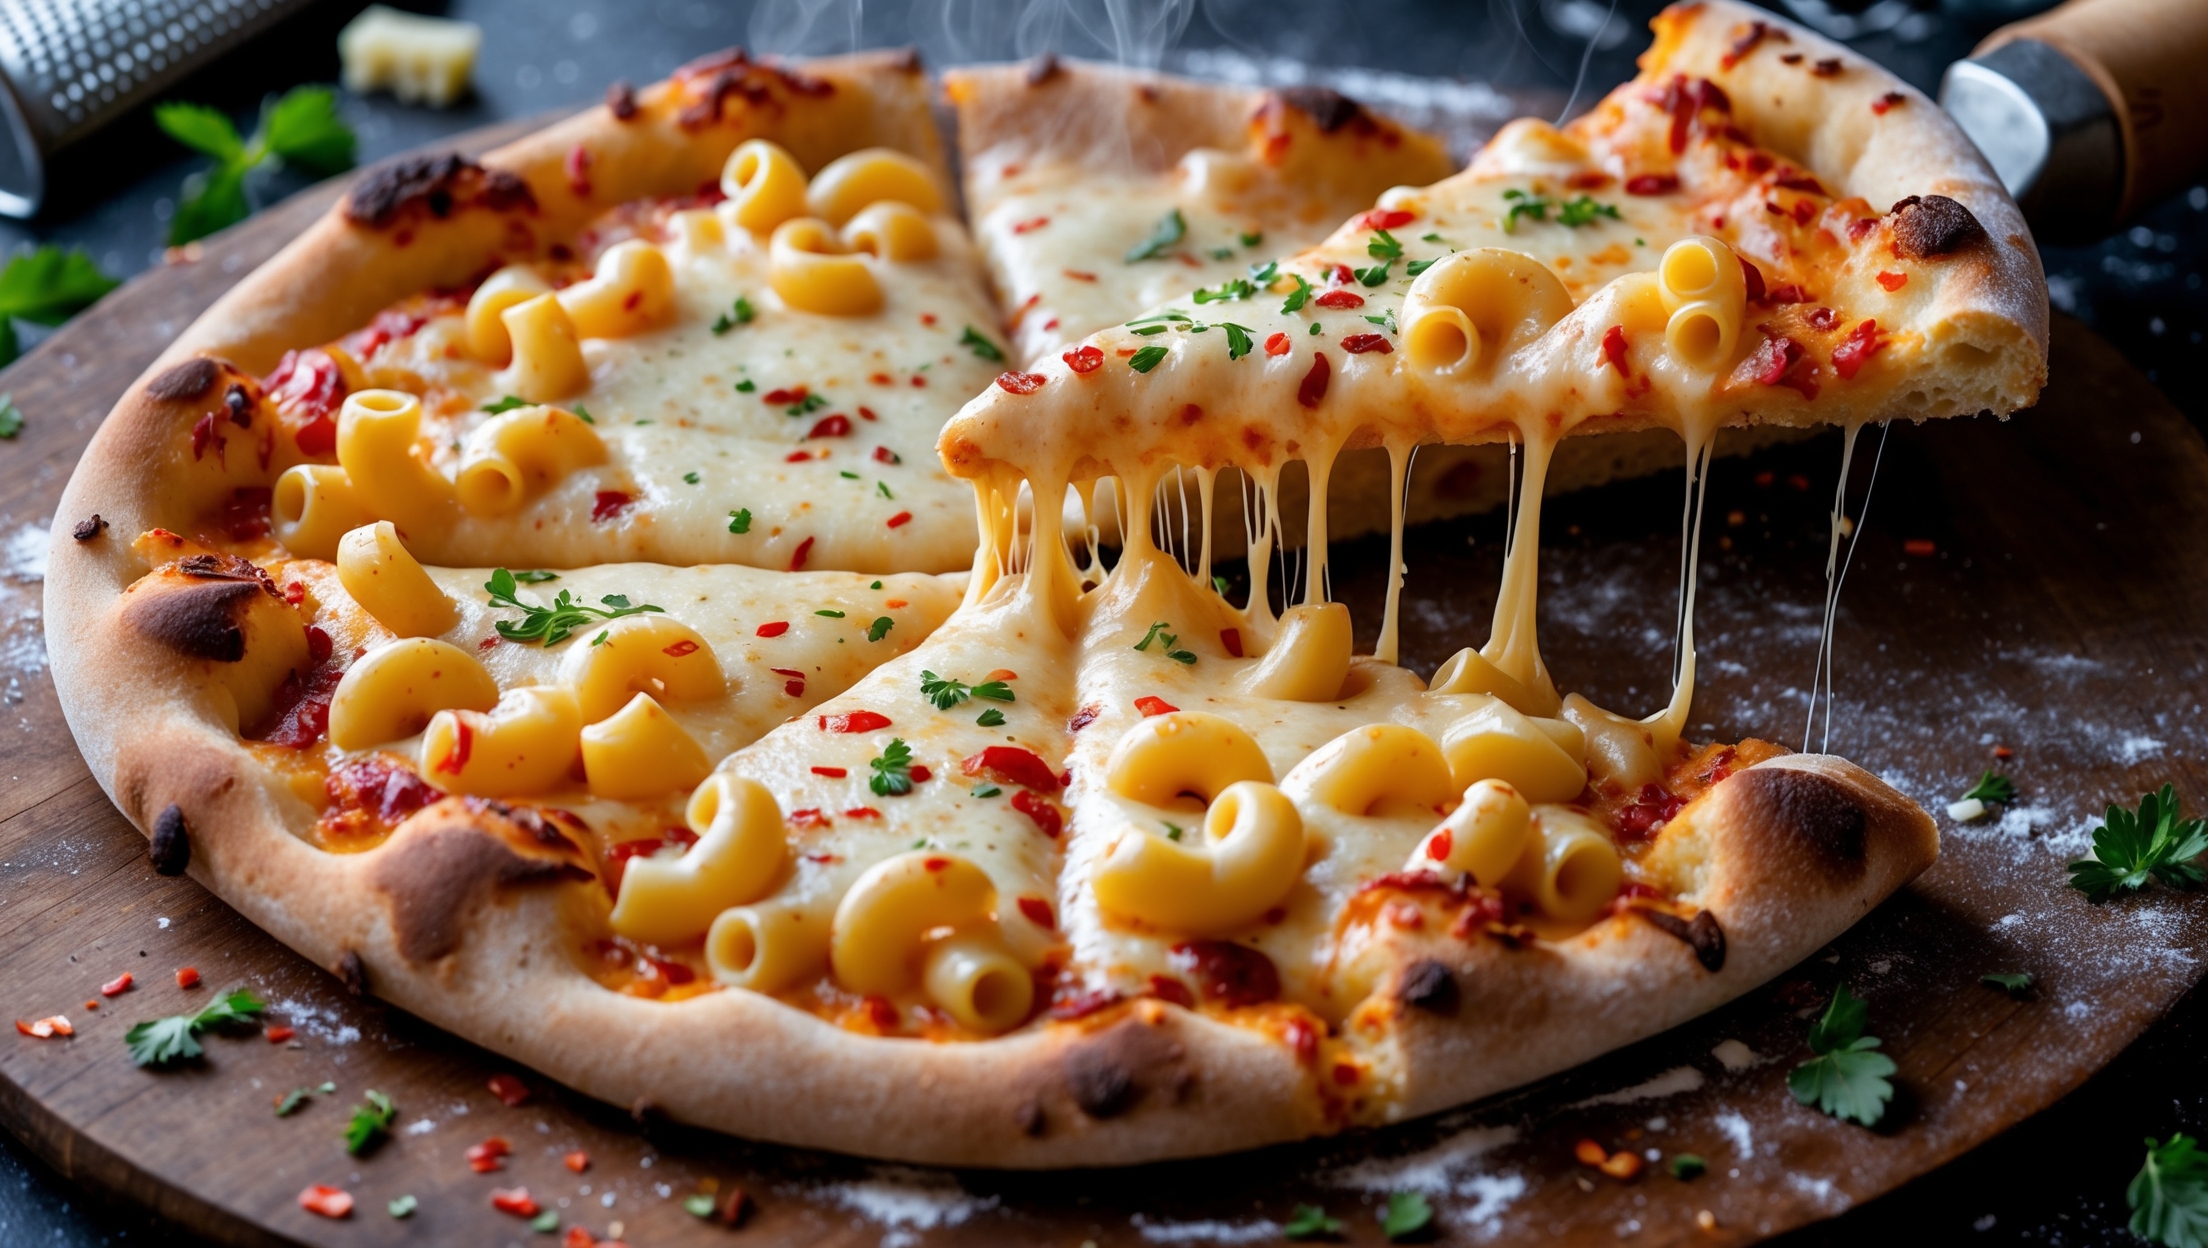
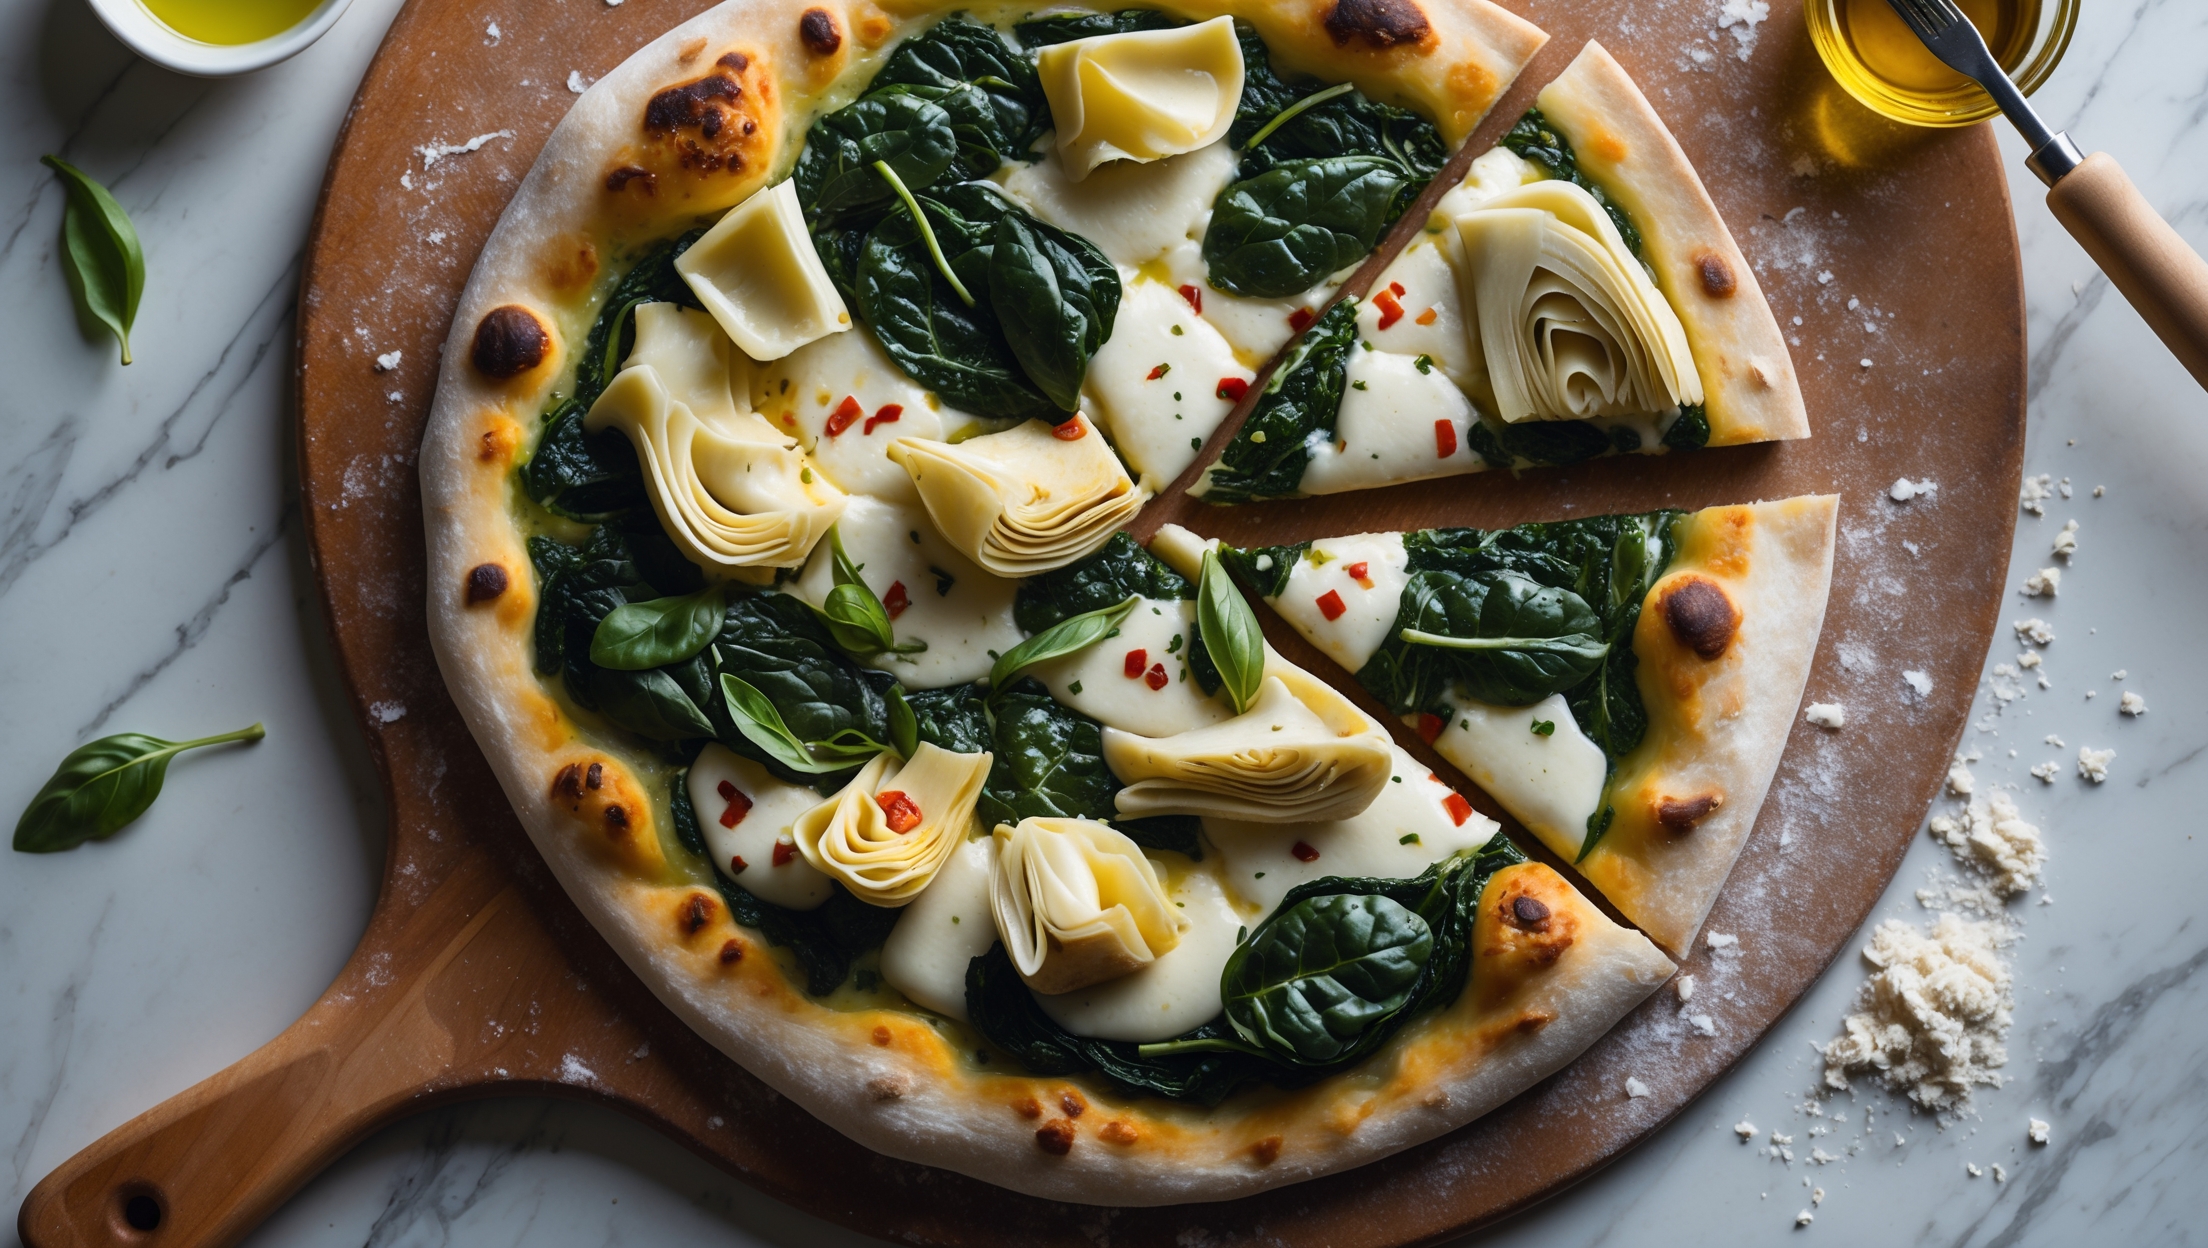
The thin, crispy crust is the foundation of West Coast style pizzas, allowing the fresh toppings to shine. Using high-protein bread flour and proper kneading develops gluten for the perfect texture, while high-temperature baking creates that characteristic crispness with slight charring around the edges.
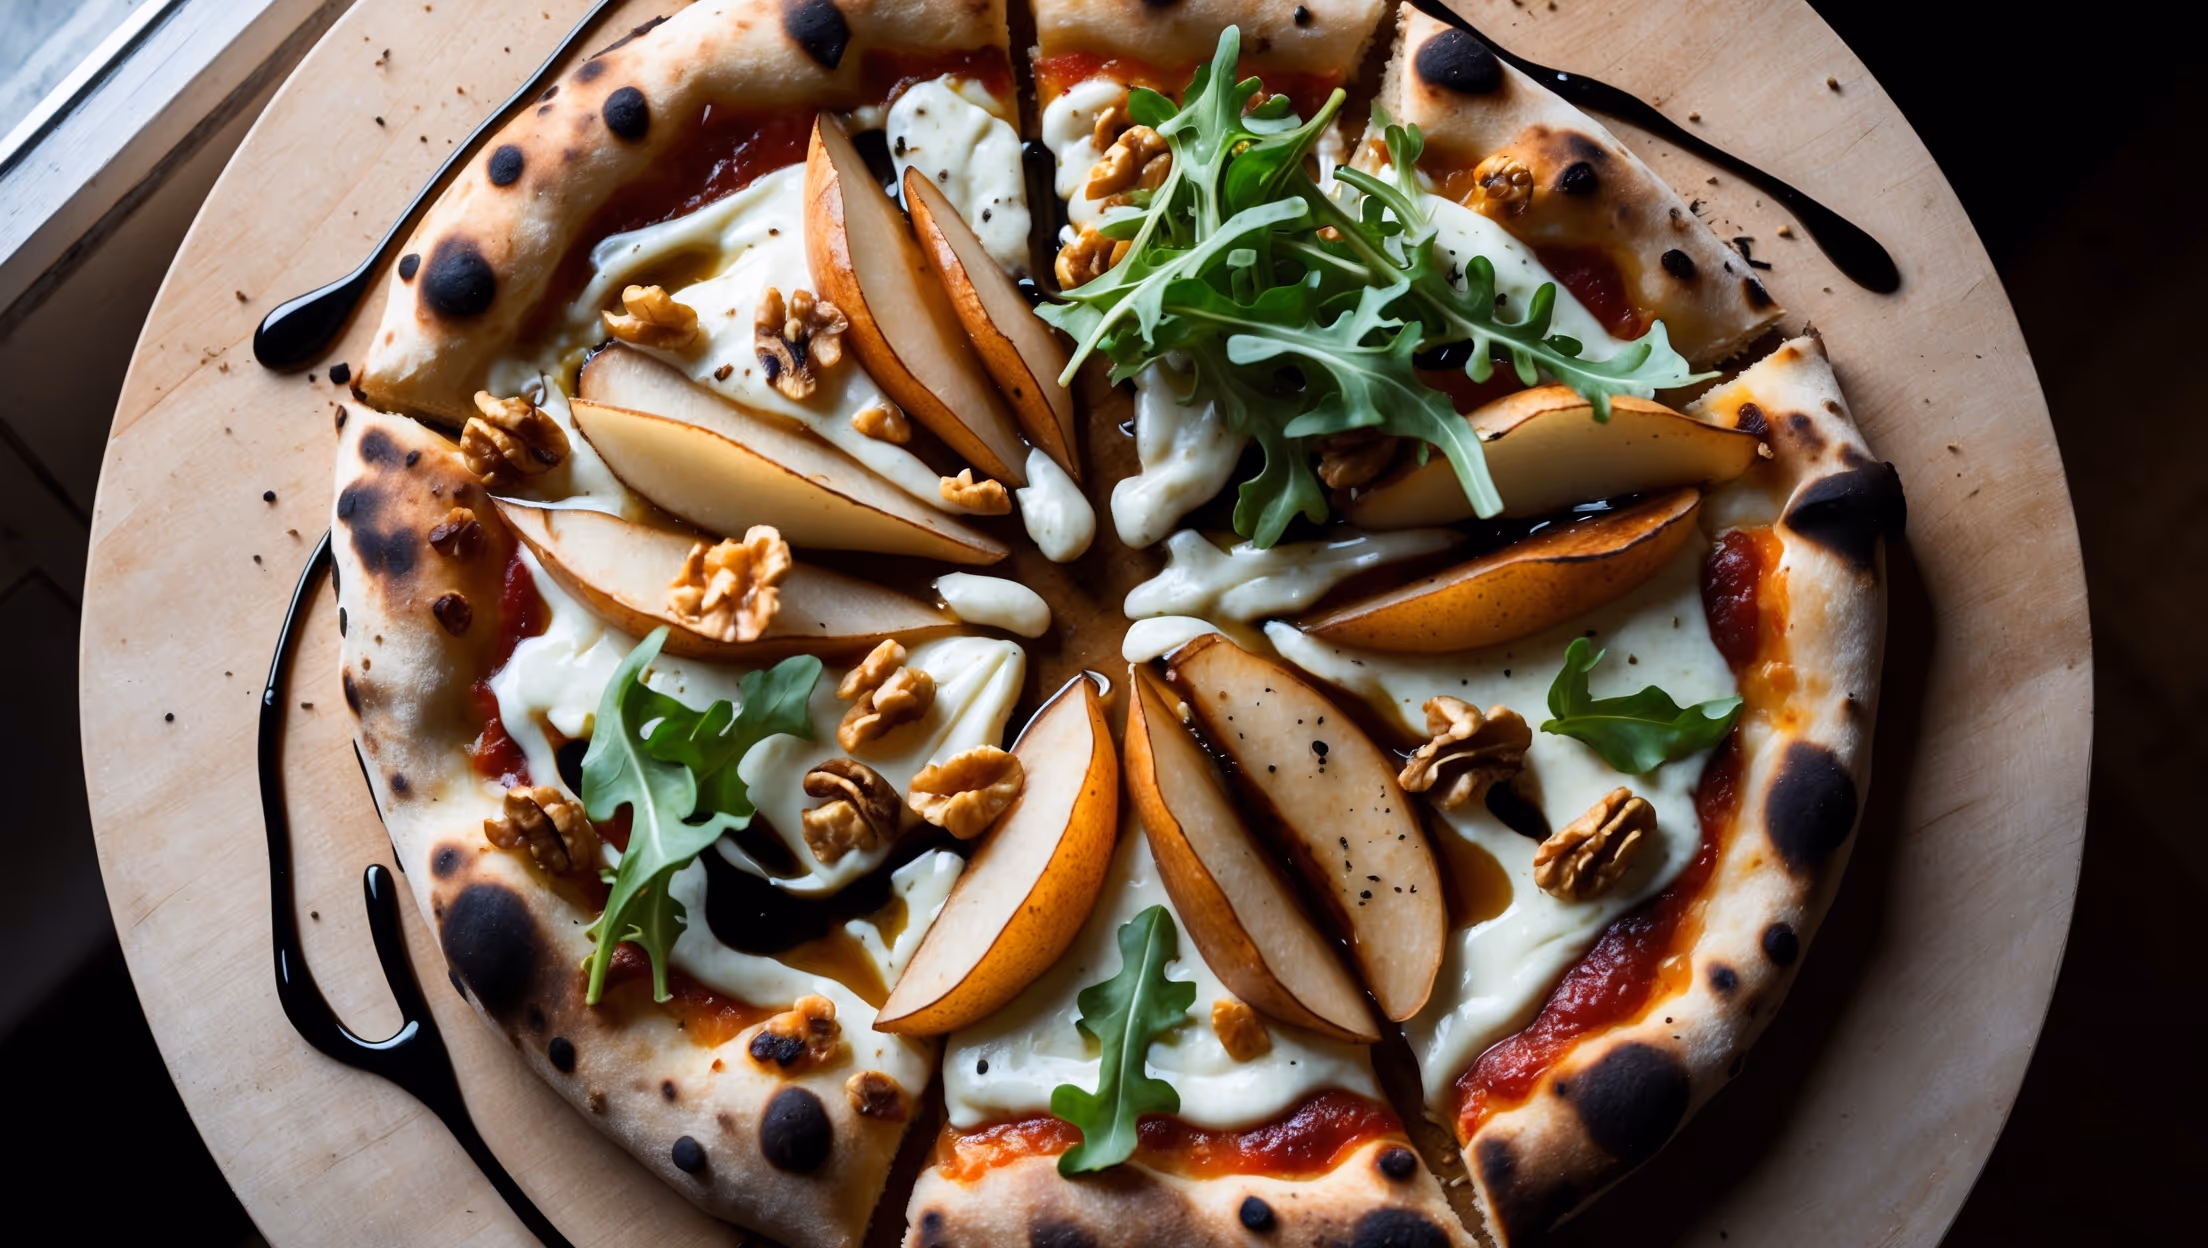
California-style pizzas distinguish themselves with innovative, fresh ingredient combinations rather than traditional toppings. The style features a thin crust, lighter cheese application, and emphasis on local, seasonal produce—particularly avocado, arugula, and goat cheese—with post-bake topping application.
Yes, you can prepare the dough up to 3 days in advance. After the first rise, place the dough balls in airtight containers in the refrigerator. The slow, cold fermentation actually improves flavour development. Bring to room temperature for 1-2 hours before stretching and baking.
Pizza & Flatbreads
Try following recommended recipes