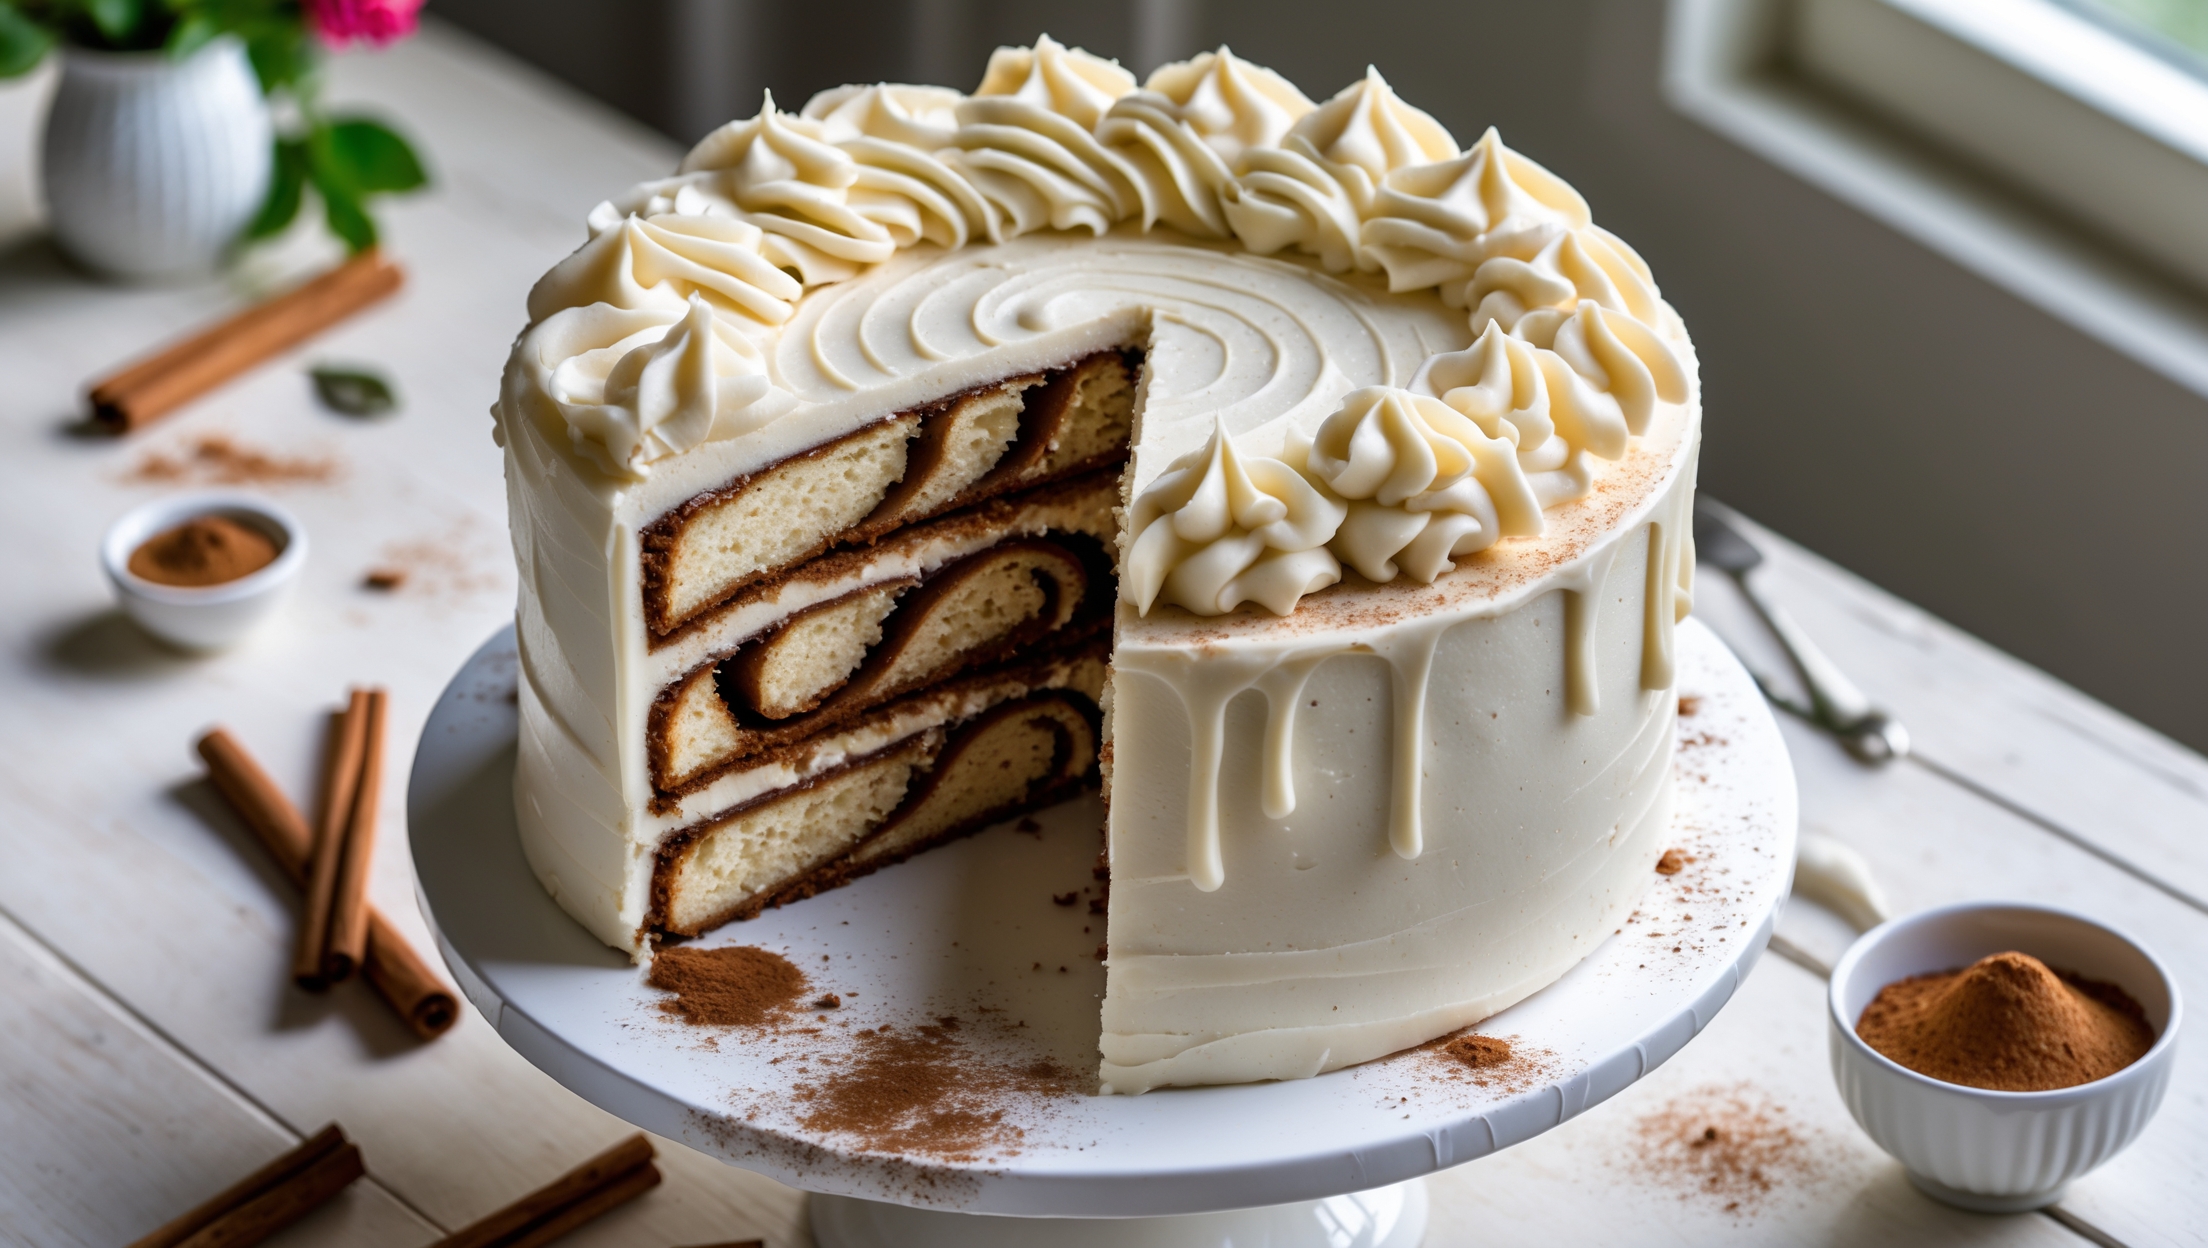
Directions
<ol class="no-list-style"><li class="MethodStepper"><h4 class="step-title">Step 1</h4>Preheat your oven to 180°C (350°F). Grease and line three 20cm (8-inch) round cake tins with parchment paper. This ensures your cakes will release perfectly after baking.</li><li class="MethodStepper"><h4 class="step-title">Step 2</h4>In a medium bowl, whisk together the flour, baking powder, baking soda, and salt. Setting these dry ingredients aside allows you to incorporate them properly later without overmixing.</li><li class="MethodStepper"><h4 class="step-title">Step 3</h4>In the bowl of your stand mixer fitted with the paddle attachment, cream the butter on medium speed until smooth, about 1 minute. Add the brown sugar and continue beating for 4-5 minutes until the mixture is light and fluffy. This extended creaming incorporates air into the batter, resulting in a more tender crumb.</li><li class="MethodStepper"><h4 class="step-title">Step 4</h4>Add the eggs one at a time, beating well after each addition. Scrape down the sides of the bowl as needed. Don't rush this step – proper egg incorporation gives your cake structure and moisture.</li><li class="MethodStepper"><h4 class="step-title">Step 5</h4>Beat in the vanilla extract. Then, alternately add the flour mixture and buttermilk in three additions, beginning and ending with the flour. Mix on low speed just until incorporated after each addition. Overmixing at this stage will develop gluten and make your cake tough.</li><li class="MethodStepper"><h4 class="step-title">Step 6</h4>Divide the batter evenly between the prepared cake tins. Use your spatula to gently spread the batter to the edges and smooth the tops. Tap each tin gently on the counter a few times to eliminate any large air bubbles.</li><li class="MethodStepper"><h4 class="step-title">Step 7</h4>Bake for 25-30 minutes, or until a toothpick inserted into the center comes out clean and the cakes spring back when lightly touched. The edges should be just starting to pull away from the sides of the tins.</li><li class="MethodStepper"><h4 class="step-title">Step 8</h4>Allow the cakes to cool in the tins for 10 minutes, then turn out onto wire racks to cool completely. Placing them upside down on the racks while cooling helps create a flat top.</li><li class="MethodStepper"><h4 class="step-title">Step 9</h4>For the butterscotch filling, combine brown sugar and butter in a small saucepan over medium heat. Stir until the butter melts and the mixture is combined, about 2 minutes. Add the cream and salt, then bring to a simmer, stirring constantly. Let bubble for 4-5 minutes, until slightly thickened. The mixture will coat the back of a spoon when ready.</li><li class="MethodStepper"><h4 class="step-title">Step 10</h4>Remove from heat and stir in the vanilla extract. Transfer to a heatproof bowl and refrigerate until completely cooled and thickened, about 2 hours. You can speed this up by placing the bowl in an ice bath if needed.</li><li class="MethodStepper"><h4 class="step-title">Step 11</h4>For the brown sugar frosting, in your stand mixer, beat the butter on medium-high speed until pale and creamy, about 3-4 minutes. The extended beating time creates a lighter, more spreadable frosting.</li><li class="MethodStepper"><h4 class="step-title">Step 12</h4>Add the icing sugar in three additions, mixing on low speed initially to avoid a sugar cloud, then increasing to medium-high for 2 minutes between each addition.</li><li class="MethodStepper"><h4 class="step-title">Step 13</h4>Add the brown sugar, cream, vanilla, and salt. Beat on medium-high for 4-5 minutes until frosting is light, fluffy, and holds soft peaks. If the frosting seems too thick, add a bit more cream, one tablespoon at a time.</li><li class="MethodStepper"><h4 class="step-title">Step 14</h4>To assemble the cake, place one cake layer on your serving plate or cake board. Pipe a dam of frosting around the edge to contain the filling. Spread half of the butterscotch filling inside the dam.</li><li class="MethodStepper"><h4 class="step-title">Step 15</h4>Top with the second cake layer and repeat with the remaining butterscotch filling. Place the final cake layer on top, bottom side up for a flat surface.</li><li class="MethodStepper"><h4 class="step-title">Step 16</h4>Apply a thin crumb coat of frosting all over the cake and refrigerate for 20 minutes. This seals in any loose crumbs before the final frosting layer.</li><li class="MethodStepper"><h4 class="step-title">Step 17</h4>Apply the remaining frosting to the chilled cake, creating your desired finish. For a smooth finish, use a bench scraper held at a 45-degree angle while rotating the cake. For a more rustic look, create swirls with your offset spatula.</li><li class="MethodStepper"><h4 class="step-title">Step 18</h4>Optional: Decorate the top of the cake with butterscotch chips and a light sprinkle of flaky sea salt to enhance the butterscotch flavor and add textural contrast.</li><li class="MethodStepper"><h4 class="step-title">Step 19</h4>For the best flavor, let the cake sit at room temperature for 1-2 hours before serving. This allows the butterscotch notes to fully develop and the layers to meld together beautifully.</li></ol>