Directions
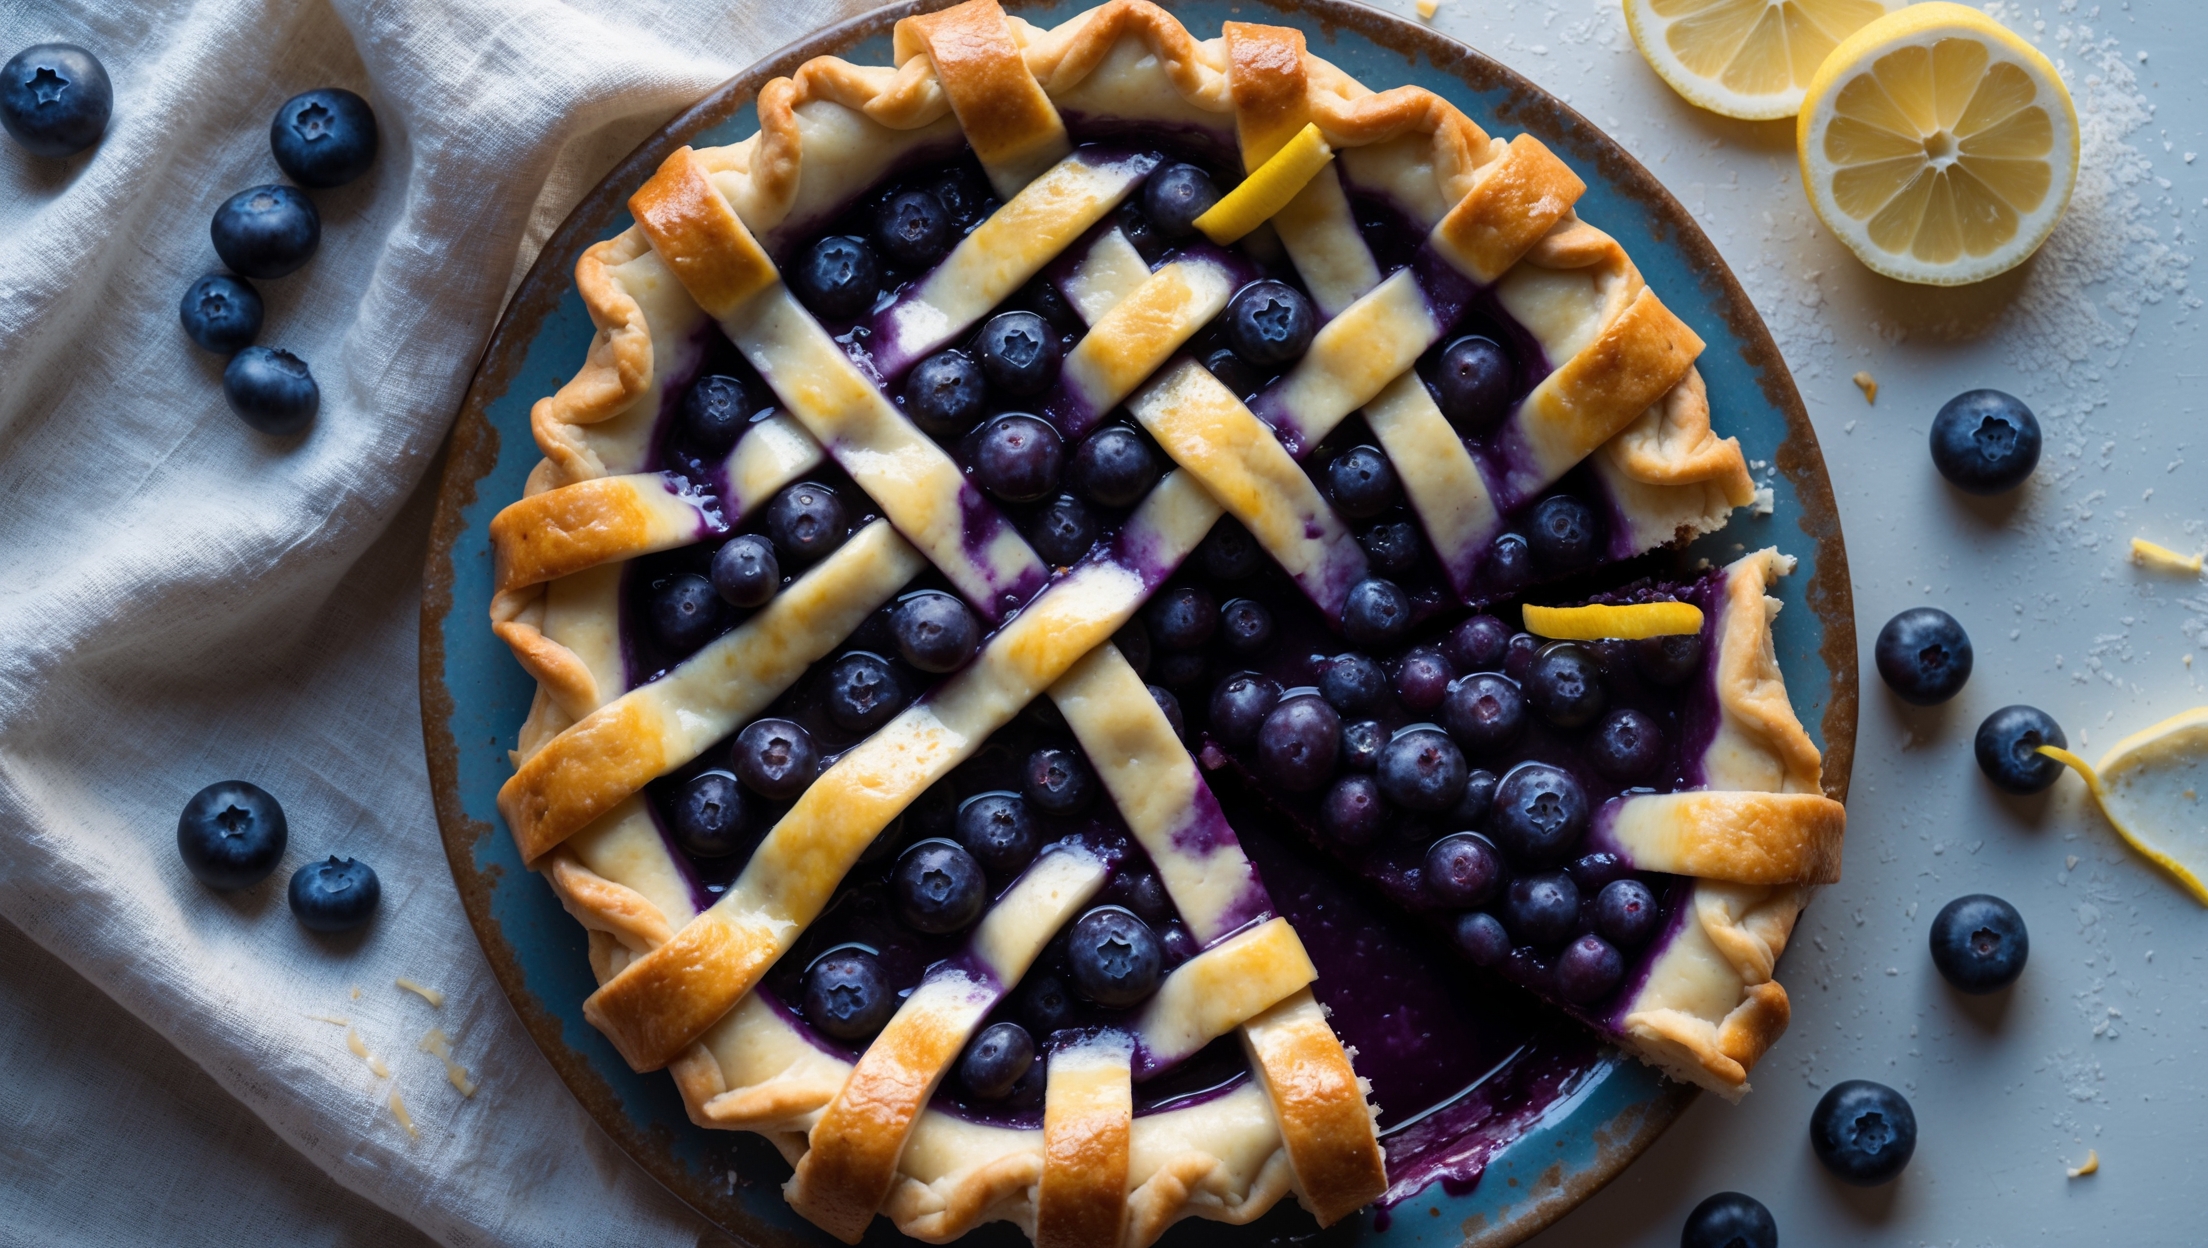
<ol class="no-list-style"> <li class="MethodStepper"> <h4 class="step-title">Step 1</h4> Start by preparing your pie crust. In a large bowl or food processor, combine the flour, sugar, and salt. Add the cold cubed butter and pulse or use a pastry cutter to work it into the flour until you have pea-sized pieces. The varying sizes of butter pieces create pockets of steam during baking, resulting in those delicious flaky layers we're after. </li> <li class="MethodStepper"> <h4 class="step-title">Step 2</h4> Mix the ice-cold water and lemon juice together. The acidity in the lemon juice helps inhibit gluten development, ensuring a tender crust. Gradually add this liquid to your flour mixture, stirring with a fork until the dough just begins to come together. It should look shaggy but hold together when pressed. </li> <li class="MethodStepper"> <h4 class="step-title">Step 3</h4> Turn the dough onto a lightly floured surface and gently bring it together, dividing it into two portions (one slightly larger for the bottom crust). Shape each into a disk, wrap in plastic, and refrigerate for at least 1 hour or up to 2 days. Cold dough is crucial for a flaky pie crust as it prevents the butter from melting before hitting the hot oven. </li> <li class="MethodStepper"> <h4 class="step-title">Step 4</h4> While the dough chills, prepare your filling. In a large bowl, gently toss the blueberries with sugar, cornstarch, lemon juice, lemon zest, and salt. The cornstarch acts as a thickening agent, ensuring your pie filling sets properly rather than becoming soupy. Let this mixture sit for about 15 minutes to allow the berries to release some of their juices. </li> <li class="MethodStepper"> <h4 class="step-title">Step 5</h4> Preheat your oven to 200°C (400°F) with a rack in the lower third position. Place a baking sheet on the rack to preheat as well (this will help cook the bottom crust evenly and catch any potential drips). </li> <li class="MethodStepper"> <h4 class="step-title">Step 6</h4> Remove the larger disk of dough from the refrigerator and roll it out on a well-floured surface to about 3mm (1/8 inch) thickness and about 30cm (12 inches) in diameter. Keep rotating the dough as you roll to prevent sticking. Transfer this dough to your pie dish by carefully rolling it around your rolling pin and unrolling over the dish. Gently press it into the corners without stretching the dough (stretching causes shrinkage). </li> <li class="MethodStepper"> <h4 class="step-title">Step 7</h4> Pour the blueberry filling into the dough-lined pie dish, ensuring an even distribution. The filling might look quite full, but berries condense during baking. </li> <li class="MethodStepper"> <h4 class="step-title">Step 8</h4> Roll out the second disk of dough to similar thickness. For a lattice top, cut the dough into 2.5cm (1-inch) strips. Arrange half the strips evenly across the pie. Fold back every other strip halfway, then place a strip perpendicular across the unfolded strips. Return the folded strips to their original position, then fold back the alternate strips. Place another perpendicular strip and continue this weaving process until you've created a lattice pattern across the entire pie. </li> <li class="MethodStepper"> <h4 class="step-title">Step 9</h4> Trim any excess dough hanging over the edge to about 1cm (½ inch), then tuck the edges under and crimp decoratively with your fingers or a fork. This seals the pie and creates that beautiful scalloped edge. </li> <li class="MethodStepper"> <h4 class="step-title">Step 10</h4> Brush the lattice top and edges with egg wash, which creates that gorgeous golden brown shine during baking. Sprinkle generously with coarse sugar for extra crunch and sparkle. </li> <li class="MethodStepper"> <h4 class="step-title">Step 11</h4> Place the pie on the preheated baking sheet and bake for 20 minutes at 200°C (400°F). Then reduce the temperature to 180°C (350°F) and continue baking for about 35-40 minutes more, until the crust is deeply golden and the filling is bubbling vigorously. If the edges start browning too quickly, shield them with strips of aluminum foil or a pie shield. </li> <li class="MethodStepper"> <h4 class="step-title">Step 12</h4> The most difficult part comes now - patience! Allow the pie to cool completely (at least 3 hours) on a wire rack before slicing. This cooling period is essential for the filling to set properly. If you cut too soon, the filling will run everywhere. A properly cooled pie will have a filling that holds its shape when sliced. </li> <li class="MethodStepper"> <h4 class="step-title">Step 13</h4> Serve at room temperature or slightly warm with a scoop of vanilla ice cream if desired. The pie can be stored at room temperature for up to 2 days, covered loosely, or refrigerated for up to 5 days. </li> </ol>