Blood Orange Pie Recipe
Ingredients
Equipment
Directions
FAQs
Find answers to your most pressing questions about this delicious recipe right here.
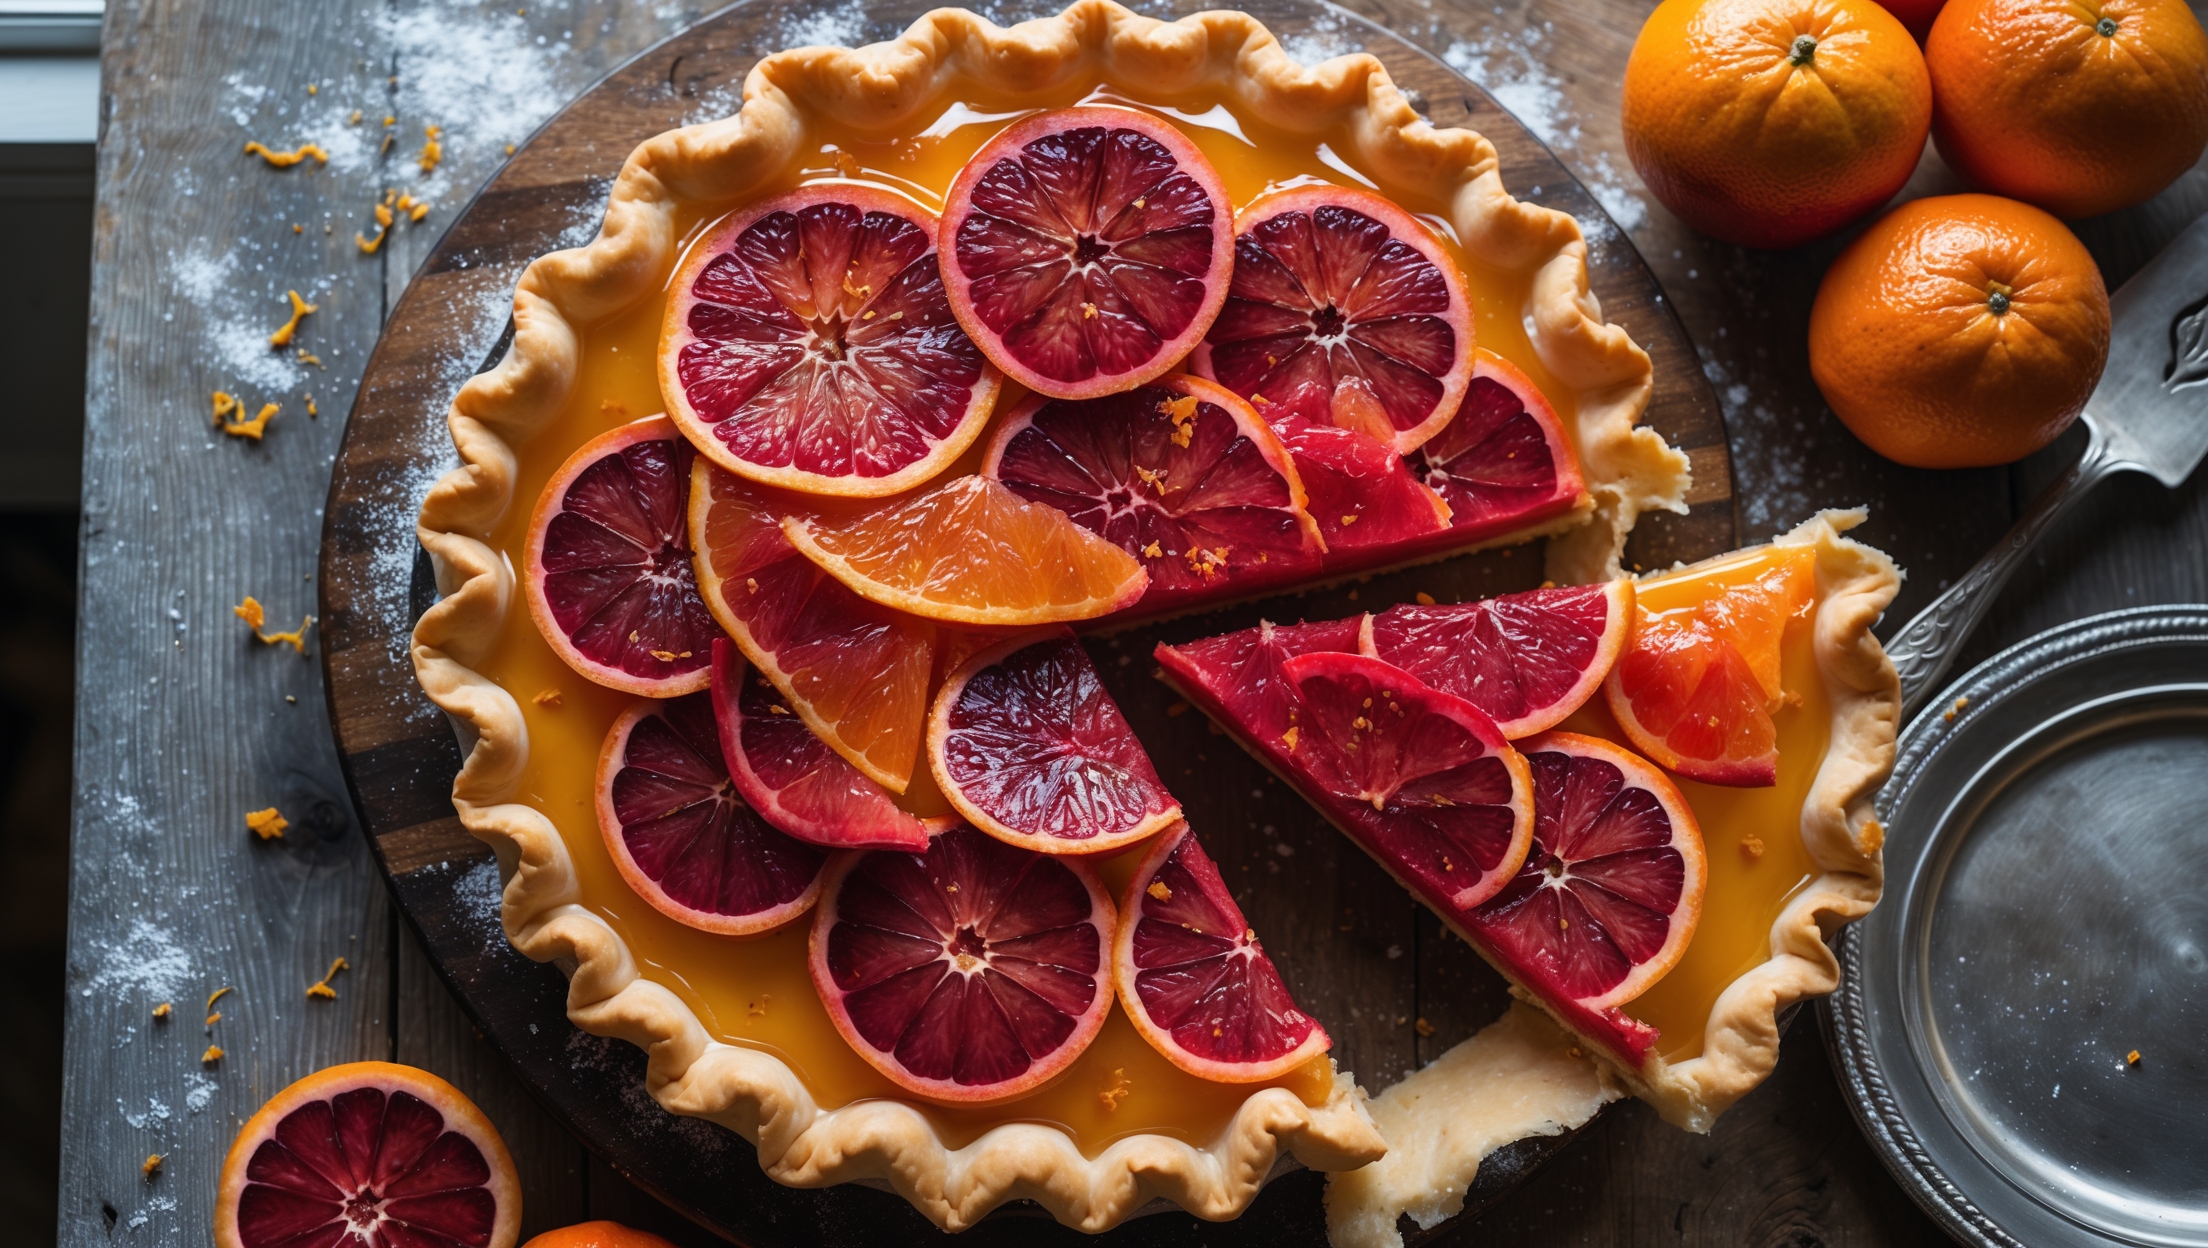
This stunning pie requires all-purpose flour, unsalted butter, sugar, and blood orange zest for the crust. The filling combines fresh blood oranges, eggs, cornstarch and butter. A glossy glaze made from blood orange juice, sugar, and cornstarch completes this vibrant winter dessert.
Learn how to cook Blood Orange Pie Recipe by first making a buttery crust with blood orange zest, then blind baking it until golden. Create a silky filling with fresh blood orange segments and juice, sugar, eggs and cornstarch. Bake until just set with a slight wobble, then top with translucent blood orange slices and a glossy crimson glaze for a professional-looking winter dessert.
Yes, but you'll lose the distinctive ruby colour and unique flavour. Regular oranges work technically, but consider adding a few tablespoons of cranberry or raspberry juice to achieve a similar vibrant hue. For the closest flavour match, use a combination of navel oranges with a splash of grapefruit juice.
Cracks typically occur from overbaking or cooling too quickly. The perfect blood orange filling should still have a slight wobble in the centre when removed from the oven. Cooling gradually at room temperature before refrigerating prevents dramatic temperature changes that cause cracks.
The key is keeping ingredients cold throughout preparation. Use ice-cold water, refrigerate butter cubes before mixing, and chill the dough for at least an hour. Leave visible butter pieces in your dough—these create steam pockets during baking that develop those desirable flaky layers.
Fruit Pies
Try following recommended recipes


