Directions
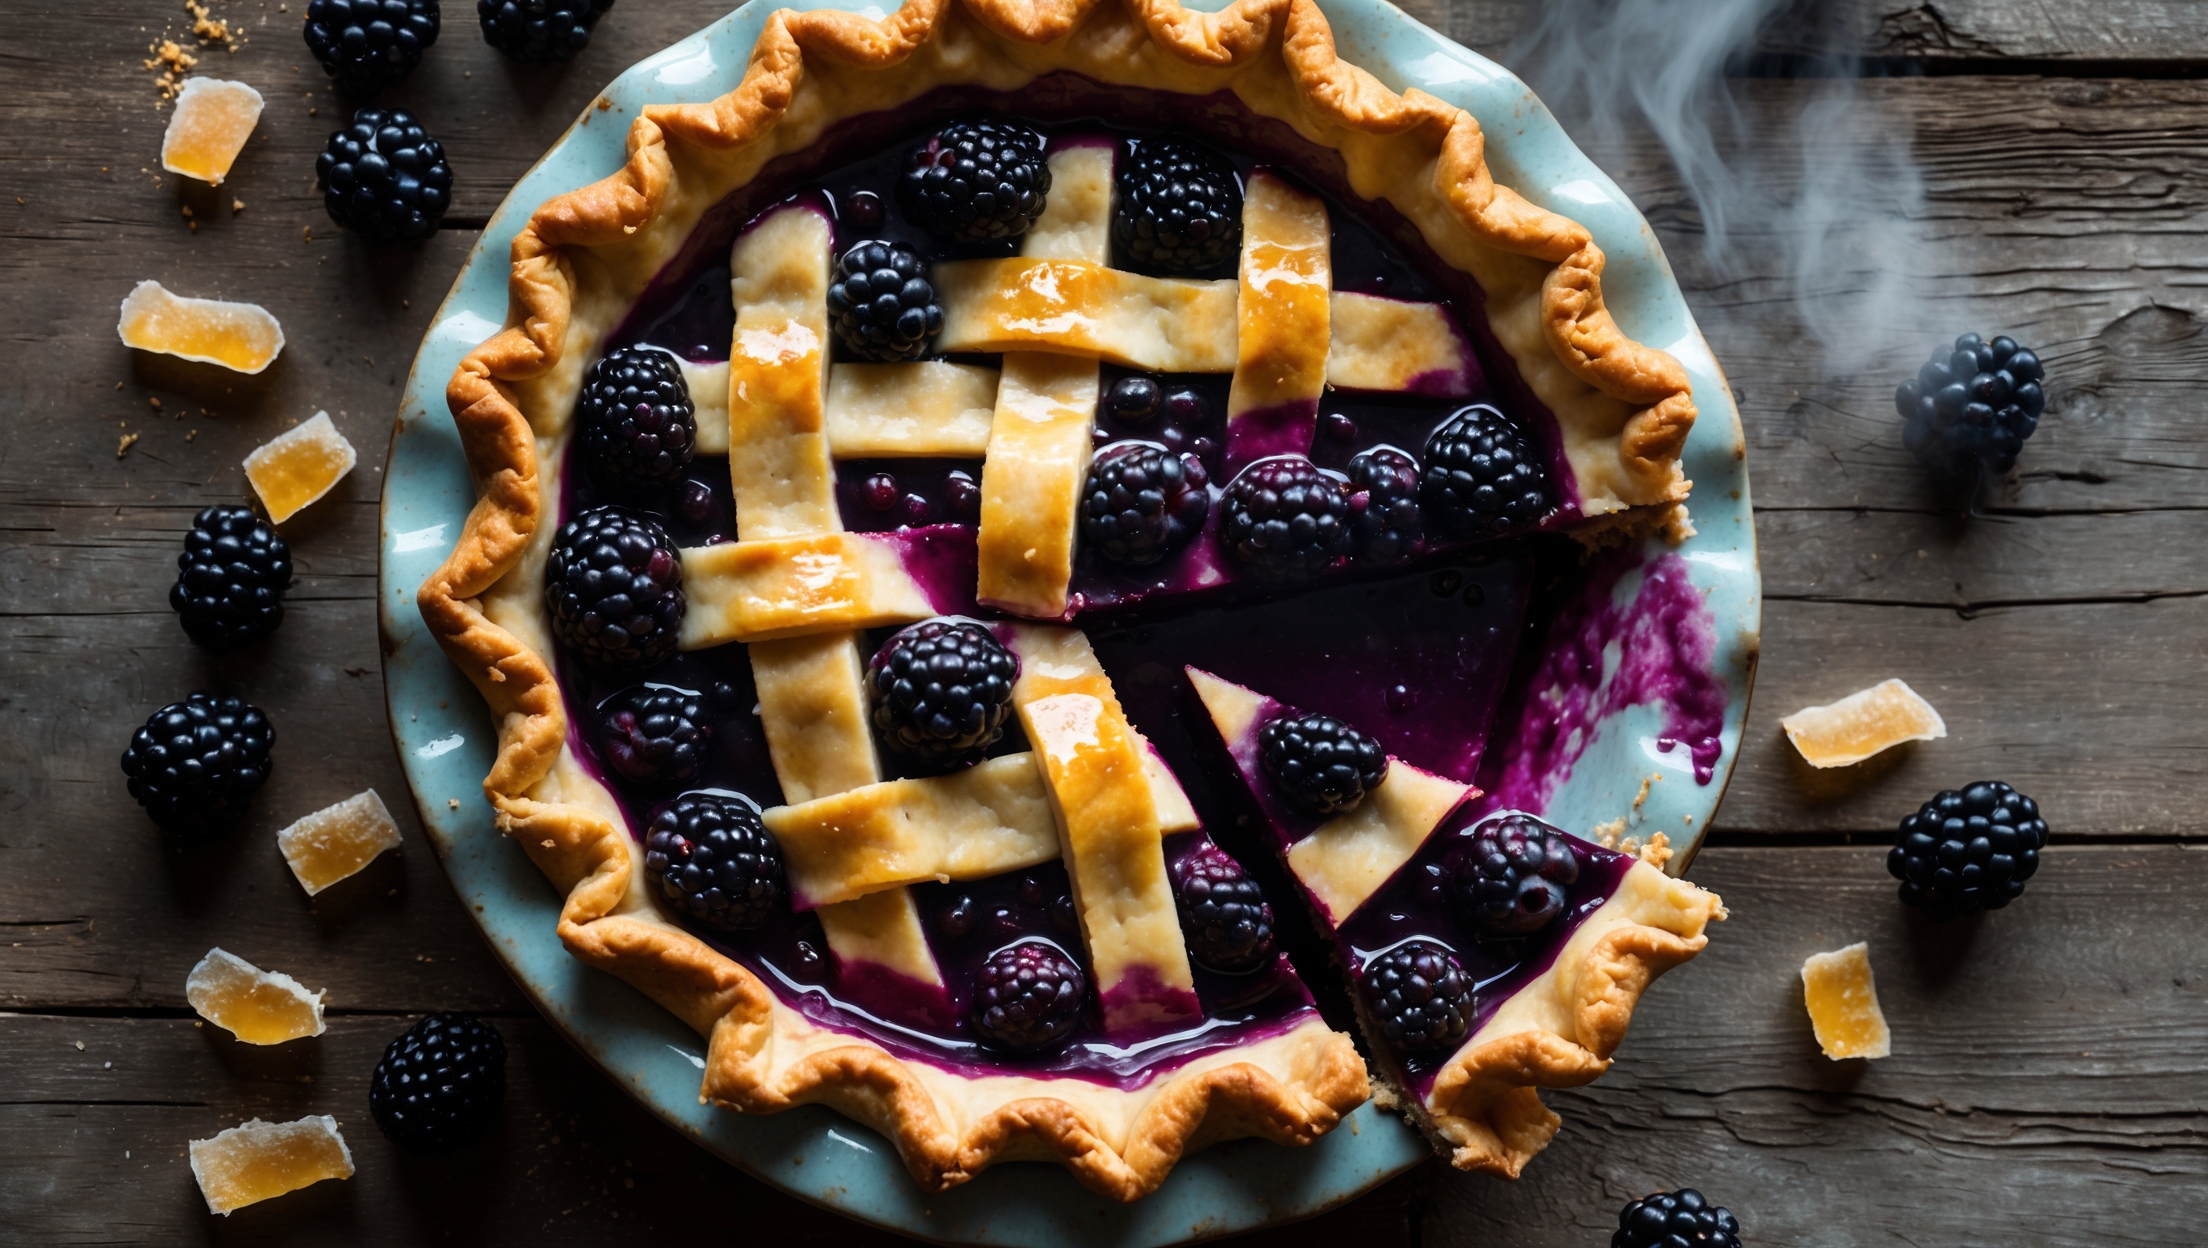
<ol class="no-list-style"><li class="MethodStepper"><h4 class="step-title">Step 1</h4>Begin by making the pie crust. In a large bowl or food processor, combine the flour, sugar, and salt. Add the cold cubed butter and pulse or use a pastry cutter to work it in until the mixture resembles coarse breadcrumbs with some pea-sized pieces remaining. The varying butter sizes create layers in your crust, resulting in that desirable flakiness.</li><li class="MethodStepper"><h4 class="step-title">Step 2</h4>Gradually add the ice-cold water, 1 tablespoon at a time, mixing gently until the dough just begins to come together. You may not need all the water. The dough should hold together when pinched but shouldn't feel sticky. Cold ingredients and minimal handling are crucial here – they prevent the butter from melting before baking, which is what creates those beautiful flaky layers.</li><li class="MethodStepper"><h4 class="step-title">Step 3</h4>Divide the dough into two portions, one slightly larger than the other (about 60% for the bottom crust, 40% for the top). Shape each portion into a disc, wrap in plastic wrap, and refrigerate for at least 1 hour or up to 2 days. This resting period allows the gluten to relax, preventing a tough crust.</li><li class="MethodStepper"><h4 class="step-title">Step 4</h4>While the dough chills, prepare your filling. In a large bowl, gently toss the blackberries with sugar, cornstarch, both forms of ginger, lemon juice, lemon zest, cinnamon, and salt until evenly coated. The cornstarch will thicken the juices as the pie bakes, preventing a soggy bottom, while the acids in the lemon help balance the sweetness and brighten the flavor.</li><li class="MethodStepper"><h4 class="step-title">Step 5</h4>Preheat your oven to 200°C (400°F) and place a baking sheet on the middle rack to heat up. This hot surface will help the bottom crust start cooking immediately, further preventing sogginess.</li><li class="MethodStepper"><h4 class="step-title">Step 6</h4>Remove the larger disc of dough from the refrigerator and let it sit for about 5-10 minutes to slightly soften. On a lightly floured surface, roll it out to a circle about 33cm (13 inches) in diameter and 3mm (⅛ inch) thick. Roll from the center outward, rotating the dough occasionally to maintain a circular shape.</li><li class="MethodStepper"><h4 class="step-title">Step 7</h4>Carefully transfer the rolled dough to your pie dish by loosely rolling it around your rolling pin and unrolling over the dish. Gently press the dough into the corners without stretching it, which would cause shrinkage during baking. Trim the excess dough, leaving about a 2cm (¾ inch) overhang.</li><li class="MethodStepper"><h4 class="step-title">Step 8</h4>Pour the blackberry filling into the lined pie dish, mounding it slightly in the center. The fruit will cook down during baking, so don't worry if it looks quite full.</li><li class="MethodStepper"><h4 class="step-title">Step 9</h4>Roll out the second disc of dough to about 30cm (12 inches) in diameter. To create a lattice top, cut the dough into 2.5cm (1 inch) wide strips. Arrange half the strips parallel to each other over the filling. Fold back every other strip halfway, then place a new strip perpendicular to them. Unfold the strips over the new strip, then fold back the alternate strips. Repeat this weaving process until the lattice is complete. This lattice design isn't just decorative—it allows steam to escape during baking, preventing the filling from becoming too watery.</li><li class="MethodStepper"><h4 class="step-title">Step 10</h4>Trim any excess lattice strips and fold the overhang of the bottom crust up and over the edges of the lattice strips. Crimp or flute the edges decoratively to seal. Brush the top crust with beaten egg, which will give your pie that professional-looking glossy golden finish, and sprinkle with demerara sugar for a delightful crunch and sparkle.</li><li class="MethodStepper"><h4 class="step-title">Step 11</h4>Place the pie on the preheated baking sheet and bake for 20 minutes at 200°C (400°F), then reduce the temperature to 180°C (350°F) and continue baking for 30-35 minutes more. If the edges start to brown too quickly, cover them with a pie shield or strips of aluminum foil. The pie is done when the crust is golden brown and the filling is bubbling vigorously—look for those bubbles in the center of the pie, not just at the edges, to ensure the cornstarch has fully activated.</li><li class="MethodStepper"><h4 class="step-title">Step 12</h4>Allow the pie to cool completely on a wire rack for at least 3-4 hours before slicing. This cooling period is essential—it allows the filling to set properly so you'll get clean slices rather than a flood of juice. The flavors will also continue to develop and meld as it cools. Serve with a scoop of vanilla ice cream or lightly whipped cream if desired. Enjoy your beautiful homemade Blackberry Ginger Pie!</li></ol>