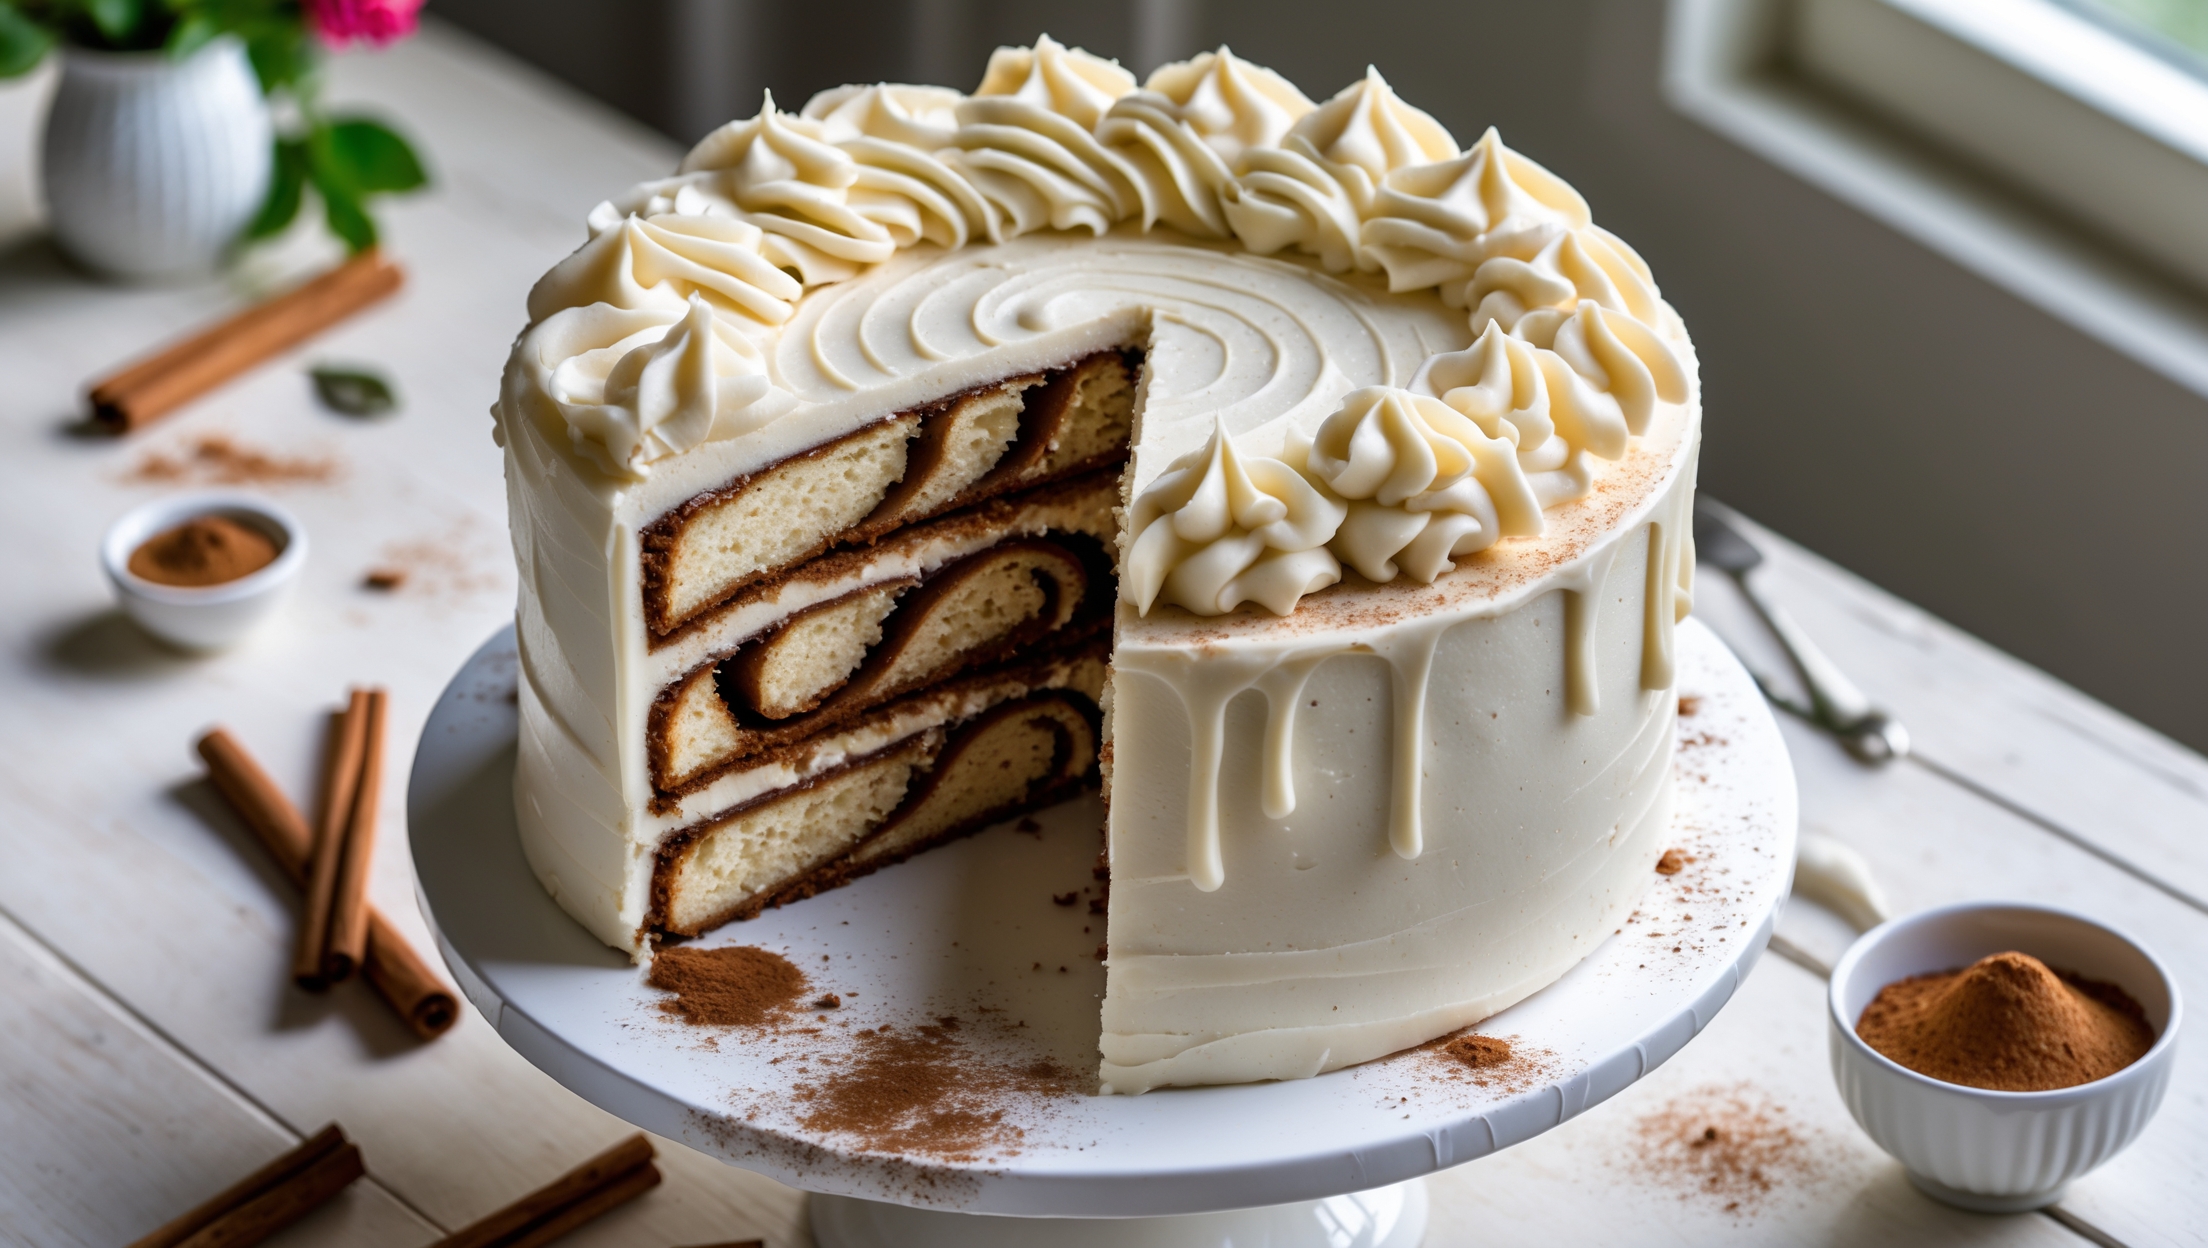
Directions
<ol class="no-list-style"><li class="MethodStepper"><h4 class="step-title">Step 1</h4>Preheat your oven to 175°C (350°F). Grease three 20cm (8-inch) round cake pans and line the bottoms with parchment paper. This ensures your cakes will release cleanly after baking.</li><li class="MethodStepper"><h4 class="step-title">Step 2</h4>Make the chocolate sponge: In a large bowl, whisk together flour, cocoa powder, sugar, baking powder, baking soda, and salt until well combined. The cocoa powder tends to clump, so be thorough in your whisking to ensure even distribution of leavening agents.</li><li class="MethodStepper"><h4 class="step-title">Step 3</h4>In another bowl, whisk buttermilk, oil, eggs, and vanilla until smooth. Pour the wet ingredients into the dry ingredients and mix on low speed until just combined. With the mixer running on low, slowly add the hot coffee (which enhances the chocolate flavor by blooming the cocoa). The batter will be quite thin – this is normal and creates a moist cake.</li><li class="MethodStepper"><h4 class="step-title">Step 4</h4>Divide the batter evenly between the prepared pans (about 500g per pan if you're weighing for precision). Bake for 30-35 minutes or until a toothpick inserted in the center comes out with a few moist crumbs. Allow to cool in pans for 10 minutes before turning out onto wire racks to cool completely.</li><li class="MethodStepper"><h4 class="step-title">Step 5</h4>While the cakes bake, prepare the cherry filling: In a medium saucepan, combine cherries, sugar, cornstarch, and lemon juice. Bring to a simmer over medium heat, stirring frequently. Cook until the mixture thickens significantly, about 5-8 minutes. Remove from heat and stir in the kirsch. Transfer to a bowl and refrigerate until completely cool. The filling will continue to thicken as it cools.</li><li class="MethodStepper"><h4 class="step-title">Step 6</h4>Make the syrup: Combine water and sugar in a small saucepan. Bring to a boil and stir until sugar dissolves completely. Remove from heat and stir in the kirsch. Let cool completely. This syrup not only adds flavor but keeps the cake layers beautifully moist.</li><li class="MethodStepper"><h4 class="step-title">Step 7</h4>For the stabilized whipped cream (if using gelatin): Sprinkle gelatin over cold water in a small bowl and let stand for 5 minutes to bloom. Microwave for 10 seconds or until gelatin dissolves and becomes clear. Allow to cool slightly but not set. In a large, chilled bowl, beat cream, powdered sugar, and vanilla until soft peaks form. Slowly drizzle in the cooled gelatin mixture while beating continuously until stiff peaks form. The gelatin stabilizes the cream so it won't weep or collapse.</li><li class="MethodStepper"><h4 class="step-title">Step 8</h4>If not using gelatin, simply whip the cream with powdered sugar and vanilla until stiff peaks form. Be careful not to overwhip, which can cause the cream to become grainy and eventually turn to butter.</li><li class="MethodStepper"><h4 class="step-title">Step 9</h4>Assembly: Level the tops of your cake layers with a serrated knife if needed. Place the first layer on your serving plate and brush generously with the kirsch syrup. Pipe a ring of whipped cream around the edge to create a dam (this prevents the cherry filling from leaking out). Fill the center with about half the cherry filling, spreading evenly.</li><li class="MethodStepper"><h4 class="step-title">Step 10</h4>Place the second cake layer on top and repeat the process with syrup, cream dam, and remaining cherry filling. Top with the final cake layer and brush with remaining syrup.</li><li class="MethodStepper"><h4 class="step-title">Step 11</h4>Frost the entire cake with the remaining whipped cream, creating a smooth finish on the sides and top. For the most professional look, apply a thin crumb coat first, chill for 20 minutes, then apply the final layer of frosting.</li><li class="MethodStepper"><h4 class="step-title">Step 12</h4>For decoration: Use a vegetable peeler to create chocolate shavings from the dark chocolate bar. Press chocolate shavings onto the sides of the cake and sprinkle some on top. Pipe 12 rosettes of cream around the top edge of the cake and top each with a fresh cherry.</li><li class="MethodStepper"><h4 class="step-title">Step 13</h4>Refrigerate the cake for at least 4 hours or overnight before serving. This resting time allows the flavors to meld and the cake to stabilize. For the best flavor, remove from the refrigerator about 30 minutes before serving. Your Black Forest Cake will keep well refrigerated for up to 3 days.</li></ol>