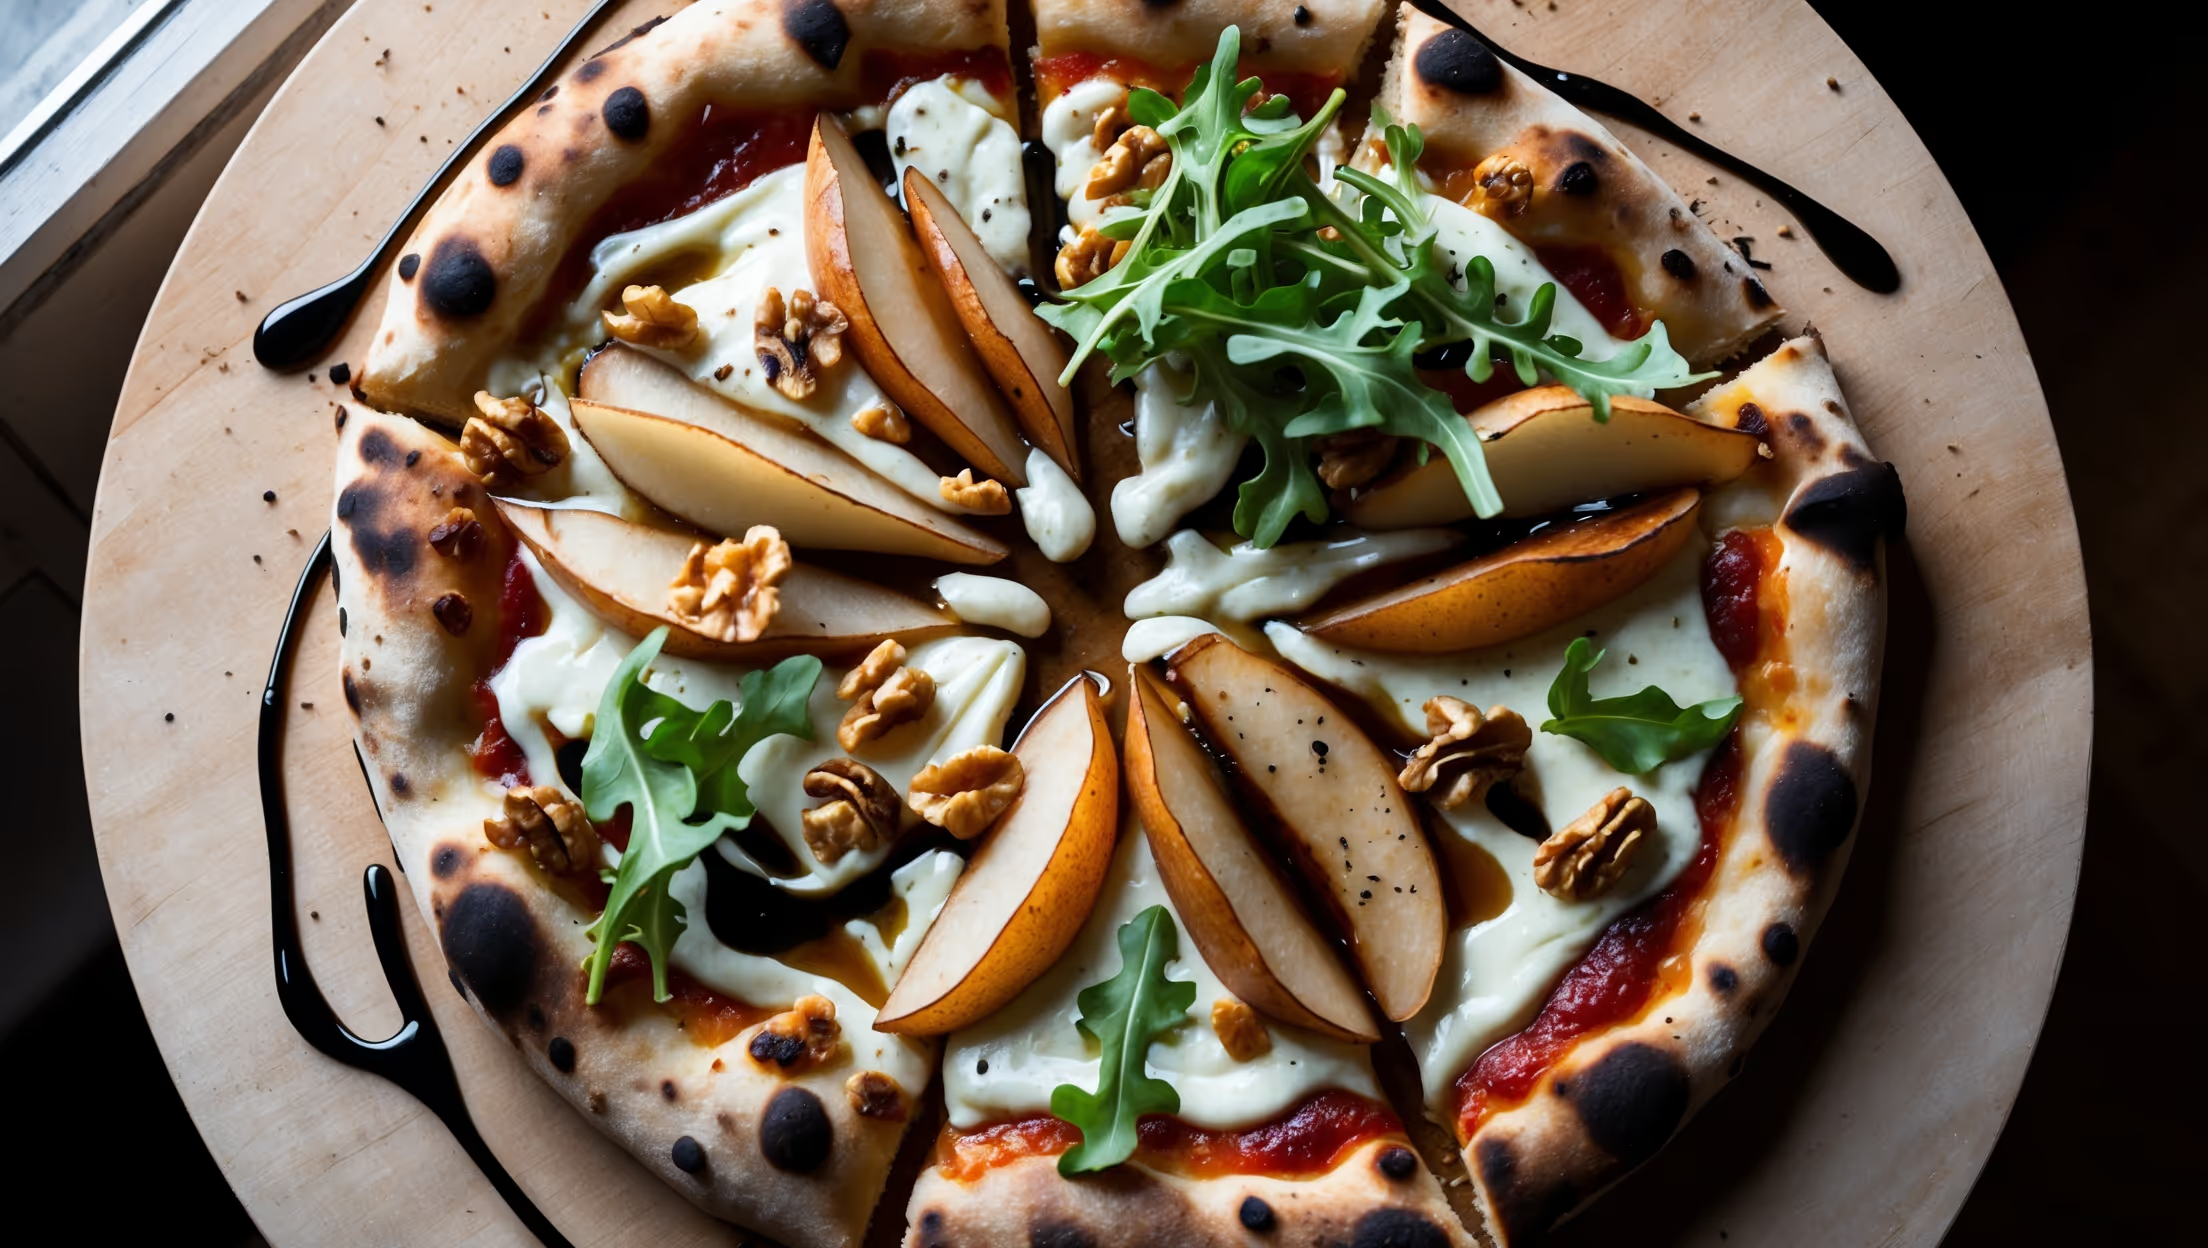
Directions
<ol class="no-list-style"><li class="MethodStepper"><h4 class="step-title">Step 1</h4>Start by making the dough. In a large bowl, mix the flour, yeast, and salt, keeping the salt and yeast on opposite sides initially (salt can inhibit yeast activity if they directly contact). Make a well in the center and pour in the lukewarm water and olive oil. Mix everything together with a wooden spoon until it forms a rough dough, then turn out onto a lightly floured surface.</li><li class="MethodStepper"><h4 class="step-title">Step 2</h4>Knead the dough vigorously for 10-12 minutes until smooth and elastic. The dough should spring back when poked gently with your finger. This extended kneading develops the gluten structure essential for a chewy yet light pizza base. If using a stand mixer, mix with the dough hook on medium-low speed for 8 minutes instead.</li><li class="MethodStepper"><h4 class="step-title">Step 3</h4>Place the dough in a lightly oiled bowl, cover with a damp cloth or plastic wrap, and leave to rise in a warm place for 1-2 hours, or until doubled in size. The slow rise develops better flavor in your dough, so don't rush this step.</li><li class="MethodStepper"><h4 class="step-title">Step 4</h4>While the dough rises, prepare your tomato sauce. Heat the olive oil in a saucepan over medium heat and add the minced garlic. Sauté for 30 seconds until fragrant but not browned. Add the canned tomatoes, tomato puree, oregano, salt, and sugar. Simmer gently for 15-20 minutes until thickened, stirring occasionally. The sauce should coat the back of a spoon when ready. Allow to cool completely before using.</li><li class="MethodStepper"><h4 class="step-title">Step 5</h4>Place your pizza stone or heavy baking sheet in the oven and preheat to the highest temperature possible (usually 240-275°C/465-525°F). The extremely hot surface will help create a crisp base and is crucial for achieving professional results.</li><li class="MethodStepper"><h4 class="step-title">Step 6</h4>Once the dough has doubled in size, knock it back by punching it down gently to release air bubbles, then divide in half. On a lightly floured surface, shape each portion into a ball and let rest for 15 minutes, covered. This rest period allows the gluten to relax, making the dough easier to stretch.</li><li class="MethodStepper"><h4 class="step-title">Step 7</h4>Take one dough ball and gently stretch it using your hands into a circle about 25-30cm in diameter. Avoid using a rolling pin as this compresses the dough and removes air bubbles that create a light texture. Work from the center outward, rotating the dough and gently stretching, allowing gravity to help. The edge should be slightly thicker than the center.</li><li class="MethodStepper"><h4 class="step-title">Step 8</h4>Dust your pizza peel or an upturned baking sheet with a little semolina or flour. Transfer your stretched dough onto it, making sure it can slide freely. Working quickly, spread a thin layer of tomato sauce over the dough, leaving a 1cm border for the crust. Sprinkle half the vegan cheese, then arrange half the vegetables on top. The key is not to overload the pizza, as too many toppings will make the base soggy.</li><li class="MethodStepper"><h4 class="step-title">Step 9</h4>Carefully slide the pizza onto the preheated stone or baking sheet in the oven. Bake for 8-10 minutes until the crust is golden brown and the cheese has melted. Vegan cheese behaves differently from dairy cheese - it may not bubble in the same way, but should become soft and slightly stretchy.</li><li class="MethodStepper"><h4 class="step-title">Step 10</h4>Remove from the oven and immediately sprinkle with fresh basil leaves, a drizzle of olive oil, and nutritional yeast if using. The heat will release the aromatic oils in the basil. Let rest for 2 minutes before slicing to allow the cheese to set slightly. Repeat the process with the second portion of dough and remaining toppings.</li></ol>