Banoffee Pie Recipe
Ingredients
Equipment
Directions
FAQs
Find answers to your most pressing questions about this delicious recipe right here.
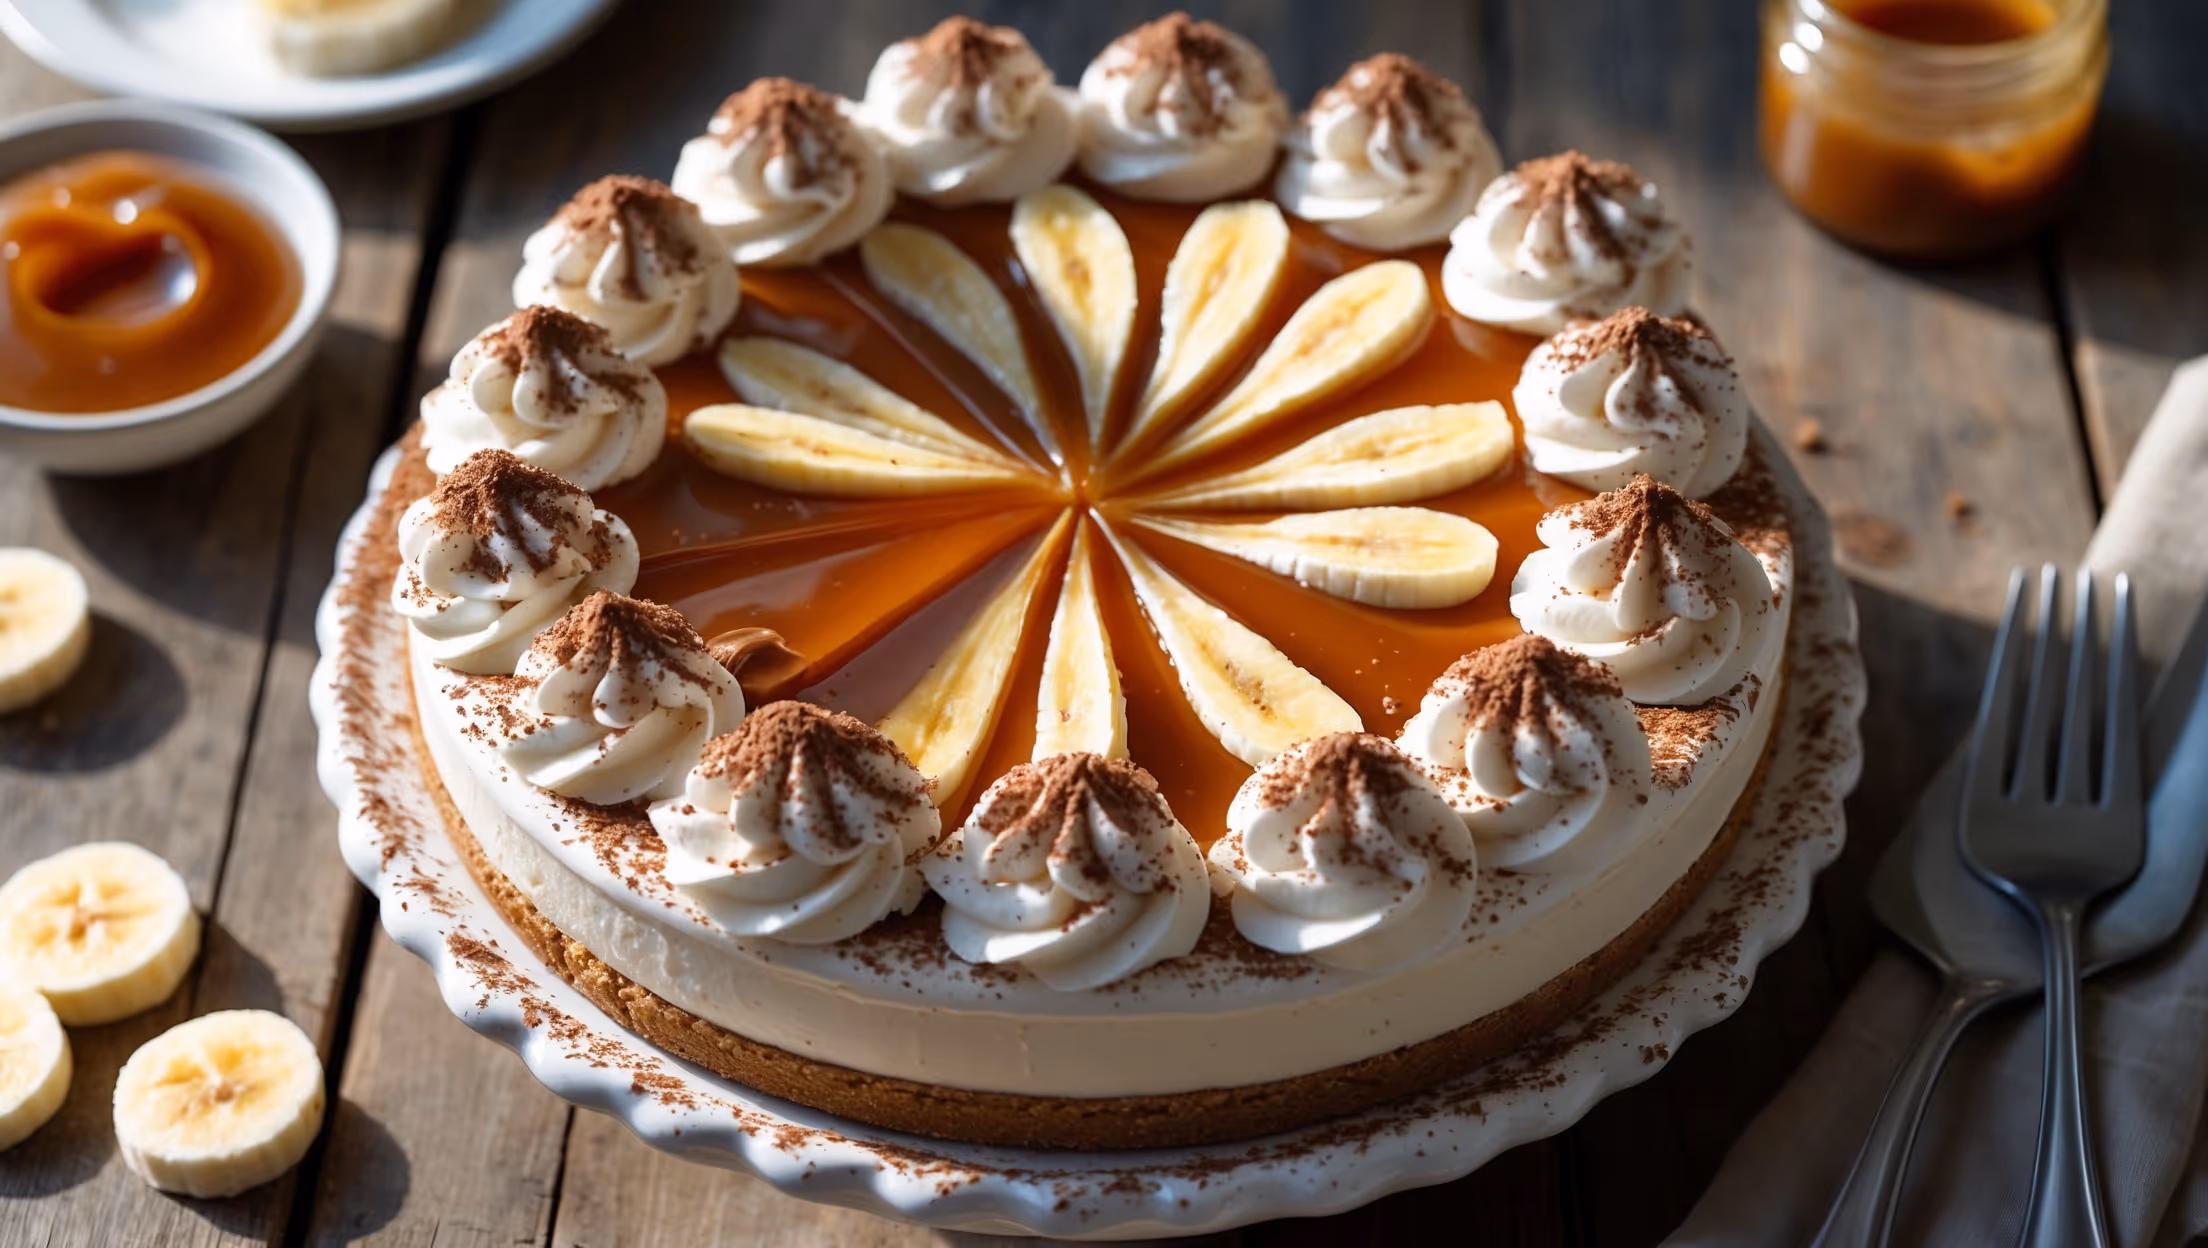
Banoffee Pie requires digestive biscuits, butter, dark brown sugar, condensed milk, sea salt, ripe bananas, double cream, icing sugar, vanilla extract, and cocoa powder or grated dark chocolate. These simple ingredients create distinct layers of buttery biscuit base, caramel toffee, fresh bananas, and whipped cream.
Learn how to cook Banoffee Pie Recipe by creating a crushed biscuit base, making homemade caramel with butter, brown sugar and condensed milk, layering with fresh bananas, and topping with vanilla-infused whipped cream. The beauty of this dessert is that it requires minimal actual cooking - just the caramel needs heating while the rest is assembly!
To prevent burning caramel, use a heavy-bottomed saucepan, maintain low heat, and stir continuously. The key is melting the butter and sugar completely before adding condensed milk. Watch for a golden colour change (5-7 minutes) rather than timing it precisely, and remove from heat immediately once thickened.
You can make the biscuit base and caramel layer up to 48 hours ahead and refrigerate. However, only add bananas and cream up to 24 hours before serving, as bananas will gradually soften and discolour. For best results, complete the final assembly 2-3 hours before serving.
Traditional toffee sauce (made by cooking butter, sugar and condensed milk) creates a richer, more buttery caramel layer with complex flavours. Dulce de leche (boiled condensed milk) offers a simpler, one-ingredient alternative that's lighter in colour and texture. Both work beautifully, though toffee is more authentic.
Fruit Pies
Try following recommended recipes


