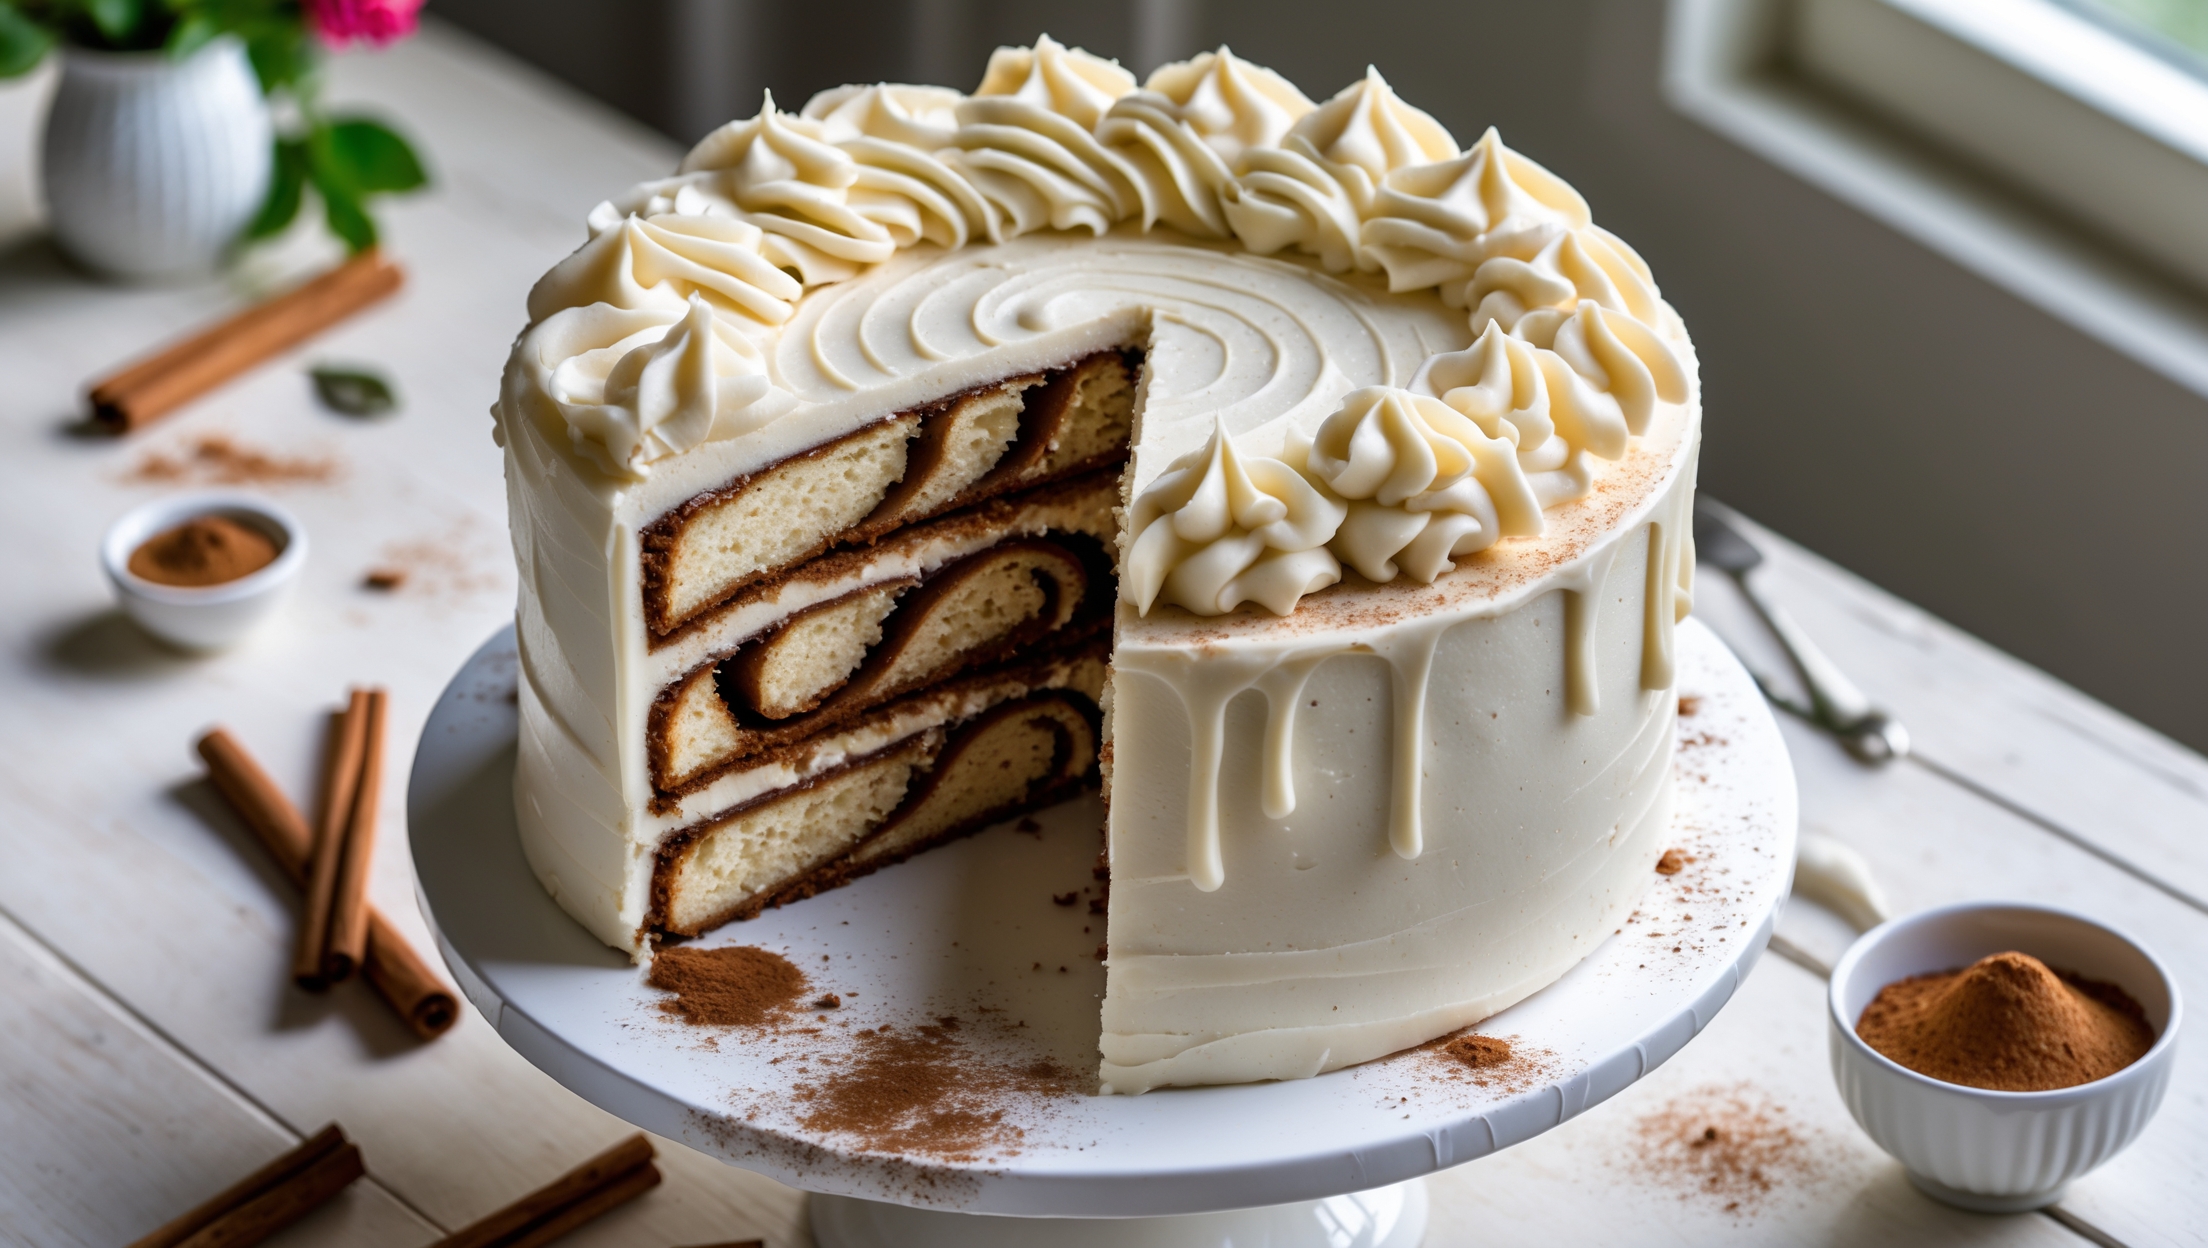
Directions
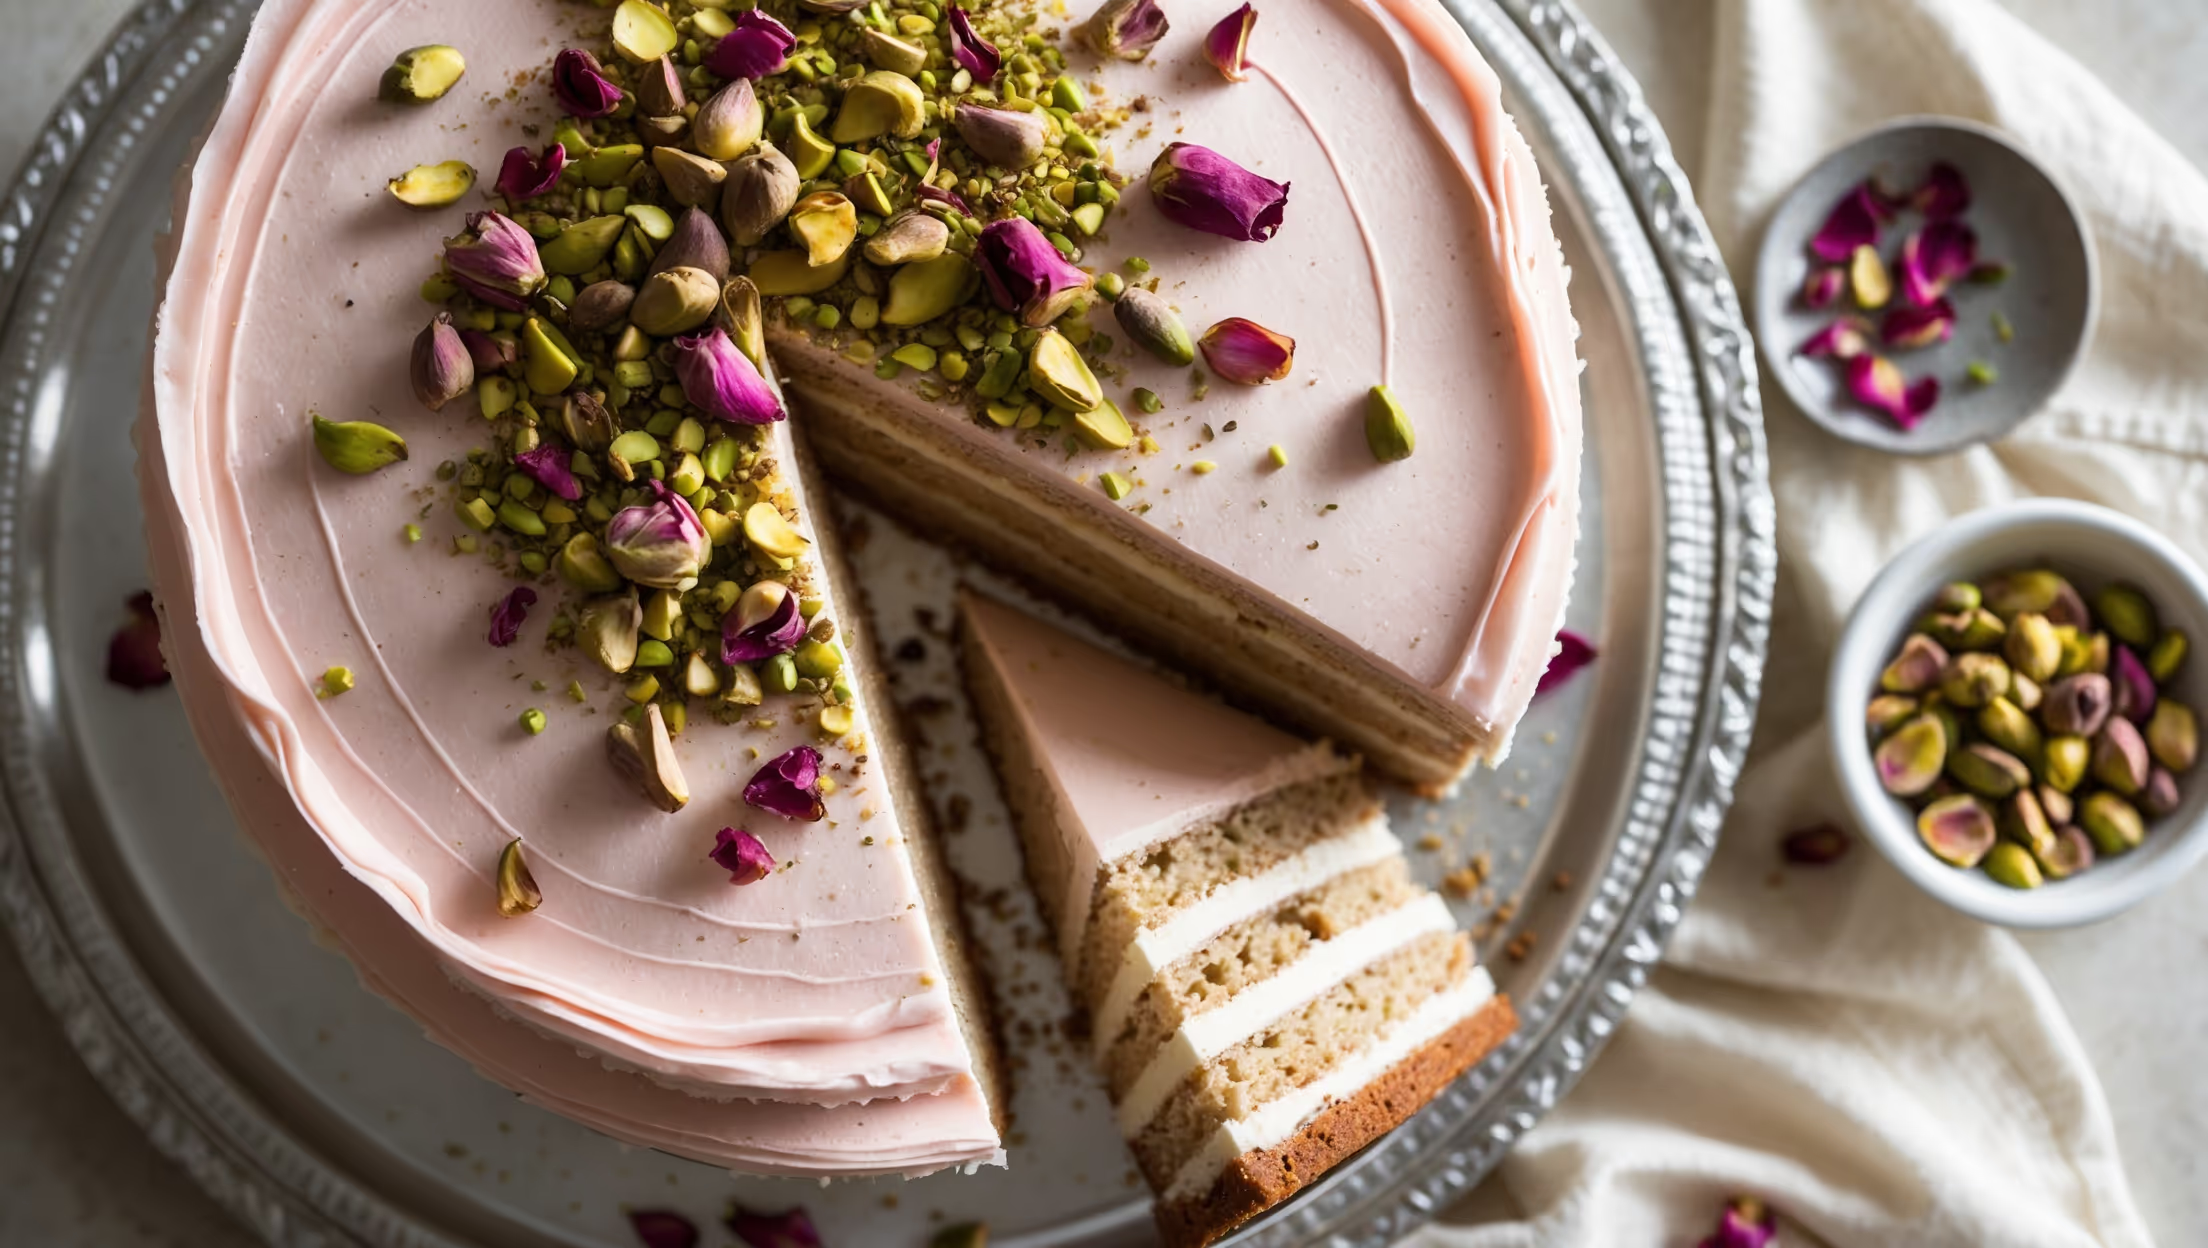
<ol class="no-list-style"><li class="MethodStepper"><h4 class="step-title">Step 1</h4>Preheat your oven to 180°C. Grease three 20cm round cake pans, line the bottoms with parchment paper, and grease the paper. This double insurance ensures your cakes will release perfectly without sticking.</li><li class="MethodStepper"><h4 class="step-title">Step 2</h4>In a medium bowl, whisk together the flour, baking powder, baking soda, salt, and cinnamon. Set aside. This pre-mixing of dry ingredients ensures they'll distribute evenly throughout the batter, preventing pockets of leavening agents.</li><li class="MethodStepper"><h4 class="step-title">Step 3</h4>In a large bowl, mash the ripe bananas until smooth but with some small chunks remaining for texture. The riper your bananas (with plenty of brown spots), the more pronounced the banana flavor will be in your finished cake.</li><li class="MethodStepper"><h4 class="step-title">Step 4</h4>In the bowl of your stand mixer fitted with the paddle attachment, cream together the butter and sugar on medium-high speed for 4-5 minutes until light and fluffy. This extended creaming creates tiny air pockets that will expand during baking, giving your cake exceptional lightness.</li><li class="MethodStepper"><h4 class="step-title">Step 5</h4>Add the eggs one at a time, beating well after each addition, then mix in the vanilla extract. Be patient here - proper incorporation of each egg provides structure to your cake.</li><li class="MethodStepper"><h4 class="step-title">Step 6</h4>On low speed, add the flour mixture in three additions, alternating with the buttermilk, beginning and ending with the flour mixture. Mix just until combined after each addition. This alternating method prevents gluten from developing too much, which would make your cake tough.</li><li class="MethodStepper"><h4 class="step-title">Step 7</h4>Fold in the mashed bananas with a rubber spatula until just incorporated. The batter may look slightly curdled - this is normal and will bake up beautifully.</li><li class="MethodStepper"><h4 class="step-title">Step 8</h4>Divide the batter evenly between the prepared pans, smoothing the tops with an offset spatula. Tap each pan gently on the counter a few times to release any air bubbles.</li><li class="MethodStepper"><h4 class="step-title">Step 9</h4>Bake for 25-30 minutes or until a toothpick inserted in the center comes out clean and the cakes spring back when lightly touched. The cakes should be golden brown and just starting to pull away from the sides of the pans.</li><li class="MethodStepper"><h4 class="step-title">Step 10</h4>Allow the cakes to cool in the pans for 10 minutes, then turn out onto wire racks to cool completely. Remove the parchment paper carefully.</li><li class="MethodStepper"><h4 class="step-title">Step 11</h4>While the cakes cool, prepare the vanilla custard filling. In a medium saucepan, heat the milk and vanilla bean pod and seeds (or extract) until just below simmering point, showing small bubbles around the edge.</li><li class="MethodStepper"><h4 class="step-title">Step 12</h4>In a mixing bowl, whisk together the sugar, cornstarch, and egg yolks until pale yellow and thickened. This mixture will be quite thick - that's normal.</li><li class="MethodStepper"><h4 class="step-title">Step 13</h4>Slowly pour about half of the hot milk into the egg mixture, whisking constantly to prevent the eggs from cooking. This gradual temperature increase is called "tempering" and ensures a smooth custard rather than scrambled eggs.</li><li class="MethodStepper"><h4 class="step-title">Step 14</h4>Pour the tempered egg mixture back into the saucepan with the remaining milk and cook over medium heat, whisking constantly, until the mixture thickens and comes to a gentle boil. Continue cooking for 1-2 minutes more.</li><li class="MethodStepper"><h4 class="step-title">Step 15</h4>Remove from heat and stir in the butter until melted. If using a vanilla bean, remove the pod. Strain the custard through a fine-mesh sieve into a bowl to remove any lumps.</li><li class="MethodStepper"><h4 class="step-title">Step 16</h4>Press plastic wrap directly onto the surface of the custard to prevent a skin from forming. Refrigerate until completely cold, at least 2 hours or overnight.</li><li class="MethodStepper"><h4 class="step-title">Step 17</h4>For the cream cheese frosting, beat the cream cheese and butter in a large bowl using an electric mixer until smooth and creamy, about 2-3 minutes. Gradually add the sifted powdered sugar, mixing on low speed until incorporated, then increase to medium-high and beat until light and fluffy. Mix in the vanilla extract and salt.</li><li class="MethodStepper"><h4 class="step-title">Step 18</h4>To assemble the cake, place one cake layer on a serving plate or cake stand. If the cakes have domed tops, use a serrated knife to level them first for a professional finish.</li><li class="MethodStepper"><h4 class="step-title">Step 19</h4>Spread half of the chilled custard filling over the first layer, leaving a 1cm border around the edge (the weight of the next layer will push the filling outward). Place the second cake layer on top and spread with the remaining custard filling.</li><li class="MethodStepper"><h4 class="step-title">Step 20</h4>Top with the third cake layer. Apply a thin layer of cream cheese frosting all over the cake as a crumb coat. This initial thin layer seals in crumbs and provides a smooth base for the final frosting. Refrigerate for 20-30 minutes to set.</li><li class="MethodStepper"><h4 class="step-title">Step 21</h4>Apply the remaining frosting to the chilled cake, using an offset spatula to create your desired finish - smooth, textured, or with decorative swirls. If the frosting becomes too soft while working, refrigerate briefly to firm up.</li><li class="MethodStepper"><h4 class="step-title">Step 22</h4>For the best flavor and texture, let the cake sit at room temperature for 20-30 minutes before serving. Store any leftovers in the refrigerator for up to 3 days, but always serve at room temperature for the most luxurious mouthfeel and full banana flavor.</li></ol>