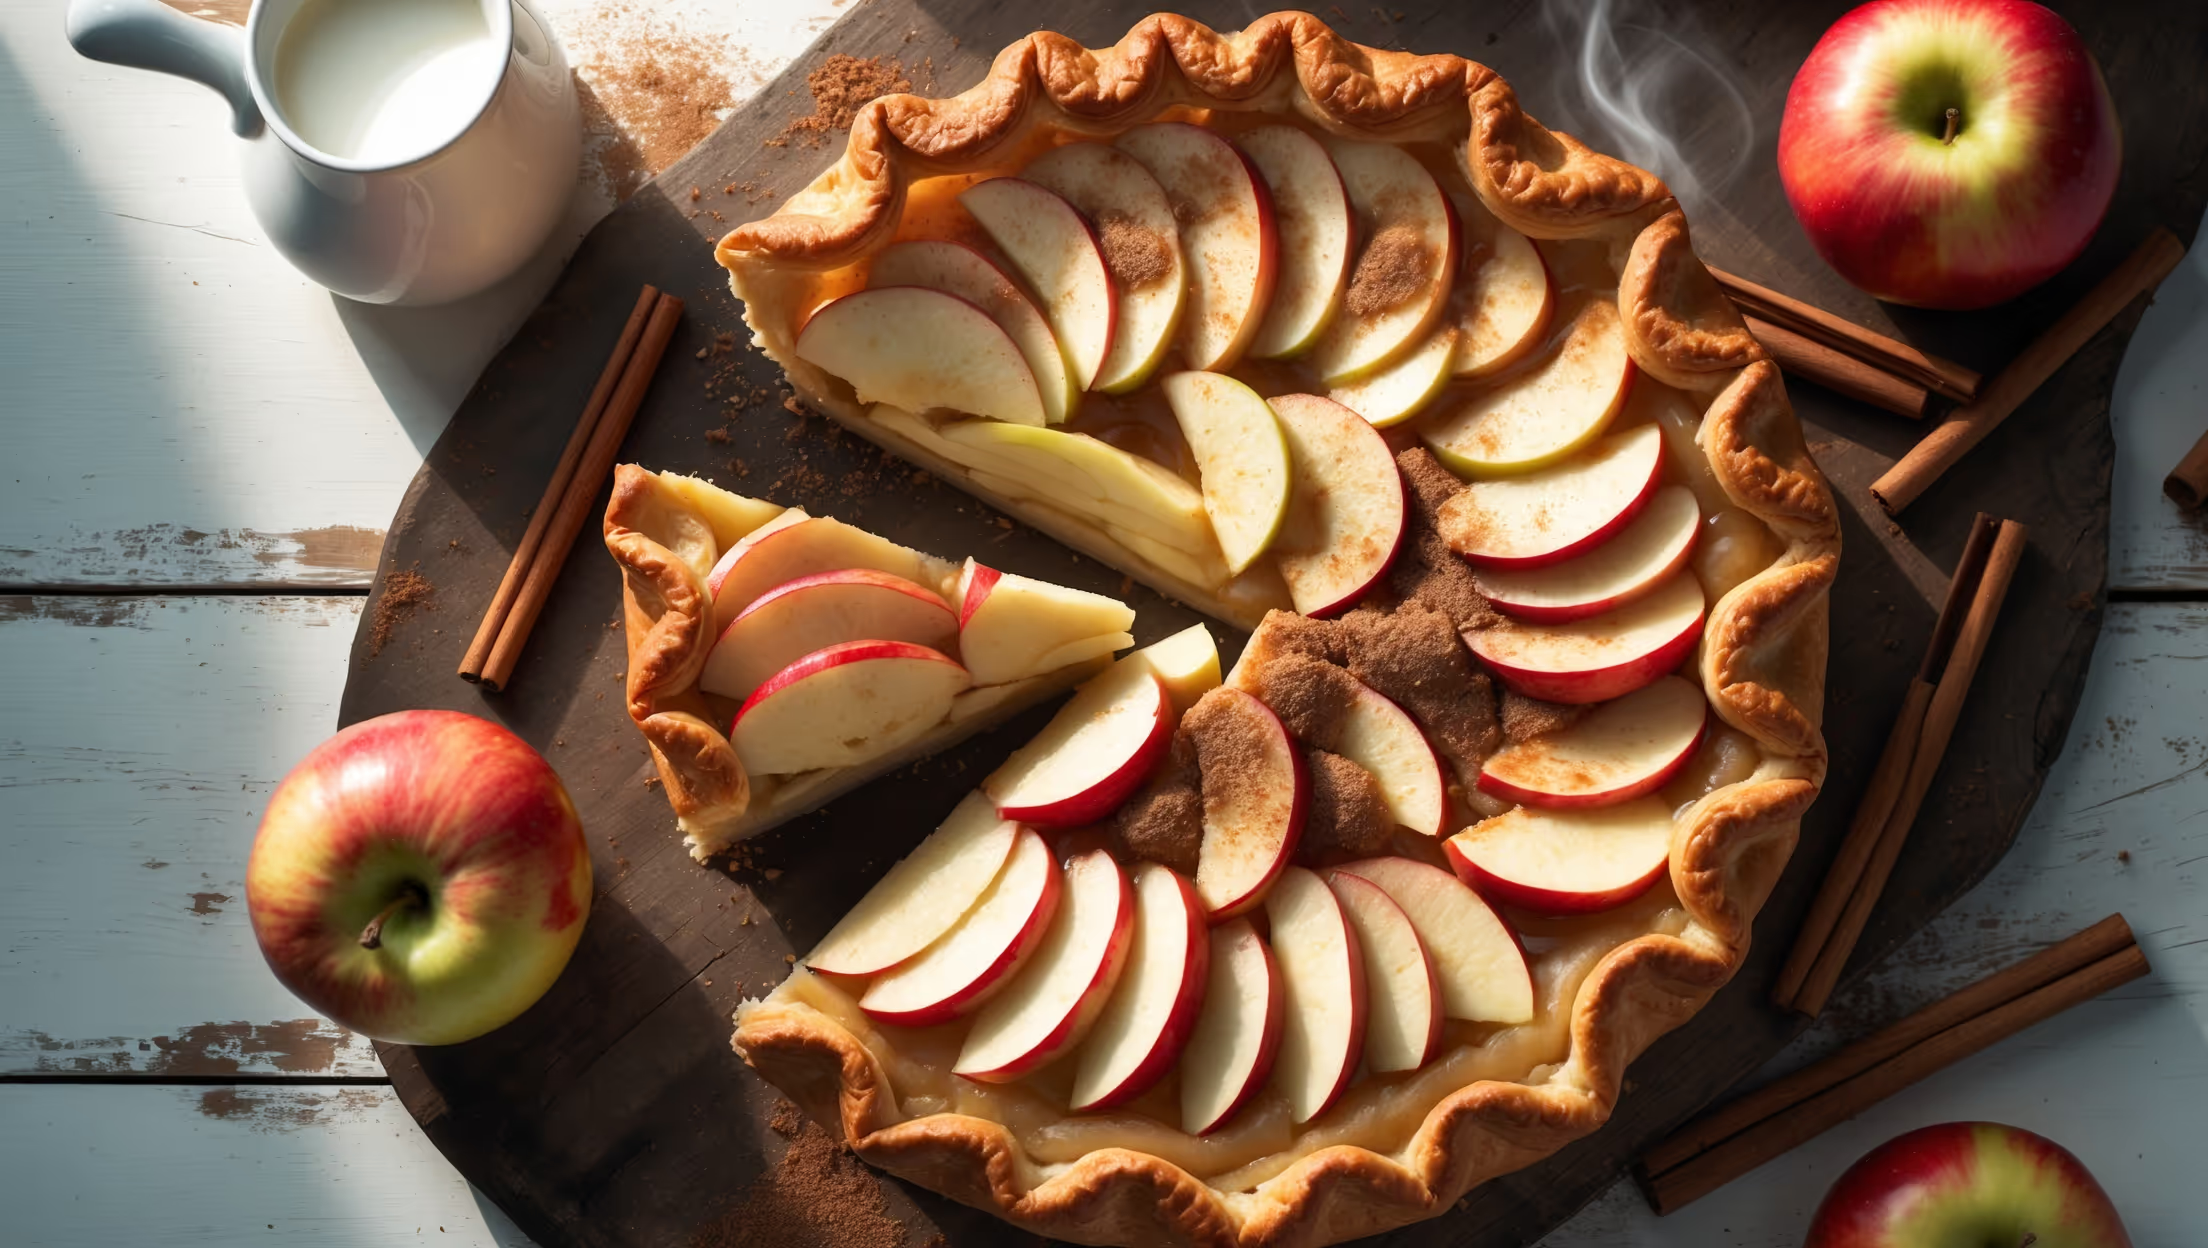
Directions
<ol class="no-list-style"><li class="MethodStepper"><h4 class="step-title">Step 1</h4>To make the crust, combine flour, sugar, and salt in a large bowl. Add the cold cubed butter and use your fingertips to rub it into the flour until the mixture resembles coarse breadcrumbs with some pea-sized pieces remaining. These butter pieces are crucial for creating flaky layers in your crust.</li><li class="MethodStepper"><h4 class="step-title">Step 2</h4>Mix the ice water and apple cider vinegar together. The vinegar helps to inhibit gluten development, ensuring a tender crust. Drizzle this mixture one tablespoon at a time over the flour mixture, gently stirring with a fork until the dough starts to come together. You may not need all the liquid.</li><li class="MethodStepper"><h4 class="step-title">Step 3</h4>Form the dough into a disc, wrap in plastic wrap, and refrigerate for at least 1 hour or up to 2 days. Cold dough is easier to roll and helps prevent shrinkage during baking.</li><li class="MethodStepper"><h4 class="step-title">Step 4</h4>While the dough chills, prepare the apple filling. In a large bowl, toss the sliced apples with lemon juice, sugar, cinnamon, nutmeg, and salt. Let them sit for 30 minutes to release some of their juices. This pre-maceration helps prevent a soggy pie bottom.</li><li class="MethodStepper"><h4 class="step-title">Step 5</h4>Preheat your oven to 190°C (375°F) and place a baking sheet on the middle rack to heat up. This will help cook the bottom crust properly.</li><li class="MethodStepper"><h4 class="step-title">Step 6</h4>On a lightly floured surface, roll out the chilled dough to a 30cm (12-inch) circle about 3mm (⅛-inch) thick. Carefully transfer it to your pie dish, gently pressing it into the corners without stretching (stretching causes shrinkage). Trim the excess dough, leaving about 1cm overhang, then fold it under and crimp the edges decoratively.</li><li class="MethodStepper"><h4 class="step-title">Step 7</h4>Use a fork to prick the bottom of the crust all over (this is called docking and prevents bubbles). Line the crust with foil or parchment paper and fill with baking beans or pie weights. Blind bake for 15 minutes, then remove the weights and foil and bake for another 5-7 minutes until the crust begins to dry out but hasn't browned. This partial bake ensures your crust won't get soggy from the custard.</li><li class="MethodStepper"><h4 class="step-title">Step 8</h4>While the crust is blind baking, drain the macerated apples thoroughly, reserving 2 tablespoons of the juice for the custard. Discard the rest of the liquid.</li><li class="MethodStepper"><h4 class="step-title">Step 9</h4>For the custard, whisk together eggs, heavy cream, milk, sugar, vanilla extract, salt, and the reserved 2 tablespoons of apple juice until smooth and well combined. Don't overwhisk or you'll incorporate too much air, leading to bubbles in your custard.</li><li class="MethodStepper"><h4 class="step-title">Step 10</h4>When the crust has finished its partial bake, reduce the oven temperature to 170°C (340°F). Arrange the drained apple slices in a neat pattern in the pie crust. For the most attractive presentation, slightly overlap them in circular layers starting from the outside and working inward.</li><li class="MethodStepper"><h4 class="step-title">Step 11</h4>Slowly pour the custard mixture over the arranged apples, allowing it to settle between the slices. Fill until the custard reaches just below the crimped edge - you might not use all the custard depending on how tightly packed your apples are.</li><li class="MethodStepper"><h4 class="step-title">Step 12</h4>Brush the exposed crust edges with beaten egg wash and sprinkle with demerara sugar for a beautiful shine and extra crunch.</li><li class="MethodStepper"><h4 class="step-title">Step 13</h4>Carefully place the pie on the preheated baking sheet in the oven. Bake for 40-45 minutes until the custard is just set with a slight wobble in the center (it will continue to set as it cools) and the crust is golden brown. If the edges are browning too quickly, shield them with strips of aluminum foil.</li><li class="MethodStepper"><h4 class="step-title">Step 14</h4>When done, the custard should reach an internal temperature of about 75°C (170°F) and will have a very slight wobble in the center, like set gelatin. Remove from the oven and cool on a wire rack for at least 2 hours before slicing. This rest time is crucial for the custard to fully set.</li><li class="MethodStepper"><h4 class="step-title">Step 15</h4>Serve at room temperature or slightly warm. The pie will keep, covered in the refrigerator, for up to 3 days. For the best texture, allow refrigerated slices to come to room temperature before serving.</li></ol>