Walnut Danish Recipe
Ingredients
Equipment
Directions
FAQs
Find answers to your most pressing questions about this delicious recipe right here.
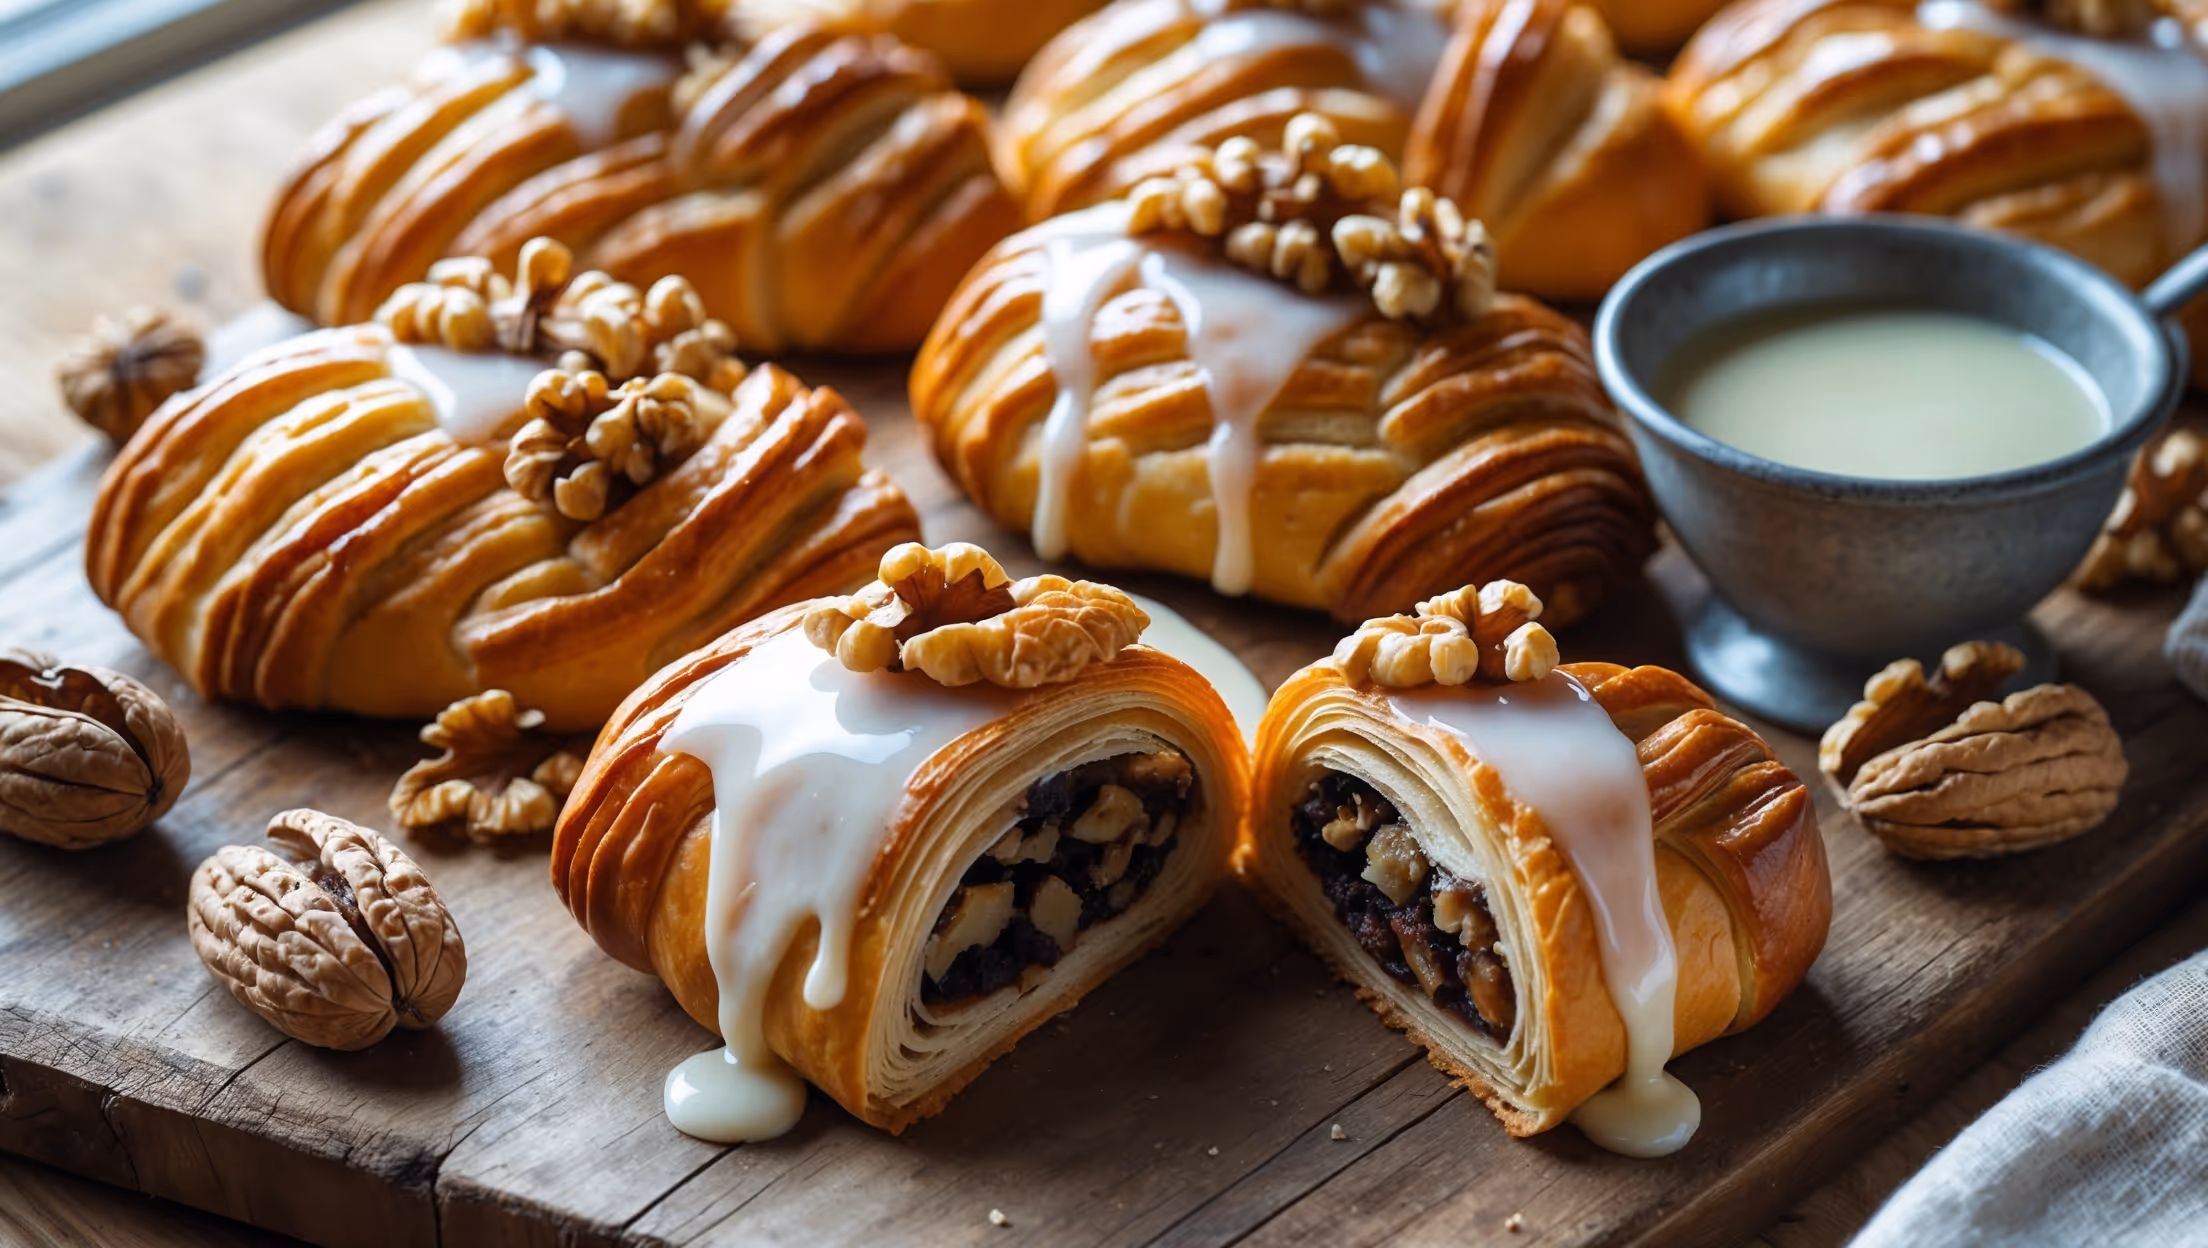
The main ingredients include all-purpose flour, yeast, sugar, salt, milk, egg, vanilla extract, butter for lamination, walnuts, brown sugar, honey, cinnamon, and ingredients for egg wash and vanilla glaze. The combination creates buttery, flaky pastries with rich walnut filling.
Learn how to cook Walnut Danish Recipe by creating a laminated dough through multiple folding processes, preparing a sweet walnut filling, shaping the pastries, and baking until golden brown. The key is keeping the butter cold throughout the lamination process and allowing proper rising time before baking at 190°C for 18-20 minutes.
Yes, laminated dough can be prepared up to 24 hours in advance and kept refrigerated. You can even freeze it for up to a month - simply wrap it tightly in plastic wrap and thaw overnight in the refrigerator before rolling and shaping your pastries.
The secret lies in proper lamination technique - keeping butter cold throughout the process, performing multiple letter folds with sufficient chilling between each, maintaining even pressure when rolling, and ensuring your oven is properly preheated to create steam that separates the layers.
Danish pastry dough is versatile - create pinwheels by cutting slits in corners and folding alternate corners to center, form twists by twisting strips of dough, make pockets by folding edges over filling, or shape crescents by rolling triangles from base to tip. Each shape works beautifully with walnut filling.
Danish Pastry
Try following recommended recipes


