Directions
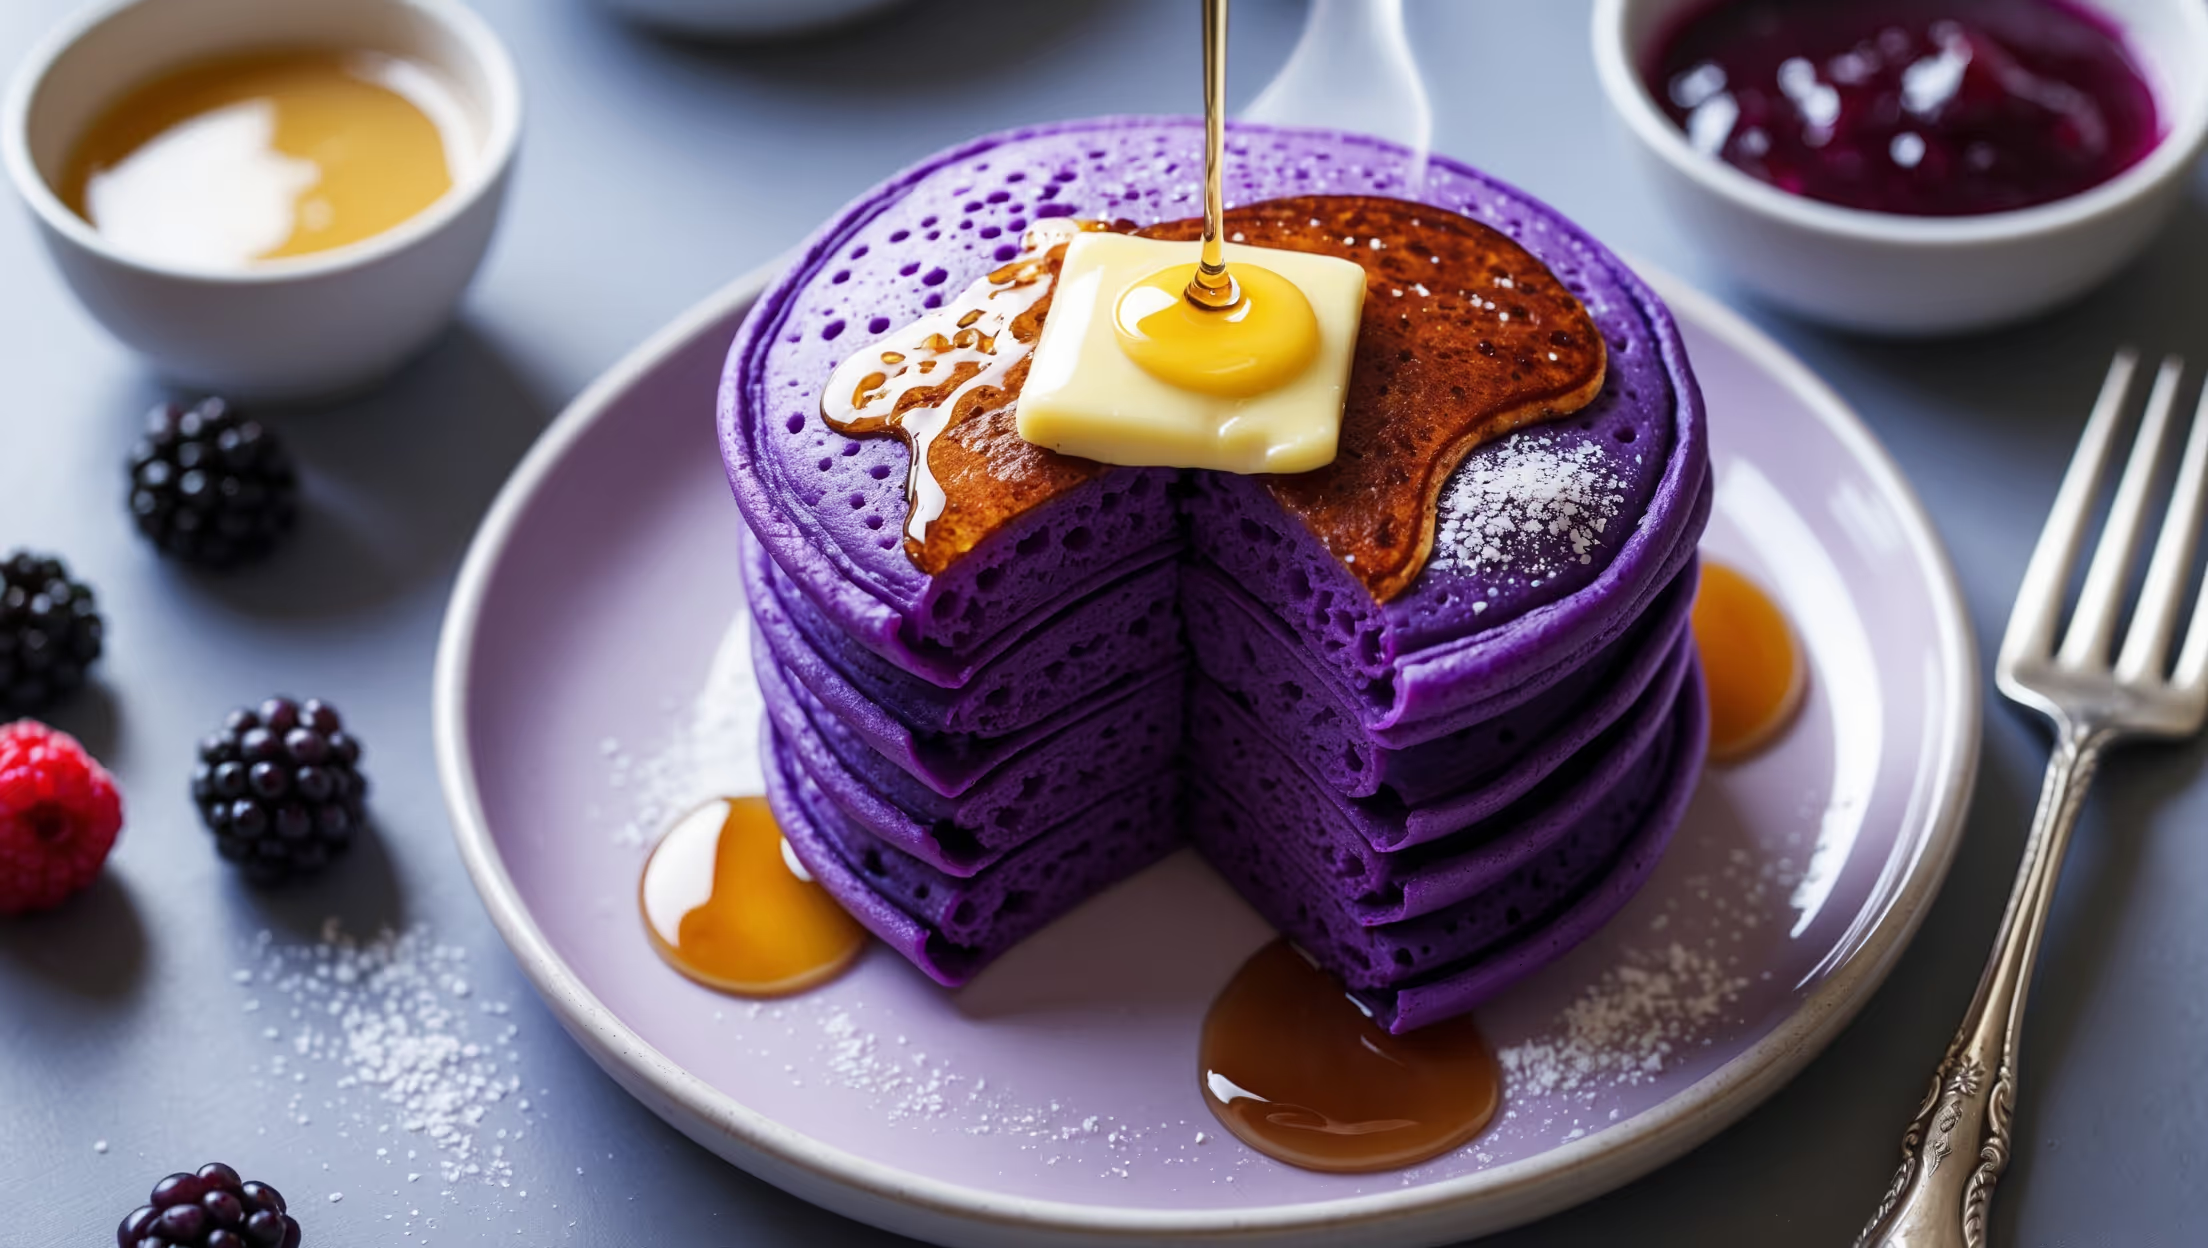
<ol class="no-list-style"> <li class="MethodStepper"> <h4 class="step-title">Step 1</h4> In a large bowl, whisk together the glutinous rice flour, all-purpose flour, sugar, baking powder, and salt until well combined. The all-purpose flour helps balance the extreme stickiness of the glutinous rice flour while still maintaining that signature mochi chew. </li> <li class="MethodStepper"> <h4 class="step-title">Step 2</h4> In a separate bowl, whisk the milk, egg, melted butter, and vanilla extract until smooth. Then add the ube halaya or ube extract and mix until the vibrant purple color is evenly distributed. The fat in the milk and butter will help tenderize the mochi texture. </li> <li class="MethodStepper"> <h4 class="step-title">Step 3</h4> Pour the wet ingredients into the dry ingredients and gently fold together using a silicone spatula until just combined. The batter will be thick and slightly sticky – this is exactly what you want! Avoid overmixing as this can make your pancakes tough. Let the batter rest for 10 minutes to allow the glutinous rice flour to hydrate properly. </li> <li class="MethodStepper"> <h4 class="step-title">Step 4</h4> Heat a non-stick frying pan or griddle over medium-low heat. Mochi pancakes need a lower cooking temperature than regular pancakes to ensure they cook through without burning. Brush with a small amount of butter. </li> <li class="MethodStepper"> <h4 class="step-title">Step 5</h4> Using an ice cream scoop or ¼ cup measure, portion the batter onto the heated pan. The batter will be thick and won't spread much on its own, so use the back of your scoop to gently flatten it into a circle about 8-10cm in diameter. </li> <li class="MethodStepper"> <h4 class="step-title">Step 6</h4> Cook the pancakes for 2-3 minutes until bubbles form on the surface and the edges look set. You'll notice the vibrant purple color will deepen slightly as it cooks. Carefully flip and cook for another 2-3 minutes until both sides are golden brown and the center feels springy when lightly pressed. </li> <li class="MethodStepper"> <h4 class="step-title">Step 7</h4> Transfer cooked pancakes to a plate and cover with a clean kitchen towel to keep warm while you cook the remaining batter. These pancakes have the signature chewy mochi texture when warm, so it's best to serve them immediately. </li> <li class="MethodStepper"> <h4 class="step-title">Step 8</h4> Serve your ube mochi pancakes warm with your choice of toppings. Traditional accompaniments include maple syrup, but they're also delicious with whipped cream, fresh fruit, or a sprinkle of coconut flakes to complement the ube flavor. For an extra touch of indulgence, add a small dab of additional ube halaya between layers. </li> </ol>