Strawberry Danish Recipe
Ingredients
Equipment
Directions
FAQs
Find answers to your most pressing questions about this delicious recipe right here.
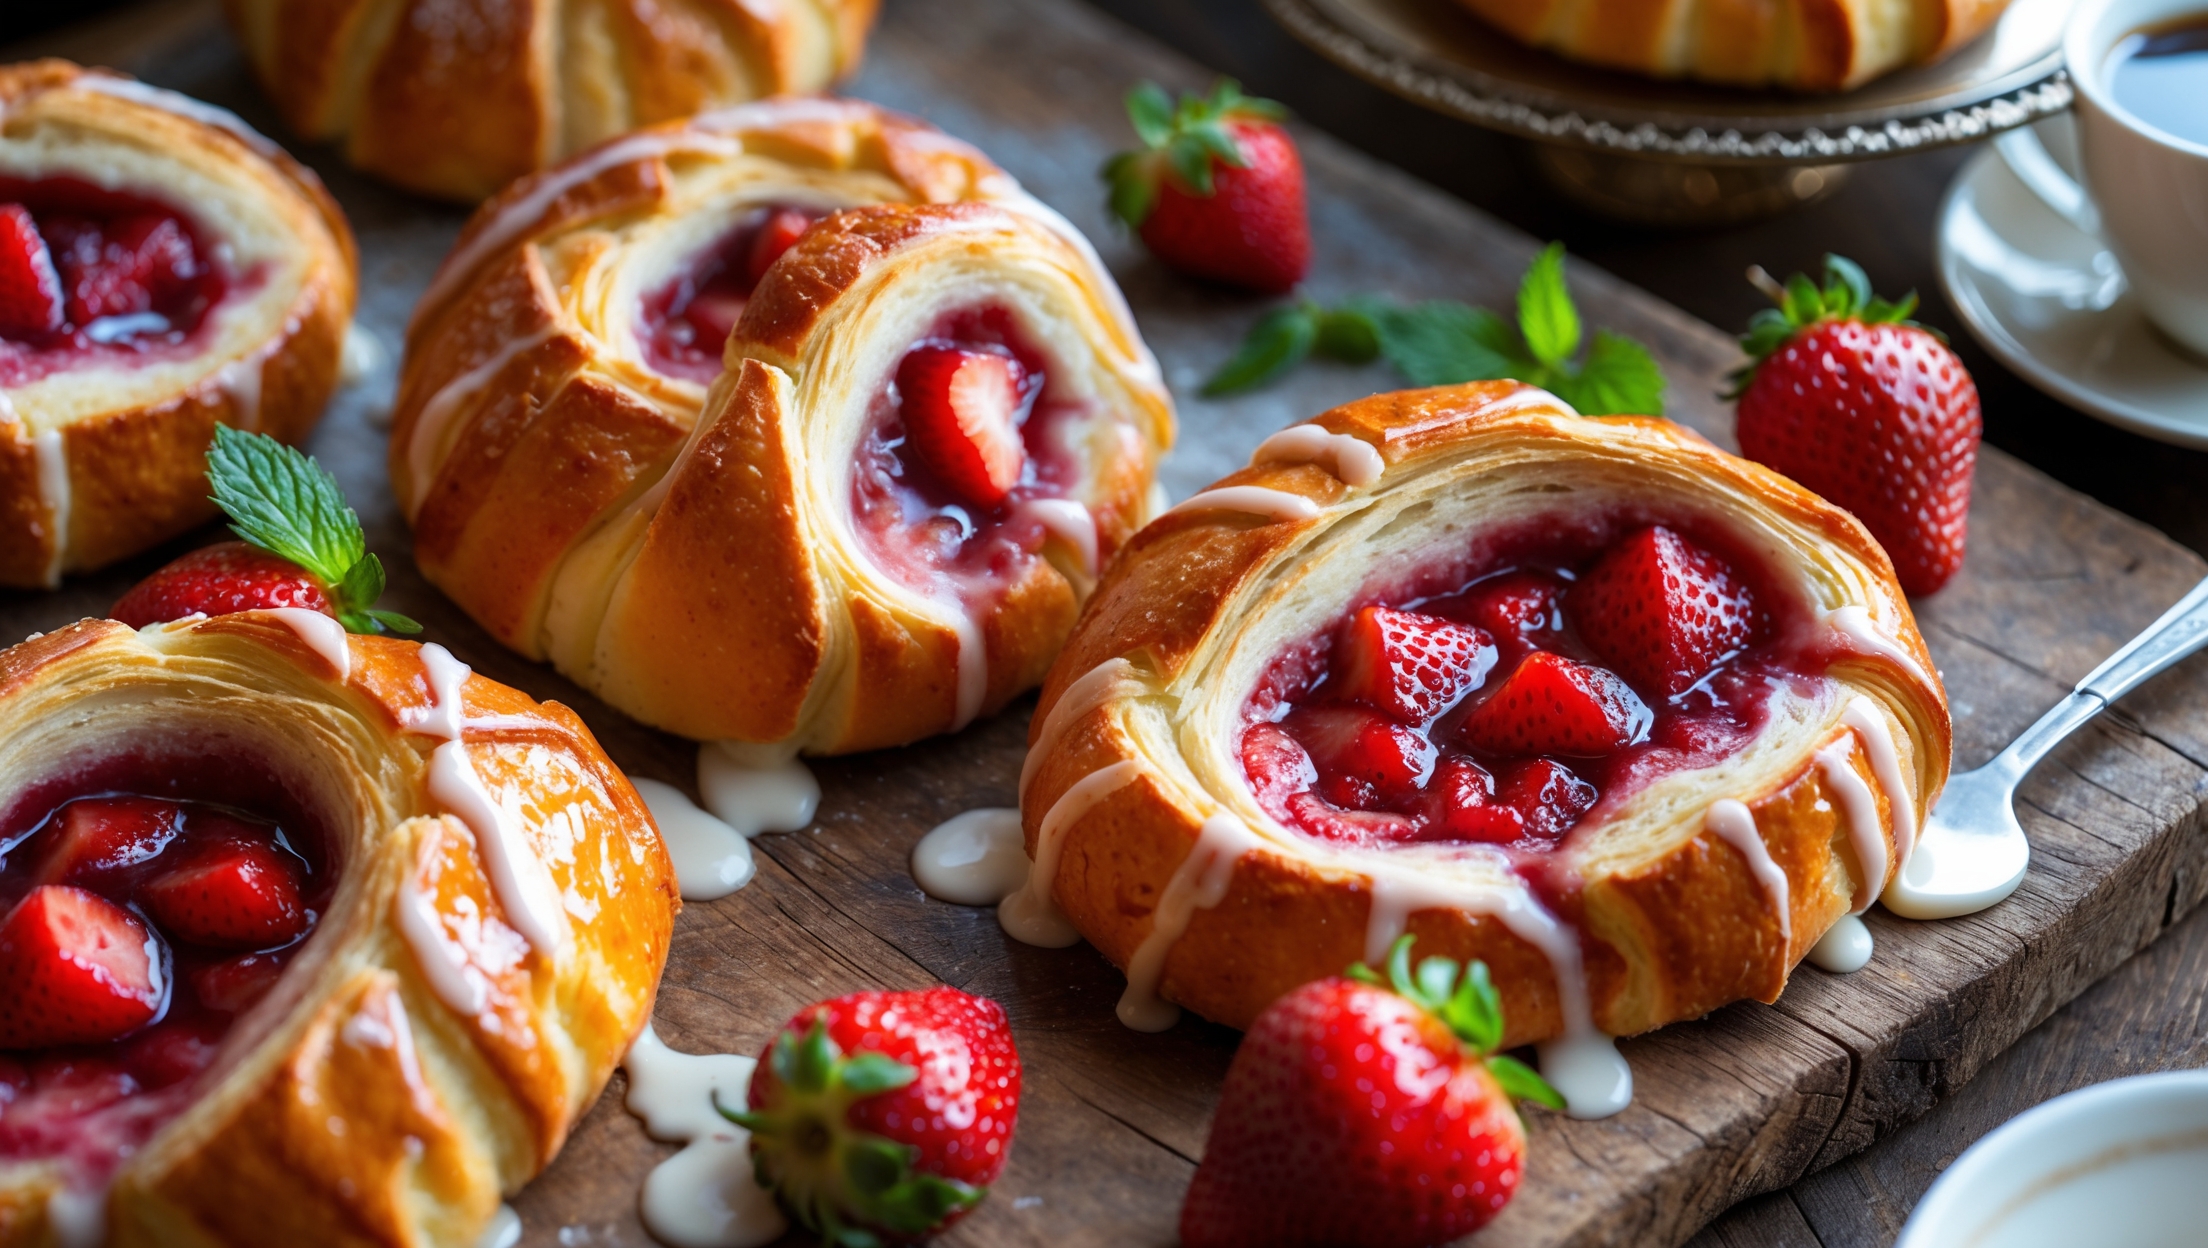
This recipe requires all-purpose flour, sugar, yeast, salt, milk, egg, vanilla, and cold butter for the dough. The strawberry filling needs fresh strawberries, sugar, lemon juice, and cornstarch. Finish with a simple glaze made from powdered sugar, milk, and vanilla extract.
Learn how to cook Strawberry Danish by mastering laminated dough through a series of folds that create flaky layers. The process involves creating a butter block, performing multiple "turns" with chilling periods, preparing a strawberry filling, shaping the pastries, proofing briefly, and baking until golden brown before finishing with a vanilla glaze.
The key to flaky danish pastry is proper lamination - maintaining cold butter between dough layers throughout the folding process. Each fold multiplies the number of layers, while chilling between turns prevents butter from melting into the dough, ensuring distinct layers that puff apart during baking.
Yes! Danish pastry dough benefits from advance preparation. After completing the lamination process, the dough can be refrigerated for up to 48 hours or frozen for up to a month. This resting period actually improves the dough's flavour and makes the final pastries even flakier.
Common issues include butter leaking (if dough is too warm), tough pastry (from overworking), uneven rising (inconsistent thickness), and soggy bottoms (from wet filling). Work in a cool kitchen, handle dough minimally, roll evenly, and ensure fillings are properly thickened for best results.
Danish Pastry
Try following recommended recipes


