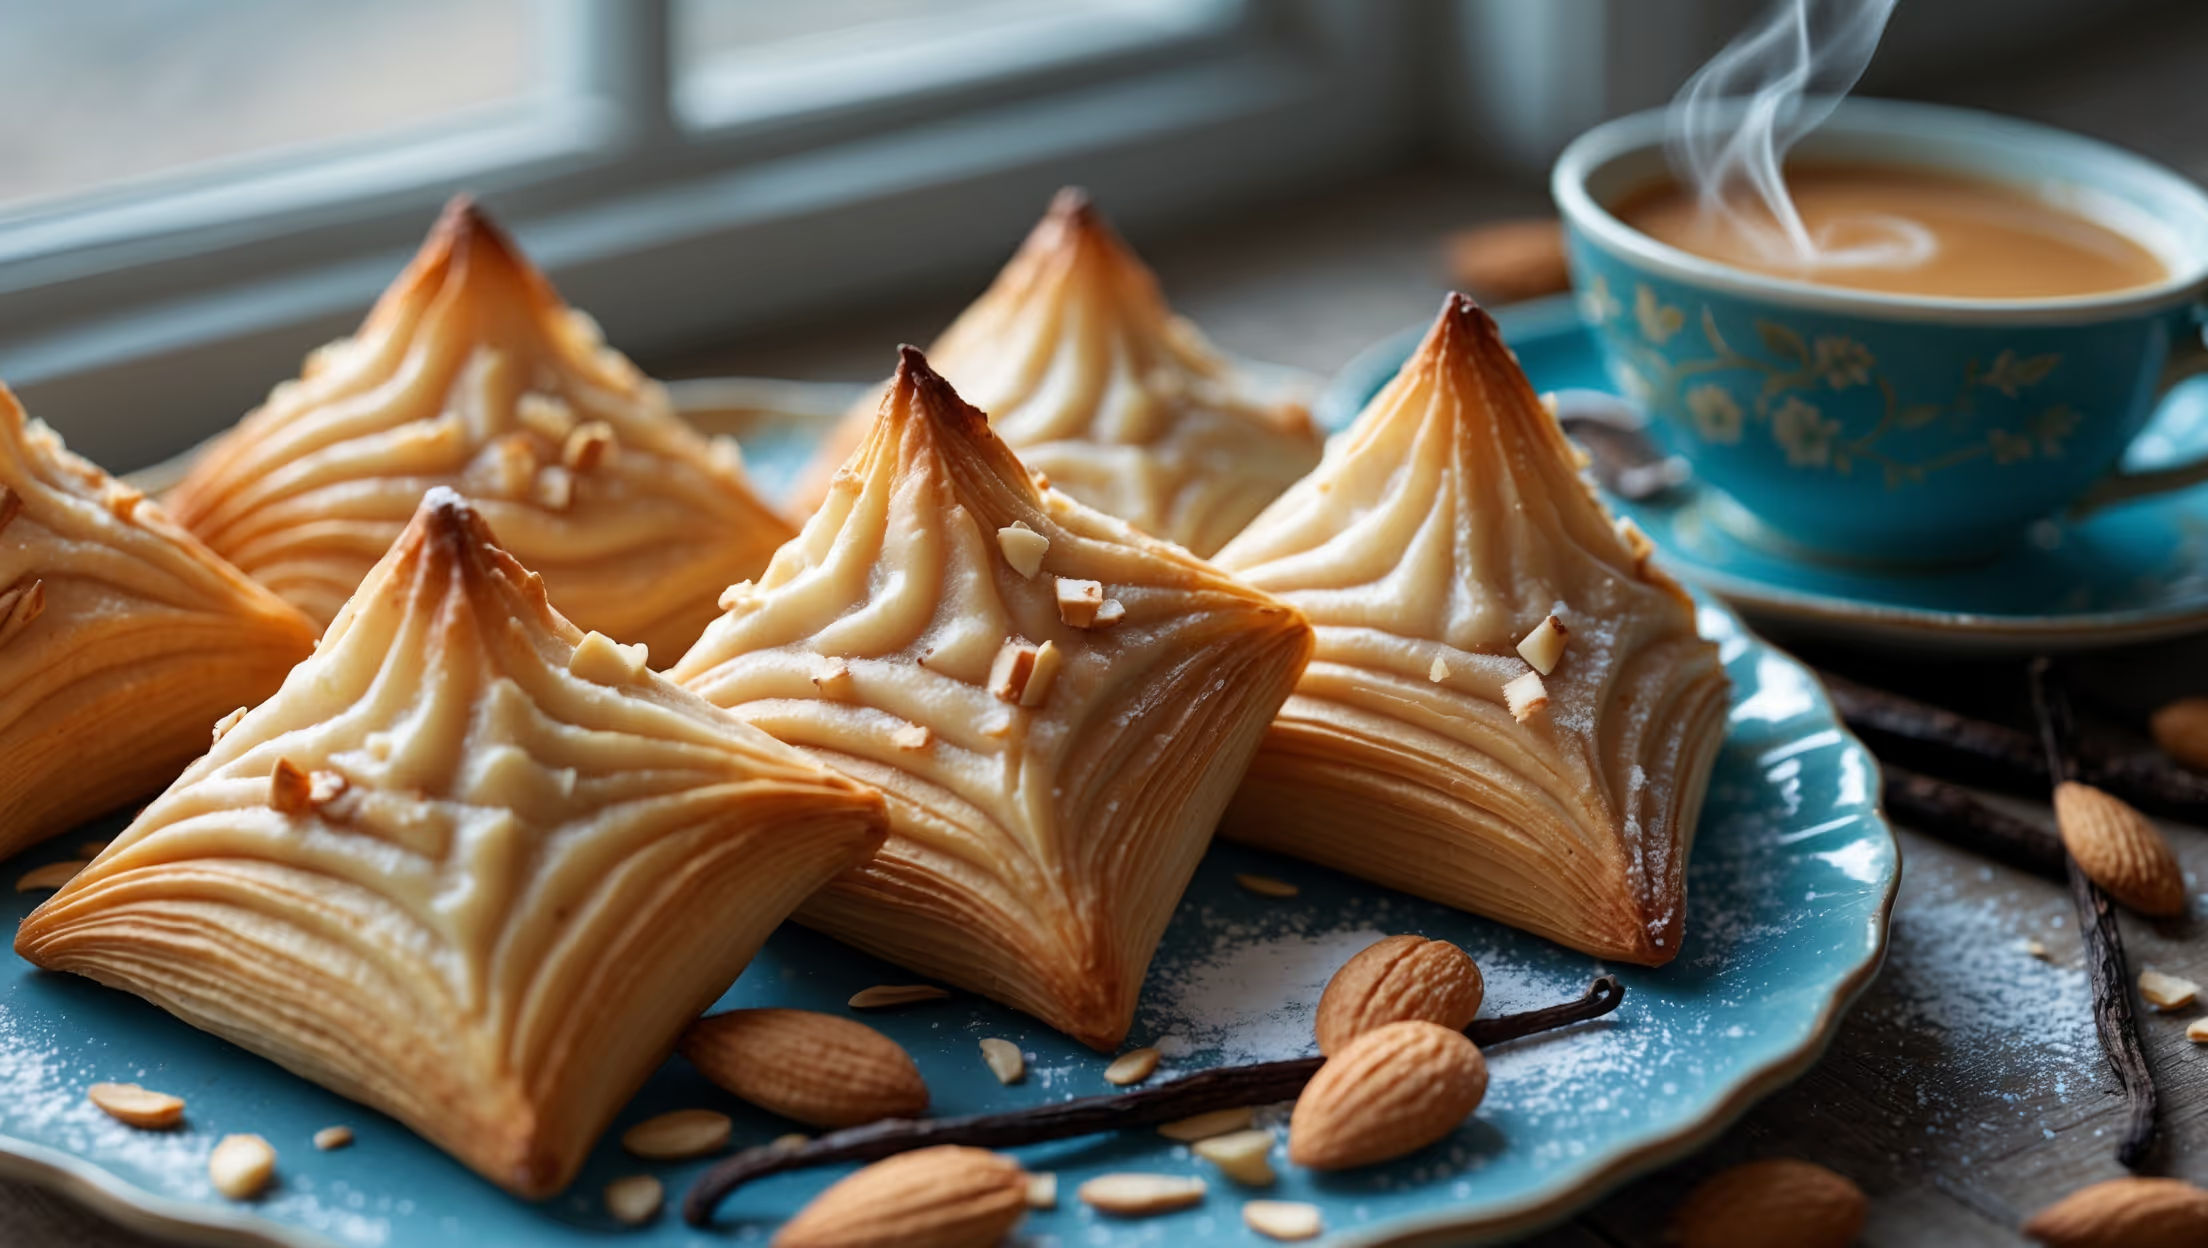
<ol class="no-list-style"><li class="MethodStepper"><h4 class="step-title">Step 1</h4>Begin by making the custard filling, as it needs time to chill. In a medium saucepan, heat the milk and vanilla bean (pod and seeds) until steaming but not boiling. Remove from heat, cover, and let steep for 15 minutes to infuse the vanilla flavor. If using vanilla bean paste instead, simply add it to the milk while heating.</li><li class="MethodStepper"><h4 class="step-title">Step 2</h4>While the milk infuses, whisk together the sugar, cornstarch, egg yolks, and salt in a heatproof bowl until smooth and pale yellow. When the milk is ready, remove the vanilla pod if using, and slowly pour about half of the warm milk into the egg mixture, whisking constantly to prevent curdling (this is called tempering the eggs).</li><li class="MethodStepper"><h4 class="step-title">Step 3</h4>Pour the egg-milk mixture back into the saucepan with the remaining milk. Cook over medium heat, whisking constantly, until thickened to a pudding-like consistency (around 82-85°C on a thermometer). This typically takes 3-5 minutes - you'll know it's ready when the custard coats the back of a spoon and a line drawn through it holds.</li><li class="MethodStepper"><h4 class="step-title">Step 4</h4>Remove from heat and stir in the butter until melted and incorporated. Transfer the custard to a clean bowl, press plastic wrap directly onto the surface (to prevent a skin from forming), and refrigerate until completely chilled, at least 2 hours or overnight.</li><li class="MethodStepper"><h4 class="step-title">Step 5</h4>For the dough, combine flour, sugar, salt, and yeast in the bowl of your stand mixer. In a separate bowl, whisk together eggs, lukewarm milk (around 35°C), and vanilla extract. With the mixer on low speed using the dough hook, gradually add the wet ingredients to the dry ingredients.</li><li class="MethodStepper"><h4 class="step-title">Step 6</h4>Mix until a soft, slightly sticky dough forms, about 5-7 minutes. The dough should pass the windowpane test - when stretched between your fingers, it should stretch thin enough to see light through without tearing. This indicates proper gluten development, essential for the strength needed during lamination.</li><li class="MethodStepper"><h4 class="step-title">Step 7</h4>Shape the dough into a rectangle about 2 cm thick, wrap in plastic, and refrigerate for 30 minutes. Meanwhile, prepare your butter block by placing the cold butter between two sheets of parchment paper and beating it with a rolling pin until malleable but still cold. Shape it into a rectangle about 20×15 cm.</li><li class="MethodStepper"><h4 class="step-title">Step 8</h4>Remove the chilled dough and roll it on a lightly floured surface into a rectangle approximately twice the size of your butter block. Place the butter block on one half of the dough, leaving a small border around the edges, then fold the other half over the butter, enclosing it completely. Press the edges to seal the butter inside.</li><li class="MethodStepper"><h4 class="step-title">Step 9</h4>Roll the dough into a rectangle about 45×20 cm, keeping the edges straight. Now perform the first fold: imagine dividing the rectangle into thirds lengthwise. Fold one-third over the middle, then fold the remaining third on top, like folding a business letter. This creates layers that will ultimately give your pastry its characteristic flakiness.</li><li class="MethodStepper"><h4 class="step-title">Step 10</h4>Wrap the dough in plastic wrap and refrigerate for 30 minutes. After chilling, place the dough on the work surface with the open seam to your right. Roll it again into a 45×20 cm rectangle and perform another letter fold. Wrap and chill for another 30 minutes. Repeat this process one more time for a total of three letter folds, which creates 27 layers of butter within the dough.</li><li class="MethodStepper"><h4 class="step-title">Step 11</h4>After the final chilling period, roll the dough on a lightly floured surface to about 3-4 mm thickness in a large rectangle. Using a pastry wheel, cut the dough into squares approximately 10×10 cm.</li><li class="MethodStepper"><h4 class="step-title">Step 12</h4>To form the diamond shape characteristic of Spandauer, make diagonal cuts from each corner toward the center, stopping about 2.5 cm from the center. Place about 1-1.5 tablespoons of the chilled custard in the center of each square.</li><li class="MethodStepper"><h4 class="step-title">Step 13</h4>Take alternate corners (one from each side of the square) and fold them toward the center, overlapping them slightly and pressing gently to seal. This creates the distinctive windmill or diamond pattern. Transfer the shaped pastries to parchment-lined baking sheets, leaving space between them for expansion.</li><li class="MethodStepper"><h4 class="step-title">Step 14</h4>Cover the pastries loosely with a clean kitchen towel and let them prove in a warm place until slightly puffy, about 30-45 minutes. They won't double in size like bread, but should look somewhat expanded. Meanwhile, preheat your oven to 190°C with racks positioned in the upper and lower thirds.</li><li class="MethodStepper"><h4 class="step-title">Step 15</h4>Gently brush the pastries with egg wash, being careful not to deflate them or get egg wash on the custard. Sprinkle sliced almonds around the edges of the pastries, avoiding the custard center.</li><li class="MethodStepper"><h4 class="step-title">Step 16</h4>Bake for 18-20 minutes, rotating the pans halfway through baking, until the pastries are deeply golden brown. The high baking temperature is crucial for proper "oven spring" where the butter between layers creates steam, pushing the dough layers apart for maximum flakiness.</li><li class="MethodStepper"><h4 class="step-title">Step 17</h4>While the pastries are baking, prepare the glaze by whisking together powdered sugar, milk, and almond extract until smooth. Adjust the consistency as needed - it should be thick enough to coat the back of a spoon but thin enough to drizzle.</li><li class="MethodStepper"><h4 class="step-title">Step 18</h4>Allow the pastries to cool on the baking sheets for 5 minutes, then transfer to a wire rack. When the pastries are still warm but not hot, drizzle the glaze over them in a zigzag pattern. The residual warmth will help the glaze set with a beautiful sheen.</li><li class="MethodStepper"><h4 class="step-title">Step 19</h4>Serve the Spandauer pastries slightly warm or at room temperature. They're best enjoyed the day they're made, but can be stored in an airtight container at room temperature for up to 2 days. For longer storage, freeze the unglazed pastries and refresh them in a 150°C oven for 5-7 minutes before glazing.</li></ol>