Smørlapper (Butter Patches) Recipe

Light, fluffy Norwegian pancakes with delicate butter-rich edges, golden crisp surfaces, and pillowy centers that melt in your mouth.
Difficulty:
Beginner
Prep Time:
10 mins
Cook Time:
15 mins
Serves:
12 pancakes
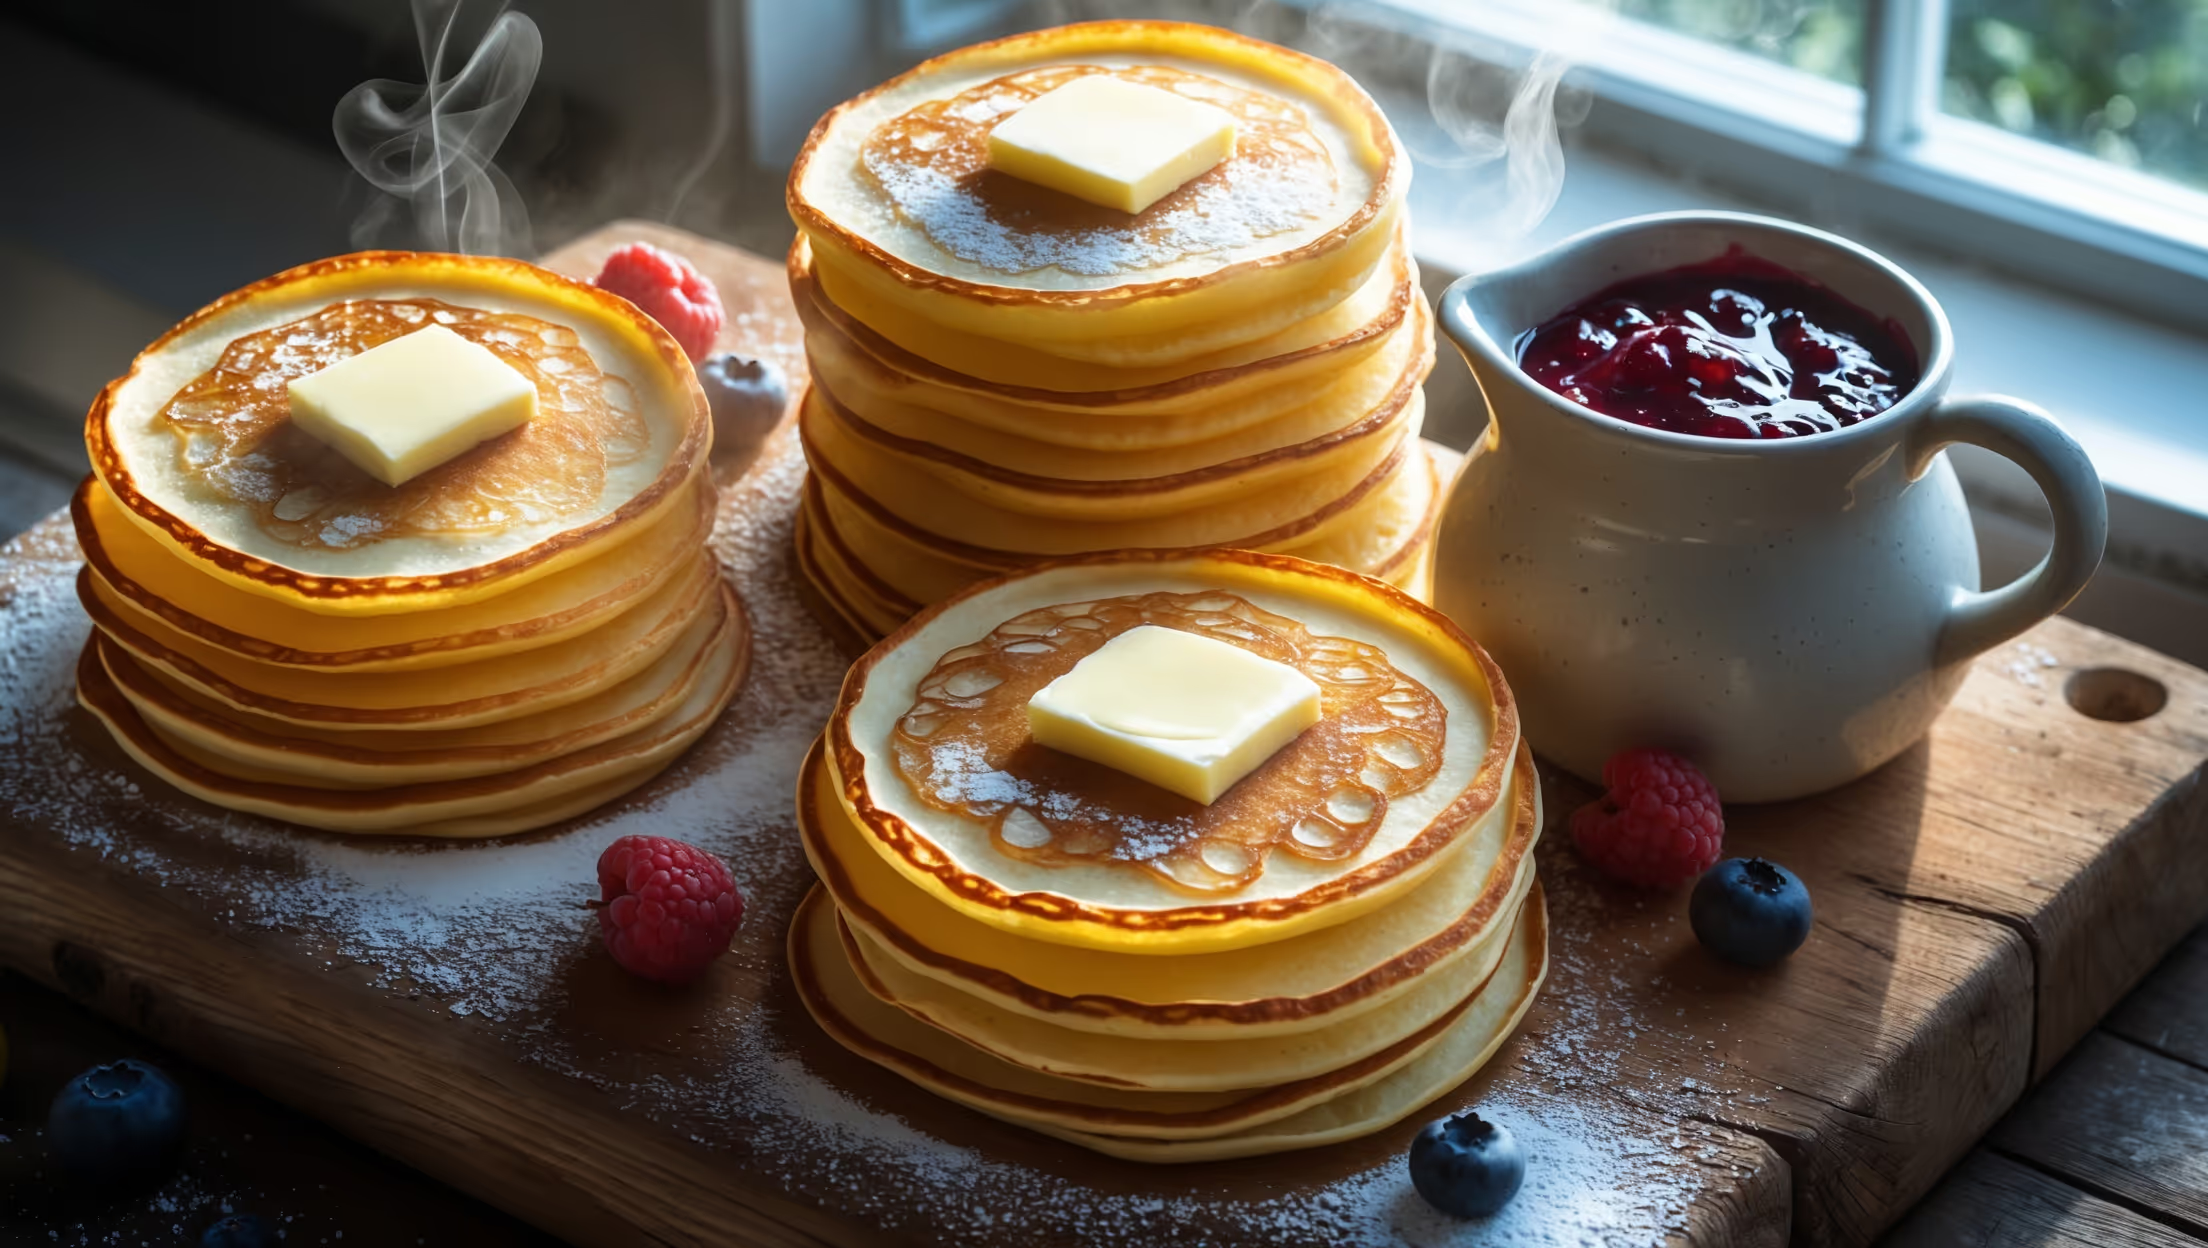
Overhead shot of stacked Smørlapper with golden-brown edges and light yellow centers, captured in soft morning light streaming through a kitchen window. Several pancakes are shown on a rustic wooden serving board, some folded in quarters as traditionally served, others flat showing their lacy patterns. A small ceramic pitcher of lingonberry jam sits alongside, with a pat of melting butter slowly disappearing into the top pancake. Fresh berries are scattered around, and a dusting of powdered sugar creates subtle contrast against the warm, golden pancakes. Steam gently rises, hinting at their freshness from the pan.

Ingredients

<ul class="ingredients-main-list"><li class="ingredients-single-item">250g all-purpose flour</li><li class="ingredients-single-item">2 tbsp granulated sugar</li><li class="ingredients-single-item">½ tsp salt</li><li class="ingredients-single-item">½ tsp baking powder</li><li class="ingredients-single-item">½ tsp baking soda</li><li class="ingredients-single-item">500ml buttermilk (or regular milk mixed with 1 tbsp lemon juice)</li><li class="ingredients-single-item">2 large eggs</li><li class="ingredients-single-item">1 tsp vanilla extract</li><li class="ingredients-single-item">30g unsalted butter, melted, plus extra for cooking</li><li class="ingredients-single-item">Powdered sugar, for serving (optional)</li><li class="ingredients-single-item">Jam or fresh berries, for serving (optional)</li></ul>

Equipment

<ul class="equipment-main-list"><li class="equipment-single-item">Heavy-bottomed frying pan or griddle</li><li class="equipment-single-item">Ladle or measuring cup</li><li class="equipment-single-item">Spatula</li><li class="equipment-single-item">Whisk</li></ul>
BAKE SMARTER

Kitchen Converter

Quickly switch between common baking units without leaving the recipe.

Convert
Result—

Volume uses US cups, tablespoons, and teaspoons. Converting weight to volume depends on the ingredient.

Directions

<ol class="no-list-style"><li class="MethodStepper"><h4 class="step-title">Step 1</h4>In a large bowl, whisk together the flour, sugar, salt, baking powder, and baking soda until well combined. This even distribution of leavening agents will ensure your Smørlapper rise uniformly.</li><li class="MethodStepper"><h4 class="step-title">Step 2</h4>In a separate bowl, whisk the buttermilk, eggs, and vanilla extract until smooth and well incorporated. The acidity in buttermilk will react with the baking soda, creating bubbles that make your pancakes light and fluffy.</li><li class="MethodStepper"><h4 class="step-title">Step 3</h4>Gradually pour the wet ingredients into the dry ingredients while whisking constantly. Mix until just combined – you should still see a few small lumps. Overmixing develops gluten, which can make your Smørlapper tough rather than tender.</li><li class="MethodStepper"><h4 class="step-title">Step 4</h4>Stir in the melted butter until incorporated. The batter should be thinner than American pancake batter but thicker than crêpe batter – it should flow slowly off your whisk. Let the batter rest for 5 minutes, allowing the flour to fully hydrate and the leavening agents to activate.</li><li class="MethodStepper"><h4 class="step-title">Step 5</h4>Heat a heavy-bottomed frying pan or griddle over medium heat. Add a small knob of butter and swirl to coat the surface. The pan is ready when a drop of water sizzles and evaporates immediately.</li><li class="MethodStepper"><h4 class="step-title">Step 6</h4>For each Smørlapp, pour about 60ml (¼ cup) of batter onto the hot surface. Traditional Smørlapper are smaller than American pancakes – about 10-12cm in diameter. You should be able to fit 3-4 in a large pan.</li><li class="MethodStepper"><h4 class="step-title">Step 7</h4>Cook until bubbles form on the surface and the edges look set, about 1-2 minutes. Unlike thicker pancakes, Smørlapper cook quickly, so watch them carefully. You're looking for a golden-brown color on the bottom.</li><li class="MethodStepper"><h4 class="step-title">Step 8</h4>Flip each pancake with a thin spatula and cook for another 30-60 seconds until the second side is golden brown. The characteristic lacy edges will form as the butter in the batter crisps up – these delicate, crispy edges are the hallmark of perfect Smørlapper.</li><li class="MethodStepper"><h4 class="step-title">Step 9</h4>Transfer to a plate and continue with the remaining batter, adding a small amount of butter to the pan between batches. You can keep cooked pancakes warm in a low oven (110°C/225°F) while you finish the batch.</li><li class="MethodStepper"><h4 class="step-title">Step 10</h4>Serve Smørlapper warm, traditionally folded in quarters and topped with a dusting of powdered sugar and a dollop of jam (lingonberry is authentic, but any berry jam works beautifully). For a more substantial breakfast, add fresh berries or a drizzle of maple syrup. Enjoy immediately when they're at their most delightful!</li></ol>
Nutrition Facts (per serving)

🍽️ Serving Size: 1 pancake
🔥 Calories: 92 calories
🥑 Fat: 5 g
🧈 Saturated Fat: 3 g
🍞 Carbohydrates: 9 g
🍭 Sugar: 3 g
🍗 Protein: 2 g
🫀 Cholesterol: 45 mg
🧂 Sodium: 74 mg

Chef’s Notes

A few helpful details for making this recipe.

Why are Norwegian pancakes thinner than American ones?

Norwegian pancakes have a higher liquid-to-flour ratio, creating a thinner consistency. This allows them to cook quickly with characteristic crispy edges while maintaining a tender interior. The buttermilk and proper leavening also contribute to their delicate texture compared to thicker American-style pancakes.

What's the best topping for traditional Scandinavian pancakes?

Lingonberry jam is the quintessential Norwegian topping, offering a tart contrast to the buttery pancakes. Other authentic options include cloudberry jam, a dusting of powdered sugar, fresh berries, or simply a pat of high-quality butter. Norwegians traditionally fold them into quarters before serving.

Can you freeze homemade buttermilk pancakes for later?

Yes! Once cooled, separate pancakes with parchment paper and freeze in an airtight container for up to 3 months. Reheat in a toaster or microwave for quick breakfasts. The high butter content in Smørlapper helps them maintain their delicate texture even after freezing and reheating.

Want to try something else in ...

More recipes you might like

Keep exploring with more recipes from What's Baking.