Rundstykker (Danish Breakfast Rolls) Recipe
Ingredients
Equipment
Directions
FAQs
Find answers to your most pressing questions about this delicious recipe right here.
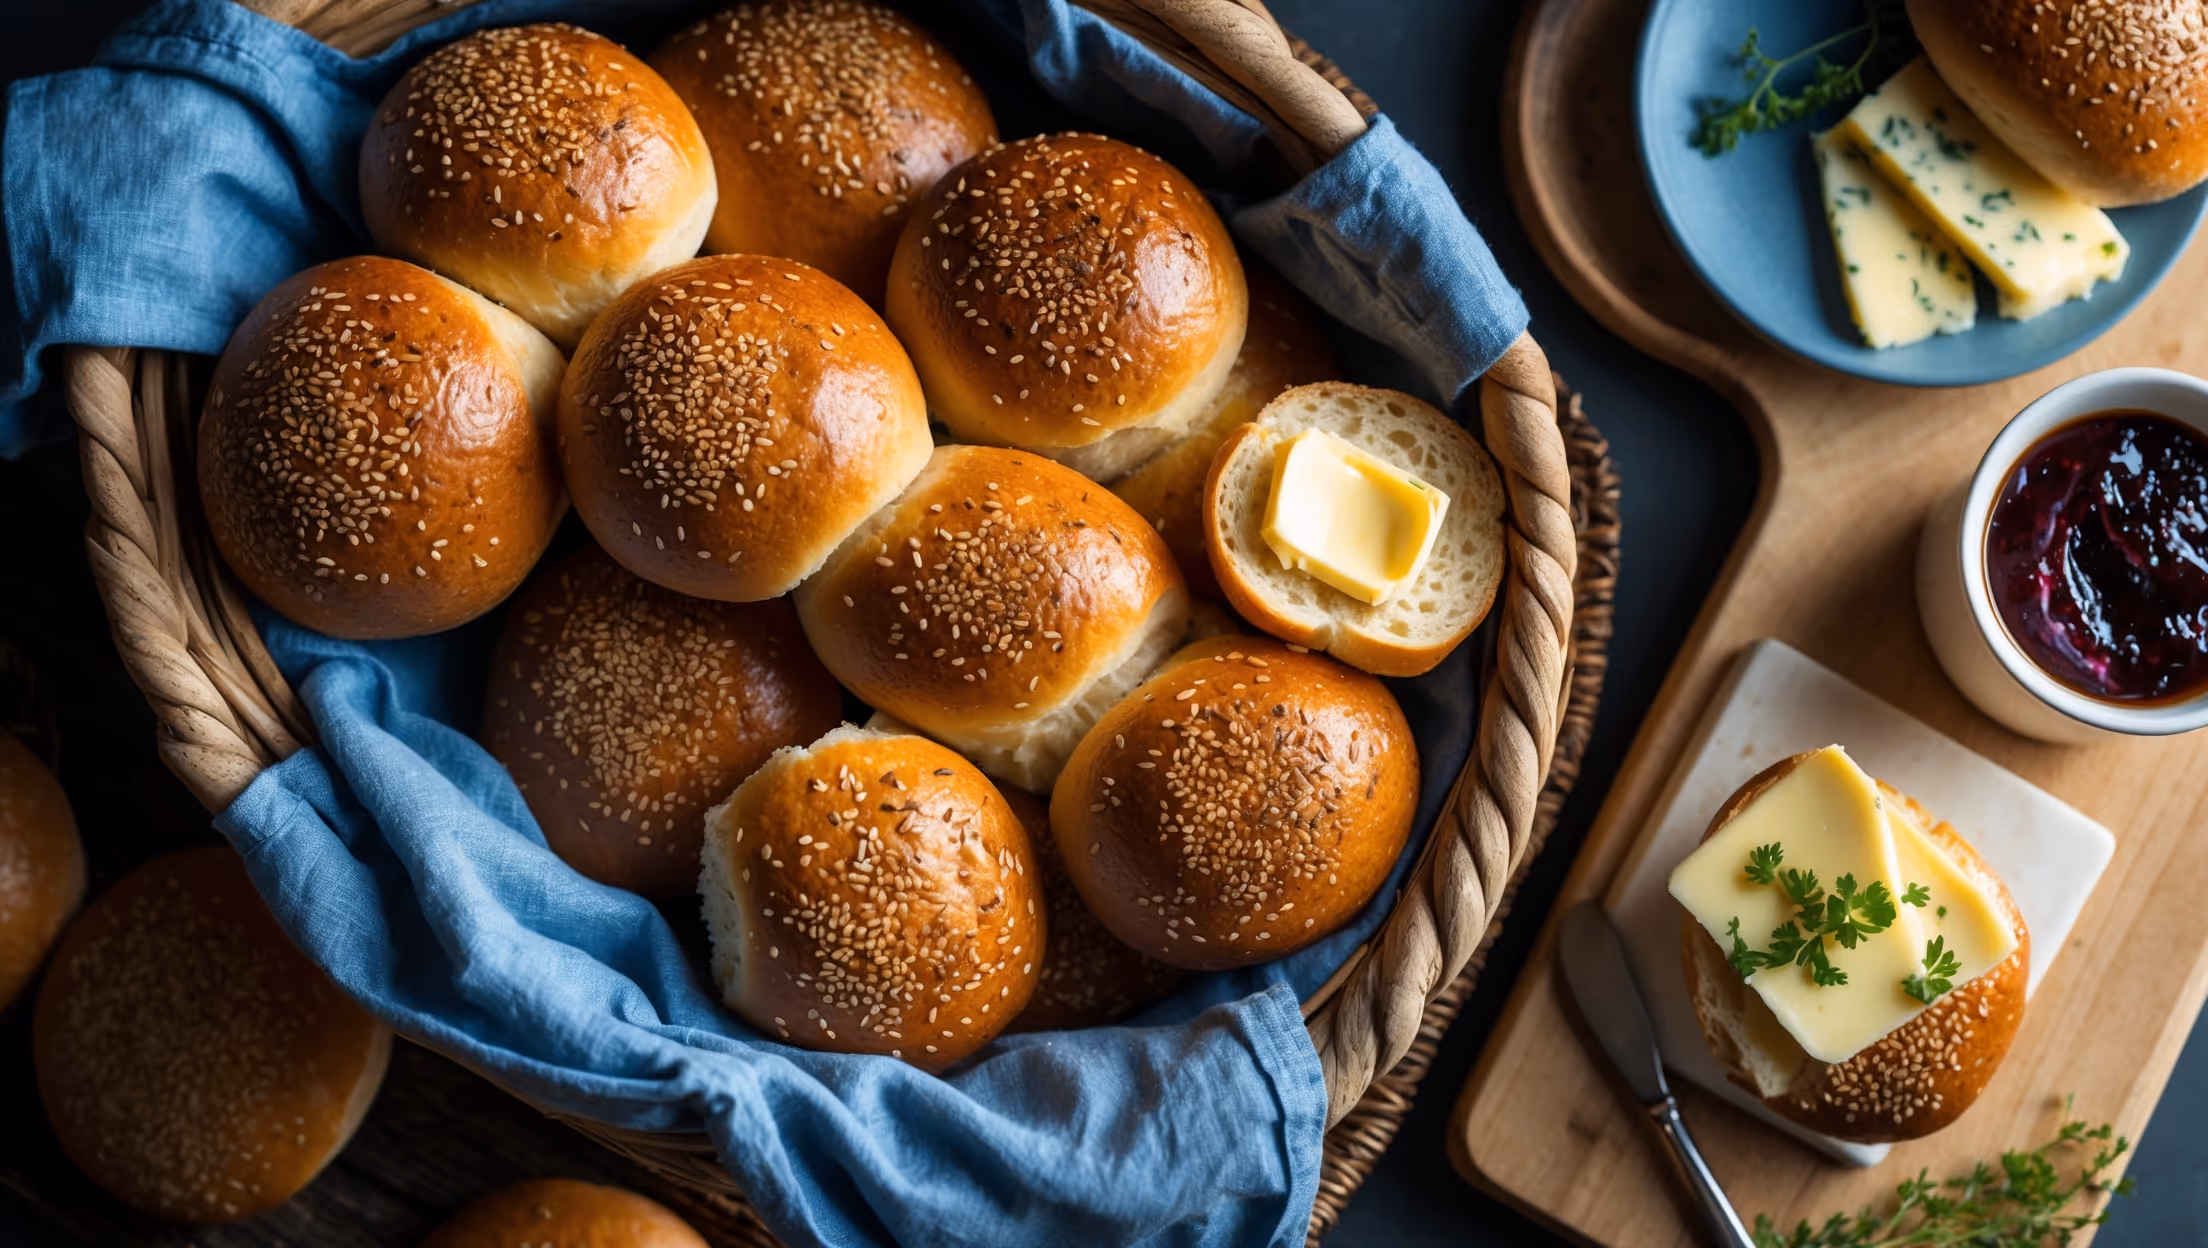
Traditional Rundstykker require basic bread ingredients: strong bread flour, salt, yeast, butter, and cold water. The rolls are finished with an egg wash and topped with poppy and sesame seeds for that authentic Danish bakery appearance and texture.
Learn how to cook Rundstykker (Danish Breakfast Rolls) by combining flour, yeast and butter to form a dough that undergoes slow overnight fermentation. The next day, shape into rolls, prove again, add seed toppings, and bake at a high temperature with steam to create that distinctively crisp exterior and pillowy interior characteristic of Danish morning bread.
Cold water is a distinctive feature of Danish bread-making that slows down yeast activity, allowing for longer fermentation. This extended proving time (8-12 hours) develops complex flavours and creates the perfect texture balance—crispy crust and soft interior—that makes Rundstykker so delicious.
The crusty exterior on Danish breakfast rolls comes from three key techniques: overnight cold fermentation, steam in the oven (either spray or a water dish), and a hot baking temperature (230°C/450°F). The egg wash and distinctive slash across the top also contribute to that bakery-quality crust.
Scandinavian breakfast rolls are traditionally served slightly warm with butter and a selection of toppings. Common Danish accompaniments include cheese, ham, cucumber, jam (especially lingonberry), or honey. They're the foundation of smørrebrød (open-faced sandwiches) and pair perfectly with coffee.
Danish Pastry
Try following recommended recipes


