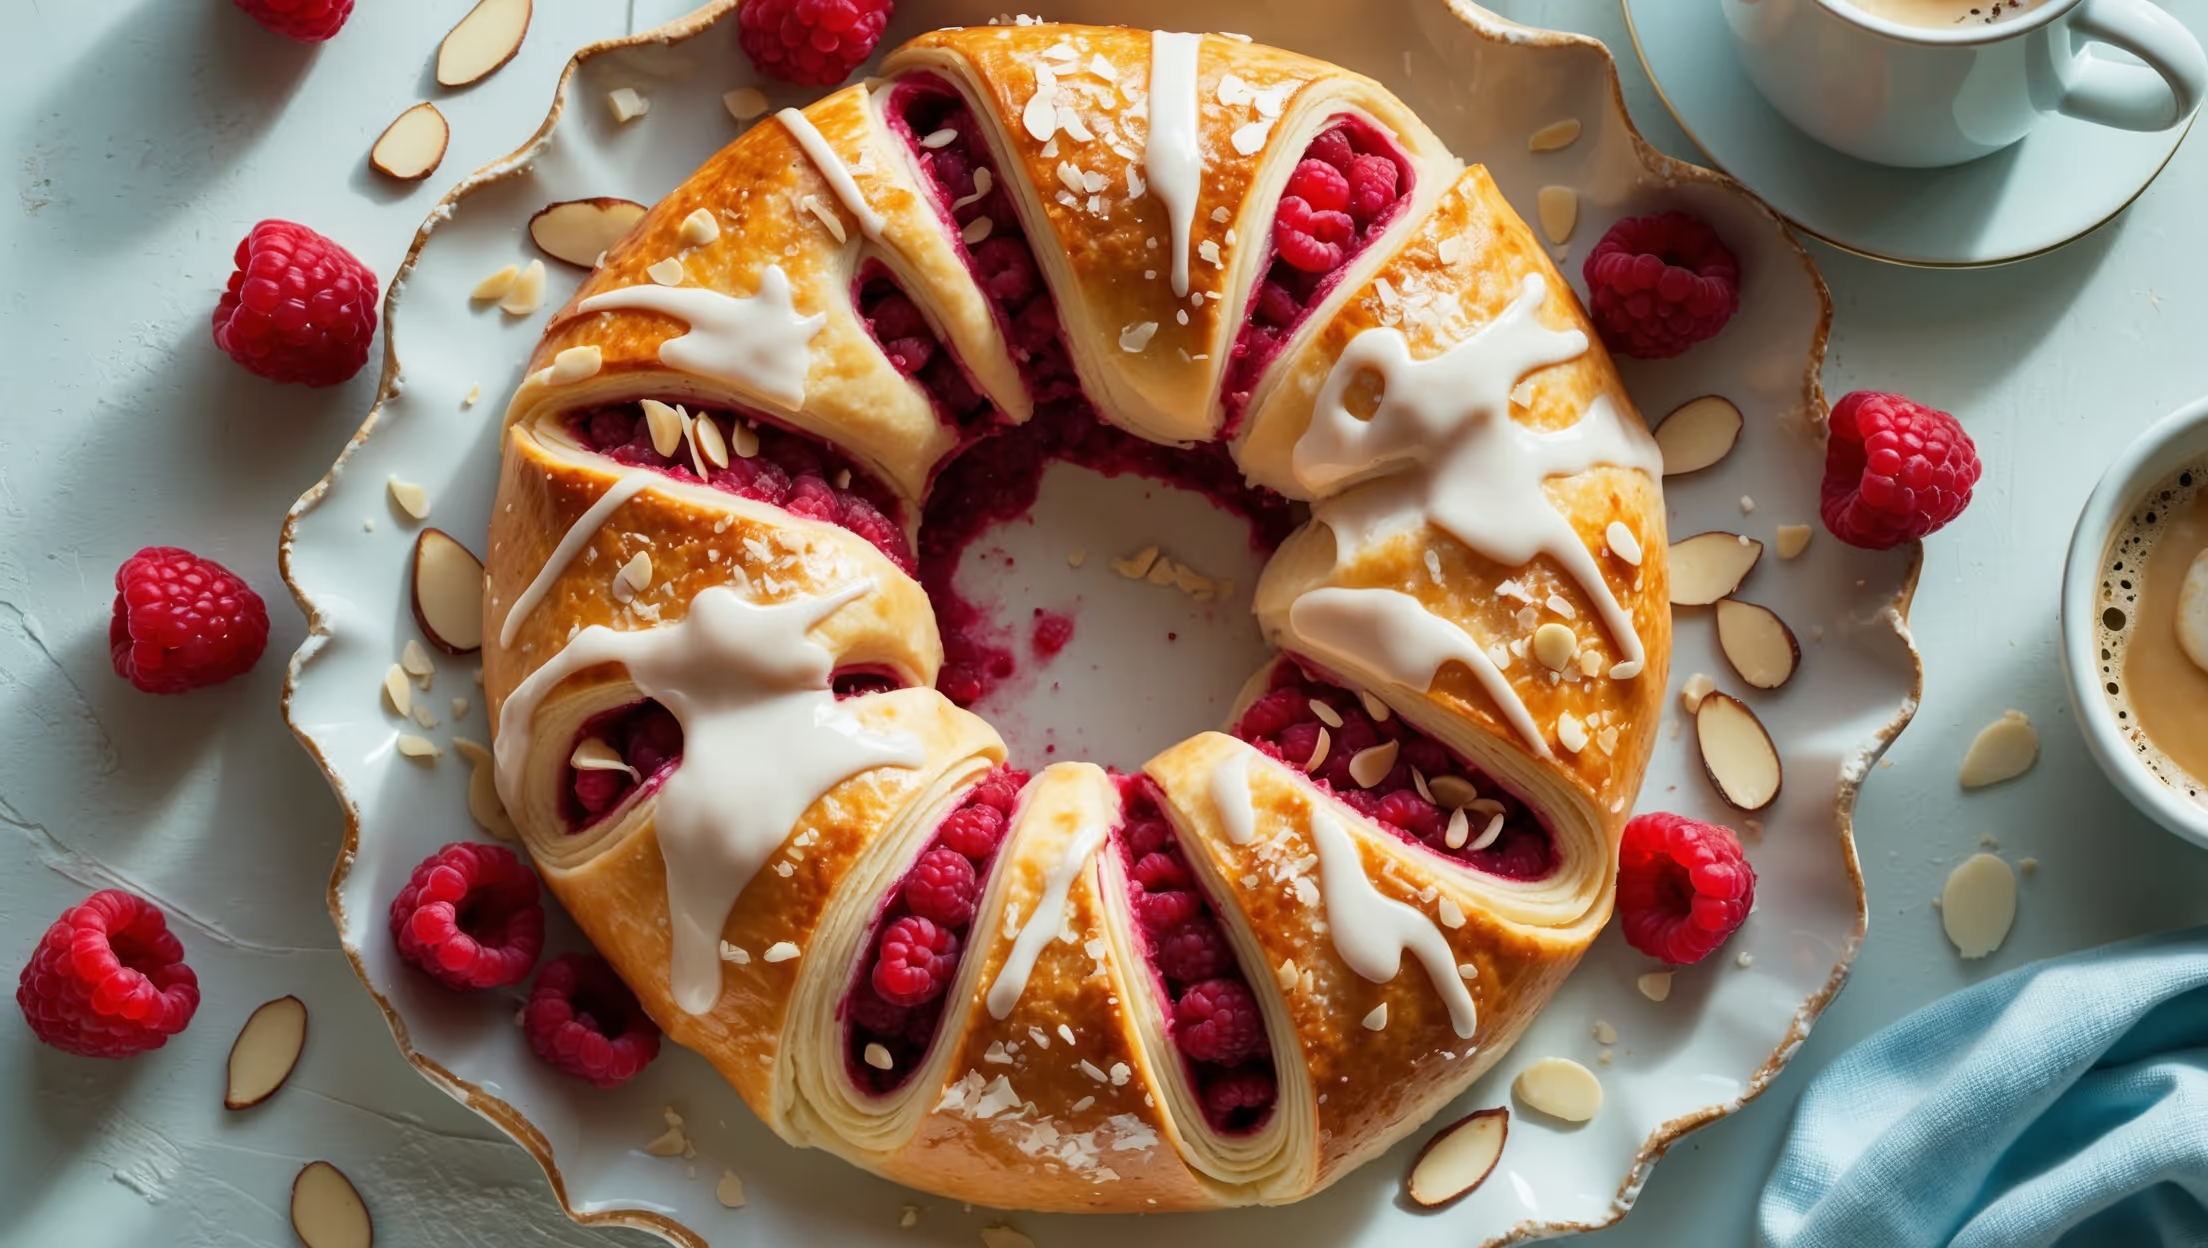
Directions
<ol class="no-list-style"><li class="MethodStepper"><h4 class="step-title">Step 1</h4>Begin by making the pastry dough. In the bowl of your stand mixer, whisk together 240g flour, 1 tbsp sugar, and 1/2 tsp salt. In a separate small bowl, dissolve the yeast in warm water (43-46°C is the ideal temperature to activate yeast without killing it) and let stand for 5 minutes until foamy. This indicates your yeast is alive and active.</li><li class="MethodStepper"><h4 class="step-title">Step 2</h4>Add the yeast mixture, warm milk, egg, and almond extract to the flour mixture. Using the dough hook attachment, mix on low speed until combined, then increase to medium speed and knead for 4-5 minutes until smooth and elastic. The dough should clear the sides of the bowl but still stick slightly to the bottom. If too sticky, add more flour 1 tablespoon at a time.</li><li class="MethodStepper"><h4 class="step-title">Step 3</h4>Transfer the dough to a lightly oiled bowl, cover with plastic wrap, and refrigerate for 30 minutes. This initial chilling makes the dough easier to work with and begins the slow fermentation process that develops flavor.</li><li class="MethodStepper"><h4 class="step-title">Step 4</h4>Meanwhile, prepare the butter layer. Place the cold butter and 2 tbsp flour in a food processor and pulse until just combined, or mix by hand using a pastry cutter. The flour helps stabilize the butter for lamination. Shape the butter mixture into a 15cm x 20cm rectangle between two sheets of parchment paper and refrigerate until firm but still pliable, about 15 minutes.</li><li class="MethodStepper"><h4 class="step-title">Step 5</h4>On a lightly floured surface, roll the chilled dough into a 30cm x 20cm rectangle. Place the butter rectangle over two-thirds of the dough, leaving one-third uncovered. Fold the uncovered third over the butter, then fold the remaining third on top, like folding a letter. This is your first "turn" in the lamination process, creating layers of dough and butter that will become flaky when baked.</li><li class="MethodStepper"><h4 class="step-title">Step 6</h4>Rotate the dough 90 degrees, then roll it out again to a 30cm x 20cm rectangle. Fold into thirds as before. This completes your second turn. Wrap the dough in plastic wrap and refrigerate for 1 hour. The resting period allows the gluten to relax and the butter to firm up again.</li><li class="MethodStepper"><h4 class="step-title">Step 7</h4>While the dough chills, prepare the raspberry filling. In a medium saucepan, combine raspberries, sugar, cornstarch, lemon juice, and cardamom. Cook over medium heat, stirring frequently, until the mixture thickens and begins to bubble, about 5-7 minutes. The cornstarch needs to reach boiling point to achieve full thickening power. Remove from heat and let cool completely.</li><li class="MethodStepper"><h4 class="step-title">Step 8</h4>After the dough has chilled, roll it out on a lightly floured surface to a large rectangle about 40cm x 30cm and 5mm thick. Transfer to a parchment-lined baking sheet. Visualize a central oval shape running down the middle of your rectangle, leaving about 10cm of dough on each side.</li><li class="MethodStepper"><h4 class="step-title">Step 9</h4>Spread the cooled raspberry filling down the center of the dough in an oval shape, leaving a 2cm border at both ends. Using kitchen scissors or a sharp knife, make diagonal cuts from the filling to the edge of the dough on both sides, creating strips about 2.5cm wide. These strips will be folded over the filling to create the classic Kringle appearance.</li><li class="MethodStepper"><h4 class="step-title">Step 10</h4>Starting at one end, fold the strips over the filling, alternating sides and slightly overlapping each strip to create a braided effect. Pinch the ends to seal. The overlapping strips not only look beautiful but also help contain the filling during baking.</li><li class="MethodStepper"><h4 class="step-title">Step 11</h4>Cover the Kringle loosely with plastic wrap and let it rise in a warm, draft-free place for about 45 minutes until slightly puffy. The dough won't double in size like regular bread due to the butter layers, but it should look somewhat expanded.</li><li class="MethodStepper"><h4 class="step-title">Step 12</h4>Preheat your oven to 190°C. Bake the Kringle for 22-25 minutes until golden brown. If it's browning too quickly, loosely cover with aluminum foil after 15 minutes. The internal temperature should reach about 88°C when fully baked.</li><li class="MethodStepper"><h4 class="step-title">Step 13</h4>While the Kringle cools, prepare the almond glaze by whisking together the powdered sugar, milk, and almond extract until smooth. The consistency should be thick but pourable - add more milk or powdered sugar as needed to adjust.</li><li class="MethodStepper"><h4 class="step-title">Step 14</h4>Once the Kringle has cooled for about 10 minutes (it should still be warm but not hot), drizzle the glaze over the top and immediately sprinkle with sliced almonds. The warm pastry helps the glaze set perfectly while allowing the almonds to adhere.</li><li class="MethodStepper"><h4 class="step-title">Step 15</h4>Allow the Kringle to cool completely before slicing. This traditional Danish pastry is best enjoyed the day it's made but will keep in an airtight container at room temperature for up to 2 days. You can also freeze it (unglazed) for up to 1 month - just thaw overnight and add fresh glaze before serving.</li></ol>