Prune Danish Recipe
Ingredients
Equipment
Directions
FAQs
Find answers to your most pressing questions about this delicious recipe right here.
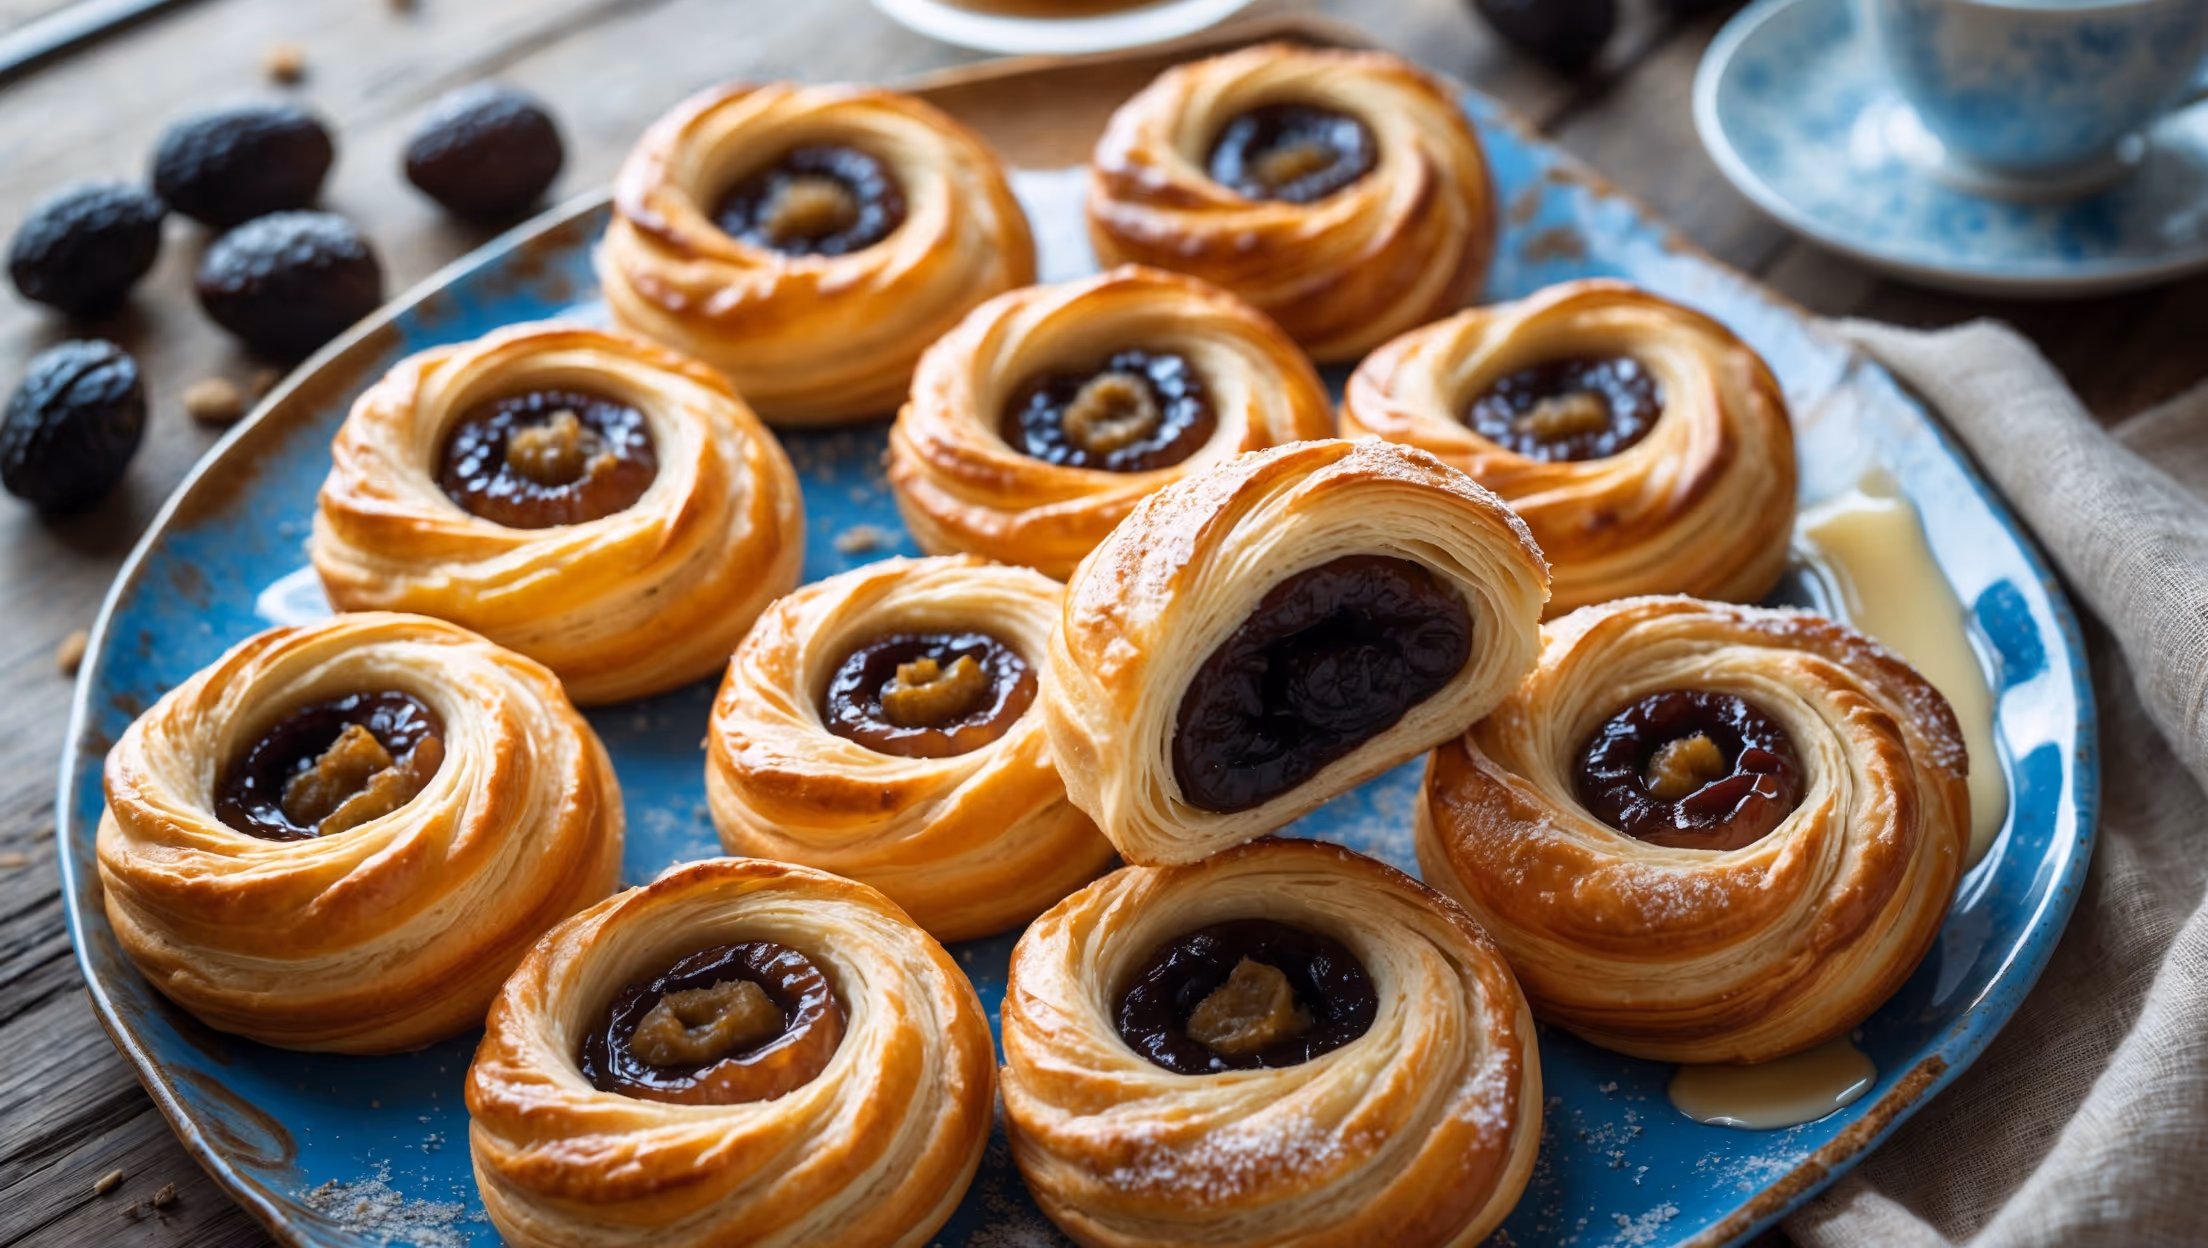
Prune Danish requires strong bread flour, yeast, caster sugar, salt, milk, eggs, cold unsalted butter for lamination, orange (zest and juice), pitted prunes, light brown sugar, cinnamon, and icing sugar for the glaze. These ingredients create a perfect balance of buttery pastry and sweet-tart filling.
Learn how to cook Prune Danish Recipe by creating a yeasted dough, laminating it with butter through a series of folds and chills, preparing a sweet prune filling with orange and cinnamon, assembling the pastries by rolling and cutting, then baking at 190°C until golden brown. The process requires patience but results in bakery-quality Danish pastries.
Resting Danish pastry dough between folds is crucial for proper lamination. These cooling periods allow the gluten to relax, preventing shrinkage, and firm up the butter layers. Without adequate resting, the butter could leak out during baking, resulting in dense, greasy pastries rather than light, flaky ones.
Dried prunes are actually ideal for Danish pastry filling as they provide concentrated flavour and the right texture. Fresh plums would release too much moisture during baking. When processing dried prunes with sugar, cinnamon and orange, they create a thick, flavourful paste that won't make your pastry soggy.
The secret to flaky Danish pastry is proper butter lamination—creating distinct layers of butter between dough through repeated folding and rolling. Keep ingredients cold throughout the process, maintain clean folds, allow adequate resting time between turns, and roll with even pressure to ensure the butter remains in separate layers.
Danish Pastry
Try following recommended recipes


