Poppy Seed Danish Recipe
Ingredients
Equipment
Directions
FAQs
Find answers to your most pressing questions about this delicious recipe right here.
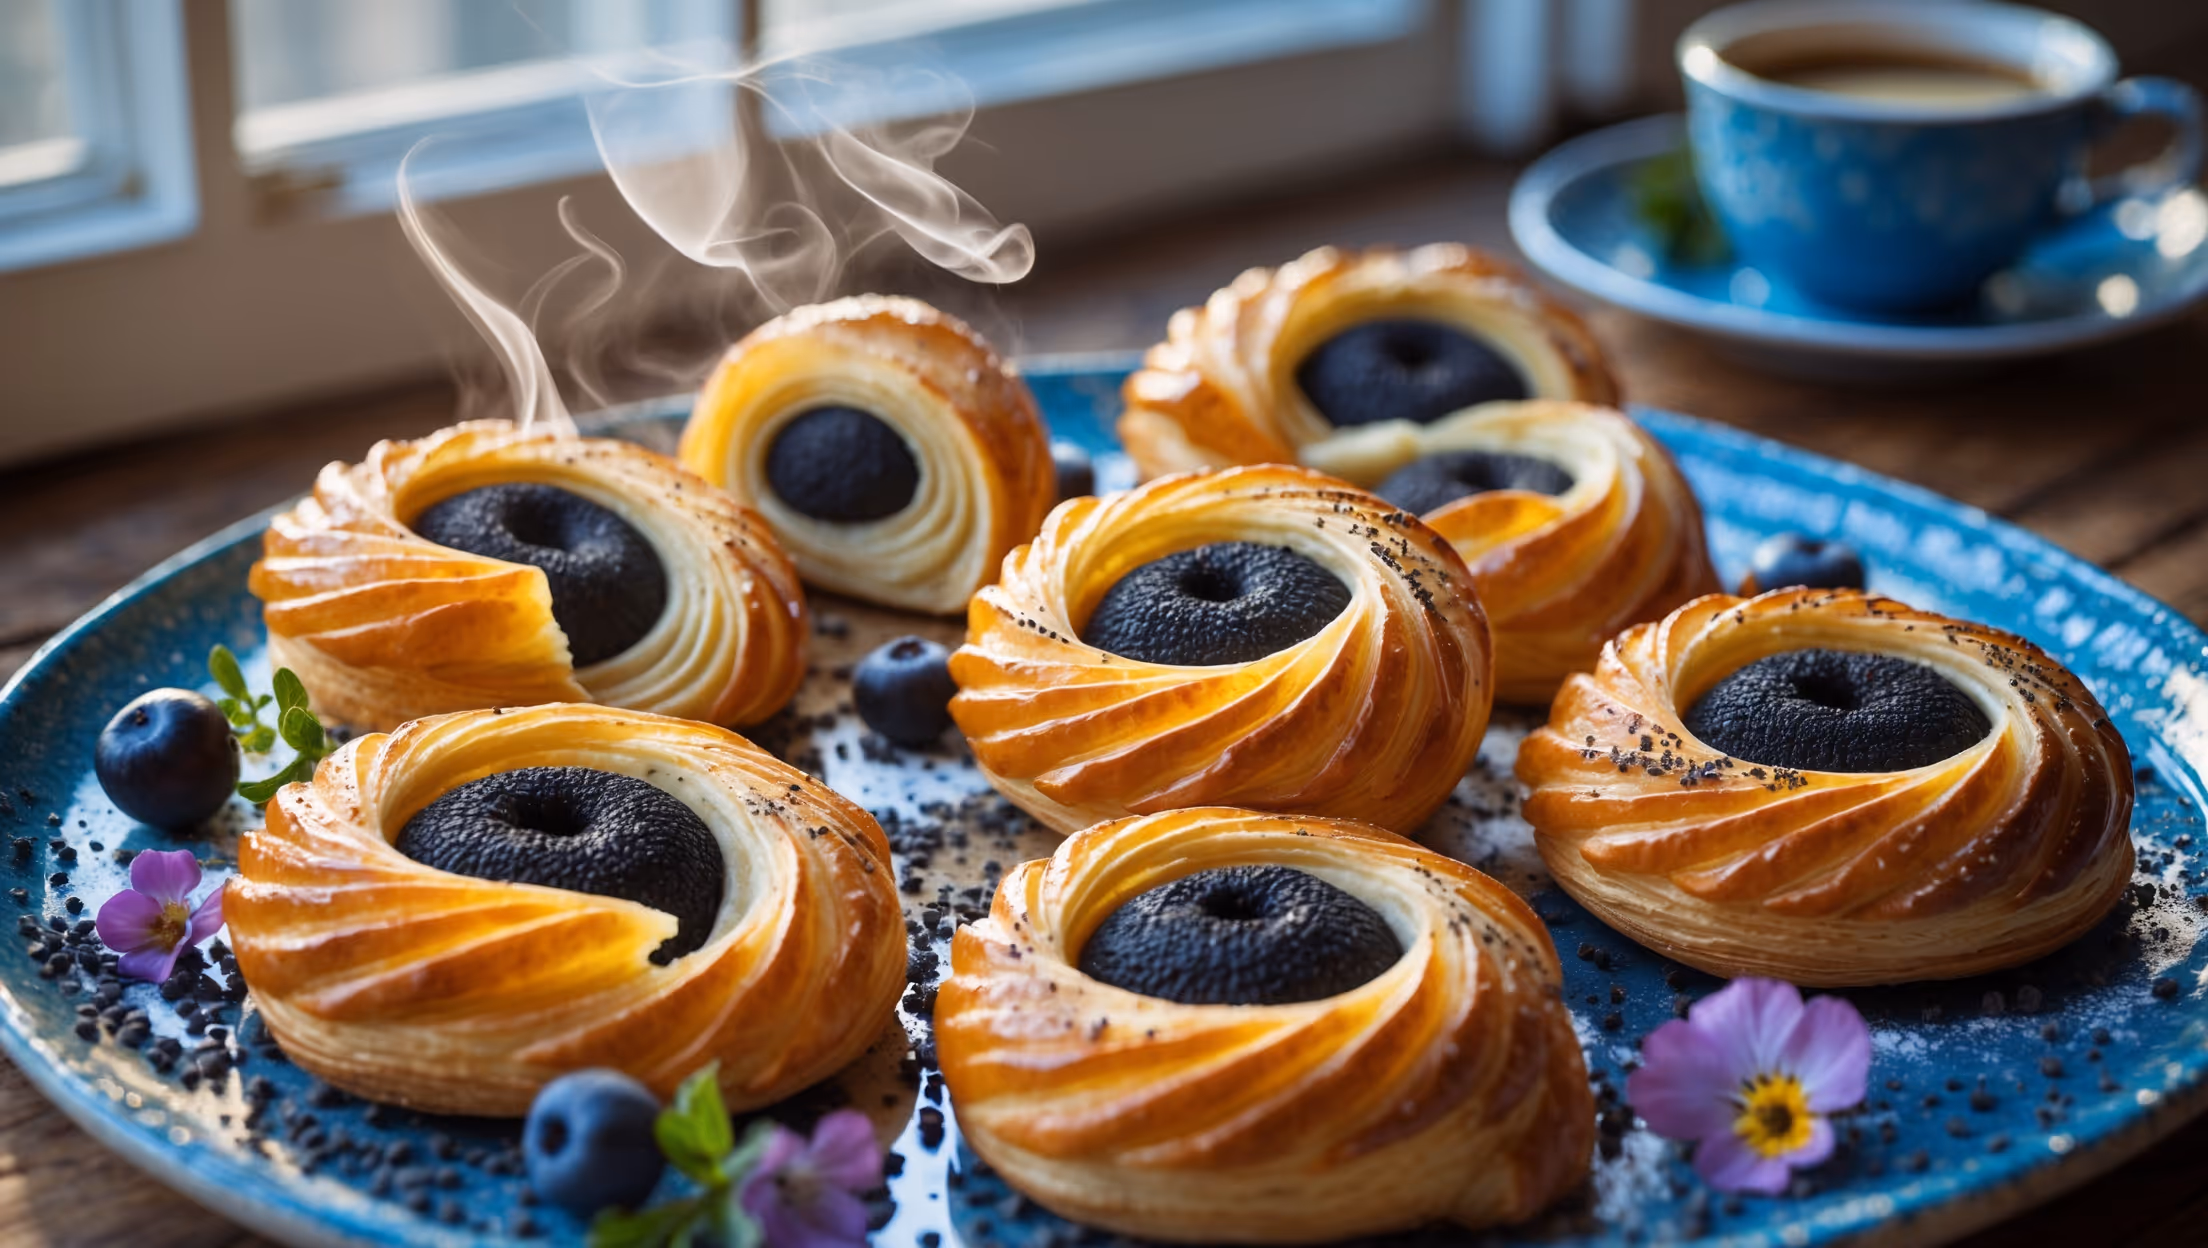
The key ingredients include strong bread flour, yeast, milk, eggs, butter for lamination, poppy seeds, sugar, honey, lemon zest, and vanilla. The pastry requires cold butter for creating flaky layers, while the filling combines ground poppy seeds with sweeteners for a rich texture.
Learn how to cook Poppy Seed Danish Recipe by mastering laminated dough techniques. Create a yeast-based dough, fold in cold butter through multiple turns, prepare a sweet poppy seed filling, shape your pastries, and bake until golden brown. The process involves several chilling periods but rewards you with bakery-quality results.
Danish pastry is a laminated dough, similar to croissants but enriched with eggs and sugar for a sweeter, more tender result. The technique involves folding butter into the dough multiple times to create dozens of alternating layers that puff up during baking for that signature flaky texture.
Grinding poppy seeds releases their oils and flavour compounds while allowing them to better absorb moisture from other ingredients. This creates a more cohesive, flavourful filling with improved texture rather than the gritty consistency that whole seeds would provide.
Yes! You can freeze the shaped, unbaked Danish pastries for up to one month. Freeze them on a baking sheet until solid, then transfer to freezer bags. When ready to bake, thaw overnight in the refrigerator, allow to rise at room temperature, then bake as directed.
Danish Pastry
Try following recommended recipes


