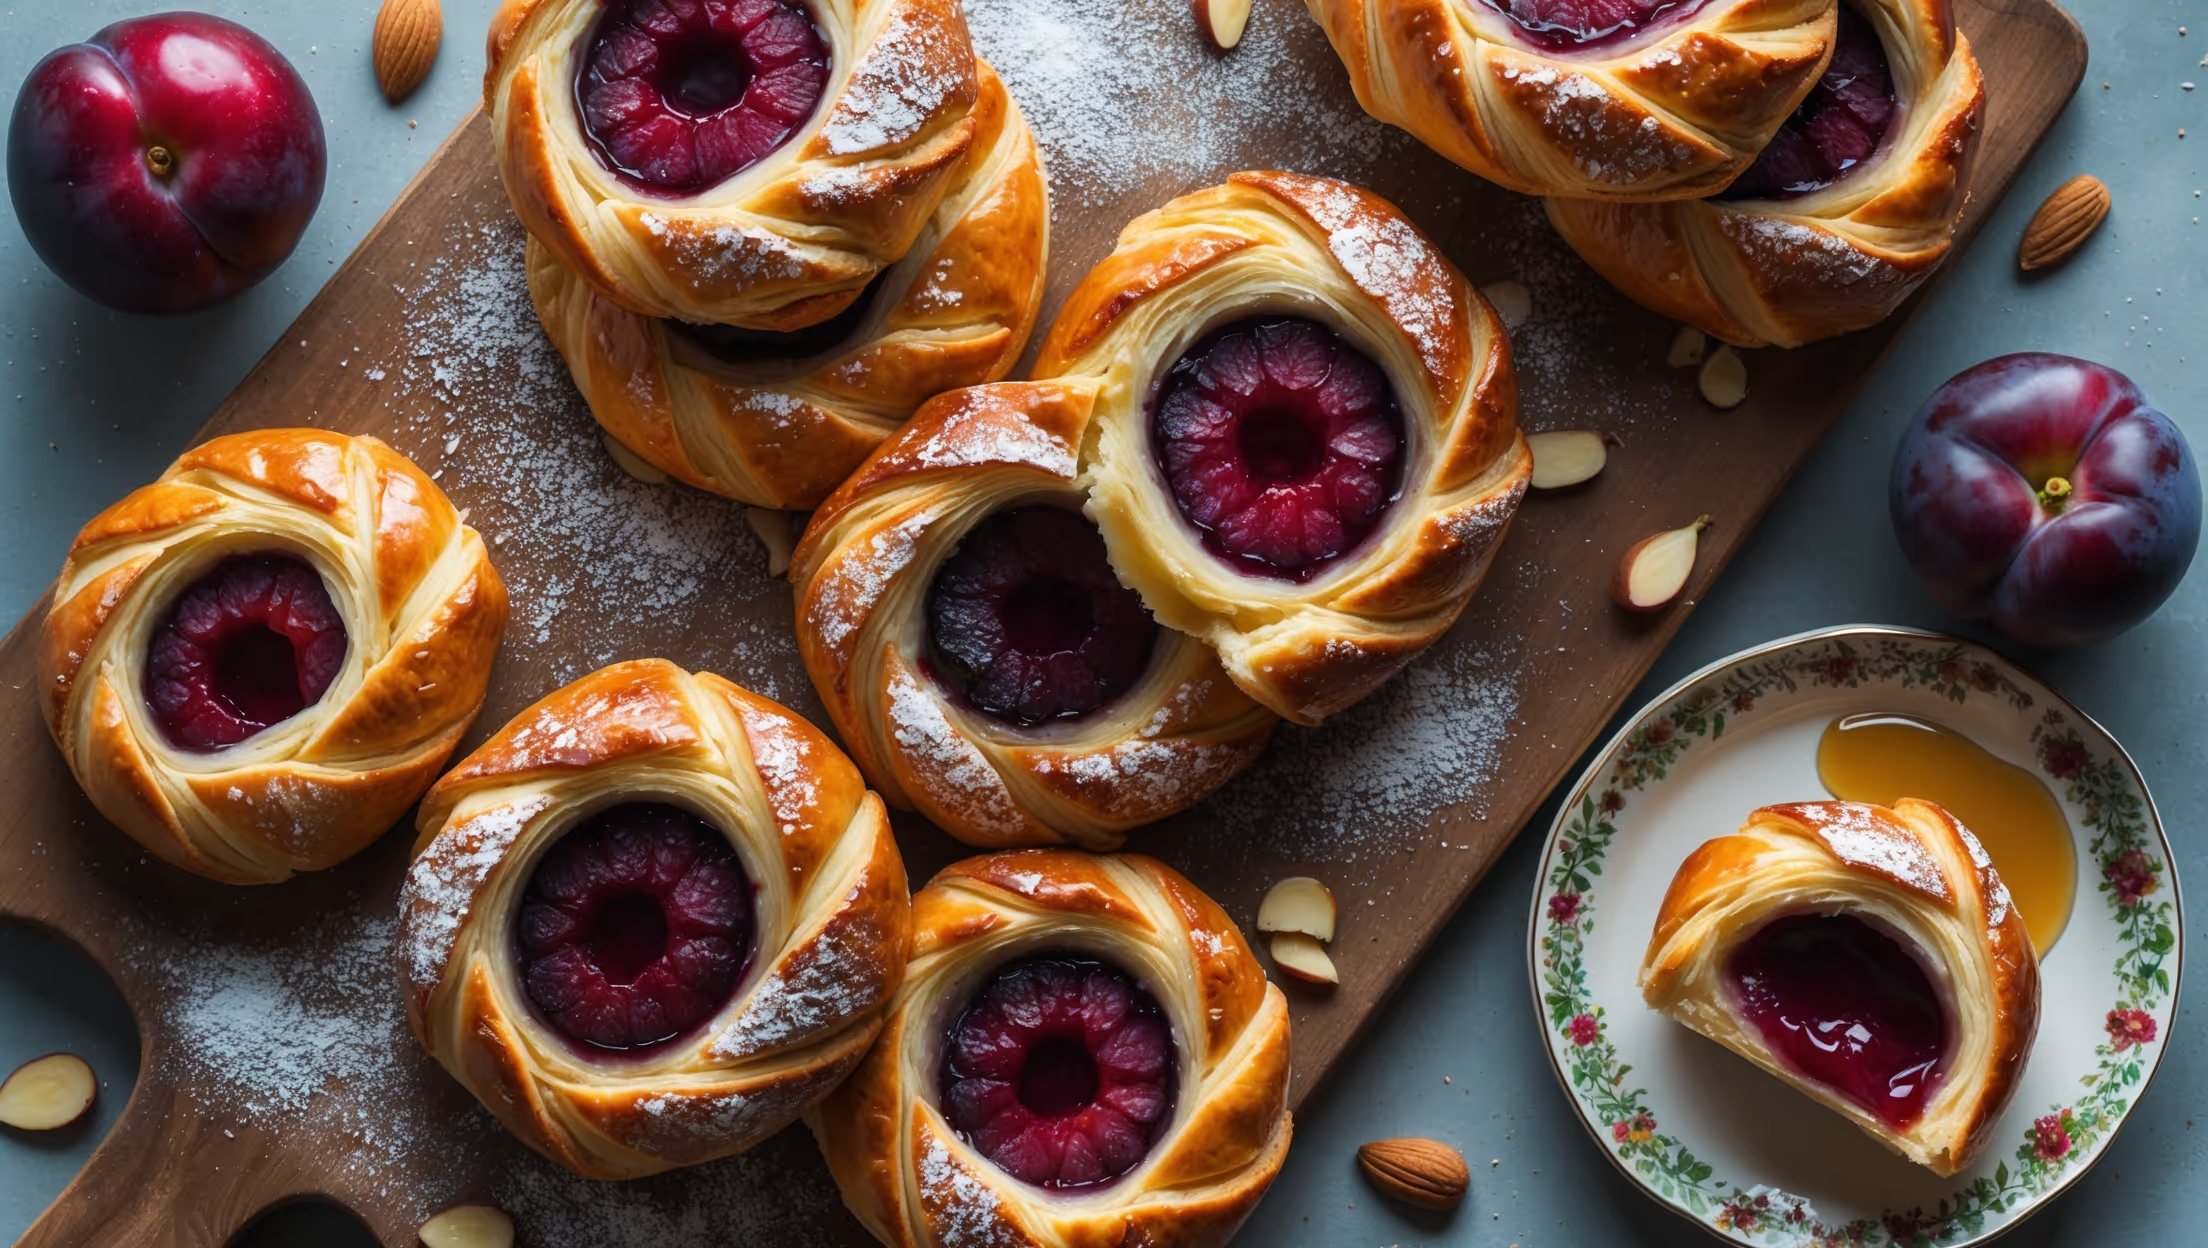
Directions
<ol class="no-list-style"><li class="MethodStepper"><h4 class="step-title">Step 1</h4>Begin by making the dough. In a large bowl, combine 250g flour, 25g granulated sugar, 1/2 teaspoon salt, and 7g instant yeast. In a separate bowl, whisk together 120ml lukewarm milk and 1 egg. Pour the wet ingredients into the dry and mix until a soft dough forms. This initial dough will be the foundation for your flaky layers, so make sure it's smooth but not overly sticky.</li><li class="MethodStepper"><h4 class="step-title">Step 2</h4>Knead the dough on a lightly floured surface for about 5 minutes until elastic and smooth. Shape into a square about 15cm wide, wrap in plastic wrap, and refrigerate for 30 minutes. Proper chilling at this stage helps the gluten relax and makes the lamination process much easier.</li><li class="MethodStepper"><h4 class="step-title">Step 3</h4>While the dough chills, prepare the butter block for lamination. Place 200g cold butter between two sheets of parchment paper and beat it with a rolling pin until pliable but still cold. Shape into a 10cm square. This butter should be cool but malleable – if it's too hard it will break through the dough, too soft and it will melt into the dough.</li><li class="MethodStepper"><h4 class="step-title">Step 4</h4>Roll the chilled dough into a 25cm square. Place the butter square diagonally in the center of the dough. Fold the corners of the dough over the butter to enclose it completely, pinching the seams to seal. You've now created your first "package" for lamination.</li><li class="MethodStepper"><h4 class="step-title">Step 5</h4>Roll the dough into a rectangle about 15x45cm, keeping the edges straight and even. This precision ensures your layers will be consistent. Fold the bottom third up, then the top third down (like folding a letter). Turn the dough 90 degrees (this completes one "turn"). Wrap and refrigerate for 30 minutes.</li><li class="MethodStepper"><h4 class="step-title">Step 6</h4>Repeat the rolling and folding process twice more, chilling the dough for 30 minutes between each turn. You'll notice the dough becoming smoother and more elastic with each turn as you build those beautiful flaky layers that make Danish pastry so special.</li><li class="MethodStepper"><h4 class="step-title">Step 7</h4>While the dough completes its final rest, prepare the frangipane filling. Beat 75g softened butter with 75g caster sugar until light and fluffy. Add 1 egg and 1/2 teaspoon almond extract, mixing until well combined. Fold in 75g ground almonds and 1 tablespoon flour until smooth. The frangipane should have a creamy, spreadable consistency.</li><li class="MethodStepper"><h4 class="step-title">Step 8</h4>Wash and slice 4-5 plums into thin wedges, removing the pits. If your plums are very tart, you can toss them with a tablespoon of sugar. Set aside to slightly macerate while you shape the pastries.</li><li class="MethodStepper"><h4 class="step-title">Step 9</h4>After the final chilling, roll the dough out on a lightly floured surface to a 30x40cm rectangle. Cut into 8 equal squares. Place them on baking sheets lined with parchment paper, leaving space between each for expansion.</li><li class="MethodStepper"><h4 class="step-title">Step 10</h4>Spread about 1-2 tablespoons of frangipane in the center of each square, leaving a 1.5cm border. Arrange plum slices on top of the frangipane. For a traditional Danish shape, you can fold in two opposite corners to meet in the middle, or simply leave as open-faced pastries.</li><li class="MethodStepper"><h4 class="step-title">Step 11</h4>Cover the shaped pastries loosely with plastic wrap and let them rise in a warm place for about 30 minutes, or until slightly puffy. The dough won't double in size like bread, but should look relaxed and softened.</li><li class="MethodStepper"><h4 class="step-title">Step 12</h4>Preheat your oven to 190°C. When the pastries have risen, brush the exposed dough (not the filling) gently with beaten egg for a golden finish. Sprinkle the edges with sliced almonds if desired.</li><li class="MethodStepper"><h4 class="step-title">Step 13</h4>Bake for 20-25 minutes, until the pastry is a deep golden brown and the plums are bubbling and caramelized. The rich color indicates proper caramelization and flavor development - don't be afraid of a dark golden hue!</li><li class="MethodStepper"><h4 class="step-title">Step 14</h4>While the Danishes are still warm, heat 30g apricot jam or honey until runny. Gently brush over the plums and exposed pastry for a beautiful shine. This seals in moisture and gives that professional bakery finish.</li><li class="MethodStepper"><h4 class="step-title">Step 15</h4>Allow the pastries to cool for at least 15 minutes on the baking sheet, then transfer to a wire rack. Just before serving, dust lightly with icing sugar. Enjoy warm or at room temperature within 2 days, though they're truly magnificent when fresh from the oven!</li></ol>